If you ever wanted your opponents to feel the frustration of banging their heads against a literal wall, then Sage is your girl. Sage's abilities focus on providing life-giving support to allies and significantly slowing down enemies. She is one of the initial crew of agents that launched with Valorant, but unlike the camera obsessed Cypher, her role as a Sentinel is more hands-on.
Sage’s Barrier Orb is one of her most recognizable abilities. It allows you to place a wall of Jade anywhere on the map, and it can be used to block off entry points, protect allies or reach an unexpected angle. The Barrier Orb is incredibly useful, but with only one use per round, it’s important to place it in locations that will provide the most utility for the situation.
8 Planting The Spike On A Quickly
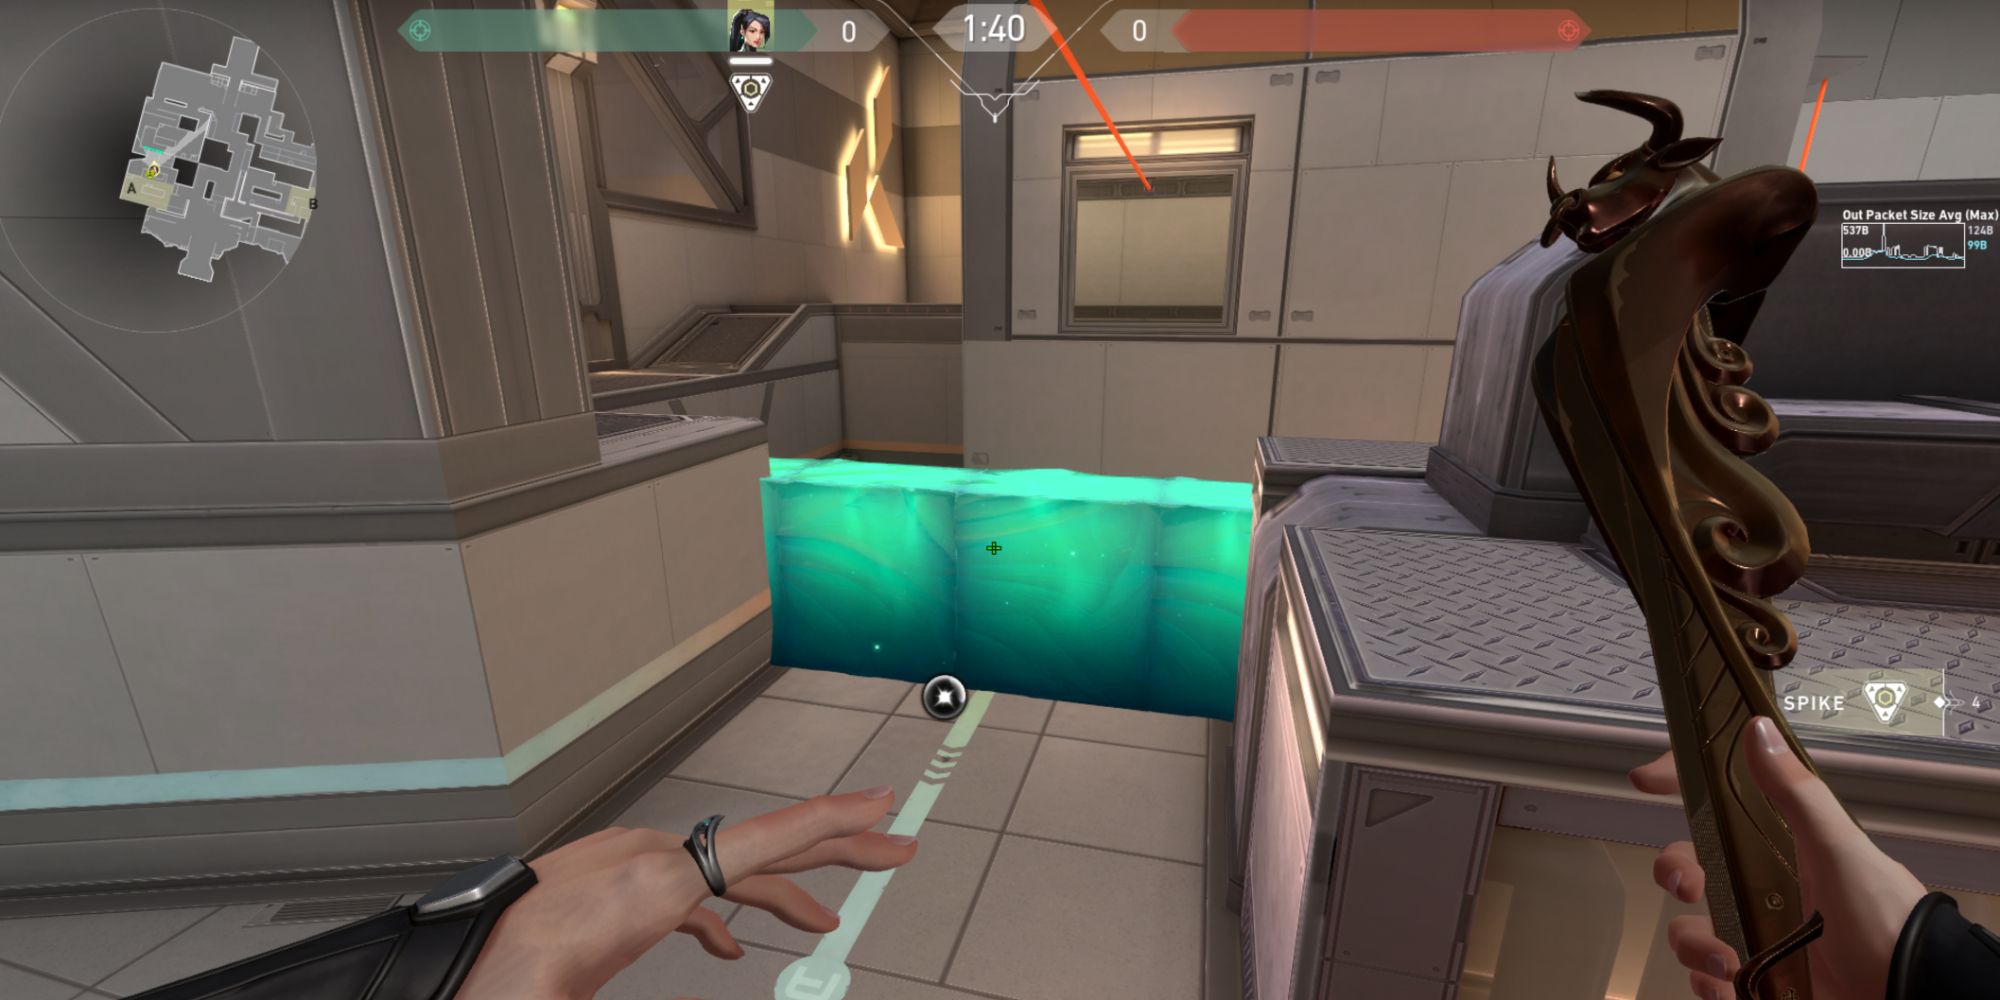
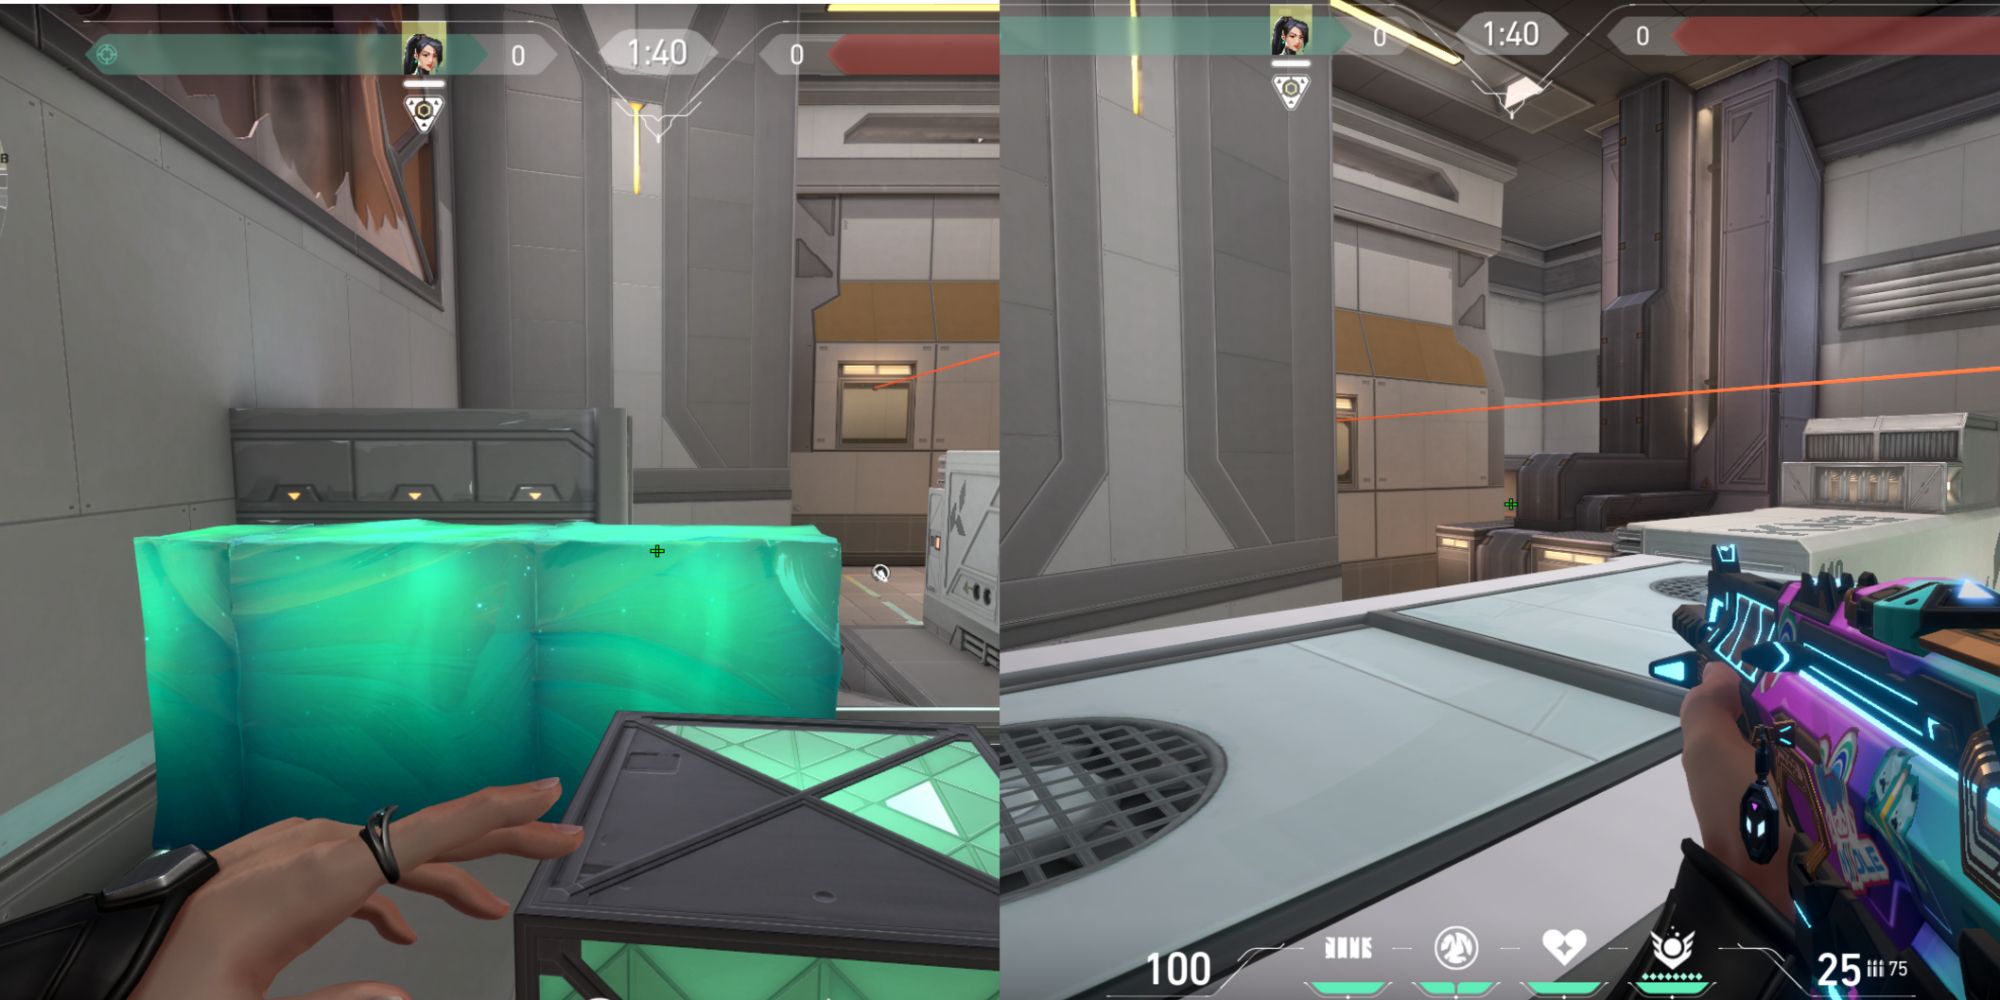
A Site has an interesting layout that generally favors rapid aggression from either the defenders or attackers due to a central zipline. With that in mind, this wall will allow your team to quickly seize a small corner of the bombsite and safely plant the Spike without needing to commit to a full site take. By blocking off 410 and Generator, defenders will need to put in considerable effort to break your wall and expose you to gunfire.
Additionally, the corner that you have taken from the defenders places the Spike in a convenient location to be guarded against multiple angles. Defenders who wish to defuse will have to contend with potential dangers from Belt, Pipes and Nest.
7 Planting The Spike On A With Site Control
Instead of taking a small portion of the site, having full site control instead will give your team a lot more room to work with in order to stop the defenders from retaking the site. If your team is able to get a kill on the A defenders, or if the defenders give up the site, it is a better idea to place your wall to block off Screens.
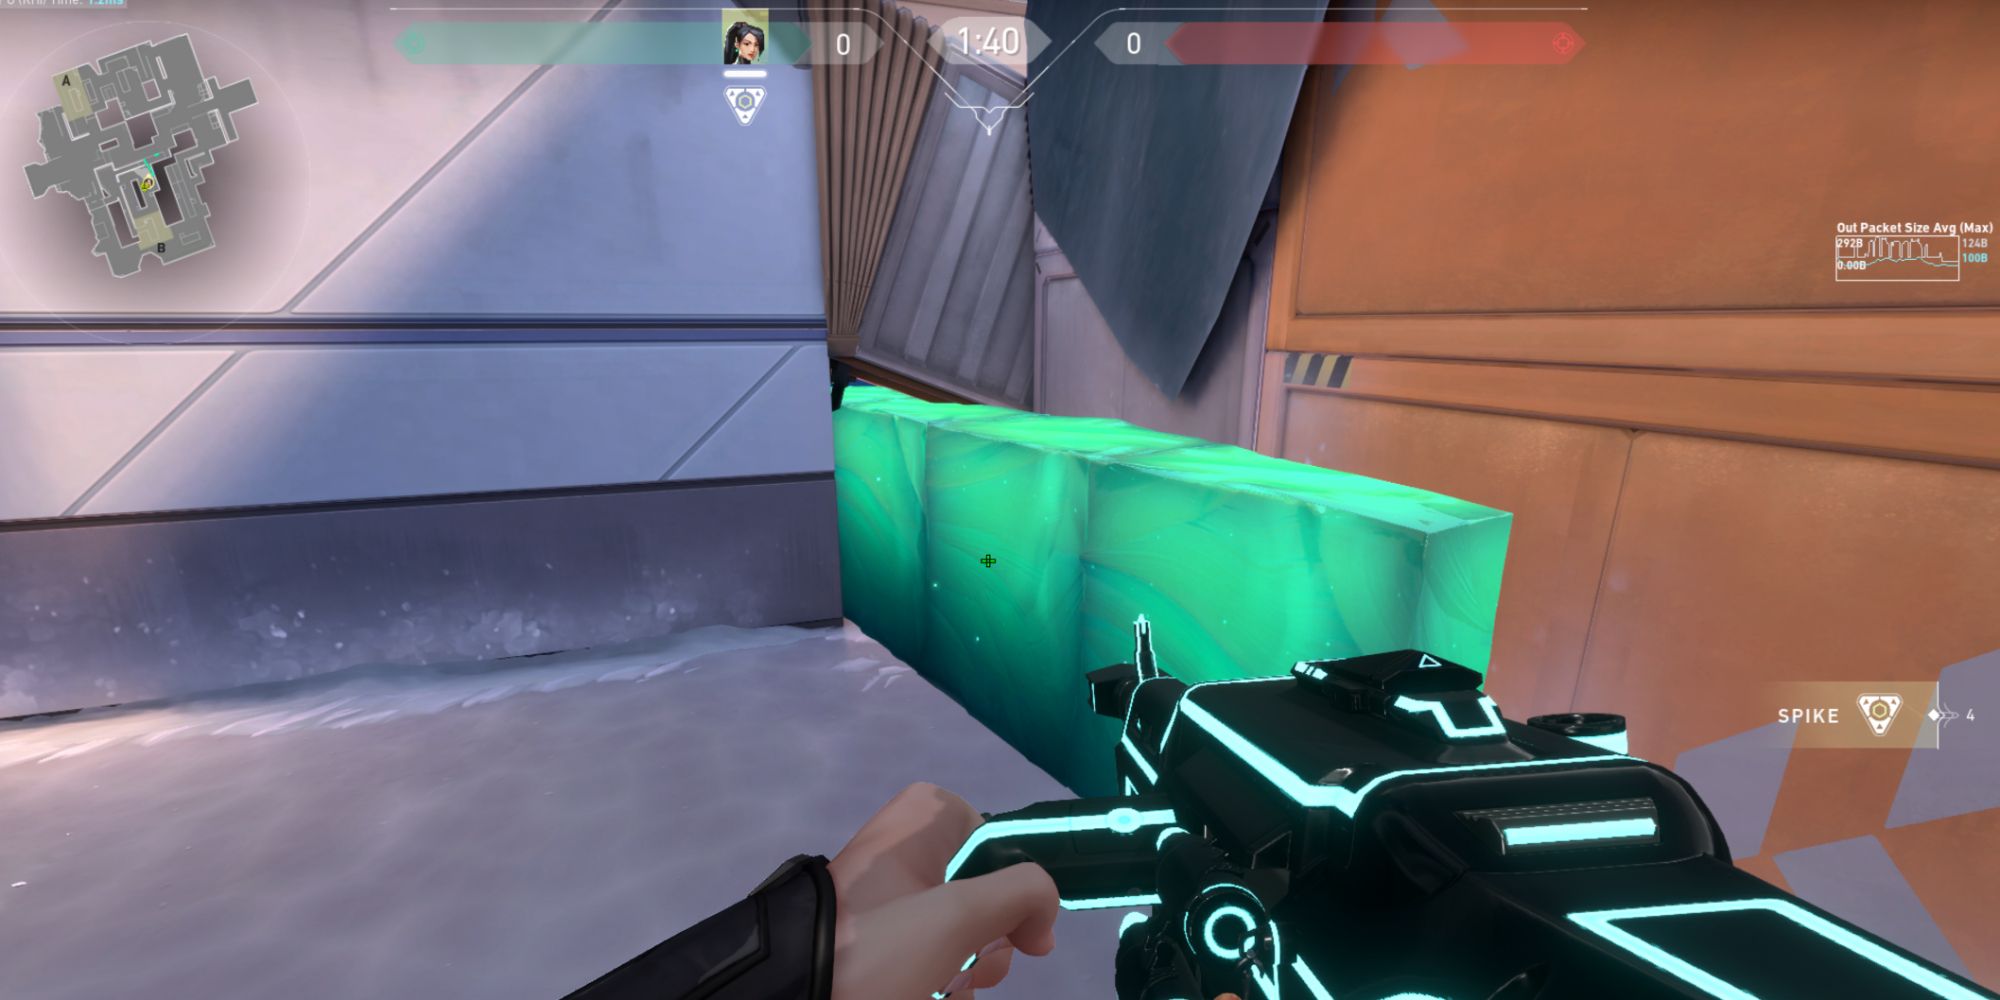
Blocking Screens with a slightly diagonal wall will force them to spend precious time, information and resources to break it. The diagonal placement also allows you to easily throw Slow Orbs on the broken segments to fill in the gaps and further delay any opportunities for the defenders to retake the site.
6 Planting The Spike On B
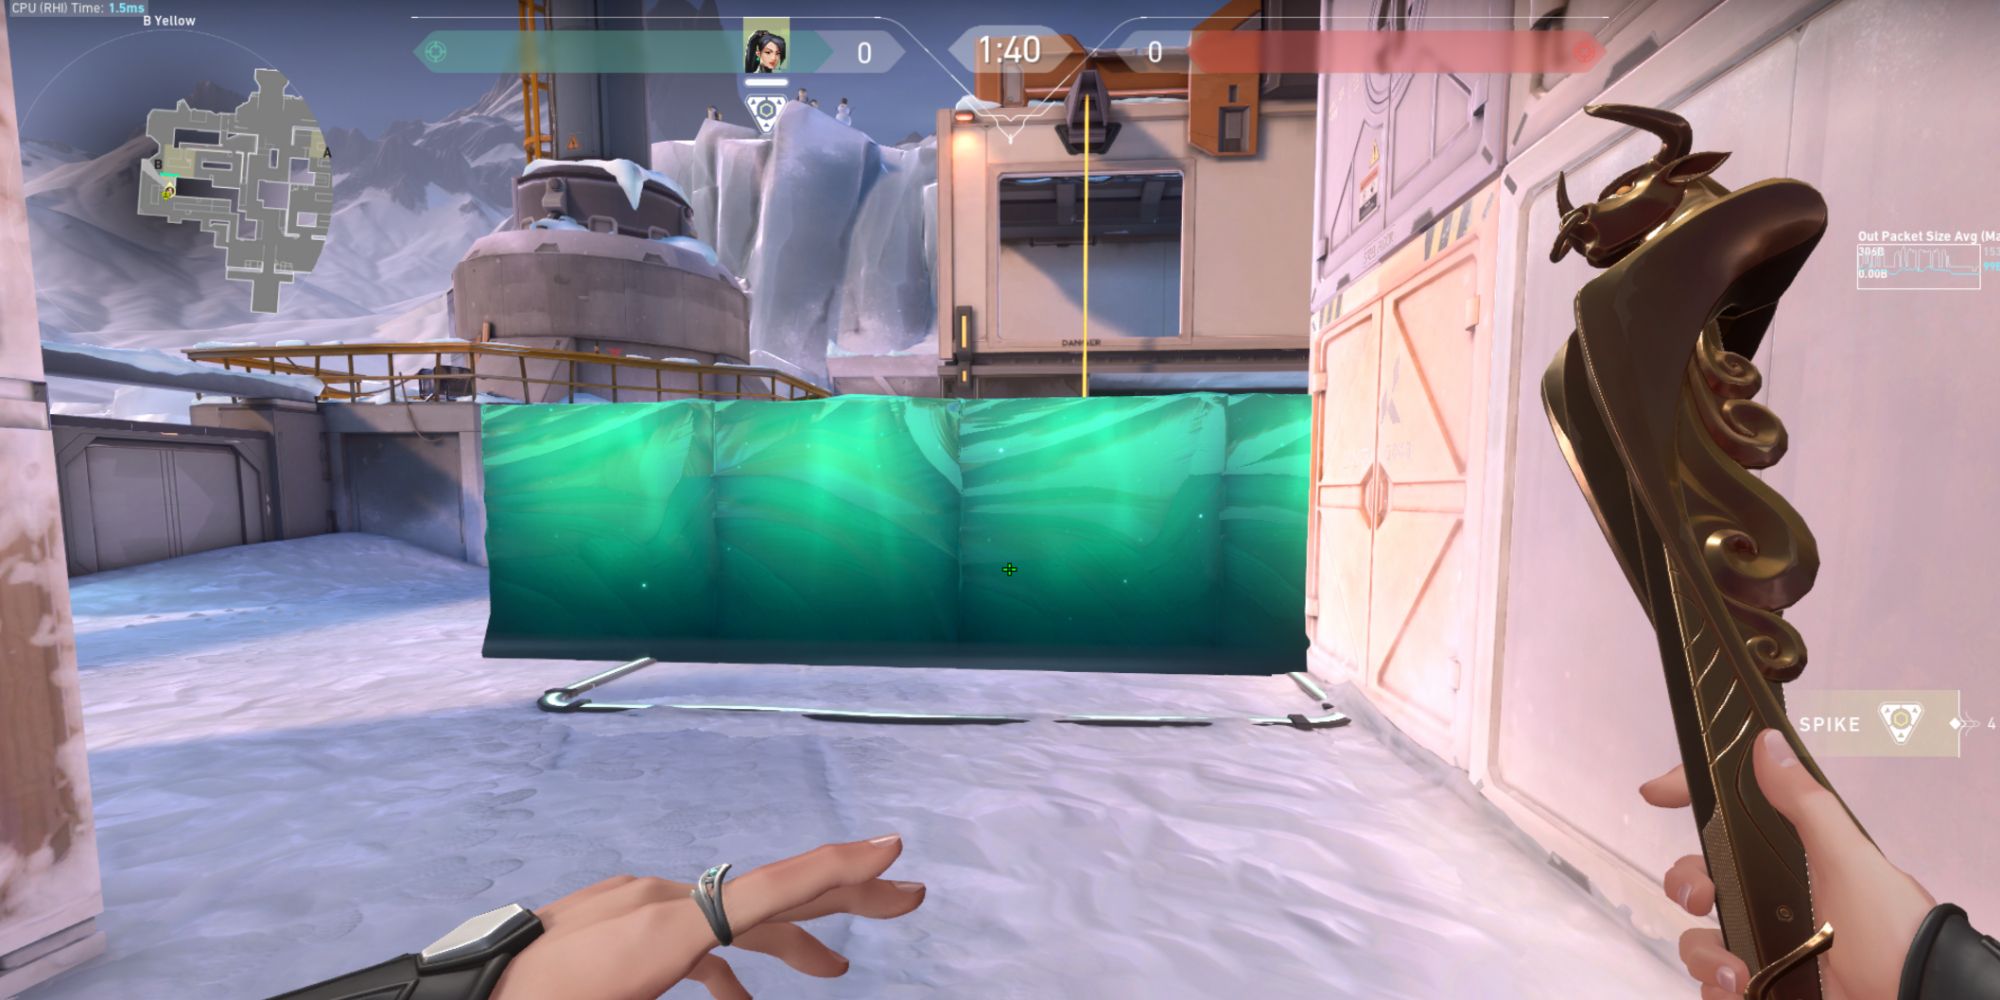
Similarly to A Site, B Site will have you place your wall to cut off a small slice of the plant area for you to safely plant the Spike. The horizontal positioning of the wall will create more potential angles and make it difficult for defenders to fully clear the area for a safe defuse. The location of the spike also allows your team to guard the Spike from Yellow and B Main.
Combine the wall with your Slow Orb ability to significantly pressure the defenders into pushing unfavorably into your team before they run out of time.
5 Defending The A Ultimate Orb
Ultimate Orbs are vital map resources that give one free point towards an agent's ultimate bar when they collect it. Contesting these orbs as a defender is an important way to hold map space and deny the orbs from the attacking team. Allowing attackers to have free control over these orbs around the map will make defending much harder. The last thing you want is a Jett popping her ultimate every few rounds and making your defense a nightmare.
Using your wall to secure the orb on A Site serves a double purpose of slowing down the attackers while receiving the benefits of the Ultimate Orb.
4 Defending Mid Tube
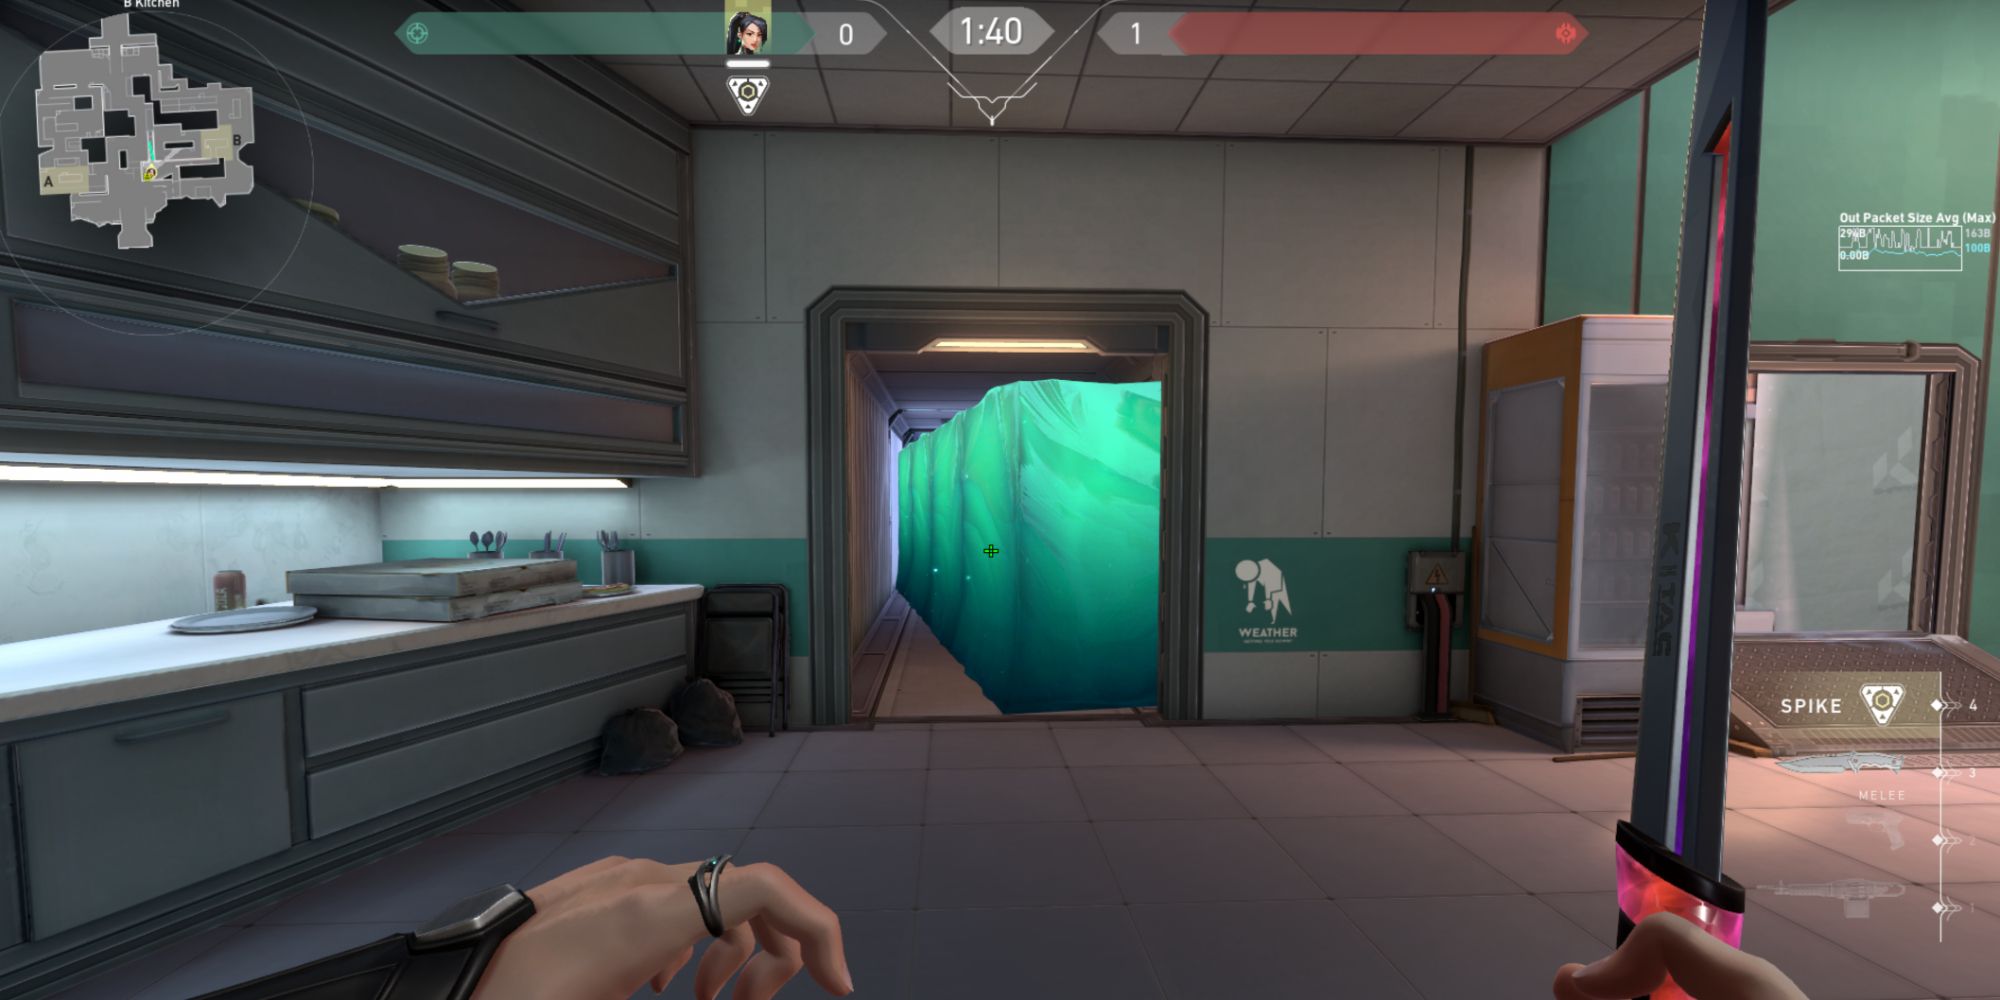
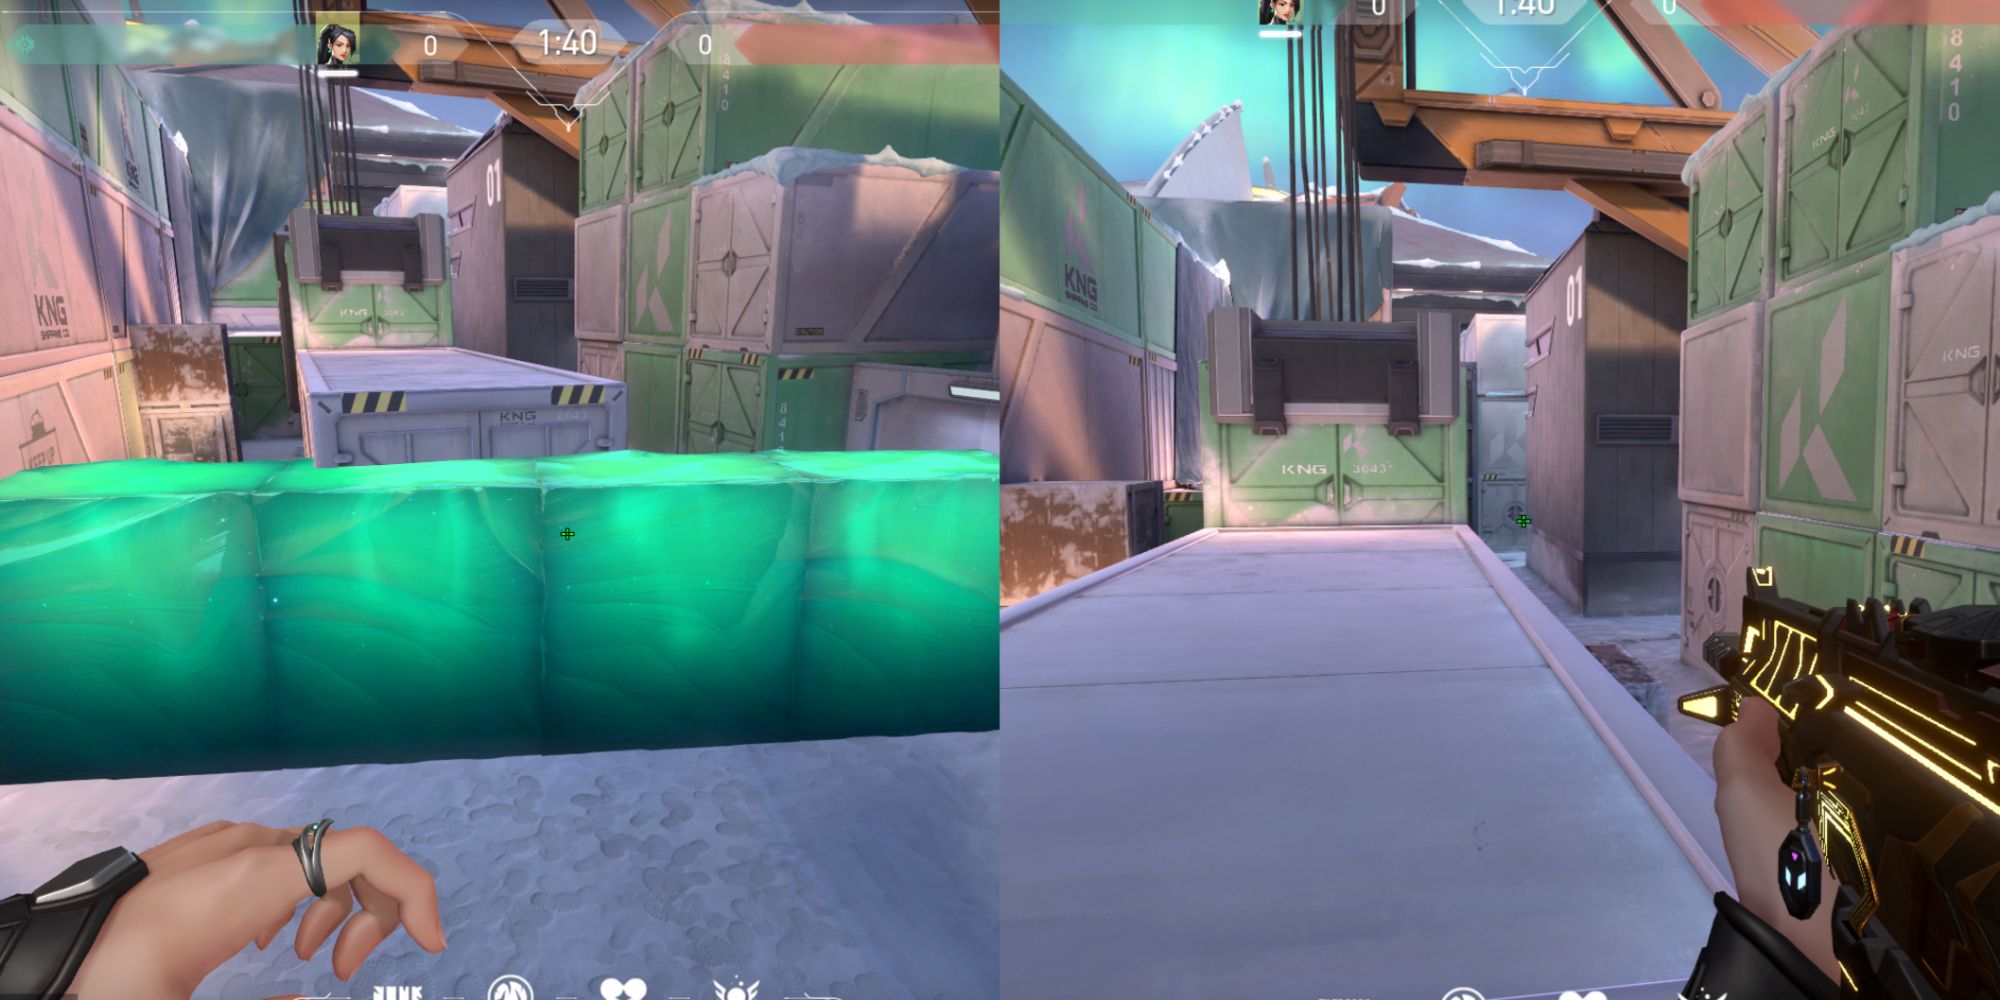
Middle is a critical location on Icebox because whoever has control of it is granted free rotations throughout the map. Any attacker who walks through Tube immediately has access to Kitchen, which cuts off B Site and Defender Spawn. Instead of having a defender sit in Kitchen to guard this important location, you can place your wall there instead. This will free up an extra defender to watch another area, and will demand a lot of commitment from the attackers if they wish to take it.
The wall can either be placed at a slight diagonal angle as pictured or completely straight. A diagonal wall blocks any bullets and utility that comes from Tube, but at the cost of requiring one less segment to be destroyed in order to enter.
3 Defending Under Tube
As an alternative to blocking off Tube, you can also choose to place a wall under it. If you notice that the attackers are playing heavily for Mid, you can deny rotations to B Site by blocking off this location.
This strategy works best if you have another Sentinel agent, such as Chamber, who can place his Trademark ability in Kitchen to cover your team's back. With both abilities combined, Middle becomes almost impossible for attackers to move through uncontested. This forces the attackers to commit to a bombsite, and limits their options for map control.
2 Defending A With A Boost Wall
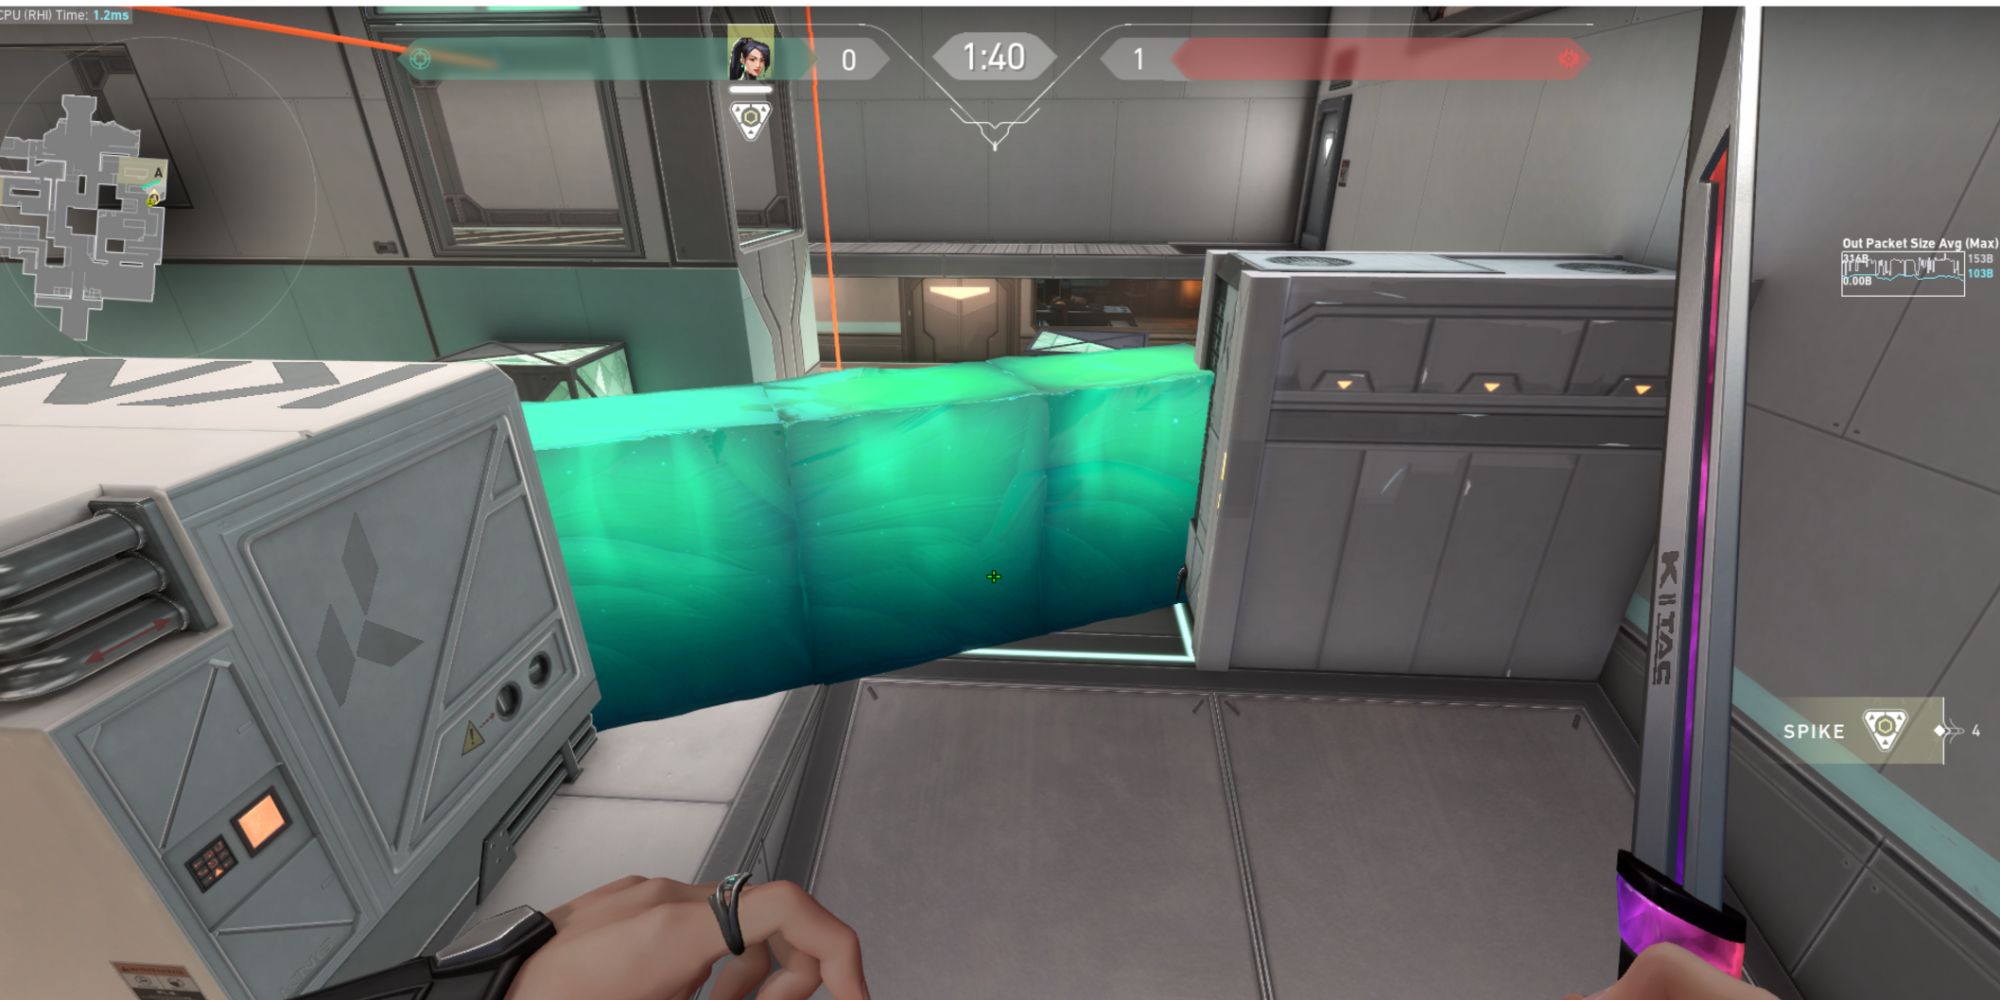
Depending on the situation, you may want to use your wall more aggressively. Sage has the unique ability to create structures that can be stood on by you and teammates. This allows her to place walls that will put you in locations your enemies won’t be expecting. This boost wall is placed behind Generator, and will give you enough height to see the enemies heads as soon as they enter A Site. If used unpredictably, this can give you a free kill on an attacker when they least expect it.
Placing the wall is simple. Stand behind Generator and place the wall directly below you. The wall will carry you and anybody nearby up to the new elevation.
1 Defending B With A Boost Wall
B Site gives you an opportunity for a boost wall that also serves as a more traditional defensive wall. Stand at the edge of Green near the spawn wall, and position your Barrier Orb so that it covers both pathways through B Main. Place your wall as soon as the round begins, and you will be boosted up above Green. This angle will catch enemies off guard and give you an advantage when they peek.
If you can’t get a kill off the initial engagement, feel free to hop off your wall and retreat. Its position will still block off any attackers from pushing through B Main, and will allow you to follow up with a Slow Orb.


.jpg)
