.jpg?q=50&fit=contain&w=1140&h=570&dpr=1.5)
Quick Links
The map Pearl was released into Valorant's map pool in June 2022. It is full of intricate pathways and is known for its challenging Mid area. Are you looking to lockdown Pearl's B Site after Spike plant? What Agent is better equipped to shut down enemies than Killjoy?
Using lineups is almost always better than setting up your Swarm Grenades on or around the Spike. Throwing your Swarm Grenades from a safe distance makes them harder to destroy - and in many instances, you won't even need to peek. The post-plant lineups you need to know (and advice on how to use them) are listed below.
How To Practice Your Lineups

Setting up your game to liberally practice lineups is easy. Go to 'Play' > 'Custom Game'. Select Pearl as your map for this instance.
Go to 'Options', and under 'Allow Cheats', select 'On'. Save that setting and start your game.
Once you select your Agent and your game starts open settings again. Set a bind key to move around the map freely. You can choose to gain infinite utility, ammo, magazines, and creds and have no shopping restrictions. Once warm-up is finished, set the match timer to pause.
If you scroll down, you can make yourself invulnerable to damage.
Now you're all set!
Spike Planted In Default Spot

These lineups will land on one of the most common plant spots. The spot is in the corner on the right, as you enter site. Your teammates will use this area to plant very often, so learning lineups for it is intrinsic.
B Default Spot Lineup From B Ramp
If you are on B Ramp, position yourself so that you're facing the door.

Now stand so that there is only a little gap between the pillar in the middle of B Ramp and the building on the right. Aim at the roof of the building, jump, and throw.

The lineup covers the default area, so that if the Spike is planted there, enemies won't be able to defuse it.
Be careful when using this lineup, as you're especially vulnerable to peeking enemies. The box giving you cover can be shot through. Also, watch out for flankers.
Default Spot Lineup From Mid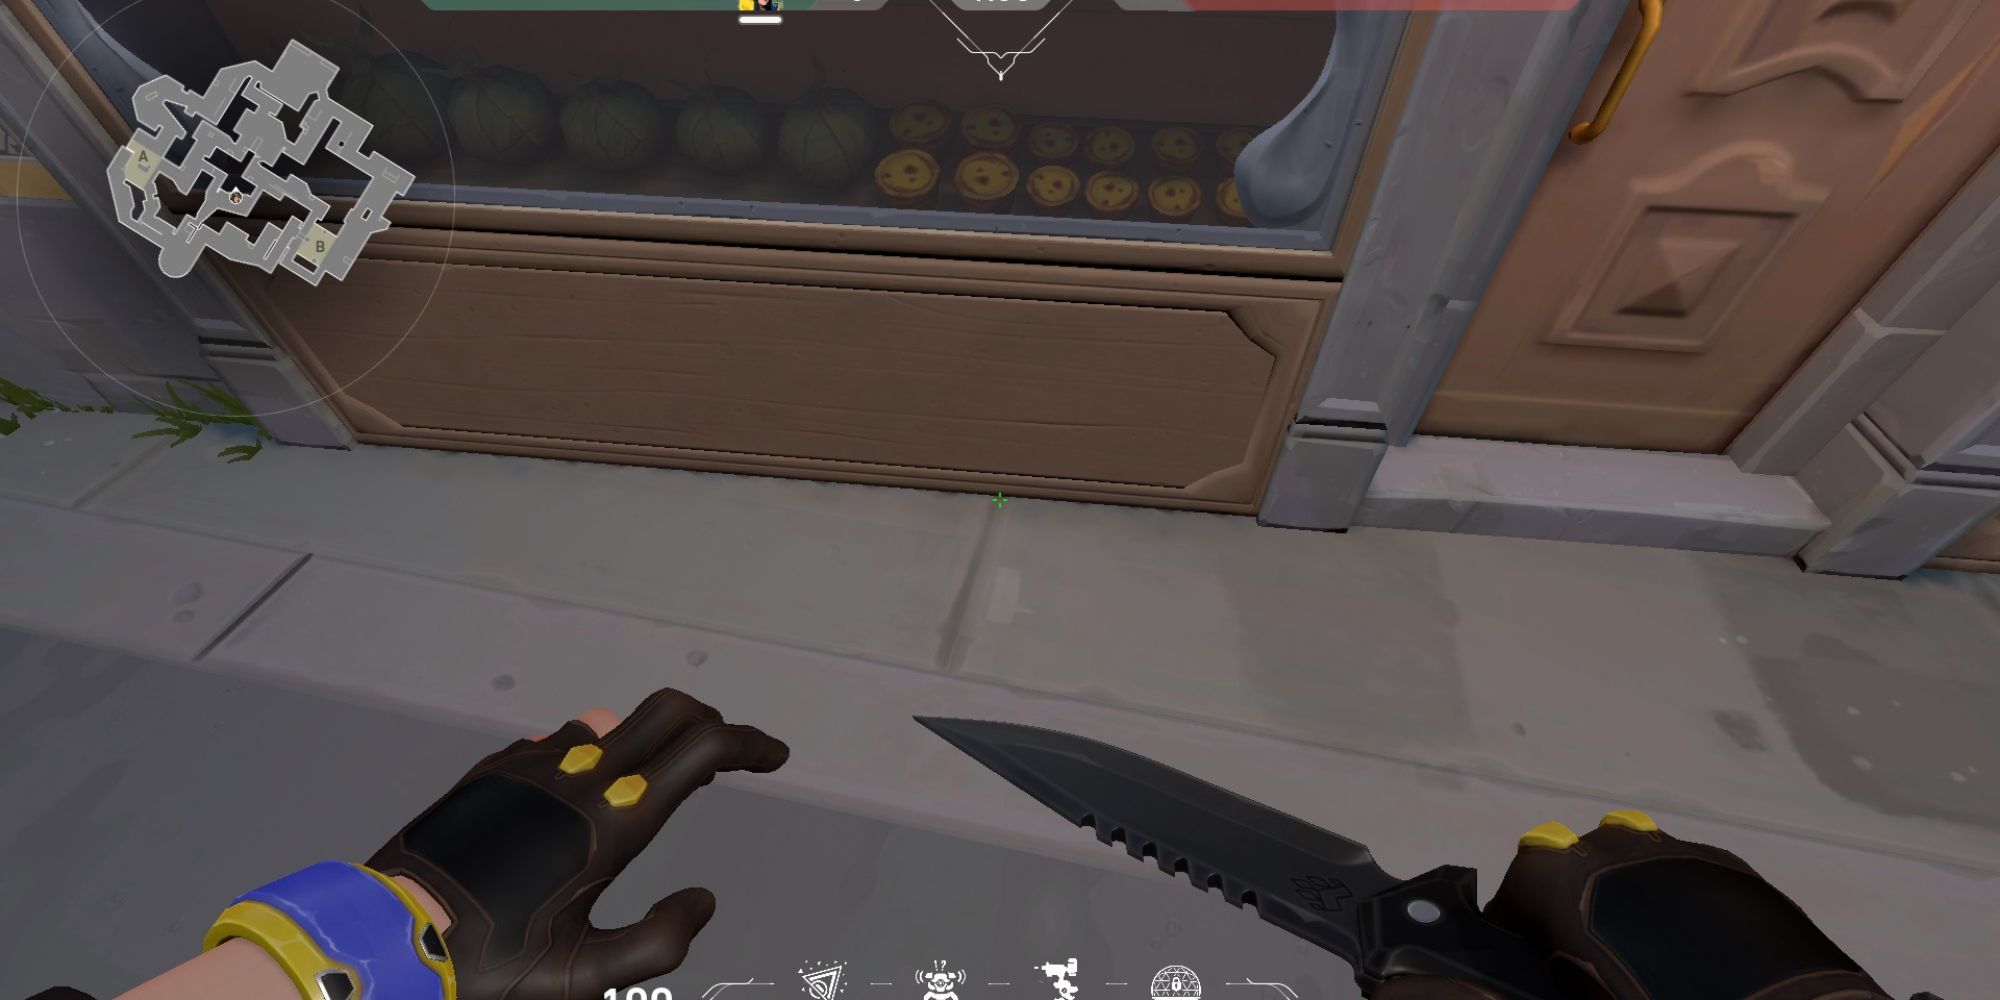
Pearl's gameplay revolves around Mid control a lot of the time. You will likely find yourself in a situation, where the bomb is planted on B on the default generator spot, while you're miles away in Mid. Fear not, because this lineup could secure a win in that round. In the Mid Connector, stand against the grocery shop, on the grey line.

Look towards B and align the white line on the right side of your hud with the roof on the right. Then, throw your Swarm Grenade.

Your Swarm Grenade will perfectly prevent a defuse.
B Default Spot Lineup From Spawn

Will you likely use this lineup often, during the ordinary B Site Pearl execute? No, but it can be useful in a clutch situation, or on the odd occasion that you'd flank (although we wouldn't recommend doing this as Killjoy - but you do you!). This lineup is executed from Defender Side Records, so almost from Spawn. You want to position yourself in the corner between the two wooden boxes and look up at the balcony. There is a dark line on each of the balcony poles. Aim on the second one from the right, then aim up on the grey stripe, until you get to the dark line on the stripe. Yes, it's confusing - so use the image above as a reference. Jump and throw.
You can use this lineup on Defense to prevent the enemy team from planting.

Your default plant area is covered by this nade.
Spike Planted By B Platform

This tall platform positioned in the middle of the B Site is another common plant area. It may be used by your team if you were able to gain full control of the B Site.
B Platform Lineup From B Ramp
For this lineup, stand in the left corner of B Ramp. Position your Ultimate icon so that it fits in the corner of the brown roof. Jump and throw.

Shown above is the area that your Swarm Grenade will cover. You and your teammates are safe to plant in front of the platform or a bit to the left.
B Platform Lineup From Spawn

This lineup is similar to the lineup for the B default spot shared above. It's useful for clutches and 1 v 1 situations. Once again, it's executed from Defenders Side Records, so basically Spawn. Find the two wooden boxes, and stand between them in the corner. Look up at the balcony and the dark stripes on its poles. Use the second pole from the left as a reference. Then aim up just on top of the grey stripe on the glass ceiling, and throw.
You can use this lineup on Defense to prevent the enemy team from planting.

Your Swarm Grenade will cover the plant area in front of the tall platform on B Site.
When executing lineups from this spot, be extra wary of flankers and any enemies rushing through B Main.
Spike Planted By B Orange Boxes

Your teammates may not be naturally inclined to plant by orange boxes. However, this area offers a wide variety of lineups and is worth considering.
B Orange Boxes Lineup From Above The Pillar In B Main
This position will leave you more vulnerable than if you play further back. However, sometimes it's not possible to get to the ideal spot on time. It's still possible to use a lineup to nade orange boxes and prevent a defuse from this spot. Look down and position yourself as shown on the screenshot above.

Then, aim above the pillar and throw your Swarm Grenade. There is a small line between your Ultimate icon and the Turret icon. Use it as a reference and position it as above. Then, throw your grenade.

The landed and detonated swarm grenade will look like the above.
B Orange Boxes Lineup From B Ramp

This is a simple lineup to use if you're positioned on the left side of B Main. Stand in the corner, and aim your crosshair at the small light. Jump and throw.

If your Spike is planted by orange boxes, it will be protected by your Swarm Grenade once it's been detonated.
Alternative B Orange Boxes Lineup From B Ramp

We've covered a lineup that you can use from B Ramp, but this one is more suitable if you're positioned on the other side and don't want to peek at B Main. You're also less exposed to flankers, and less vulnerable to any enemy peaking B Main Go to the corner of B Ramp, but don't stand in the corner. Instead, look at the brick wall, and stand against the two small, dark marks.

Look up at the red wall and aim at the top of the pipe. Jump and throw.

The area around the orange boxes is not accessible without taking damage.
B Orange Boxes Lineup From Mid

Yes, you can throw your Nanoswarm Grenade on the Orange Boxes plant spot from B Link. This can be useful if you were pushing the site from Mid. Position yourself in the corner of B Link, on top of the stairs. Aim up on the wire, in the middle of the first star on the right, and throw.

Most commonly, the Spike will be planted in the left corner of the orange boxes, which is perfectly covered by this Swarm Grenade.
How You Should Use Your Lineups

The lineups above are a great way to stop enemies from defusing on the most common plant stops. You could even use them to prevent plants on Defense. But what are some things to keep in mind when you use lineups?
- Don't bait: although you need to stay alive, ensure that you support your teammates
- Communicate: let others know what you are doing to prevent unnecessary peeks, pushes, and utilities
- Don't be narrow-minded: lineups are great to use a lot of the time, but it's good to be open-minded and flexible in your game