Quick Links
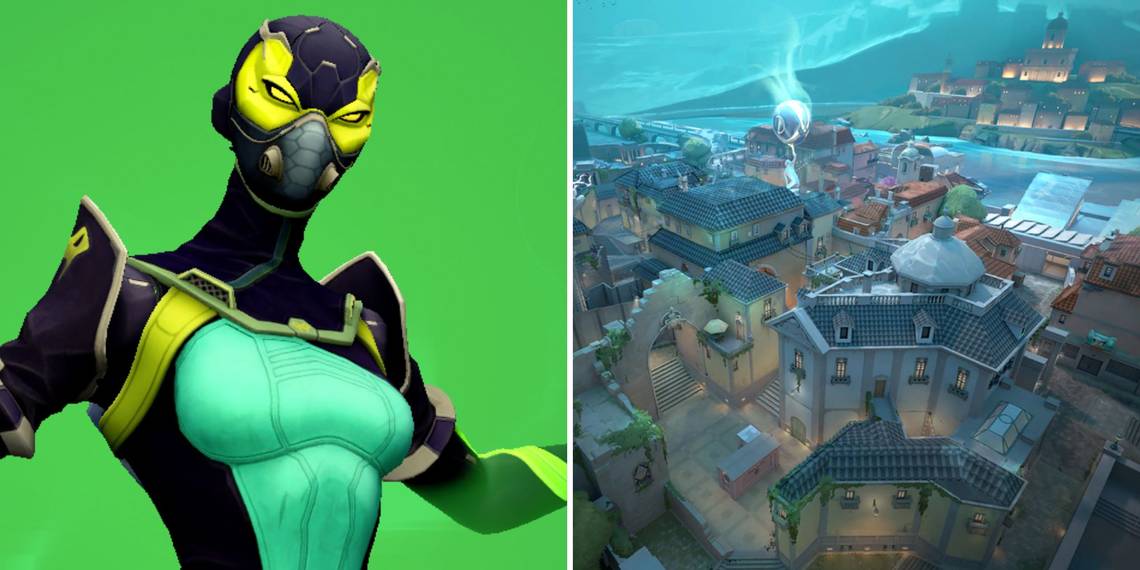
Patch 5.0 brought a lot of new things to Valorant including a new Episode, rank, map, lobby music, and agent-select music. Alongside the new map, a ton of new lineups also came to the game for Pearl. Viper is one of the most popular agents for post-plant lineups as she can deny the diffuse for a very long time.
Viper has two charges of Snakebite that can ted together to deny the Defenders from diffusing the Spike for around 15 seconds. If this is used with Poison Cloud, it can easily kill enemies if they don't have good reflexes. The power of her lineups is really strong, and it can put the round in your favor heavily.
Lineup From A Restaurant To A Site

When you plant the Spike here, the defenders will expect you to be either in Dugout, Secret, or Flowers. Little do they know that you're planning something cheeky from Attacker's Spawn. Although, you might need help from a teammate for this as you might not be able to hear the sound effect when the Spike is being diffused. Plant the Spike on the back A Site for this to work.

As you go forward from Attacker Side Spawn, on the right you will see a brown door with a yellow handle. It will be the first door on the right building. Go to the middle of the door and move up close until you can't move forward. Then turn around to line the shot.

You will see a building on the left side of the alley that has a door leading to mid. Aim at the right edge of the building and take your crosshair in the middle of the two white stripes in the air. Keep the crosshair slightly towards the right of the edge, so it doesn't hit the building, and fire your deadly shot. It will land on the Spike, given that you've planted it correctly, denying the diffuse for about 5.5 seconds.
It's a good idea to time the second Snakebite around five-seven seconds after the first one to make sure the defenders don't even get the time to diffuse the Spike halfway. Your team will still need to delay the diffuse for a long time because lineups aren't effective for the entirety of the time it takes for the Spike to blow up.
Lineup From A Site To A Main Entry

This lineup is very simple and is one of the few Defender sided lineups for Viper on Pearl. It's not good itself but if you combine it with Poison Cloud, it can either kill off the enemies or stall them for long enough for your team to rotate and help you defend the site.
This requires a tiny bit of setup, but that's what Viper is all about, right? During preparation, throw a Poison Cloud at the middle of the doorway leading from A Main to A Site. Place the wall wherever you want and head to the back site behind the structure in middle.

You will see a door in the middle of the building at the back site. Move up to the door and stand in the middle of it. Push yourself forward until you can't anymore and turn around to line the shot. This lineup is a little cheeky, but it keeps you out of danger's way in case one of the enemies somehow decide to push through all of this.

Look at the top of the doorway, and you'll see a figure that kind of looks like a face. Aim at the forehead of this face and launch the Snakebite. This has to be extremely precise as even a little problem can completely waste the Snakebite. Once you shoot at the right place, it will bounce off a couple of things within the figure and then fall straight down, completely blocking the entryway. Combine it with your Poison Cloud and no enemy in their right mind will be pushing through it.
Lineup From Attacker Spawn To B Site

When the Spike is ticking at B Site, Attacker's Spawn will be the last place any of the enemies will check. Hence, you will be relatively safe while lining up this shot. Although, you will need assistance from one of your team members to relay it to you whenever the Spike starts being diffused. While you wait for the confirmation, you can prepare for the lineup.

Right in front of where you spawn as Attackers, you will see a small pool with a rock structure in the middle of it. Stand on the largest rock of this structure. This is extremely important as any precision issues in this lineup can make it completely useless.

Once you're at the right spot, you will see a fence at the top of the building on your left. First, put your crosshair on top of the pillar on the corner of this fence. Then, drag your mouse upwards until you reach the white stripe at the top. This is where you can let go of your Snakebite, and it will reach its desired location. Make sure you plant the Spike on the left side of the double box structure to make it impossible for the Defenders to diffuse it.
Lineup From Top Mid To B Site

While the previous lineup is extremely effective and useful, sometimes you just want to switch it up, so the Defenders don't predict your move and act accordingly. Hence, instead of planting the spike on the left side of the double boxes, you have to plant it on the right for this lineup to be effective.

Next, run over to Top Mid and make sure it's safe because you're going to be very visible and vulnerable while lining this shot up. The last thing you want is to get shot in the head with utility in your hands. Head to the doorway of Top Mid and align your crosshair with the line in the middle of the wall on the right side of the doorway. Move forward until you're completely hugging the wall and then turn around.

The first order of business is to find a base for your lineup. As you look at the top of the buildings in front, you will see three pillars and a couple of satellite dishes. Put your crosshair directly on the top of the pillar in the middle as shown above.

The rest of it is easy. Just move your mouse directly above until you reach the first white stripe in the air and your shot is lined up. When you shoot it, it will land on the Spike making it impossible to Diffuse. Make sure the Spike is planted at the very right corner of the double boxes.
Lineup From A Ramp To B Site

Sometimes, you just don't have reliable teammates to relay the information, or they're just simply all dead. This lineup can help you in those scenarios even though it is a little risky. You have to stay at B Ramp for this shot, which is a place the Defenders have a high chance of checking especially when there is a Viper and everyone expects lineups.

But if you are in a scenario where you need to do this, head to the corner on the left side when you're coming towards B Ramp and push yourself at the corner until you can't go any further. Turn around and look at the lamp that is right above you.

This is another cheeky shot as it makes use of the fact that the lamp in the picture doesn't have a hitbox and it doesn't stop the Snakebite. Aim at the top left edge of the lamp and make sure your crosshair is directly on the edge, not beside it. Once you've done this, you can fire the Snakebite and it will prevent any Spike diffuse.
This lineup is easy, so it's recommended to keep your gun in hand until you hear the sound of diffuse. Once you hear it, you can take out the Snakebite and line your shot.
Lineup From Attacker Spawn To A Site

A Site is definitely the easier one to take over as Attackers on Pearl, and this lineup makes it fairly easy to defend the Spike afterward as well. For this to work, you need to plant the Spike exactly in the position of the mark in the picture above. That way, there is no chance anyone can diffuse it while the Snakebite is there.

Remember the little rock structure in the middle of the pool in Attacker Side Spawn? We're going back there! Head to the structure and stand right in the middle of it. Once you've done that, look towards the A Site where the Spike is planted.

You will see a window on the building in front, and around the window, there will be a concrete outline. Move your crosshair to the top-left edge of this concrete outline after which, you can head to the next step. This lineup can be a little tricky at first, but if you follow its path in Custom Game using Ghost Mode, you will definitely be satisfied with it.

Move your crosshair directly upwards from this position until you reach the top edge of the white stripe at the top. Make sure your crosshair is at the edge and not in the middle of the stripe, as this will lead to the Snakebite falling in A Main. Once this is done, fire the shot and wait for the enemies to be absolutely mesmerized by the beauty of it. Although, you will need a teammate's help for this one as well (time to find a duo to play with).