Quick Links
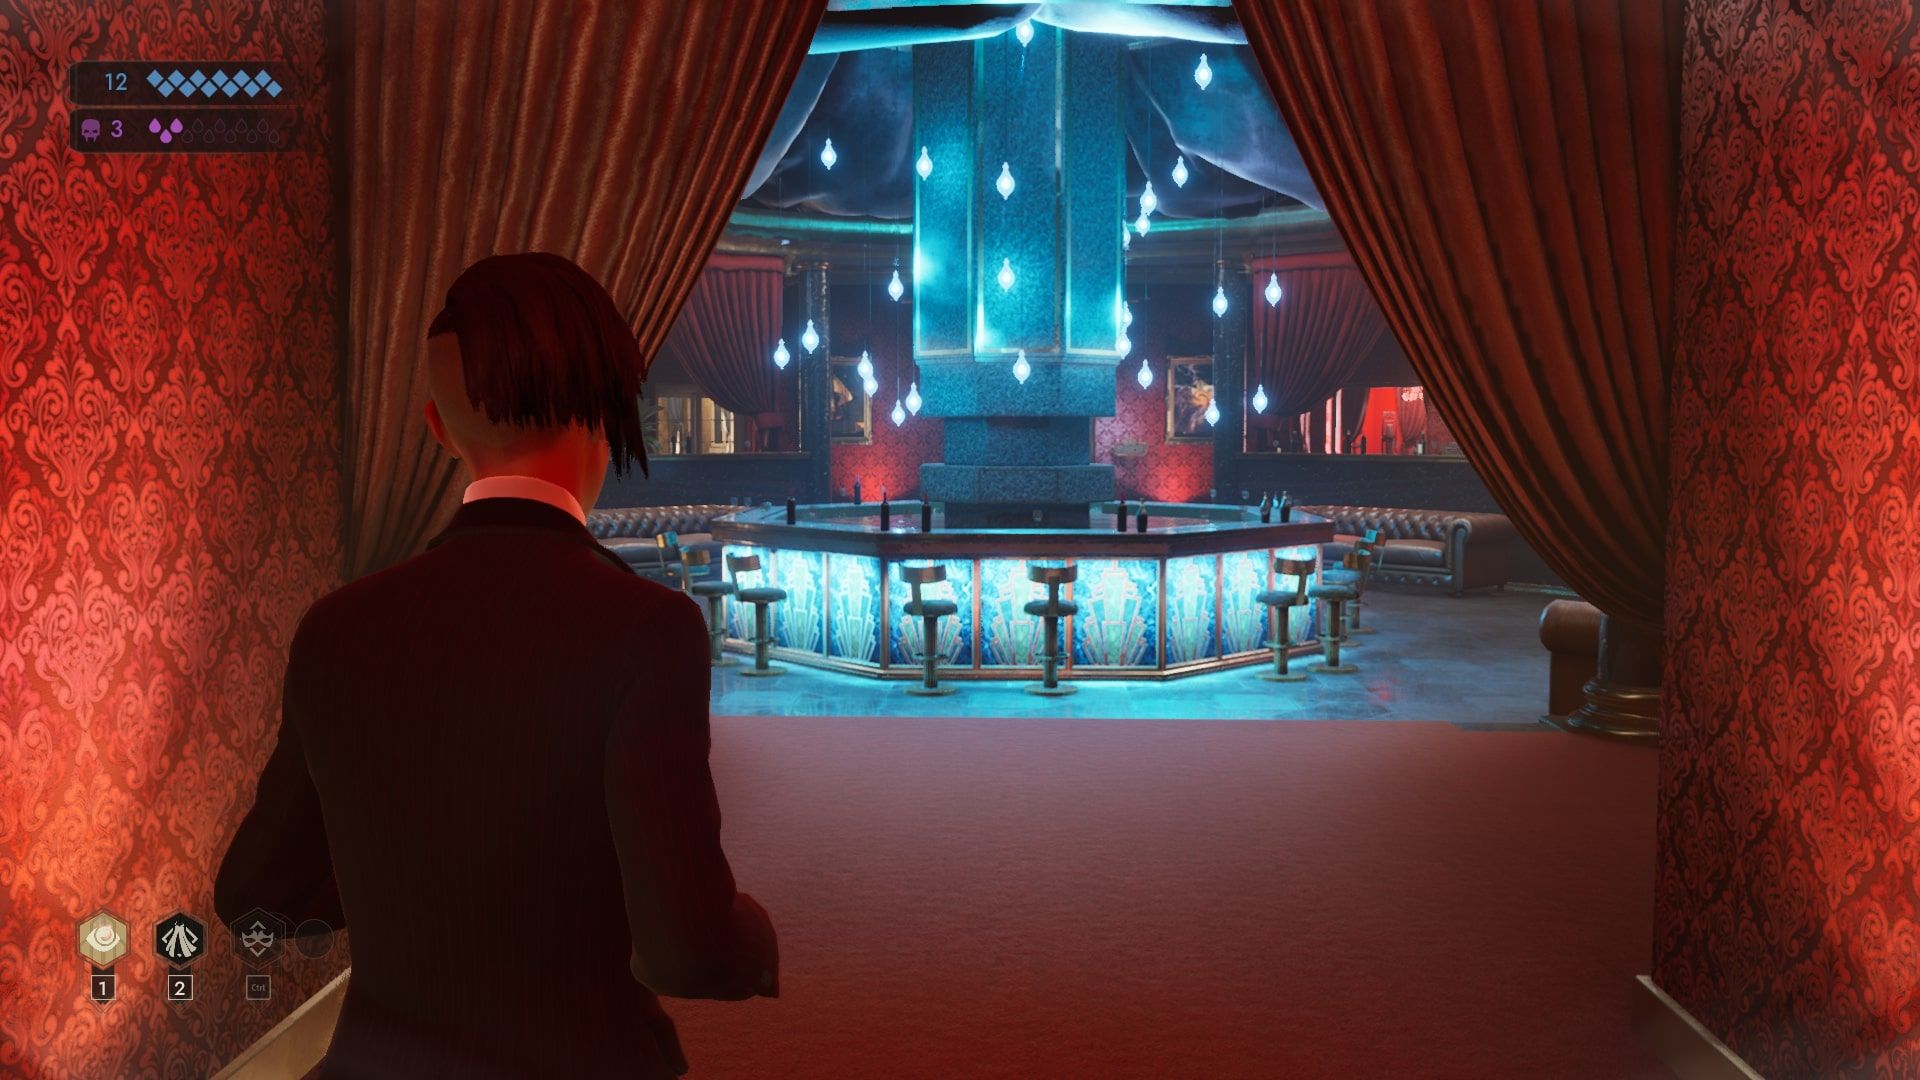
Vampire: The Masquerade - Swansong’s eighth scene has Leysha going to the Red Salon in an attempt to find Richard (again), and maybe destroy some evidence along the way. This mission is not time, but it does have a mid-mission point of no return that will mess up a few side objectives if you don’t finish up everything before passing it.
This mission has a lot of missable objectives - even the main ones. You can very easily coast through this Scene in a few minutes if you know what you are doing, but you will not get the best of endings. This Scene, as is common with Scenes starring Leysha, is full of story revelations that are well worth experiencing. This guide is not a step-by-step walkthrough of the Scene, and only covers the key points.
It is recommended that you have Persuasion level three for this Scene. It is not required to complete the scene, but it will unlock some missable content that sheds some light on the Primogen.
This guide is a work in progress, and more information will be added as it is discovered.
How To “Send Wyatt To Berel”
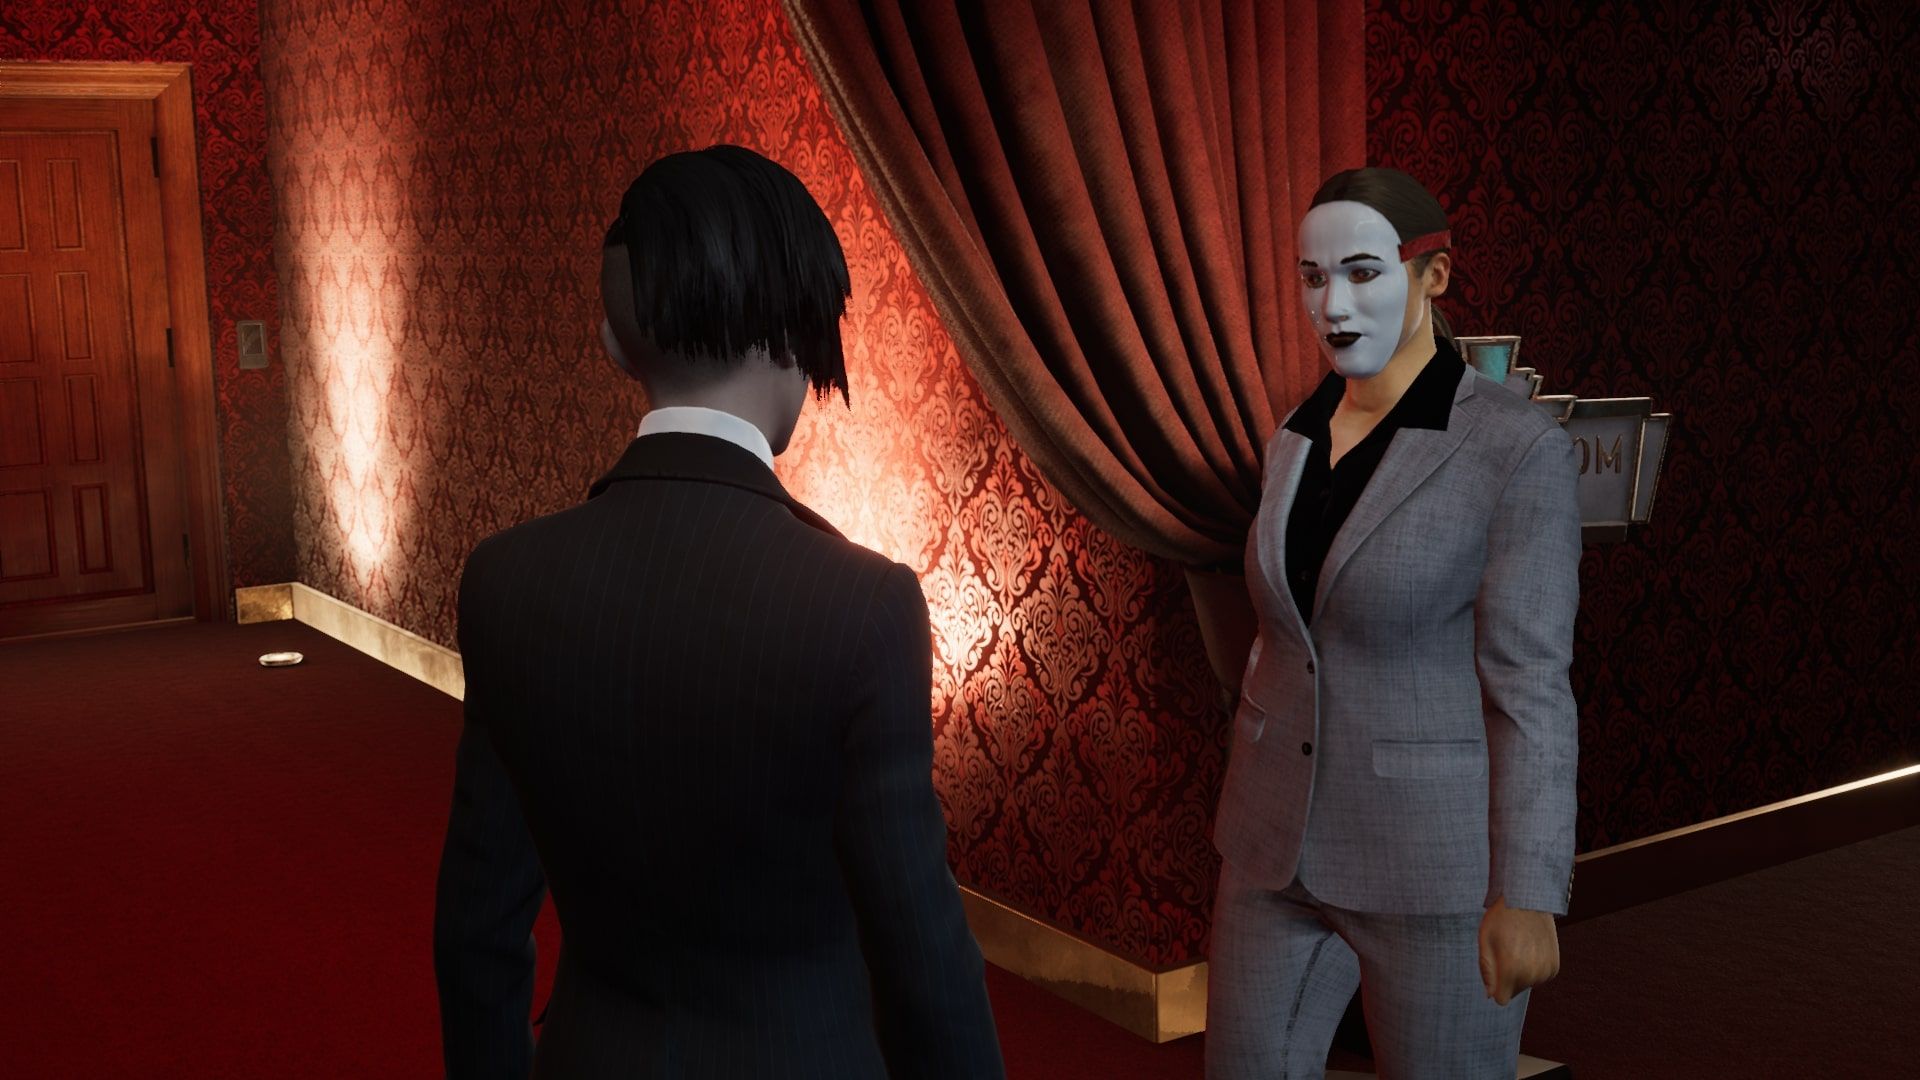
This objective is interesting because you can’t complete it. This objective will always fail, but it needs to be failed to unlock some side content. Once you have spoken to the Red Salon manager, head back to the red bar area. You can find Wyatt wrangling some Vessels. Talk to him and attempt to Dominate him.
This will fail, even if you successfully Dominate him, as he is already being controlled by another vampire. This allow you to talk to Berel in the basement.
How To Win Confrontation With Berel
Go to the basement, and you will find Berel in one of the storage rooms. Talking to him will start a Confrontation that, if won, will reveal what is behind the large, locked door at the back of the room.
To win the encounter, select the following options. You need to have a high Persuasion to win the Encounter. Three should be enough,
- “Because he’s putting us all in danger.”
- “Trafficking in bodies”
- Persuasion, or, Don’t Defend
- Persuasion
Once you open the door, you will be met with the crucified - yet living - body of Quentin King. You are given the open to kill or spare him. Killing him will reveal that Berel wanted to pin his death on you.
How To Get The Vintage Out Of The Locked Room
One of the side objectives is to evacuate all of the Vessels. However, there is one who is having serious withdrawal symptoms and refuses to leave. To get her to leave, you will need to figure out what kind of Vessel she is and pump her with enough drugs to make her compliant.
Going into the Manager’s Office will reveal that the person in question is Phlegmatic and needs Trajax MG - two doses to be exact.
Go to the basement and take a left. Follow this path to the end and take a left into the Trajax storage room. Move the rolling shelves until you get to Trajax MG. Take two vials and send them up using the pneumatic delivery system.
Go back to the Manager's office, grab the Trajax and place them in the pneumatic delivery system linking to the Vessel. She will take both doses, and then leave, completing the side objective.
How To Unlock Richard’s Locked Desk
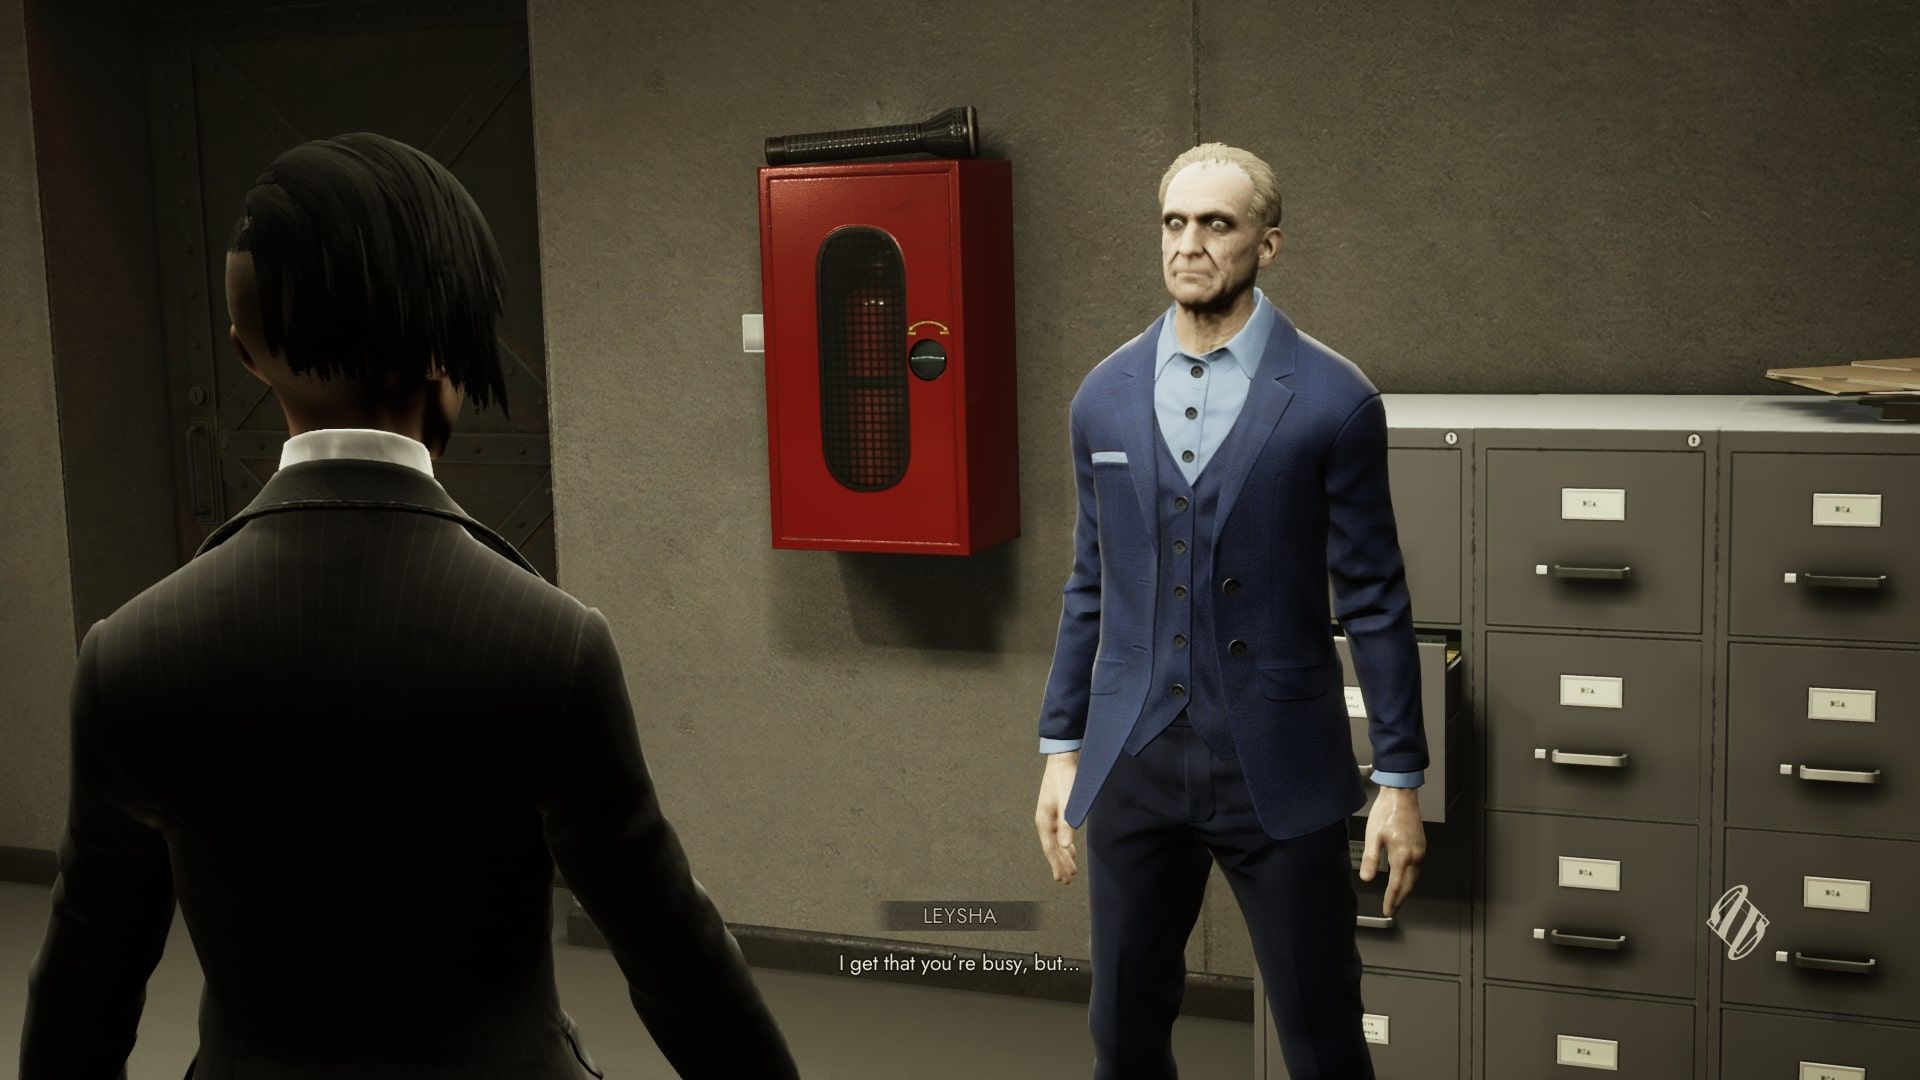
In the basement, you can find Richard’s office and study. These are two important places filled with vital information that needs to be destroyed or removed. It also contains lots of background information on patients that is well worth a read.
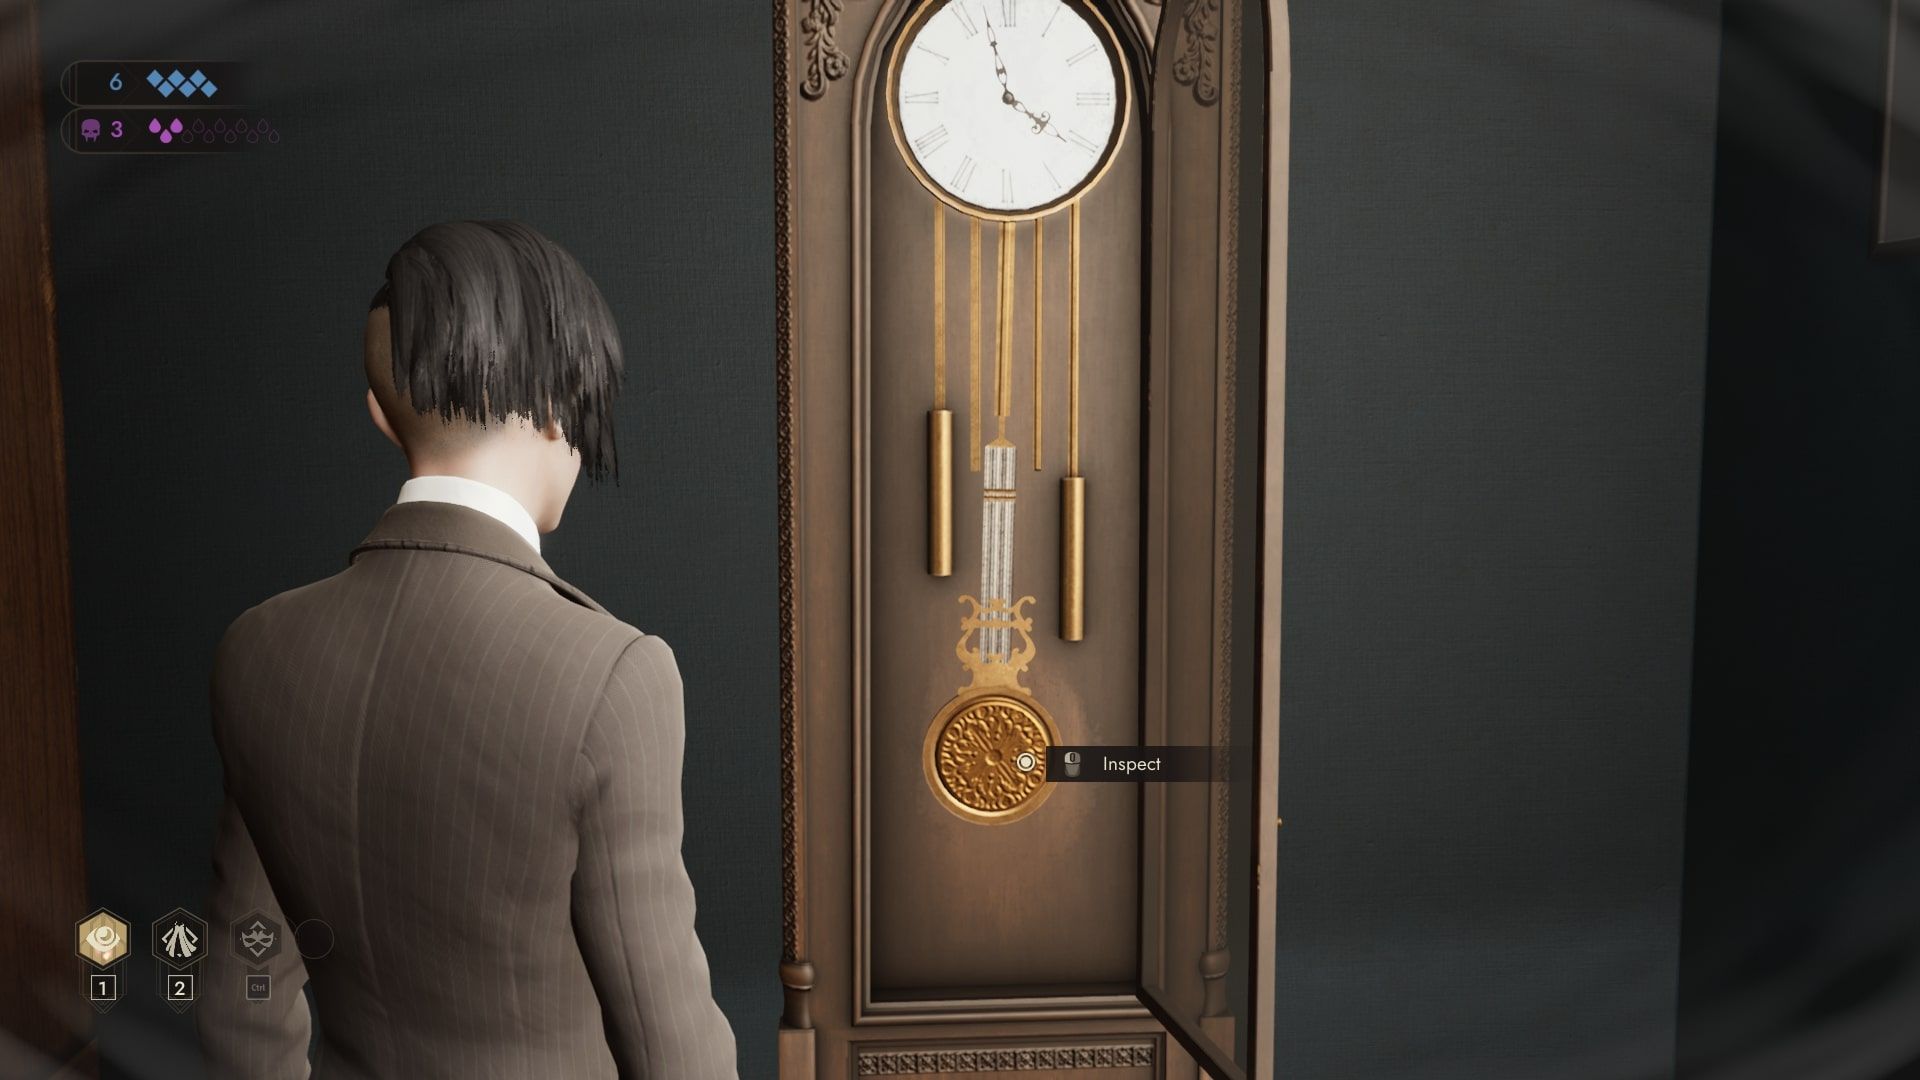
Richard’s desk is locked, however, and it contains one of the medical files that need to be retrieved. To unlock it, head to the large clock in the corner of the room, open the door and activate your Auspex. You can then remove the illusion on the clock to reveal a small black key.
Take this key to the desk and open the lock.
How To Solve Richard’s Book Puzzle
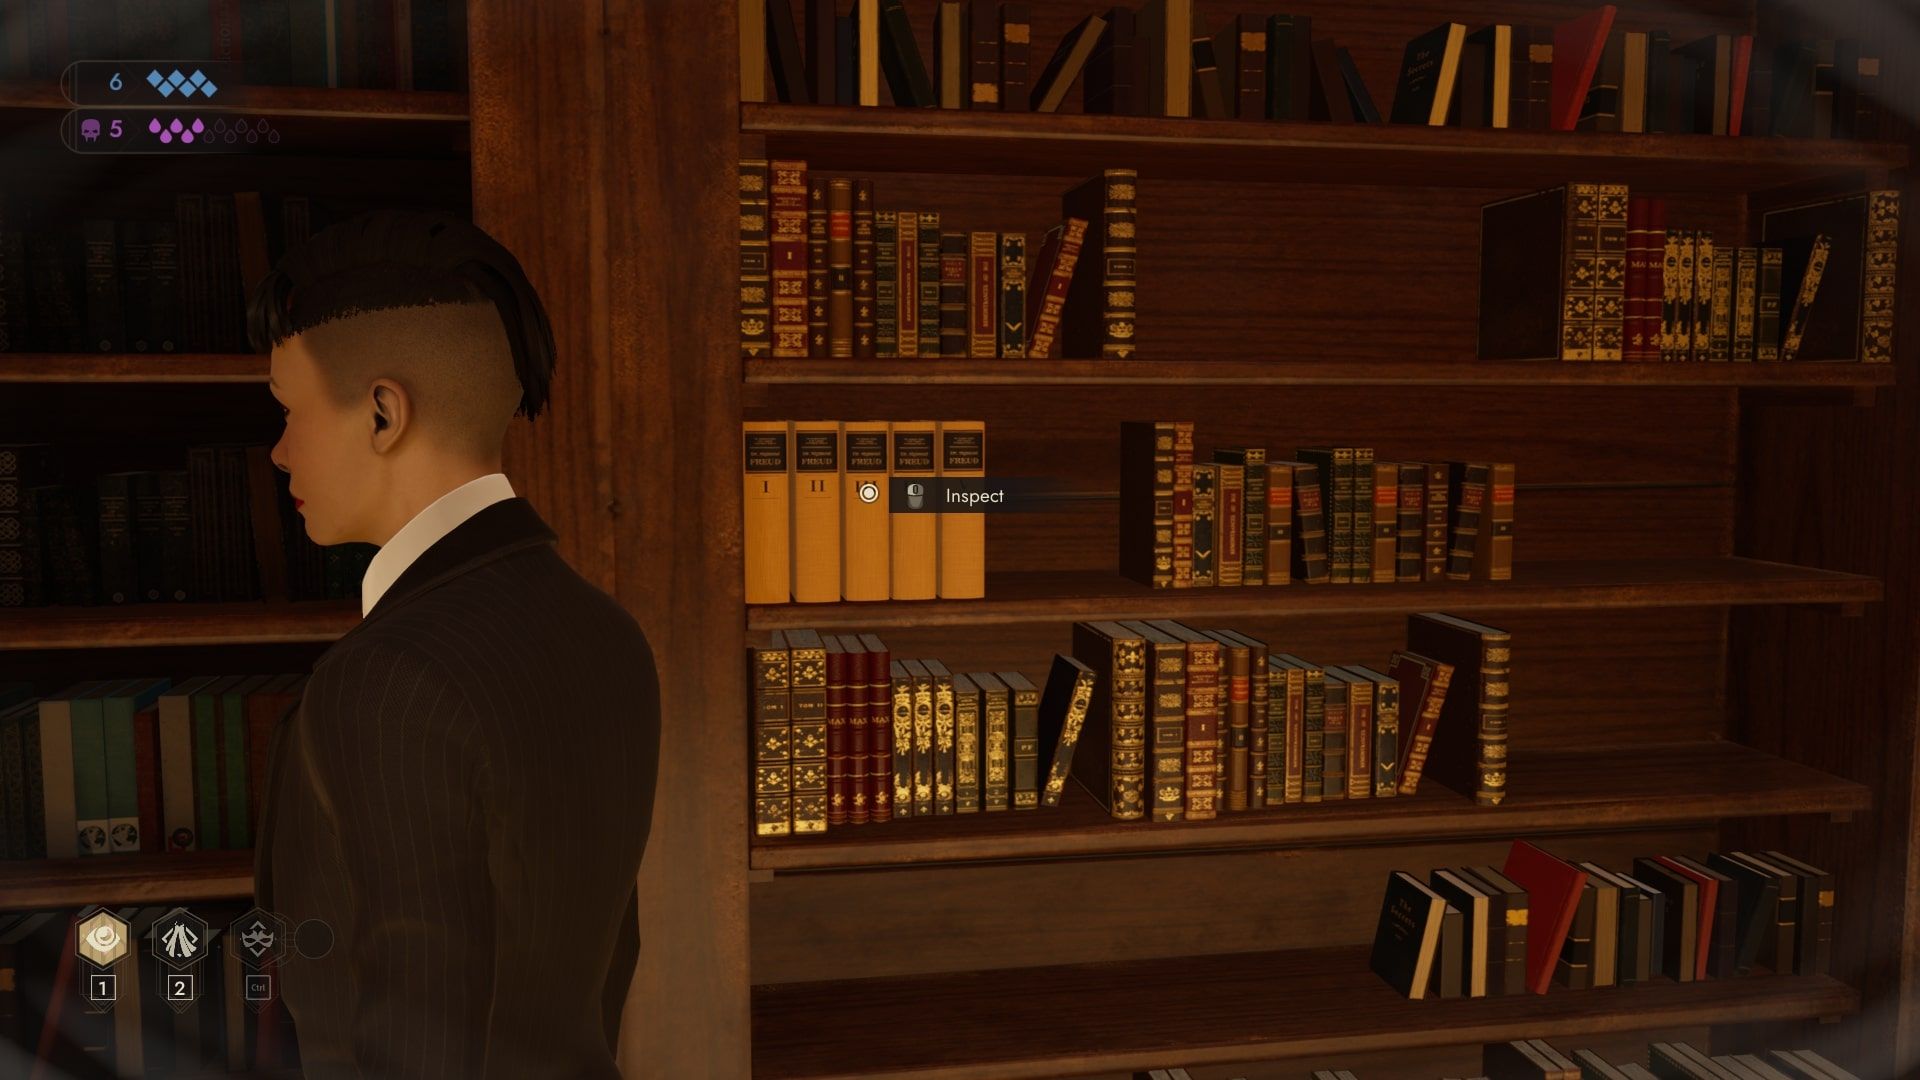
In Richard’s study, there is a puzzle that requires you to push books in a certain order to open a secret door. To figure out the puzzle, you will need to read the message on Richard’s PC, found in his office. This will reveal the combination to press.
The code is: 5-3-4
How To Solve Richard’s Swan Puzzle
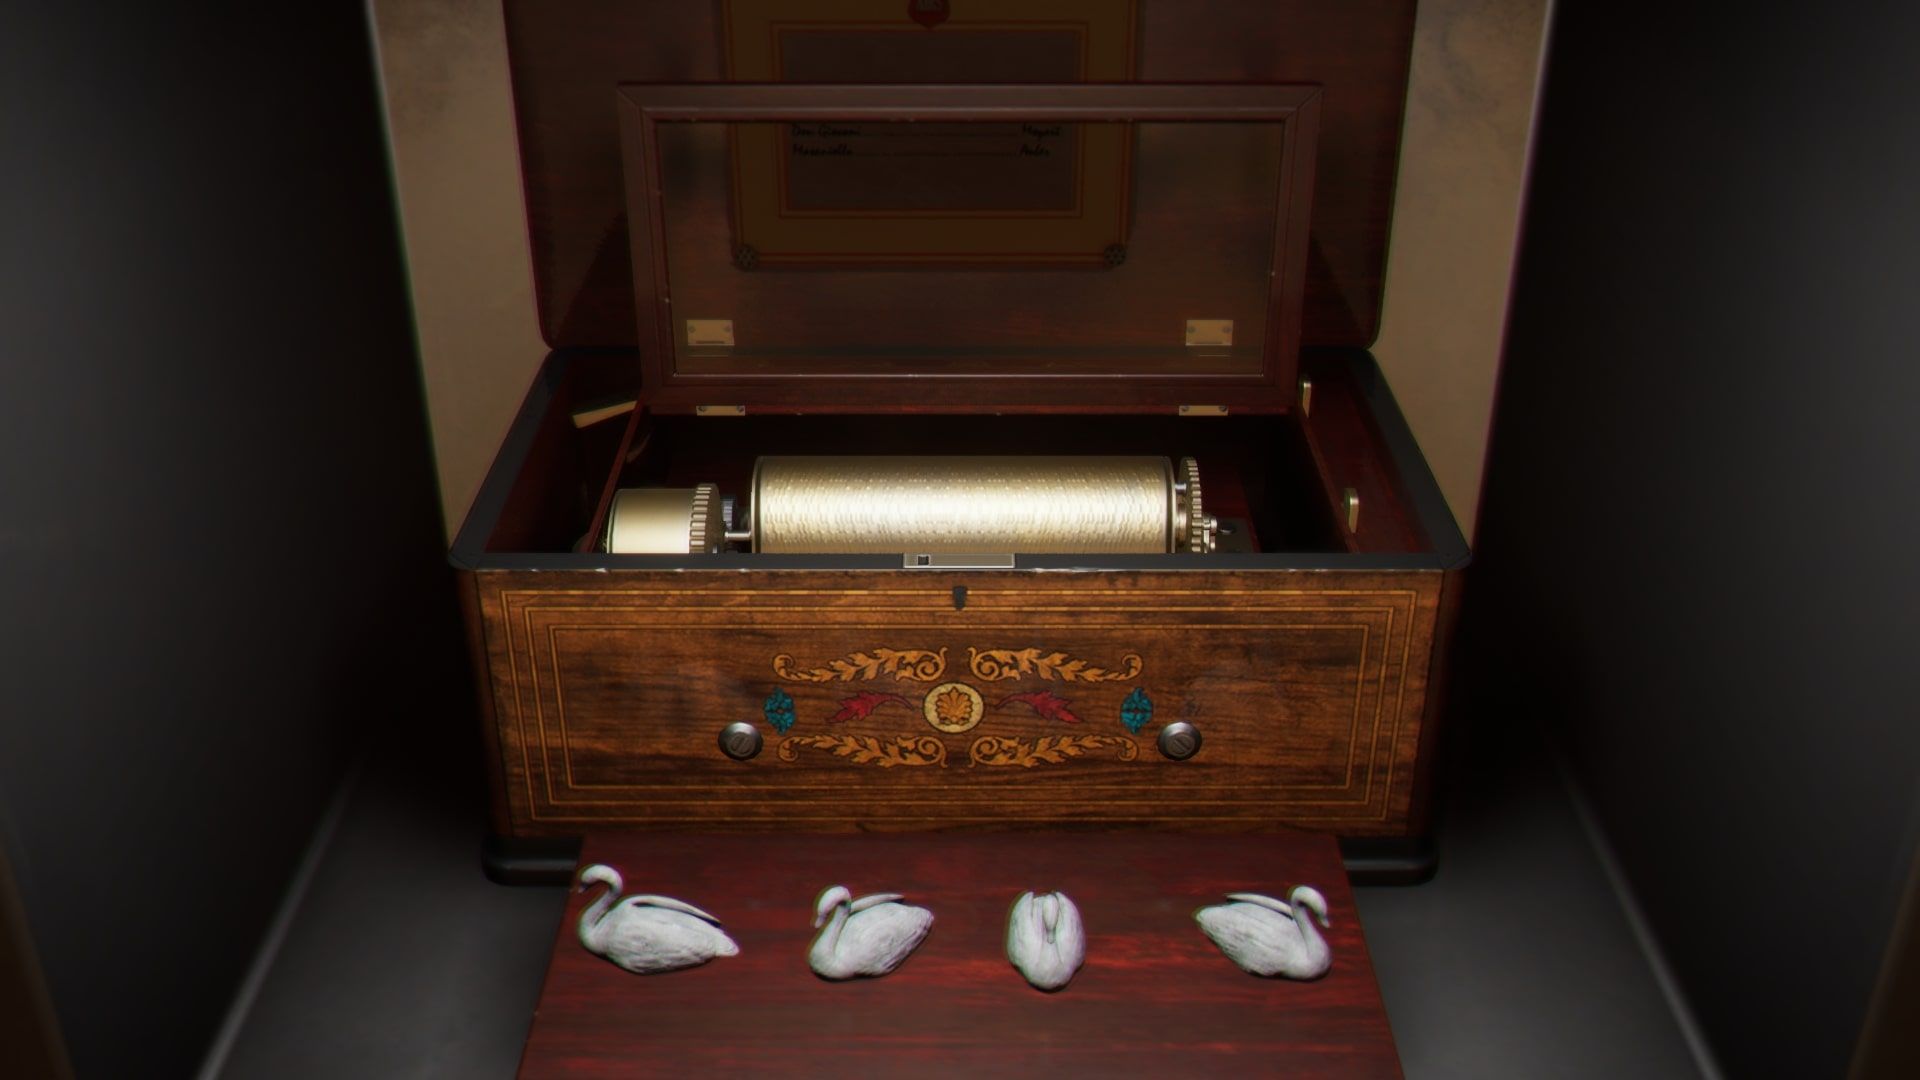
Behind the bookcase is another puzzle. To solve this one you need to rotate the swans so they are facing the correct way to open the door. The solution can be found by paying attention to the large paintings in Richards study, near the puzzle itself.
To solve the puzzle, do the following:
From left to right, have the swans facing left, diagonally left, down, and diagonally right. This will play Swan Lake and open a door. This is a point of no return.
How To Win Confrontation With Leysha
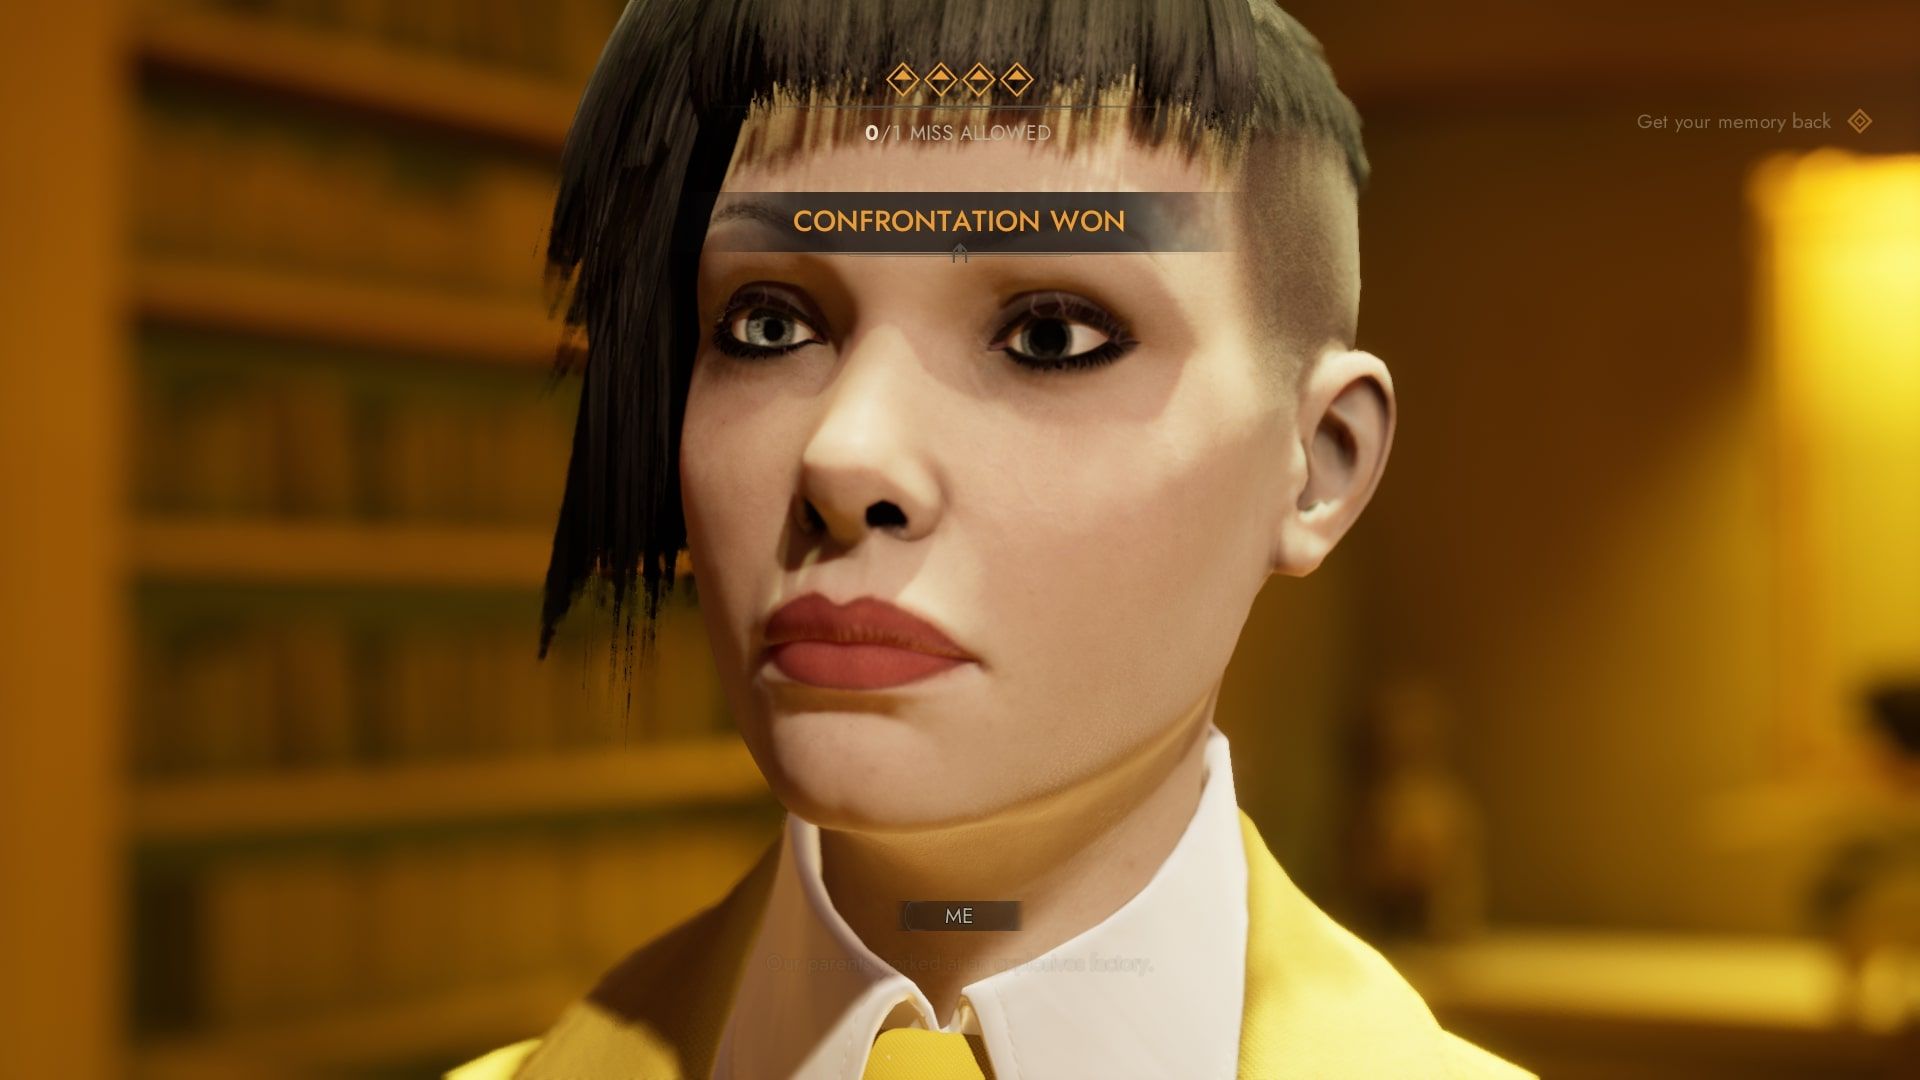
Once the SI has attacked the Red Salon, you will be pushed into a Confrontation with yourself. To win, select the following options.
- “I don’t know”
- “Maybe my name is Marie”
- “Haley’s Sire?”
- “Is she Juliette?”
How To Leave The Red Salon
There are two ways to leave the Red Salon. Firstly, you can be caught. This is the easiest way to leave, but will also result in you ending the mission with a worse score, and you will miss a small playable section in the next Scene.
To get caught, simply talk to the Guards at the docks, and they will promptly fill your chest with wood.
How To Leave Without Getting Shot
To leave without being apprehended, you need to solve a small puzzle. The pipes are leaking and releasing steam. You need that steam to be hot enough to cripple one of the guards.
To do this, go to the Storeroom near the Trajax Room. You can find a valve. Before you use this valve, enter the Trajax Room and move all the shelves to the right. This will reveal a valve you can turn to increase the steam pressure.
Take the valve you got from the Store Room, and go to the room where you found Berel earlier. In the far left hand corner of the room is a place to attach your valve. Attach it to increase the steam pressure again.
This isn’t enough, however. Go to the room where all the Tremere artifacts are, and you will find a series of three valves. You will need to twist them in such a way that all three valves have their pressure maxed out.
Once this is done, leave the room and push the button on the Emergency Drain. This will allow you to escape undetected.

-6.jpg)
