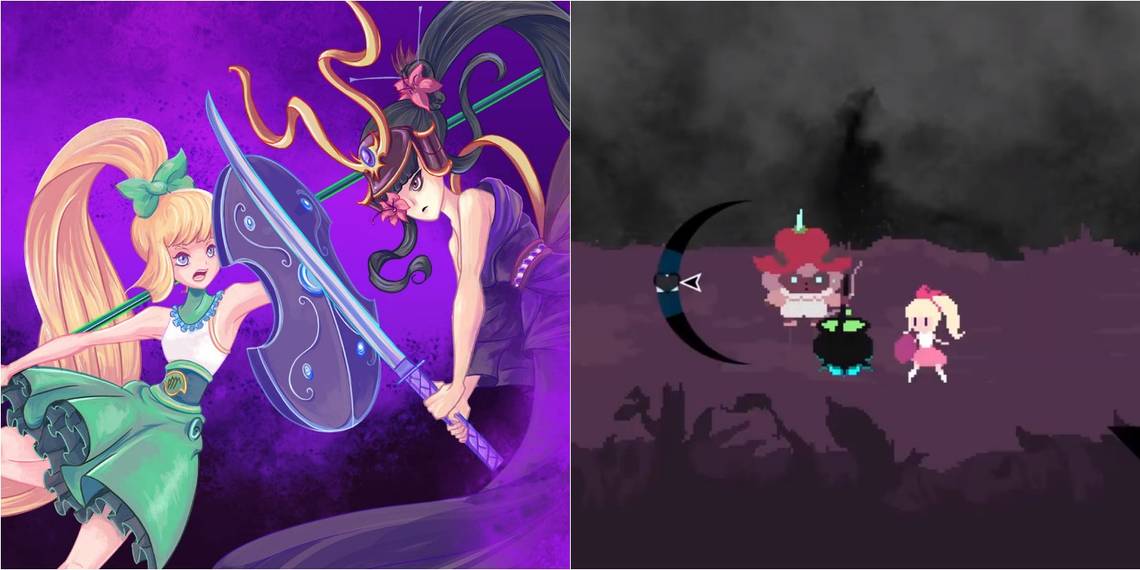
Aside from the stellar writing and off-the-wall humor, one of the best things about Virgo Versus the Zodiac is its tight combat system. Inspired by a number of different JRPGs and their combat systems, Virgo Versus the Zodiac allows for a lot of customization and experimentation.
It encourages a ton of creativity, making it both fun and maybe a bit overwhelming. Although the game does have its own tutorial, it barely represents just how deep the battle system can be. For newcomers to the game, a couple of extra tips and tricks can make the experience a whole lot smoother.
10 Know The Zodiac Qualities

Damage dealt and received in Virgo Versus the Zodiac is partially dictated by a character's zodiac qualities. There are three qualities: Mutable (green icon), Fixed (red icon), and Cardinal (purple icon). Characters that deal Mutable damage will do more damage against characters that are Fixed, Fixed damage will be more effective against Cardinal characters, and Cardinal damage will do more damage against Mutable characters. Enemies will dress in the color of their quality to make it easier for players to decide on the type of damage they want to dish out.
9 Know The Difference Between Qualities And Attributes

There are several stats, which the game calls "Attributes," that affect how much damage is dealt while players are in combat. The Ambition attribute is tied to Cardinal-type damage. The higher the Ambition stat, the more Cardinal-type damage is dealt. The Versatility attribute is tied to Mutable-type damage, and the Patience attribute is tied to Fixed-type damage. The game uses the terms for Attributes and their corresponding Zodiac Quality interchangeably at times, so it's best to just pay attention to their different colors to avoid confusion.
8 Understand Purity Versus Hearts

All combatants have two "health bars." One is for the character's Hearts (pink bar), which players can think of as their main health bar. The other is for Purity (blue bar), which other games may call a "Shield" or "Armor" bar.
Basically, a character does not take damage to its Hearts bar until its Purity bar is reduced to zero. It is almost always more advantageous for characters to gain Purity in battle than it is to gain Hearts, so any items that allow the character to gain Purity should almost always be prioritized.
7 Defending Is Almost Always Better

Player-controlled characters have two different battle phases. The Purge phase is the player's turn to attack, defend, or use healing items if necessary. The Counter phase is a bit less straightforward, though. This phase only activates when players are attacked while defending. Upon activation, the Counter phase allows the character being attacked to strike back. Since defending usually allows characters to gain Purity, lessen damage received, and to counterattack, putting up a shield instead of attacking is usually the better option during the Purge phase.
6 Get Familar With The Equipment

Characters controlled by the player will have two sets of equipment: one set for the Purge phase, and one set for the Counter phase. Some equipment can only be used during the Purge phase, and some can only be used during the Counter phase. To find out what a piece of equipment specifically does in combat, hit the Inspect button for a detailed description. Each piece of equipment will have passive effects on the character it's equipped to as well, so make sure to check their stats before using them.
5 Speak With Granny

Early in the game, players will gain access to Granny, who can Bake, Boost, or Break items. This is the game's crafting system. Where players tend to hit a roadblock is the fear of Boosting an item, only to find it useless later on.
Have no fear though, as the game gives players plenty of access to different types of material and equipment. Equipment can only be Boosted to +5 as well, so not much is lost if a player Boosts a useless piece of equipment to max, only to realize they want to Break it later in the game.
4 Equip Characters For Maximum Efficiency

How to equip characters for the best chance at success is a tricky question, but there are generally two ways to go about it. Players can choose to be balanced when equipping characters by ensuring they can deal out all types of damage, making it easier to fight when characters go off on their own. Alternatively, players can go all-in on one type of damage by making a character specialize in one specific Attribute. If they're specialized enough, characters can potentially overcome a Zodiac Quality they're weak against, but this may entail some extra grinding, especially on harder difficulties.
3 Get The Timing Down

In battle, players will need to master timed button presses in order to maximize their effectiveness. Perfect timing will cause characters to deal bonus damage and additional effects, according to the equipment used to attack. When defending, hitting button presses perfectly will allow for damage to be greatly reduced. If needed, players can fiddle around in the options to make hitting the button presses easier. Since the difficulty can be changed at any time, this is an option that players will seriously want to consider.
2 Make Use Of Plagues And Blessings

Plagues and Blessings are basically this game's equivalent of temporary buffs and debuffs. Plagues can cause the afflicted character to take on damage from status effects, or to take more damage from direct attacks. Blessings do the opposite and can cancel out a Plague if cast onto an affected character. Plagues and Blessings can stack on top of each other as well. A character's Destiny Attribute will increase their Influence, which in turn affects how much Plague damage they deal out to any enemy combatants.
1 Don't Horde Items

The game will specifically tell players not to do this, but it bears repeating for the habitual hoarders and skeptics out there: use all consumable items. There are literally zero benefits to keeping them in the inventory. Players can only hold onto five healing items at a time, and the game will literally shove free healing items into the player's path as frequently as it can, to the point where it's a little annoying. Healing items offer a temporary stat boost as well, so use them often.