Quick Links
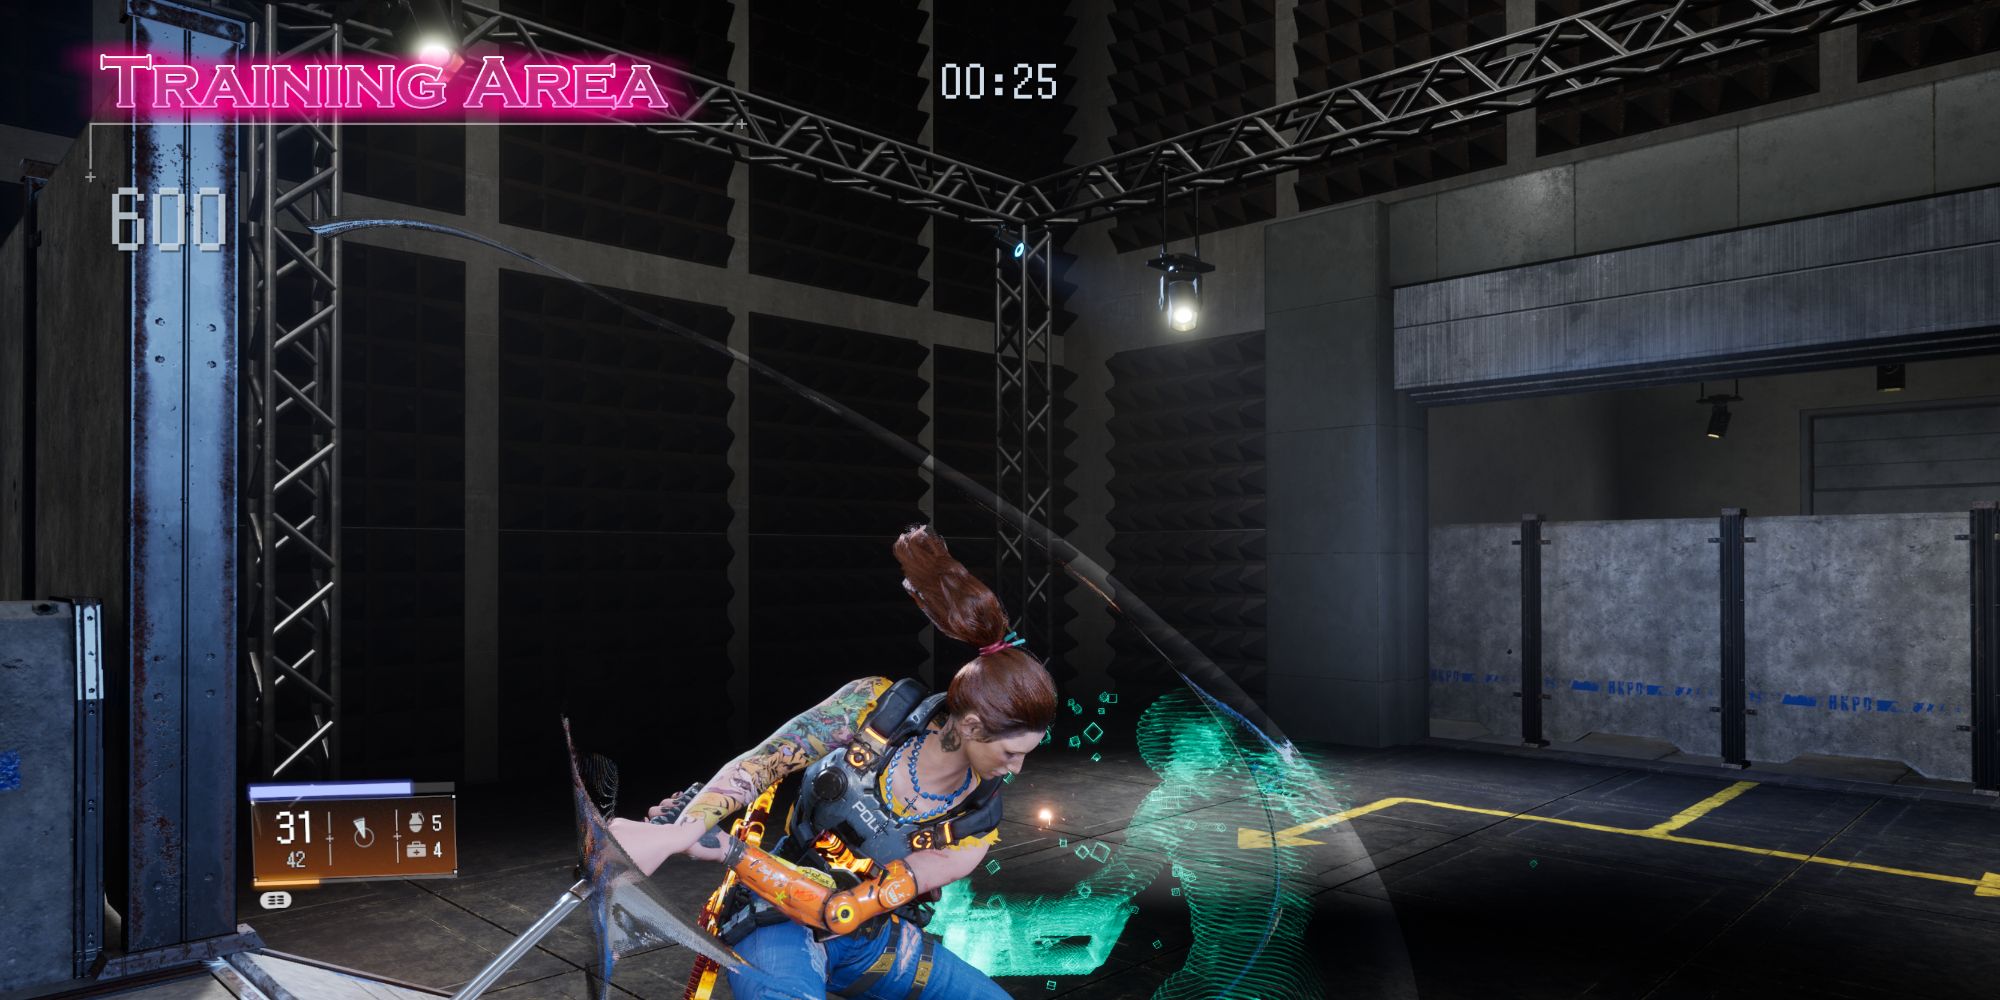
Wanted: Dead has a handful of modes for you to dive into when between Missions when you can freely explore the Police HQ. Whether you're talking to other members of the Zombie Unit, playing the many Mini-Games, or want to try your hand at the Training challenges, there are lots of things for you to do in your downtime.
The Training challenges are an excellent way to hone your skills, earn SP, and unlock some Achievements or Trophies. Despite there only being four Training challenges, they can be rather difficult if you're trying to tackle them early on or without some crucial Skills that will help make things much more manageable.
Training Overview
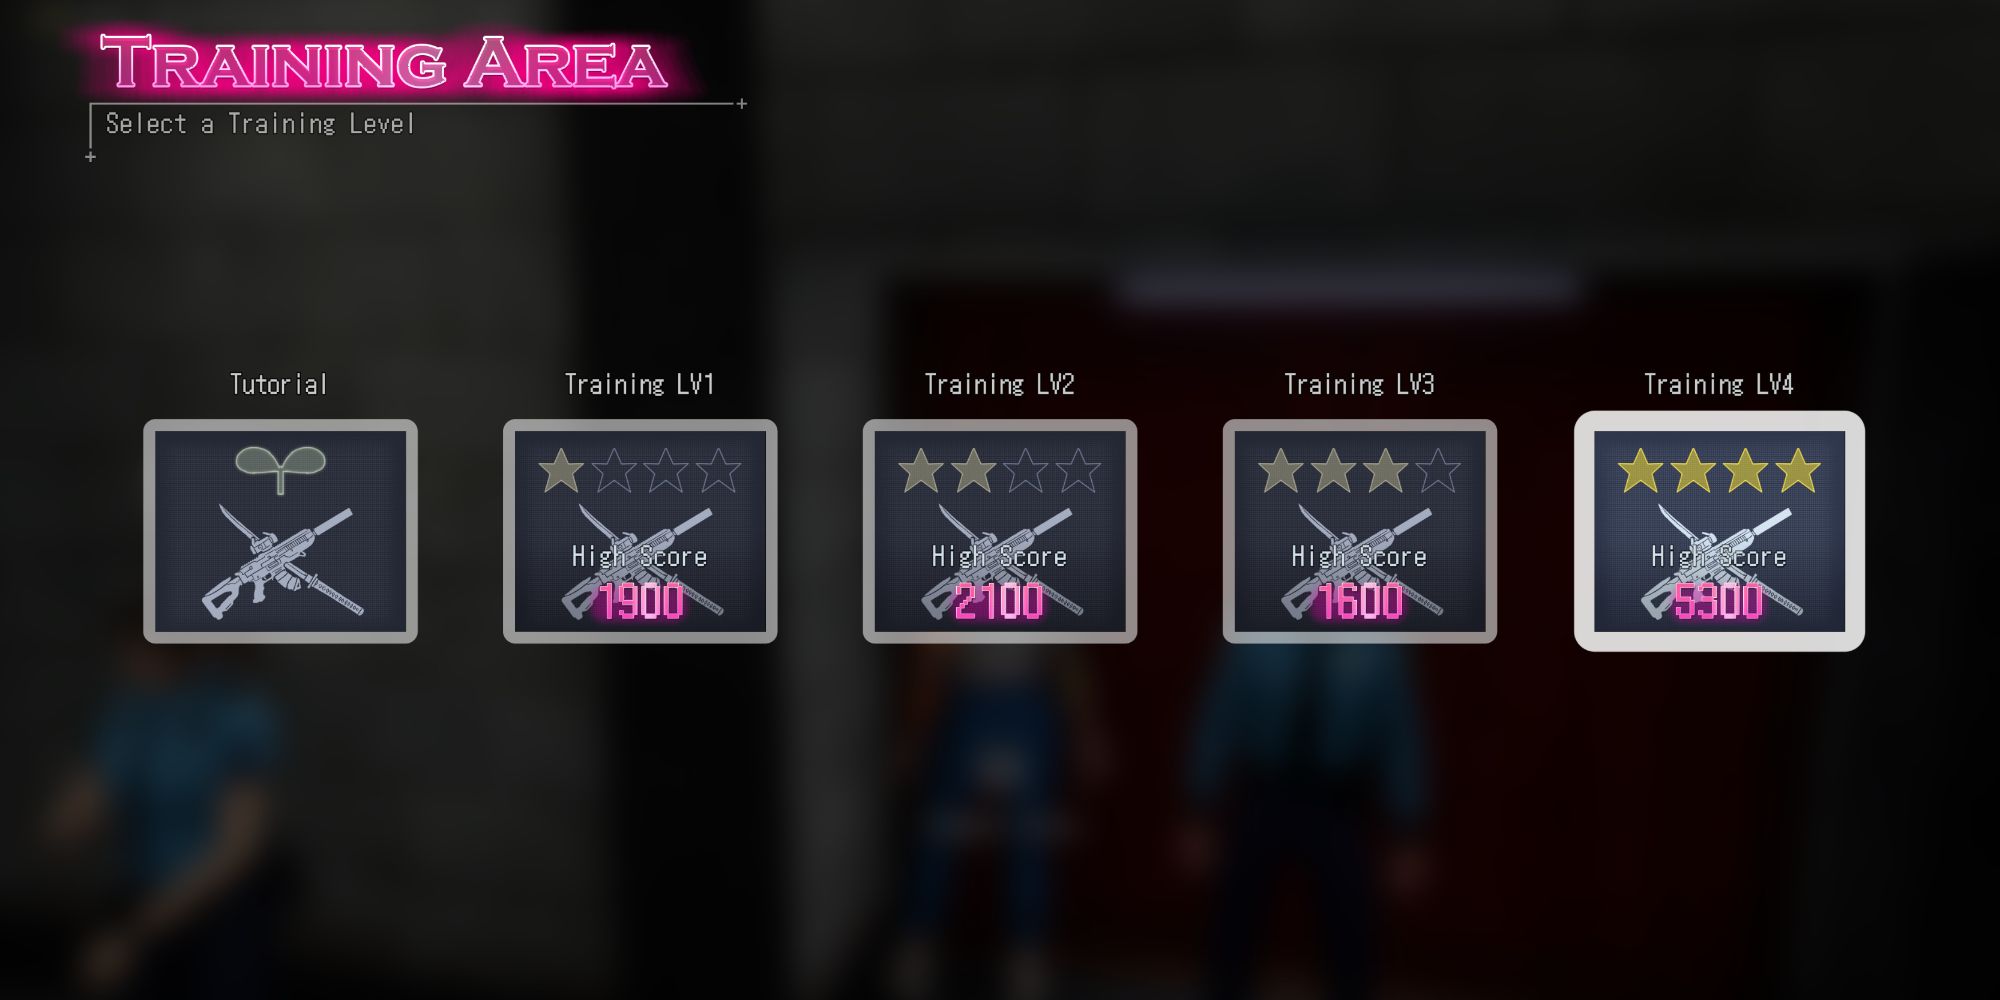
As covered above, there are four Training challenges in Wanted: Dead, all of which can offer valuable SP when clearing them for the first time. However, like most activities in this game, there are some caveats you should be made aware of before tackling these. There are two ways you can access the Training challenges in Wanted: Dead, the first from the Main Menu and the other from within the Police HQ in the Story Mode.
If you want to earn SP, you must access the Training challenges when in the Police HQ during the Story Mode, as the Main Menu Mini-Games and other activities are separate from what's present in the Story Mode. While you can still earn the Achievements and Trophies in the Main Menu modes, you cannot obtain anything that impacts the Story Mode, such as the Gunsmith's Rifle, SP, Figurines, or Music for the Ramen Mini-Game.
To access the Training mode during the Story Mode, you will have to head to the third floor of the Police HQ and go through the doors that say "Combat Arena," which is found just before the Gunsmith's Room and Firing Range.
General Tips
One of the most valuable aspects of the Training mode in Wanted: Dead is your currently unlocked Skills are enabled during the challenges, allowing you to come back later if you are struggling to complete them. While the first three challenges are relatively easy, the final one is a significant spike in difficulty, so you may need some Skills to tackle it effectively. Lastly, the SP payout for completing these challenges in Story Mode goes as follows:
|
Training Challenge |
SP Rate |
|---|---|
|
Training Challenge One |
+100 SP (First Time Clear) |
|
Training Challenge Two |
+200 SP (First Time Clear) |
|
Training Challenge Three |
+300 SP (First Time Clear) |
|
Training Challenge Four |
+400 SP (First Time Clear) |
Training Challenge One
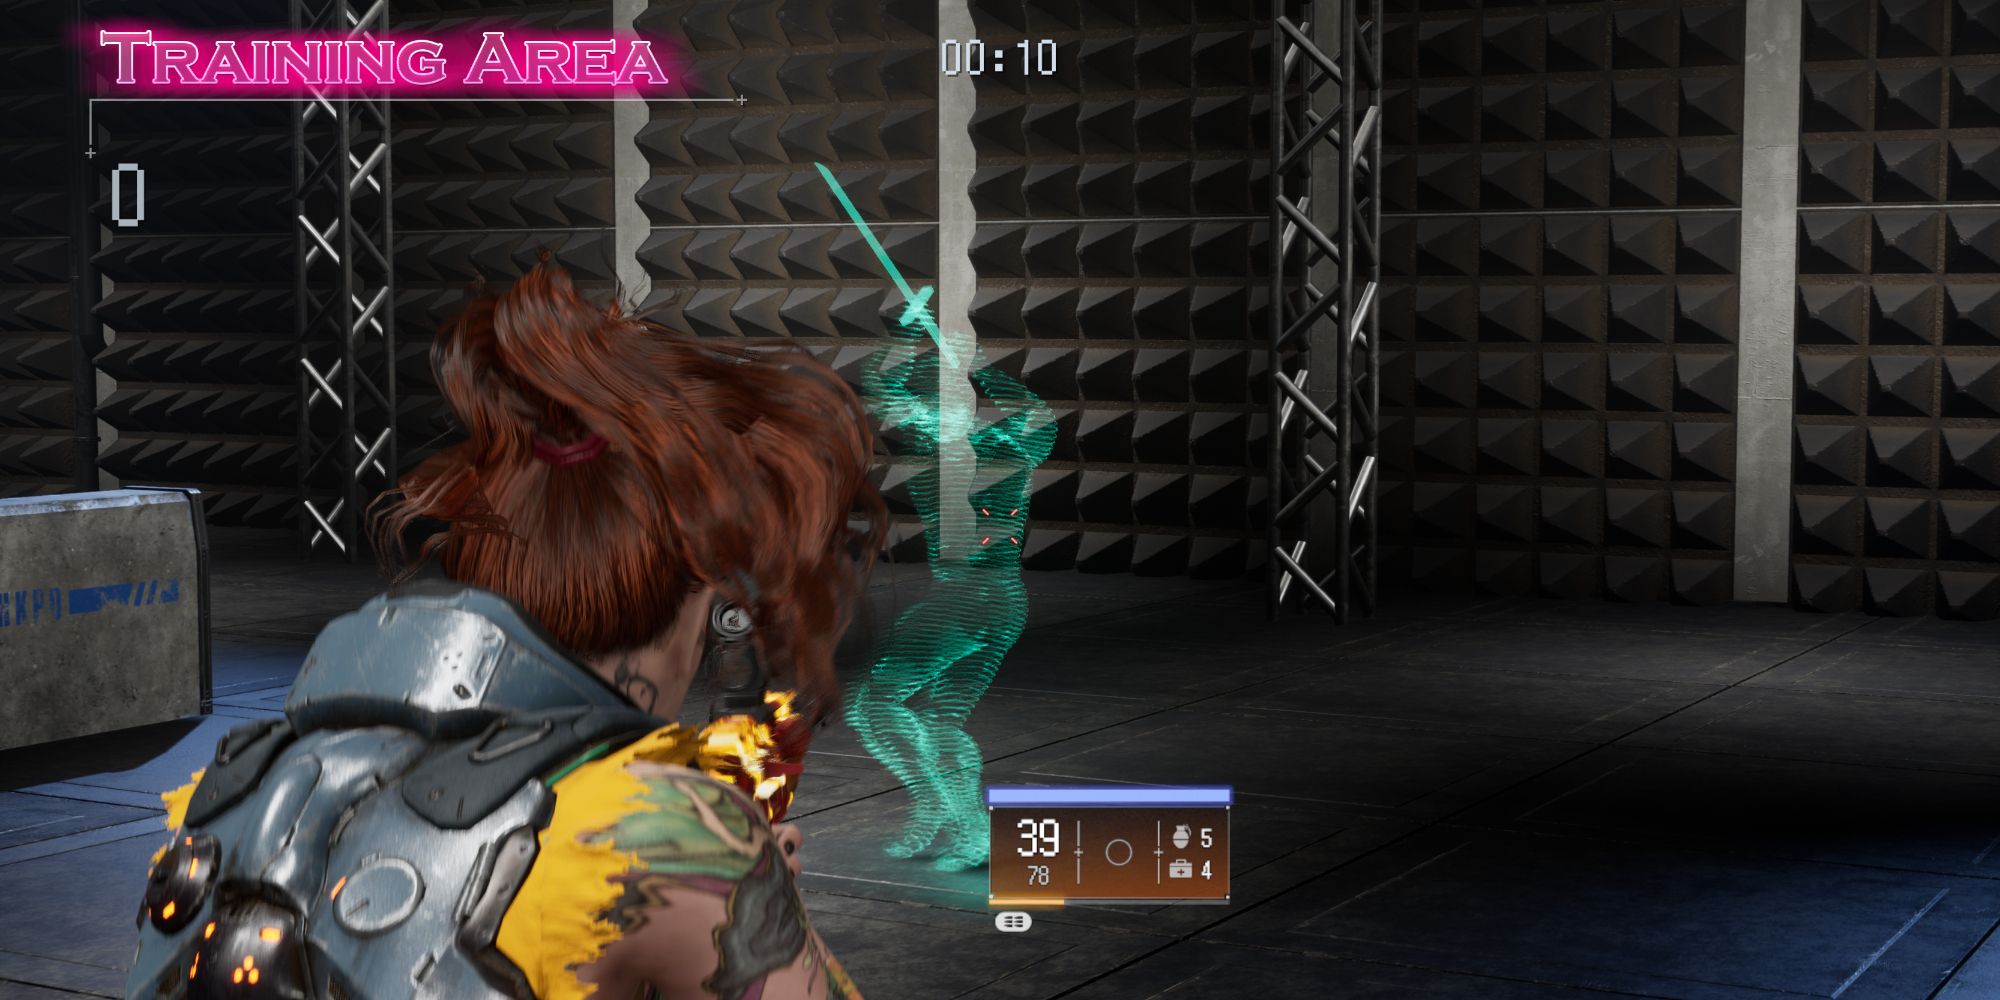
Training challenge one is the easiest of the bunch, only having four enemies for you to dispatch. You can clear this challenge relatively quickly with just your rifle, as they cannot block or dodge your bullets or retaliate. Create distance between you and your targets, aim down the sights, and aim for the head to end this before it even starts.
If you are struggling to hit shots, you can wait until you get more Attachments for Stone's Rifle and put together a more stable build. For the best Weapon Builds in Wanted: Dead, follow this link for our guide on just that. It covers everything from the best Accuracy Builds to the best Armor Piercing Builds and everything in between!
Training Challenge Two
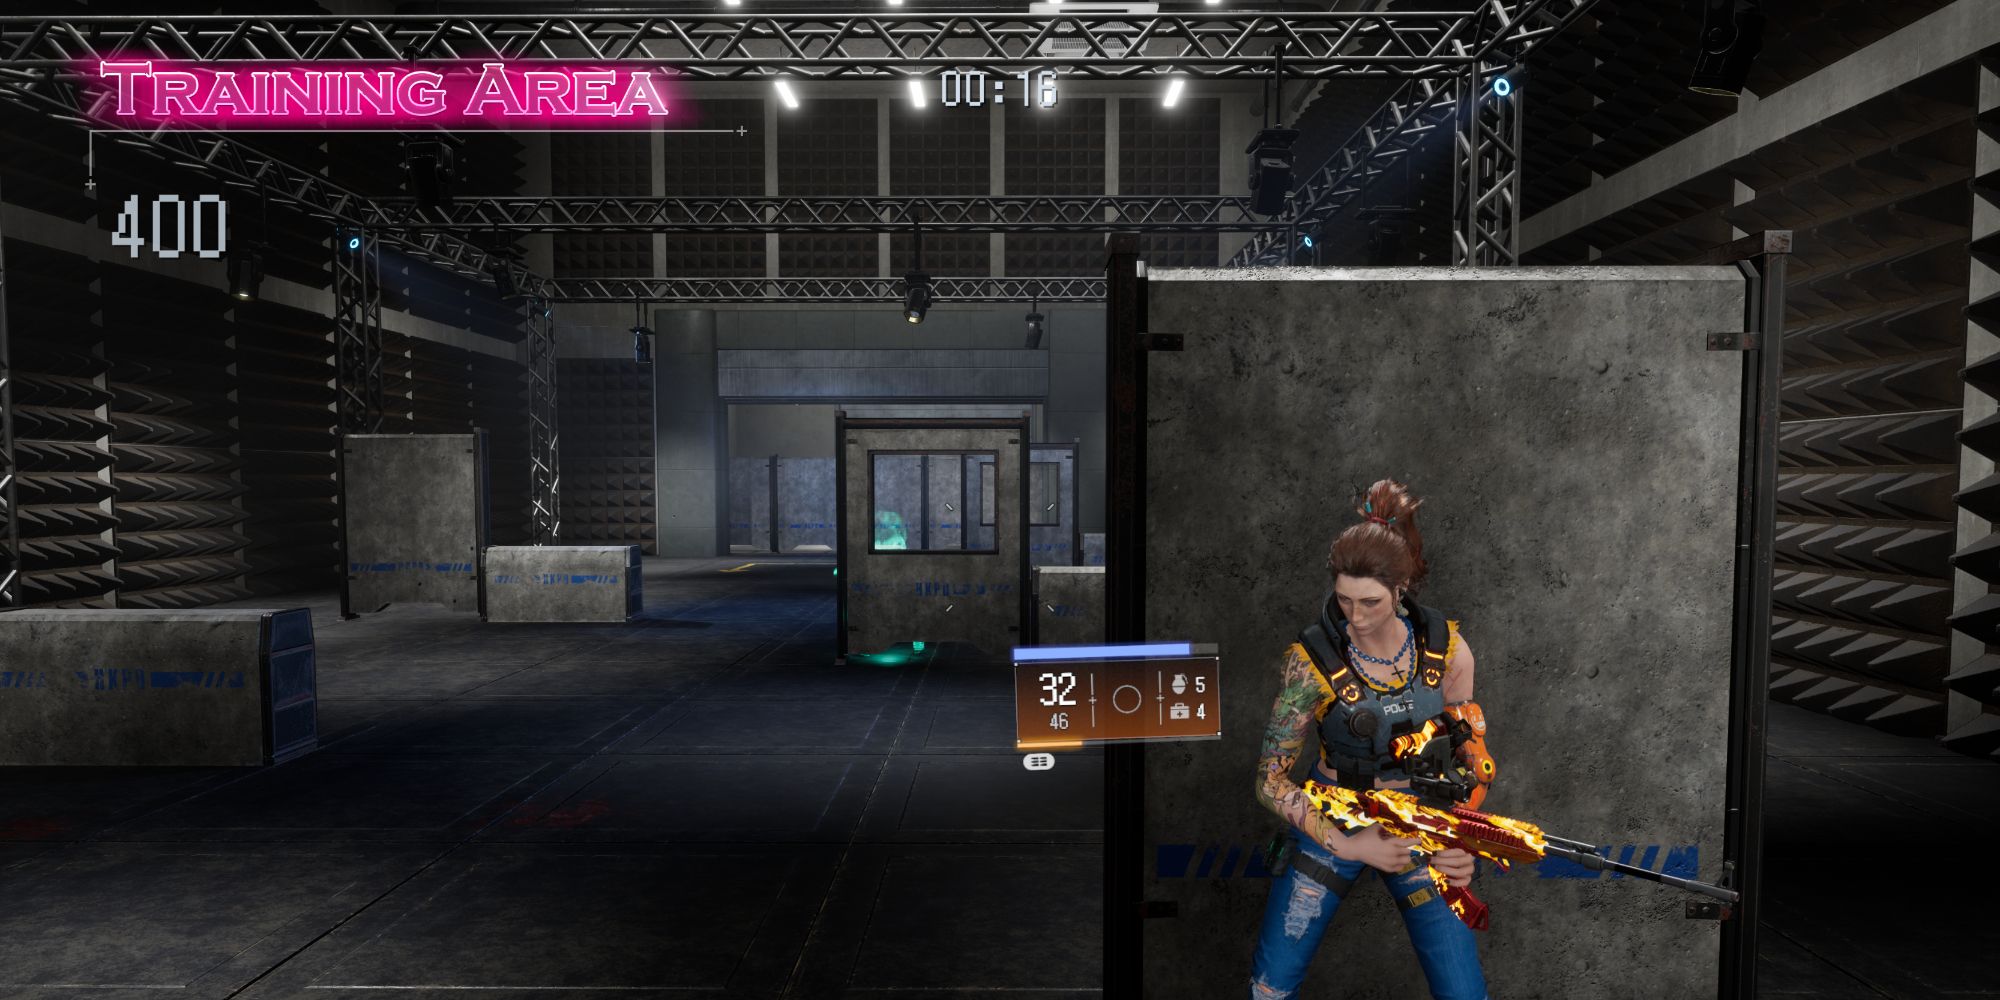
The second Training challenge is very similar to the first one, except with a different arena layout. Here, you can take cover behind walls, but that won't be needed. There are three waves, the first two consist of two enemies each, with the last having three, so you're looking at seven enemies total. Like the first challenge, Stone's Rifle is all you need to clear this one fast.
These enemies cannot dodge or block your bullets, so just aim for the head and fire away until they're gone. They also aren't too aggressive, allowing you more than enough time to line your shot up to dispatch them quickly. Like before, if you are struggling with your Accuracy, it may be best to come back later when you have a better build.
Training Challenge Three
Training challenge three is oddly easier than the second one, as it only has one wave of five enemies. The only difference here is one of the enemies has access to a Grenade Launcher, which you can Handgun Counter by pressing 'Y' (Xbox Controller) when you see a red light quickly flash. Other than that, you will go about this the same way as the past two, using Stone's Rifle to make quick work of the enemies.
One last note on the enemy with the Grenade Launcher, while you can Handgun Counter, you can just as easily pop them in the head with your rifle and drop them well before they even fire. They are found at the arena's end, directly opposite where you spawn. If you are prepared for them, you should be able to eliminate them quickly and make them a non-threat.
Training Challenge Four
Despite the first three Training challenges being a cakewalk, the final one takes quite the leap in difficulty, making it the hardest one by far. However, with a few tricks, you can clear this one in record time. First, we recommend having at least the Grenade Skill from the Utility Skill Tree, as they will make one section of the challenge completely trivial. Next, we also recommend having the Sliding Attack Skill, as this will allow you to deal with the melee-based enemies better if you happen to run out of ammo, which is highly likely.
The fourth Training challenge consists of four waves, the first composed of three enemies, the following two having four enemies a piece, and the final having five, making that a total of sixteen enemies, which is equal to all the enemies combined from the other challenges. The first three waves are nothing special but can be extremely annoying due to the sheer number of melee enemies that will rush you down. But the closing round can be brutal to deal with, but we have a way to negate its challenge completely.
For the first three waves, we suggest being a bit conservative with your ammo and relying on your Katana to take out most of the enemies. Only use your rifle on the sword-wielding enemies, and dispatch all the others with your Katana, as this will allow you to reserve some ammo for the final wave. Also, do not use any of your Grenades during these rounds, as they will be your key to victory in the fourth wave. Lastly, there will be several enemies with Grenade Launcher throughout these rounds. We recommend Handgun Countering all of them, then finishing them off with your Katana.
Wave four of this challenge will spawn five enemies together on a small platform in the back of the arena, opposite where you spawned. You want to work your way toward that platform during the first three waves and eliminate the final enemy of the third wave near the ramp that leads up to the platform. Upon doing so, you will see all five enemies spawn in, allowing you to finally make use of your Grenades.
Simply toss your Grenades on the platform to eliminate roughly three of them, then dispatch the rest with your rifle. If you can time your throw correctly, you can toss multiple grenades and dispatch even more of them, leaving fewer enemies to clean up. Overall, if you save your Grenades for the final wave and use this method, you will emerge victorious with the extra Skill Points. While this is the most challenging wave by a long shot, conserving your ammo and utilizing the Grenade Skill will trivialize it, allowing you to clear it without breaking a sweat!

