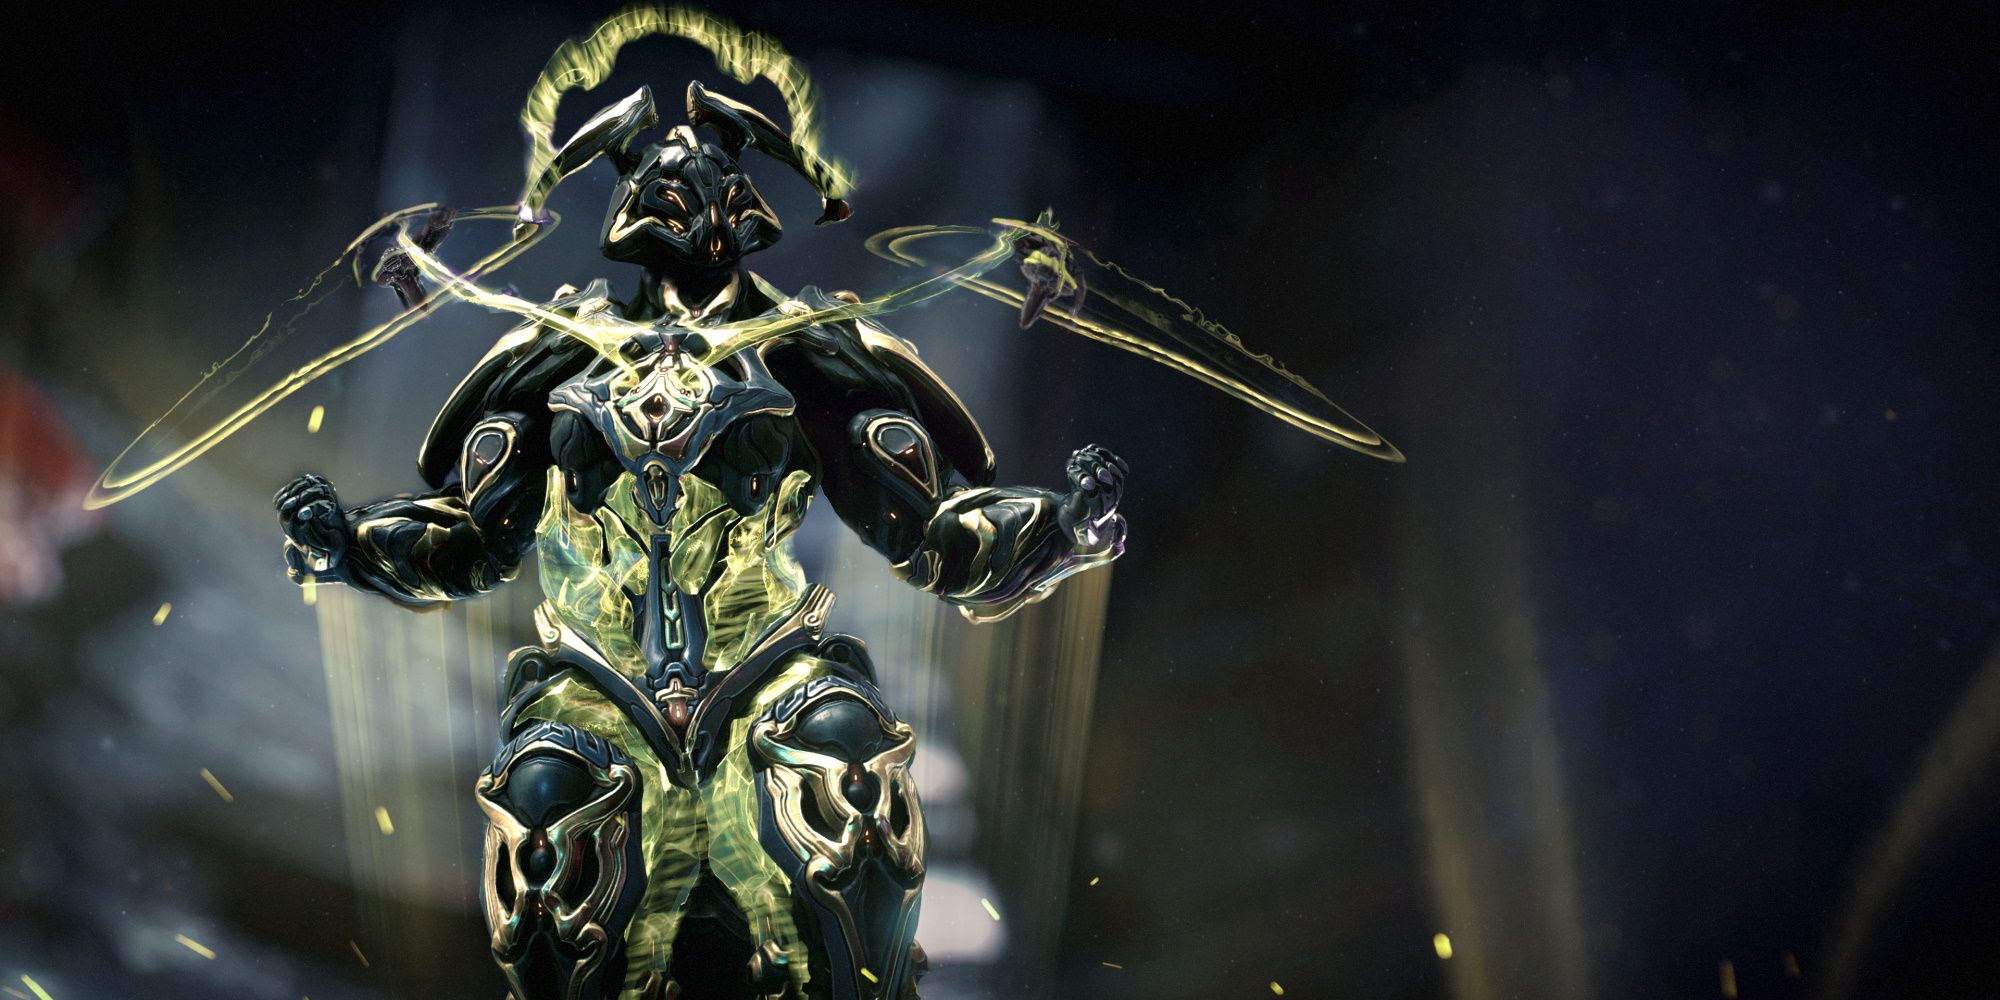
Warframe's titular-named characters provide unique ways to conquer the Star Chart and beyond. From flame-wielding casters to durable dragons, Warframe has something for everyone. It just so happens that a large portion of players love gunslingers and big damage numbers.
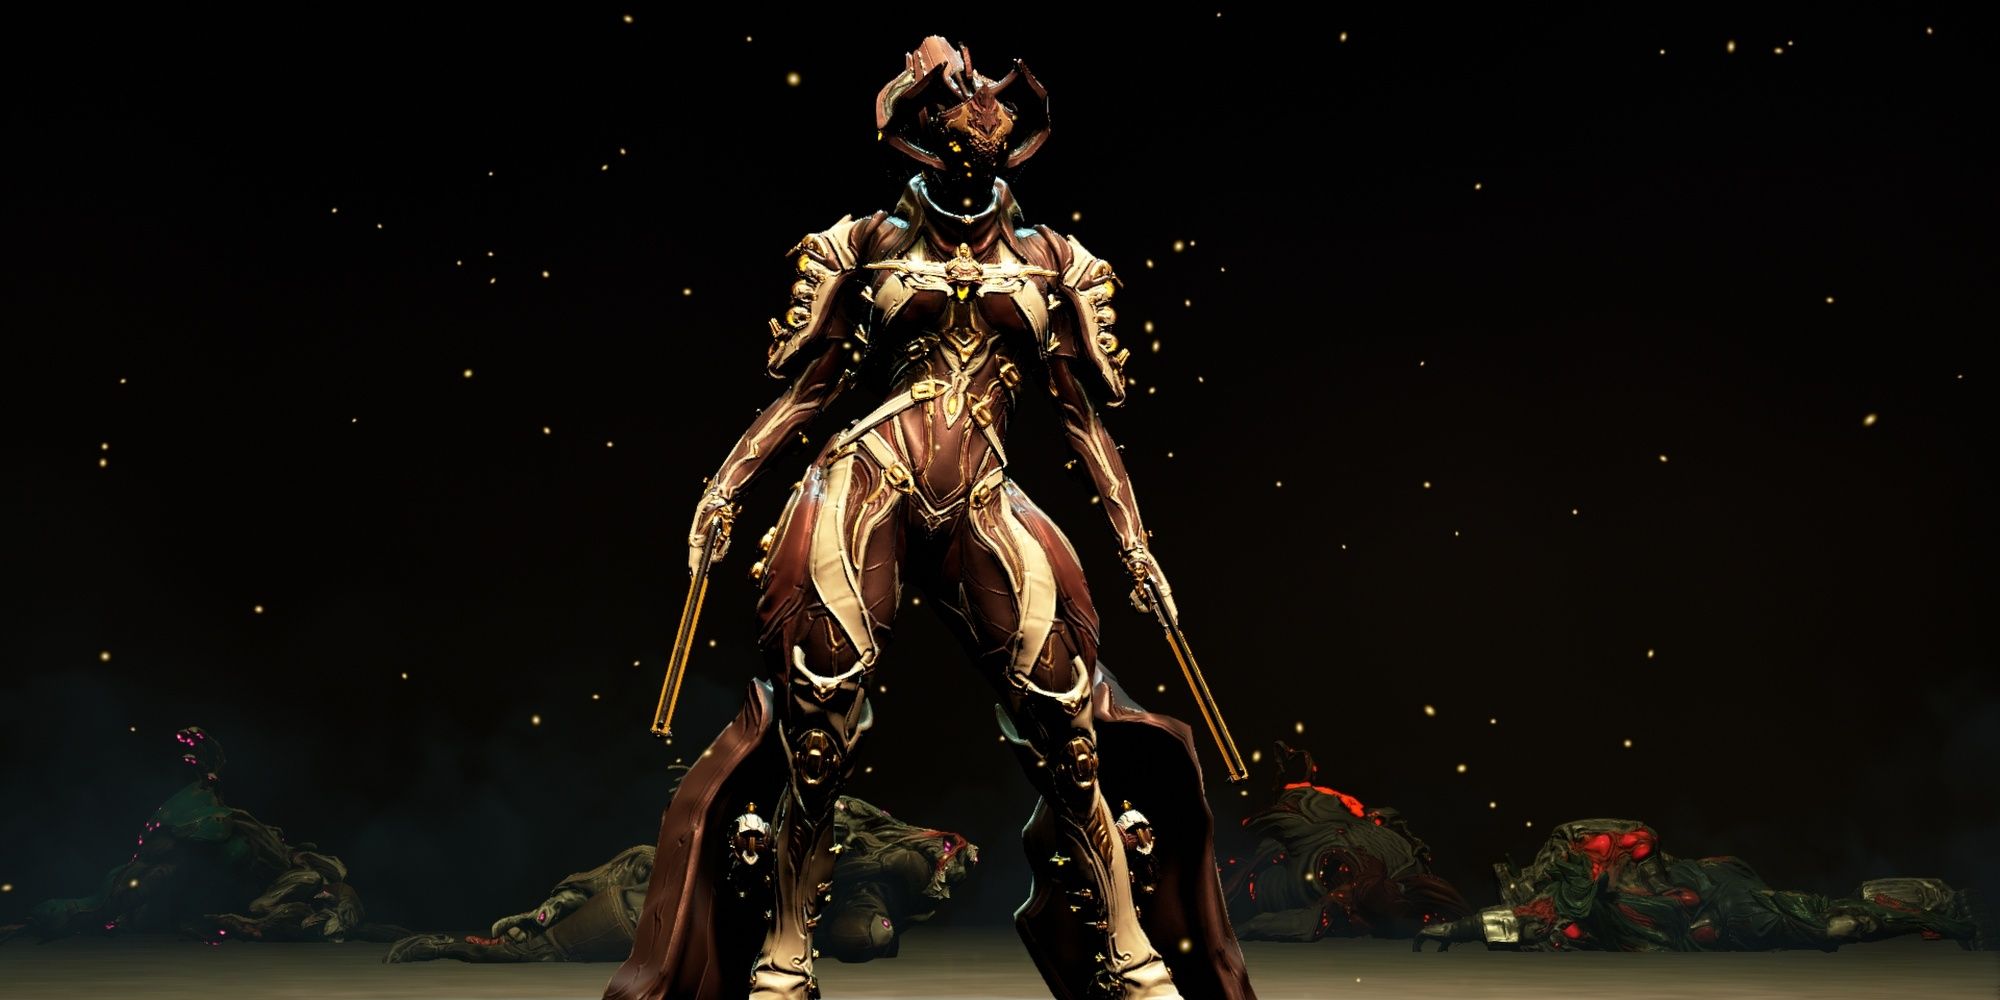
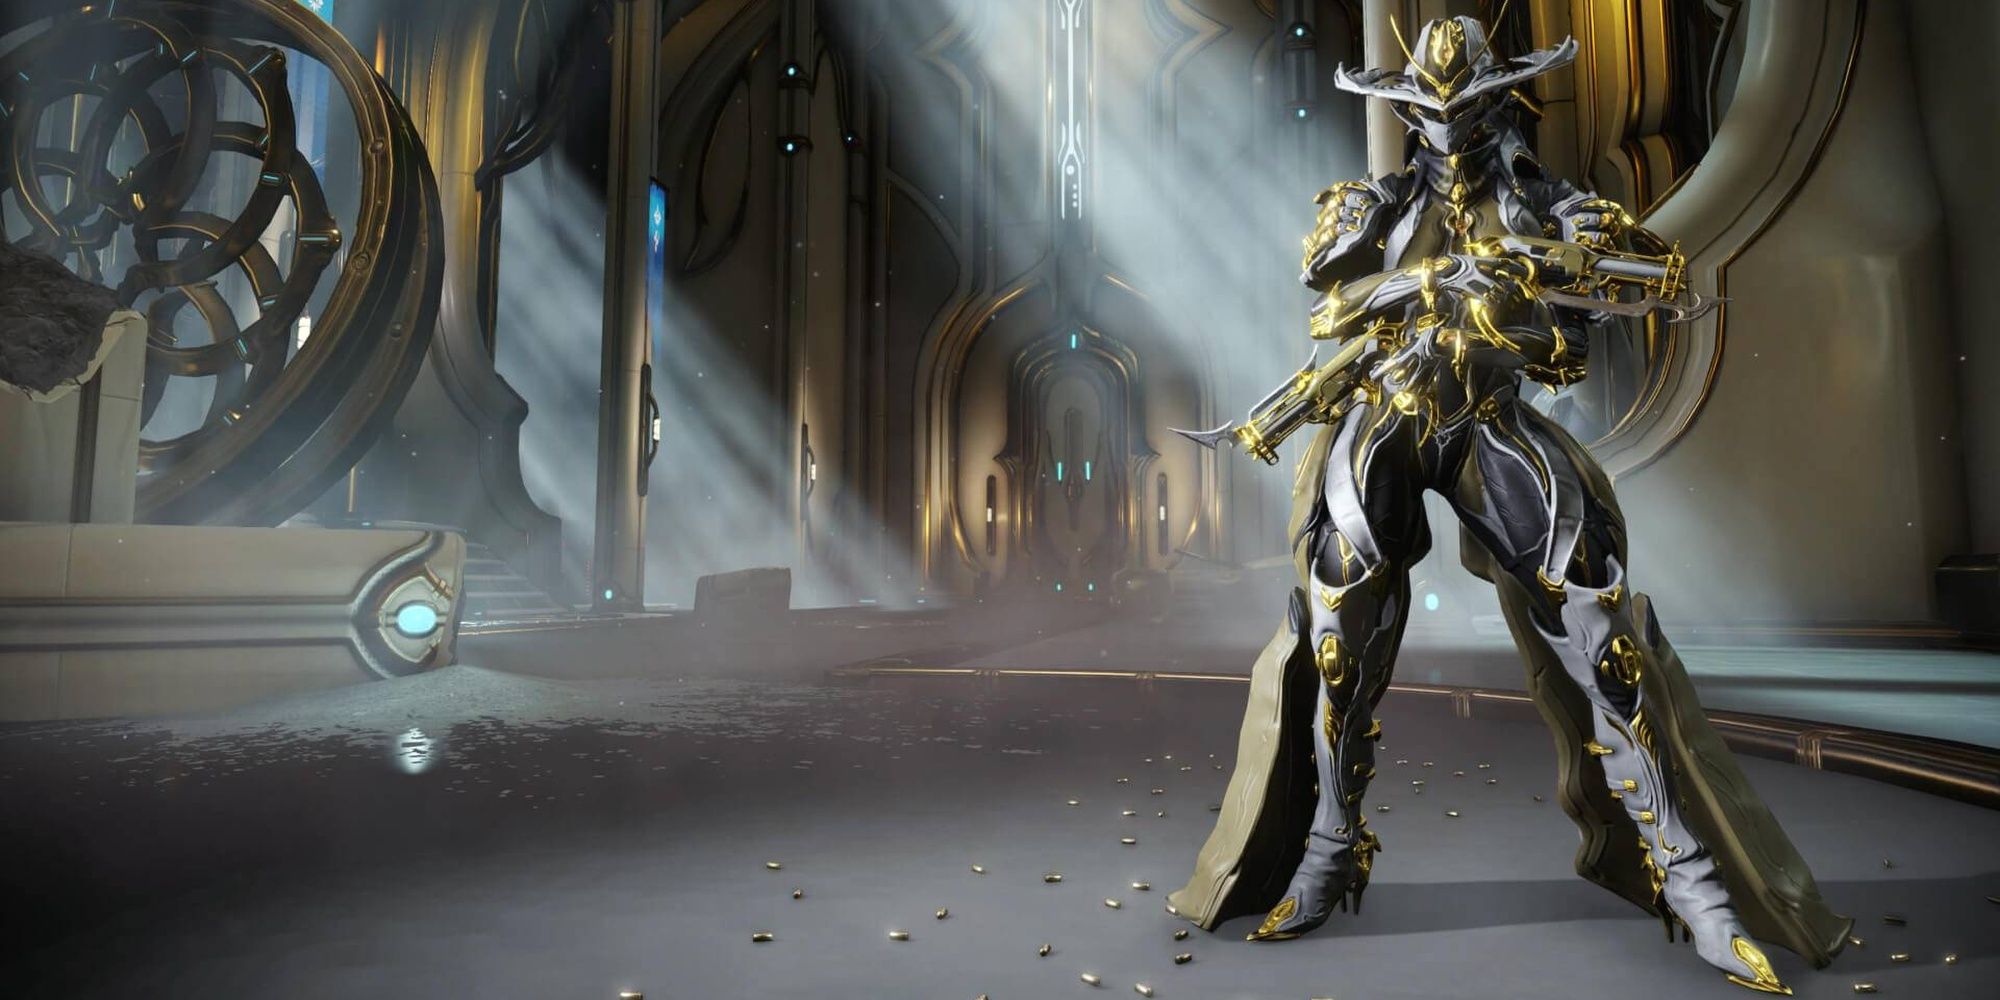
Meet Mesa, a gunslinger Warframe that reflects enemy projectiles and fires hundreds of bullets each second with her finger pistols, the Peacemakers. Crafting Mesa can be one of Warframe's more tedious grinds, yet Mesa's lethality and overall playstyle more than make up for this. From abilities to her best builds, here is a comprehensive guide on how to craft and play Mesa in Warframe.
Updated March 8, 2023, by Charles Burgar: To ensure this article is as accurate as possible, we've updated this guide to include updated values for Mesa's abilities, augment mods, and overall stats. We've also updated our builds section to reflect recent changes to Warframe's sandbox and include Archon Shard recommendations.
How To Craft Mesa
Mesa's components drop from the Mutalist Alad V Assassination mission on Eris. You'll need to complete the "Patient Zero" quest to access this node, unlocked by completing the Eris Junction orbiting Pluto. A Mutalist Alad V Assassinate Key is also required to access this node. Completing the "Patient Zero" quest will give you a reusable blueprint for making this key.
Crafting the key itself will require one Mutalist Alad V Lab Coordinate. This resource is part of the Infested IInvasion reward pool. Wait for an Invasion to appear that has a Mutalist Alad V Lab Coordinate, then complete three runs. When the Invasion ends, you'll get the coordinate. One coordinate is needed per key, and one key is needed per Assassination attempt. Only one person in your squad needs a key to fight Mutalist Alad V, so key sharing is recommended.
Farming Mutalist Alad V Nav Coordinates
You may also choose to farm Deimos Defense missions (Hyf, Deimos) to obtain this resource while an Invasion isn't active. We don't recommend this unless absolutely necessary, as the coordinate itself has a 4.57% drop chance from Rotation C (every 20 waves). Mutalist Alad V Nav Coordinates are also tradable with other players.
Mesa Blueprint
|
Drop Source |
In-Game Market (35,000 Credits) |
|---|---|
|
Crafting Costs |
|
|
Crafting Time |
72 Hours |
Mesa Neuroptics
|
Drop Source |
Mutalist Alad V Assassination (38.72% drop chance) |
|---|---|
|
Crafting Costs |
|
|
Crafting Time |
12 Hours |
Mesa Chassis
|
Drop Source |
Mutalist Alad V Assassination (38.72% drop chance) |
|---|---|
|
Crafting Costs |
|
|
Crafting Time |
12 Hours |
Mesa Systems
|
Drop Source |
Mutalist Alad V Assassination (22.56% drop chance) |
|---|---|
|
Crafting Costs |
|
|
Crafting Time |
12 Hours |
How To Craft Mesa Prime
Mesa Prime is currently unvaulted. Visit Varzia at Maroo's Bazaar to purchase Mesa Prime's Relics.
Mesa Prime's Relics may be purchased from Varzia at Maroo's Bazaar. Her parts may also be obtained by trading with other players.
Mesa Prime Blueprint
|
Drop Source |
|
|---|---|
|
Crafting Costs |
|
|
Crafting Time |
72 Hours |
Mesa Prime Neuroptics
|
Drop Source |
|
|---|---|
|
Crafting Costs |
|
|
Crafting Time |
12 Hours |
Mesa Prime Chassis
|
Drop Source |
|
|---|---|
|
Crafting Costs |
|
|
Crafting Time |
12 Hours |
Mesa Prime Systems
|
Drop Source |
|
|---|---|
|
Crafting Costs |
|
|
Crafting Time |
12 Hours |
Mesa Abilities
Stats
|
Mesa |
Mesa Prime |
|---|---|
|
|
Passive
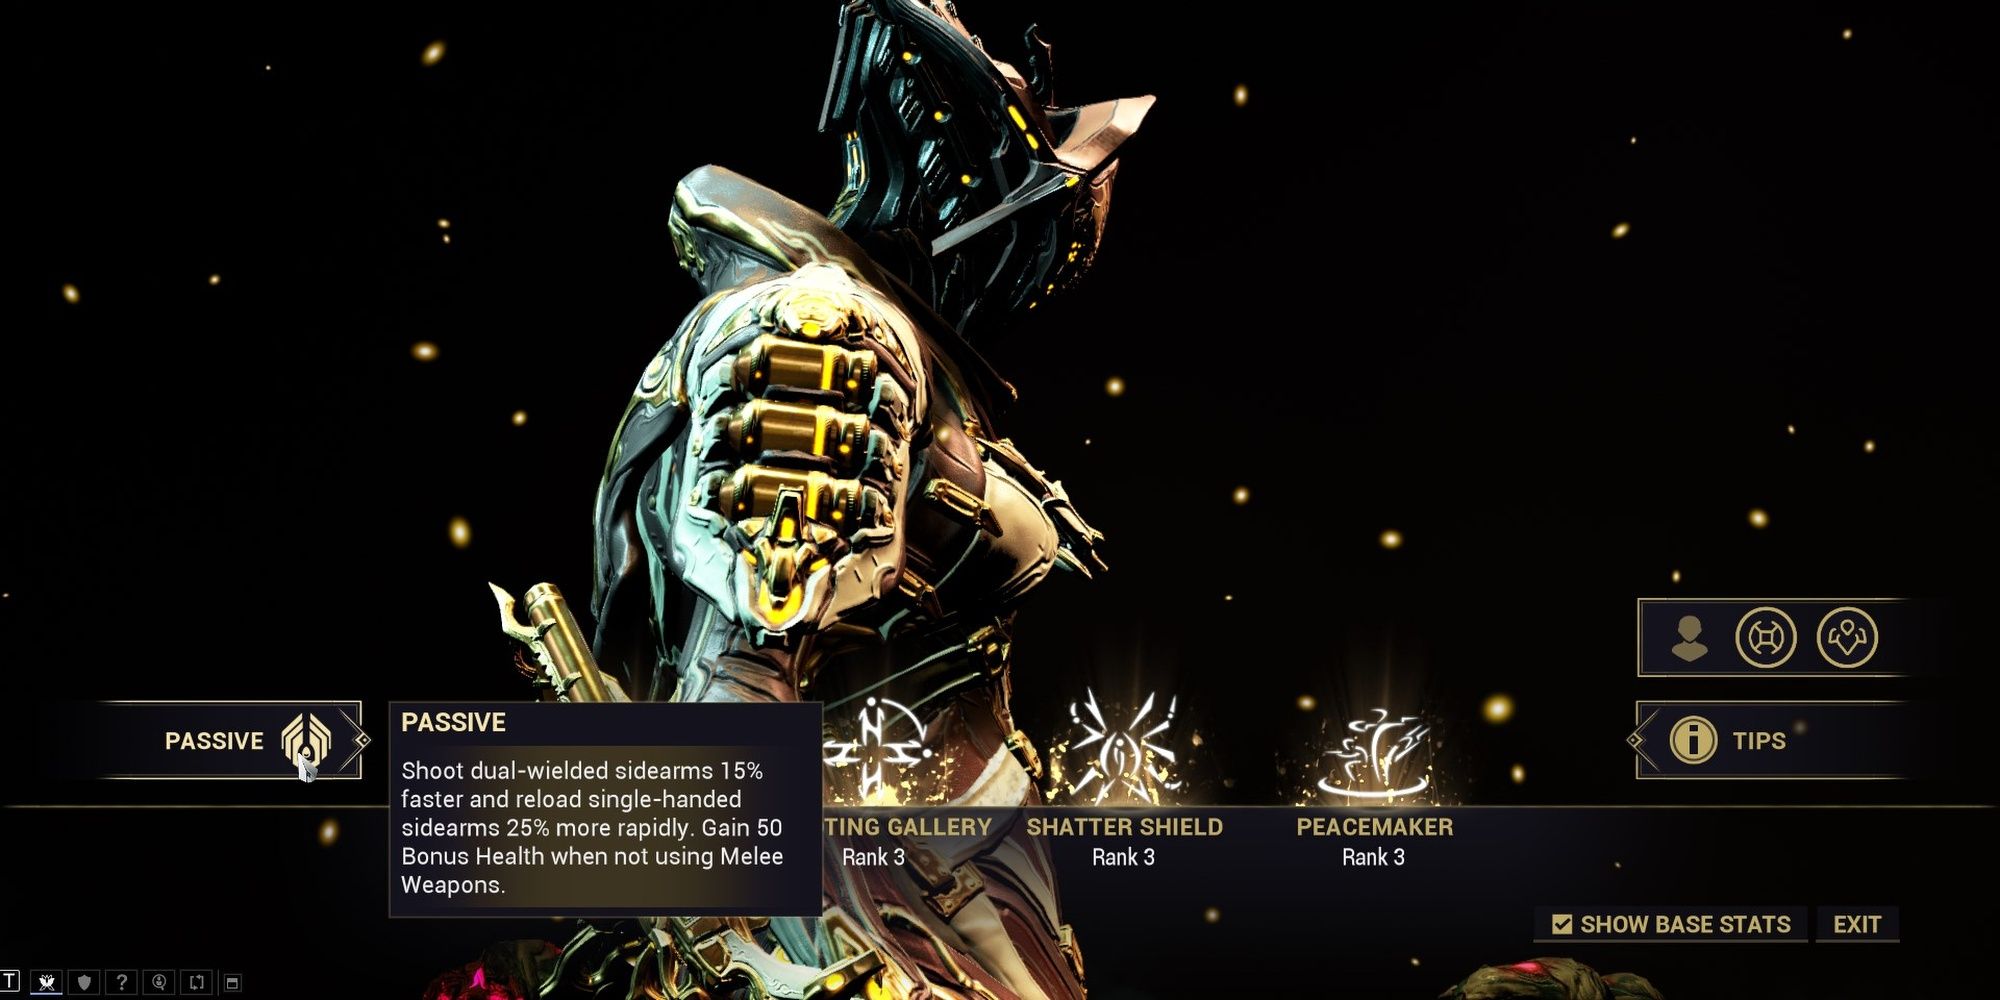
Passive: Shoot dual-wielded sidearms 15% faster and reload single-handed sidearms 25% more rapidly. Gain 50 Bonus Health when not using Melee Weapons.
Mesa is a gunslinger at heart, and this is reflected quite well through her passive. One-handed sidearms gain a 25% reload speed bonus with Mesa, and dual-wielding pistols will increase your fire rate by 15%. These bonuses stack additively with similar bonuses provided through abilities or weapon mods. Additionally, Mesa gains +50 HP when her melee slot is empty. This bonus HP is not affected by HP-scaling mods like Vitality.
Ballistic Battery
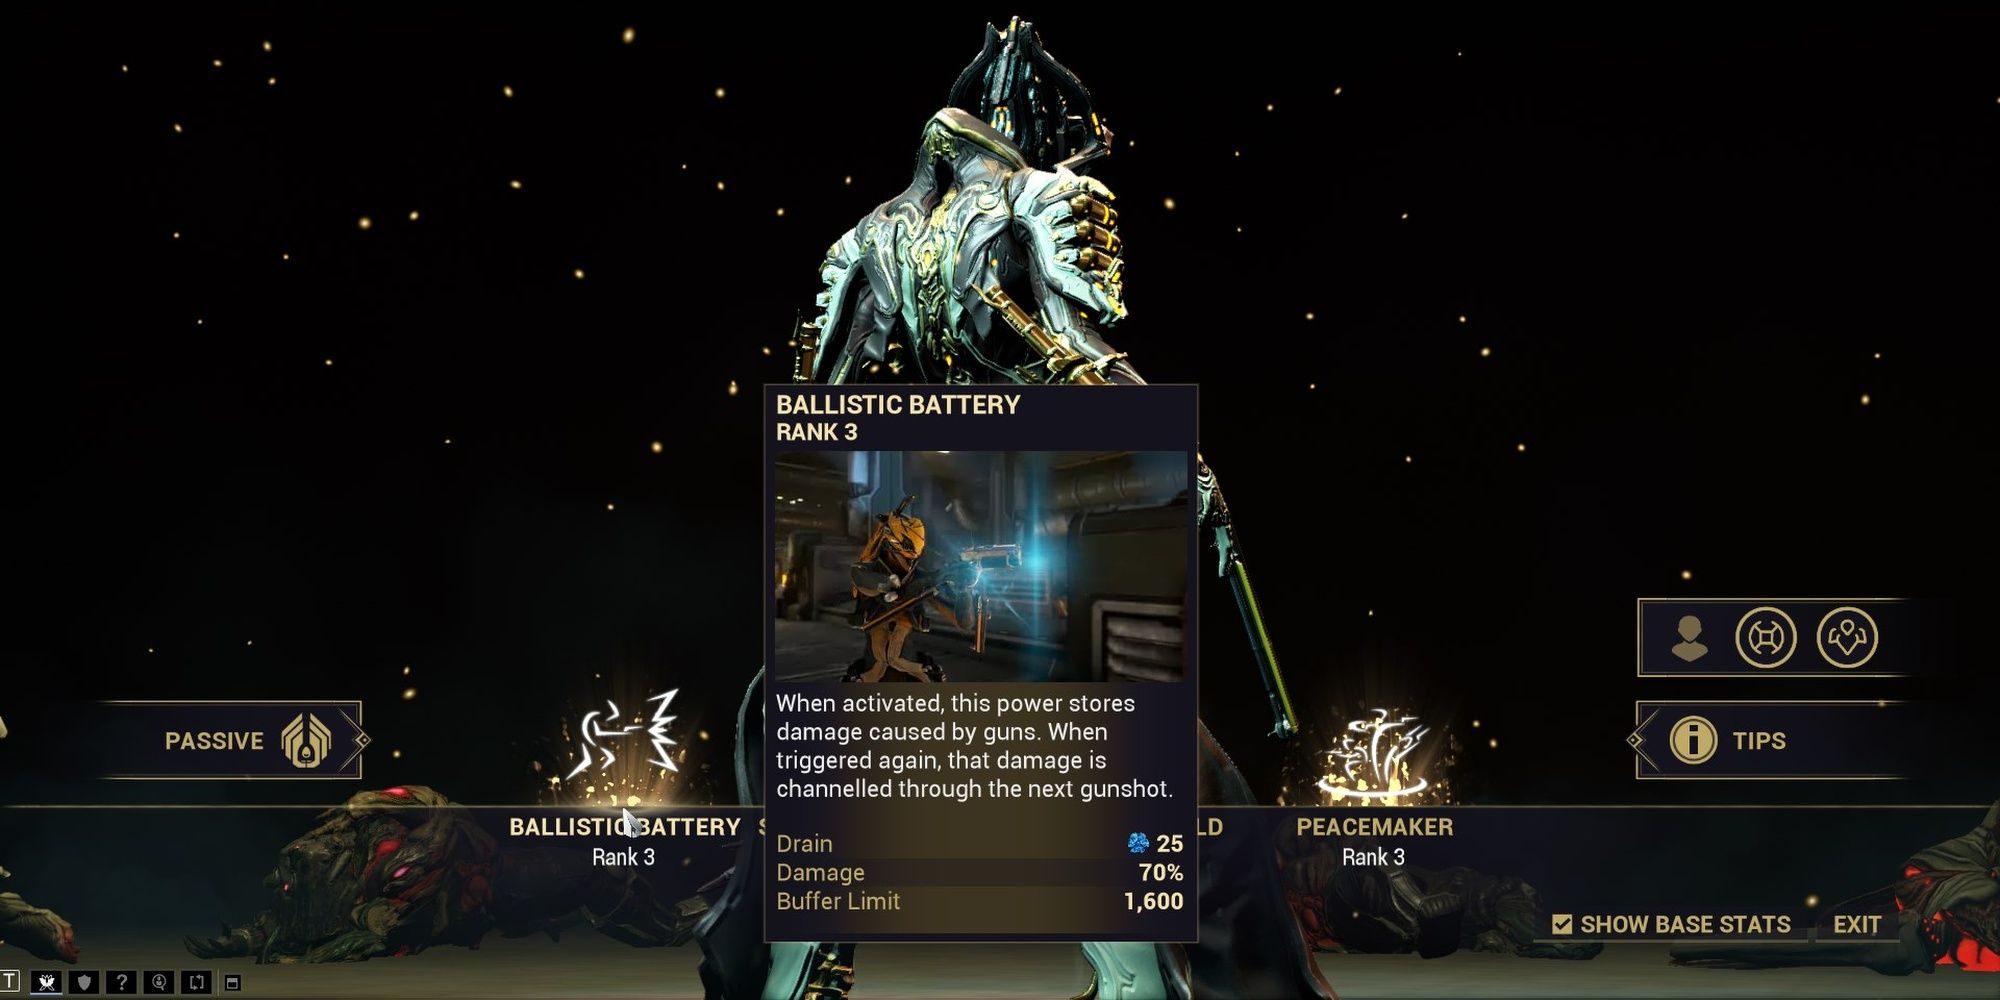
Ballistic Battery: When activated, this power stores damage caused by guns. When triggered again, that damage is channeled through the next gunshot.
|
Ballistic Battery Stats |
|||
|---|---|---|---|
|
Drain |
25 Energy |
||
|
Damage |
100% |
||
|
Buffer Limit |
5,000 Damage |
||
|
Applicable Mods |
|||
|
Duration |
Range |
Efficiency |
Strength |
|
N/A |
N/A |
Affects cast Energy cost |
Affects damage and buffer limit |
Activating Ballistic Battery will cause your gun to glow. Any damage dealt through your primary, secondary, or Peacemaker ultimate will accumulate a damage buff on the top-right of your screen. Activating Ballistic Battery again will infuse your next gunshot with a high-powered round that deals your accumulated damage. Ballistic Battery cannot add more than its buffer limit to your next gunshot.
Building for Strength is recommended if you want to make this ability work, as it affects your buffer limit and the ramp-up of the skill itself. If you have Helminth unlocked, we highly recommend you replace this ability with something else.
Shooting Gallery
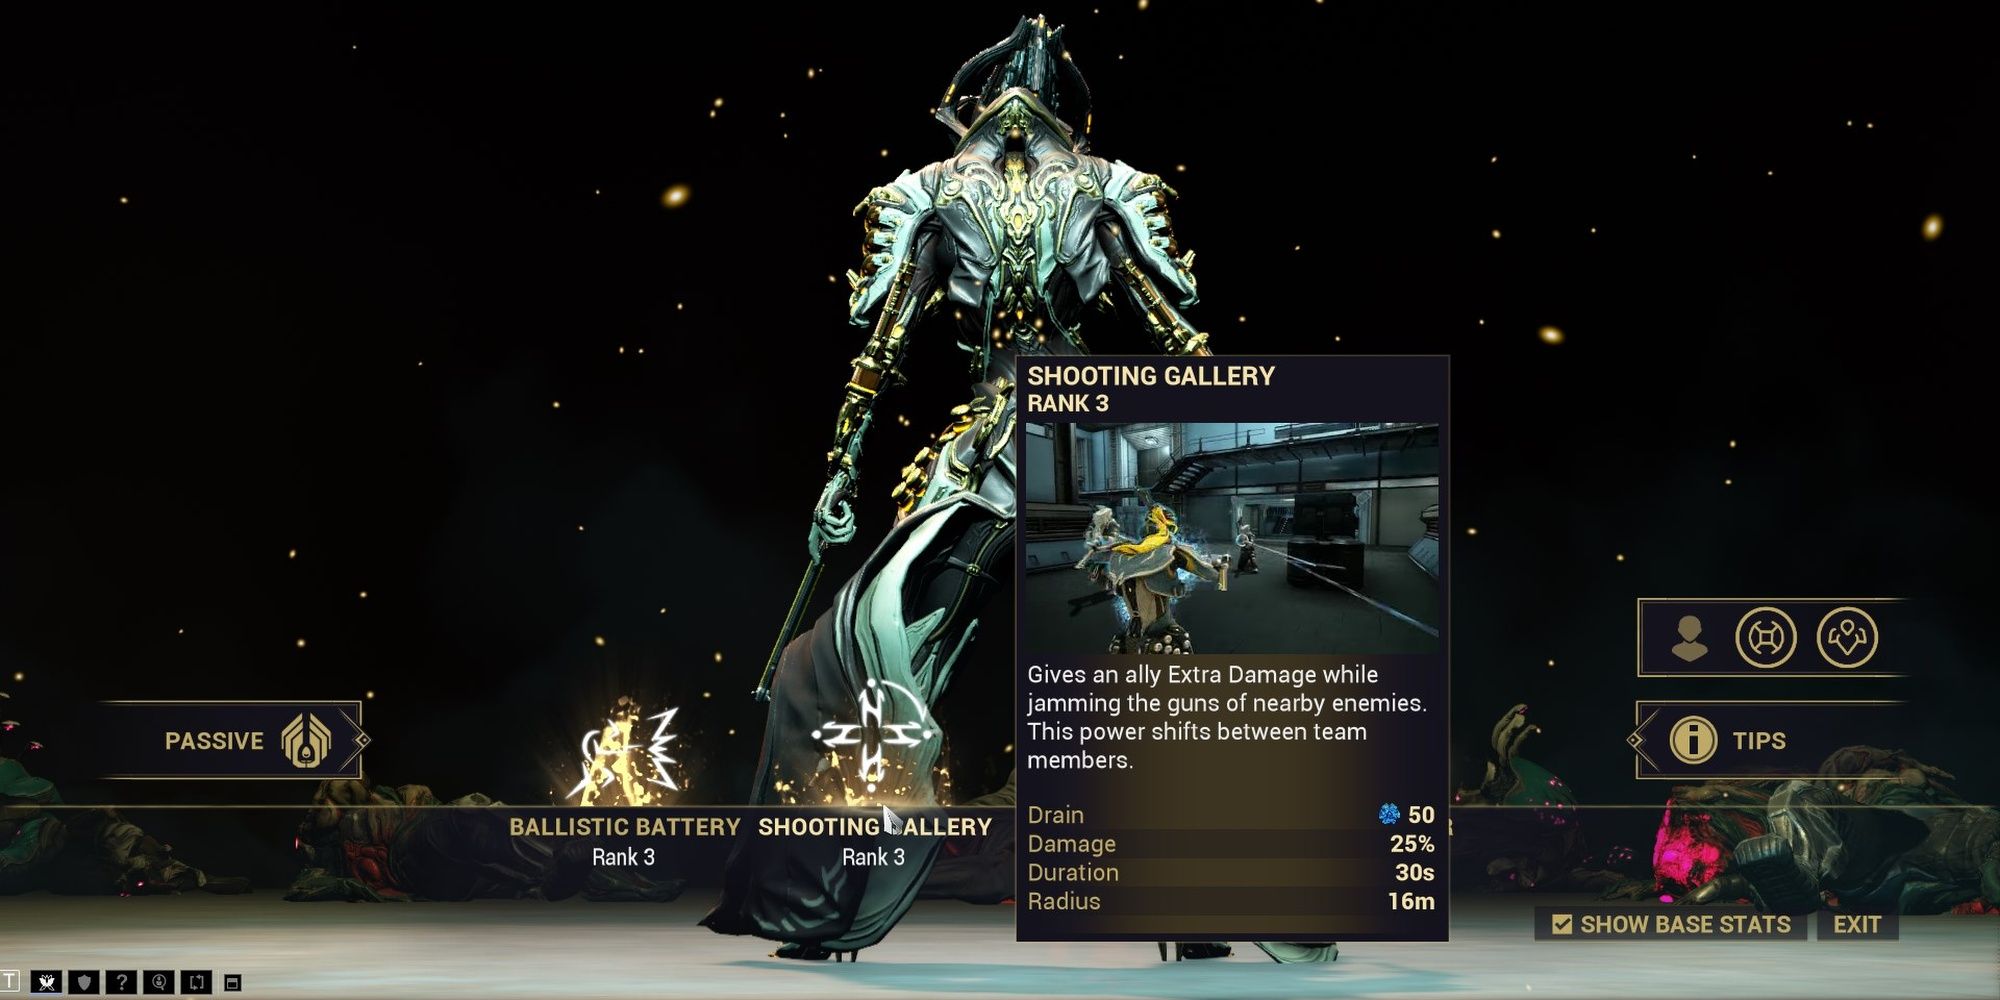
Shooting Gallery: Gives an ally Extra Damage while jamming the guns of nearby enemies. This power shifts between team members.
This ability can be subsumed with the Helminth system.
|
Shooting Gallery Stats |
|||
|---|---|---|---|
|
Drain |
50 Energy |
||
|
Damage Bonus |
25% |
||
|
Duration |
30 Seconds |
||
|
Radius |
16 Meters |
||
|
Applicable Mods |
|||
|
Duration |
Range |
Efficiency |
Strength |
|
Affects ability duration |
Affects ability radius |
Affects cast Energy cost |
Affects damage bonus |
Shooting Gallery projects an energy lasso around Mesa and one of your squad members. Anyone affected by the buff deals 25% more damage—additive with base damage mods like Serration—and periodically causes enemies within Shooting Gallery's radius to become stunned. Enemies with guns will have their weapons jammed, and melee units will become disoriented. The lasso stuns up to three targets with each pulse.
Only one ally may benefit from Shooting Gallery at a time. The ability rotates between your other three squadmates, its duration determined by your remaining timer divided by the number of squadmates yet to receive it. For example, if your Shooting Gallery lasts for 60 seconds and you have a full team, each ally gets it for 20 seconds. If you only have one ally, they'll have it for 100% of its duration. Two allies have 50% uptime, while three allies have 33% uptime.
Shatter Shield
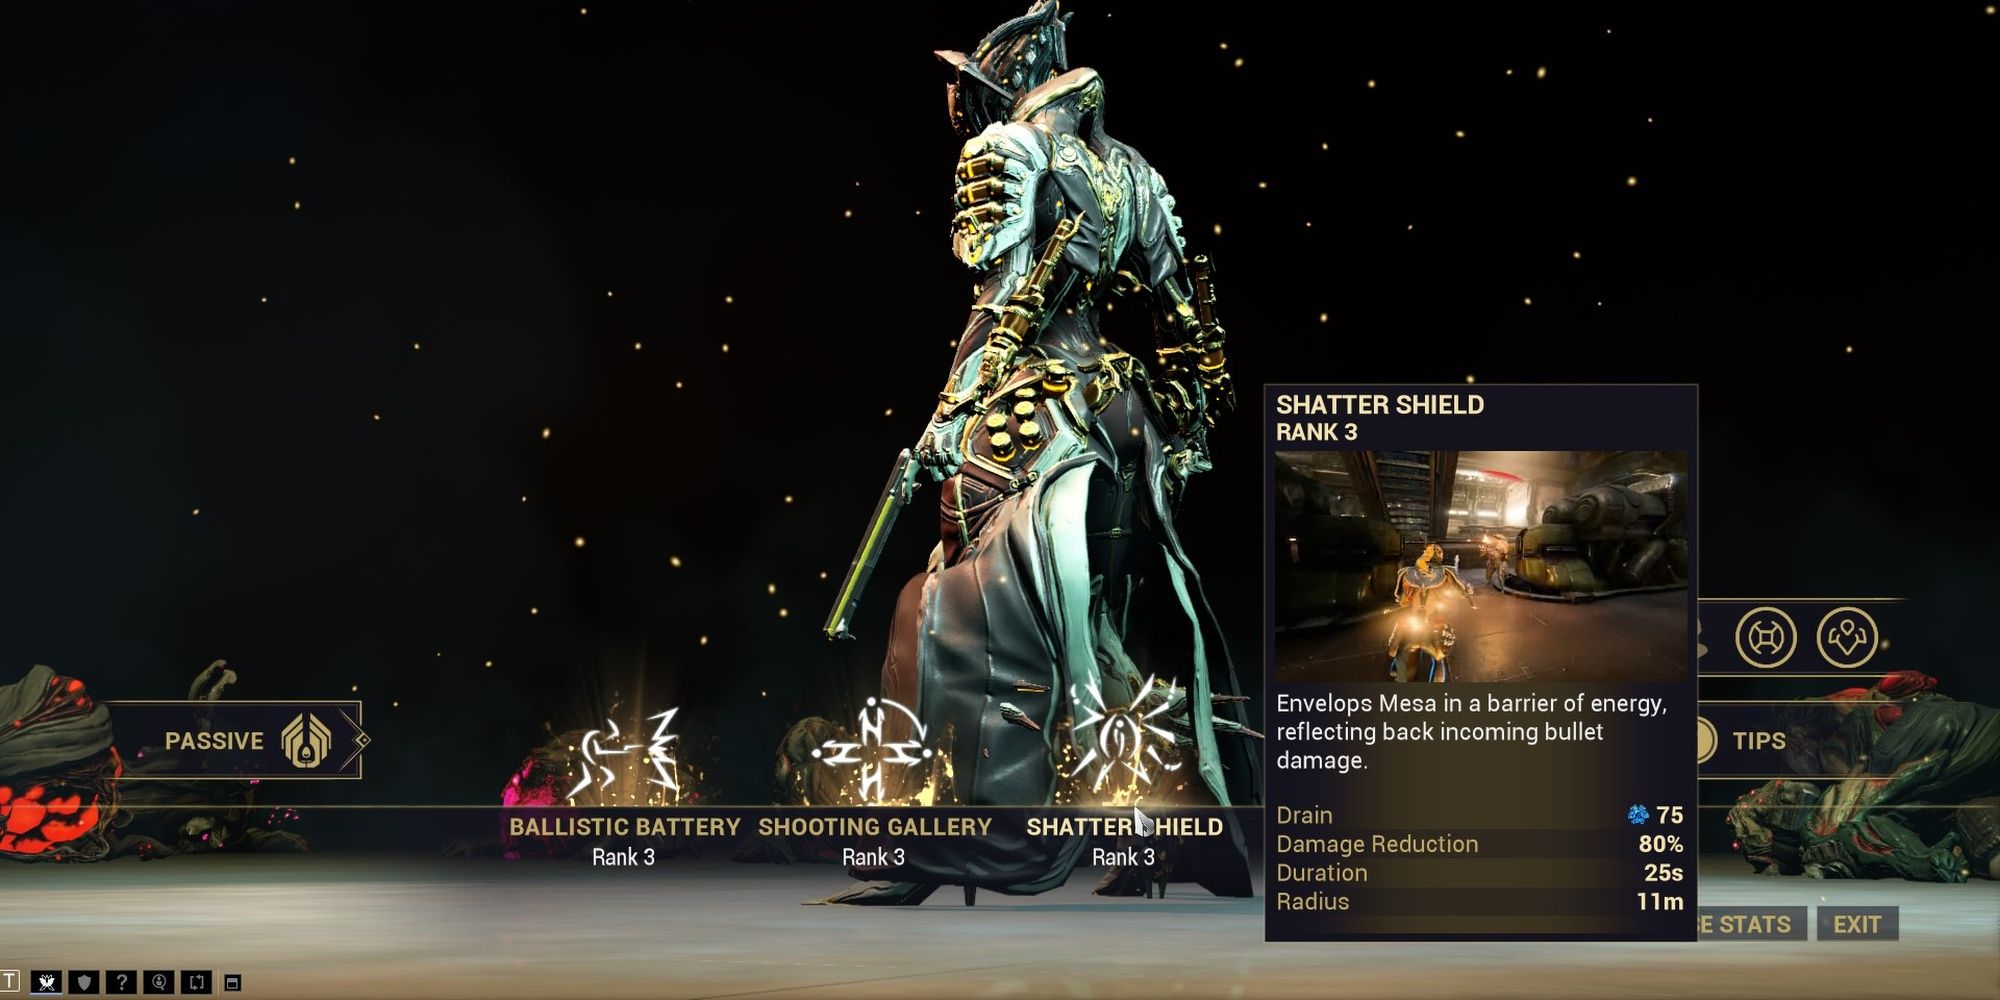
Shatter Shield: Envelops Mesa in a barrier of energy, reflecting back incoming bullet damage.
|
Shatter Shield Stats |
|||
|---|---|---|---|
|
Drain |
75 Energy |
||
|
Damage Reduction |
80% |
||
|
Duration |
25 Seconds |
||
|
Radius |
11 Meters |
||
|
Applicable Mods |
|||
|
Duration |
Range |
Efficiency |
Strength |
|
Affects ability duration |
Affects reflect radius |
Affects cast Energy cost |
Affects damage reduction |
Shatter Shield covers Mesa in a thin energy shield, absorbing most hitscan damage that comes her way. While Shatter Shield is active, Mesa takes 80% less damage by default, although this value can scale up to 95% with Ability Strength. Enemy projectiles also reflect back to their origin point on contact with the shield, provided the target is close enough to Mesa. This works with hitscan bullets and even Bombard rockets.
Shatter Shield does not work against melee units, DoTs, or ground degens. Only weapons are affected by Shatter Shield. Modding for Strength is highly recommended to get the most DR from this ability. Range can also be a consideration if you want to stun targets with Shatter Shield, especially if you're using this ability's augment mod.
Peacemaker
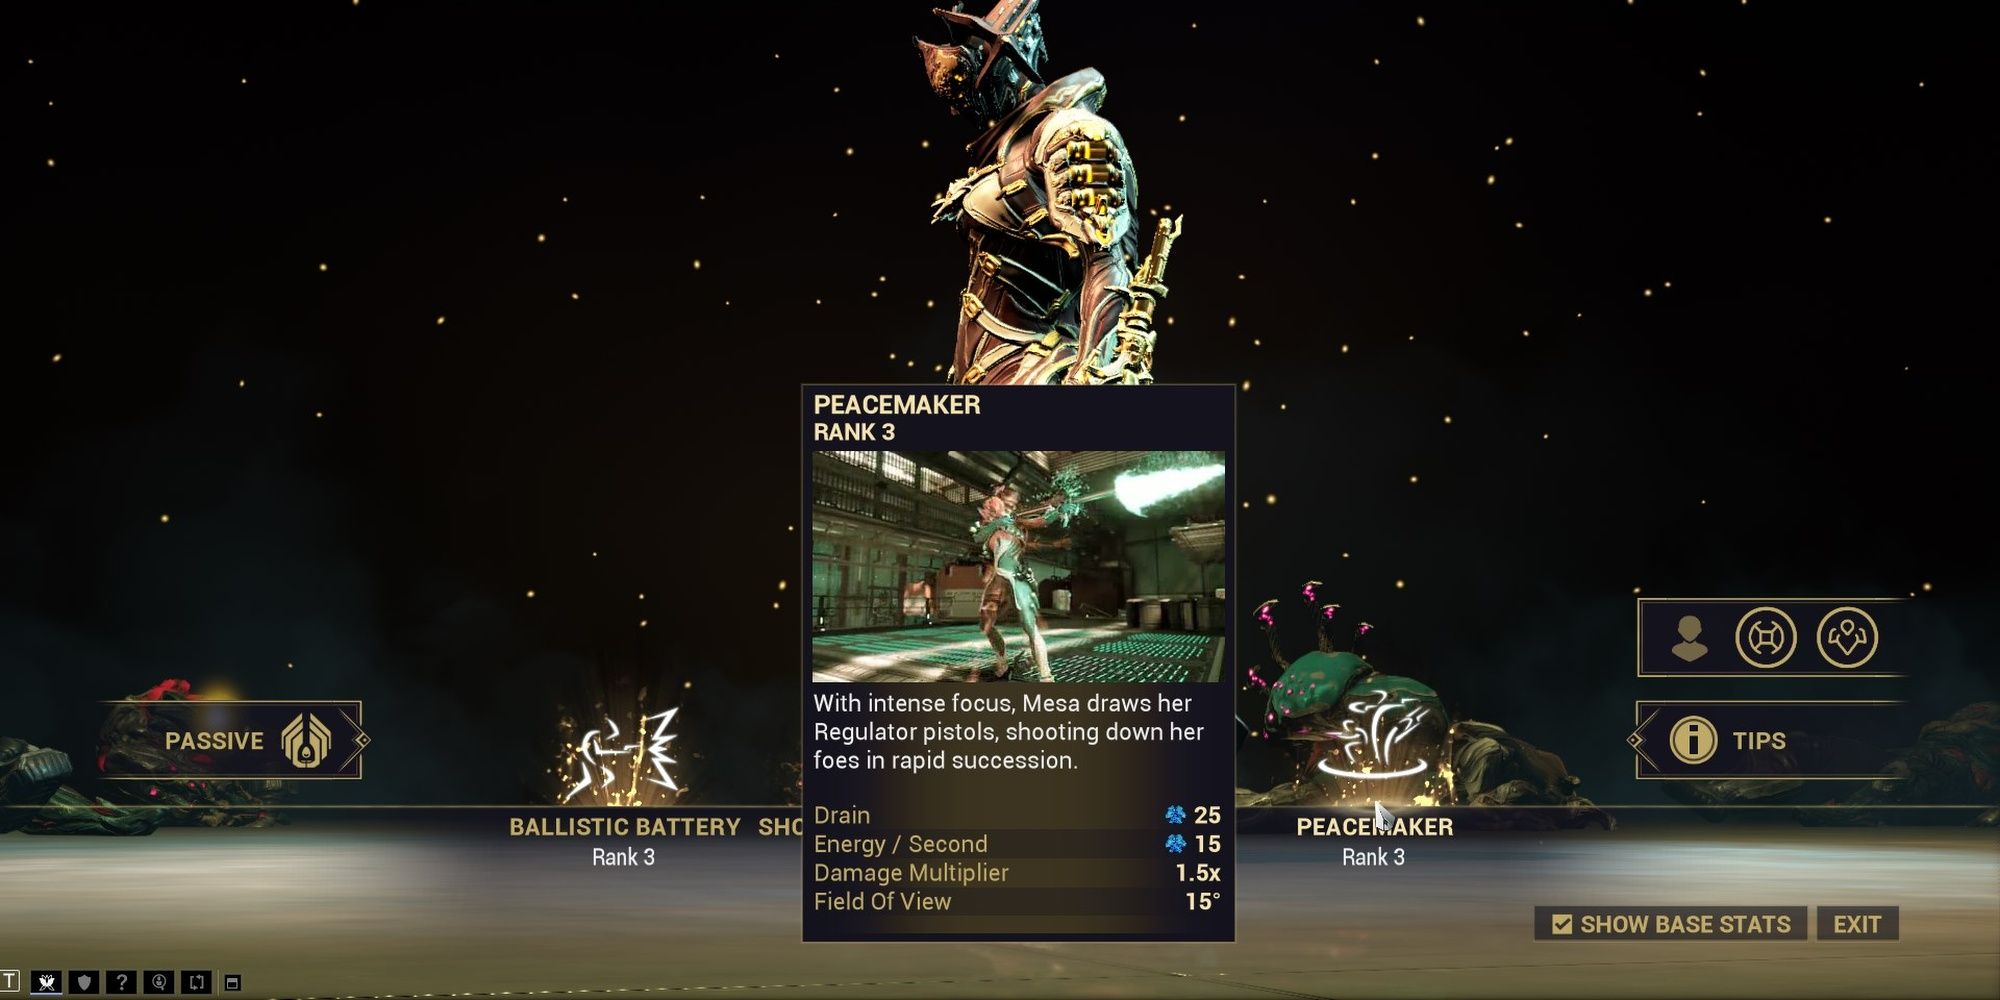
Peacemaker: With intense focus, Meas draws her Regulator pistols, shooting down her foes in rapid succession.
|
Peacemaker Stats |
|||
|---|---|---|---|
|
Drain |
Cast: 25 Energy |
||
|
Drain: 15 Energy per second |
|||
|
Damage Multiplier |
1.5x |
||
|
Field of View |
15° |
||
|
Applicable Mods |
|||
|
Duration |
Range |
Efficiency |
Strength |
|
Affects Energy drain while < 175% Efficiency |
Affects initial FOV |
Affects cast and channeling Energy costs |
Affects damage multiplier |
Mesa flicks her wrists and turns her fingers into rapid-fire pistols, dishing out an immense amount of damage with her Peacemakers. Peacemaker is a weapon exclusive to Mesa that can be modded for separately in the Arsenal. Your Peacemakers can have their damage increased with Ability Strength, acting similarly to base damage mods like Hornet Strike. All other stats may be altered with secondary mods on your Peacemaker. This ultimate has infinite ammo and doesn't need to reload.
Peacemaker features automatic lock-on that hits targets within the ability's field of view. This is displayed with a ring on the edge of your screen. As you fire your pistols, this ring will begin to shrink. Your auto-aim ring cannot shrink smaller than 15 degrees, affected by Ability Range. You may only reset your FOV by recasting the ability. In layman's terms, the more lead you spew out, the more accurate you'll need to be.
Conversely, firing Peacemaker will cause you to gain an escalating damage and fire rate buff. The damage bonus is affected by your Ability Strength and stacks additively with other base damage sources. Peacemaker can trigger Arcanes and is affected by pistol-related Arcane buffs.
Building Peacemaker for Strength and Efficiency is highly recommended. Strength makes your pistols hit even harder, and Efficiency allows you to stay in this form for much longer. You can build for Range to increase the minimum value of your FOV ring, but you'll need considerable investment into Ability Range to notice any difference.
Mesa Augments
Four augment mods are available for Mesa, one for each of her abilities. All augments may be purchased from the Steel Meridian or Red Veil Syndicates for 25,000 Standing each. You'll need to be at max rank with either Syndicate to purchase these augment mods. Alternatively, you can obtain these through in-game trading.
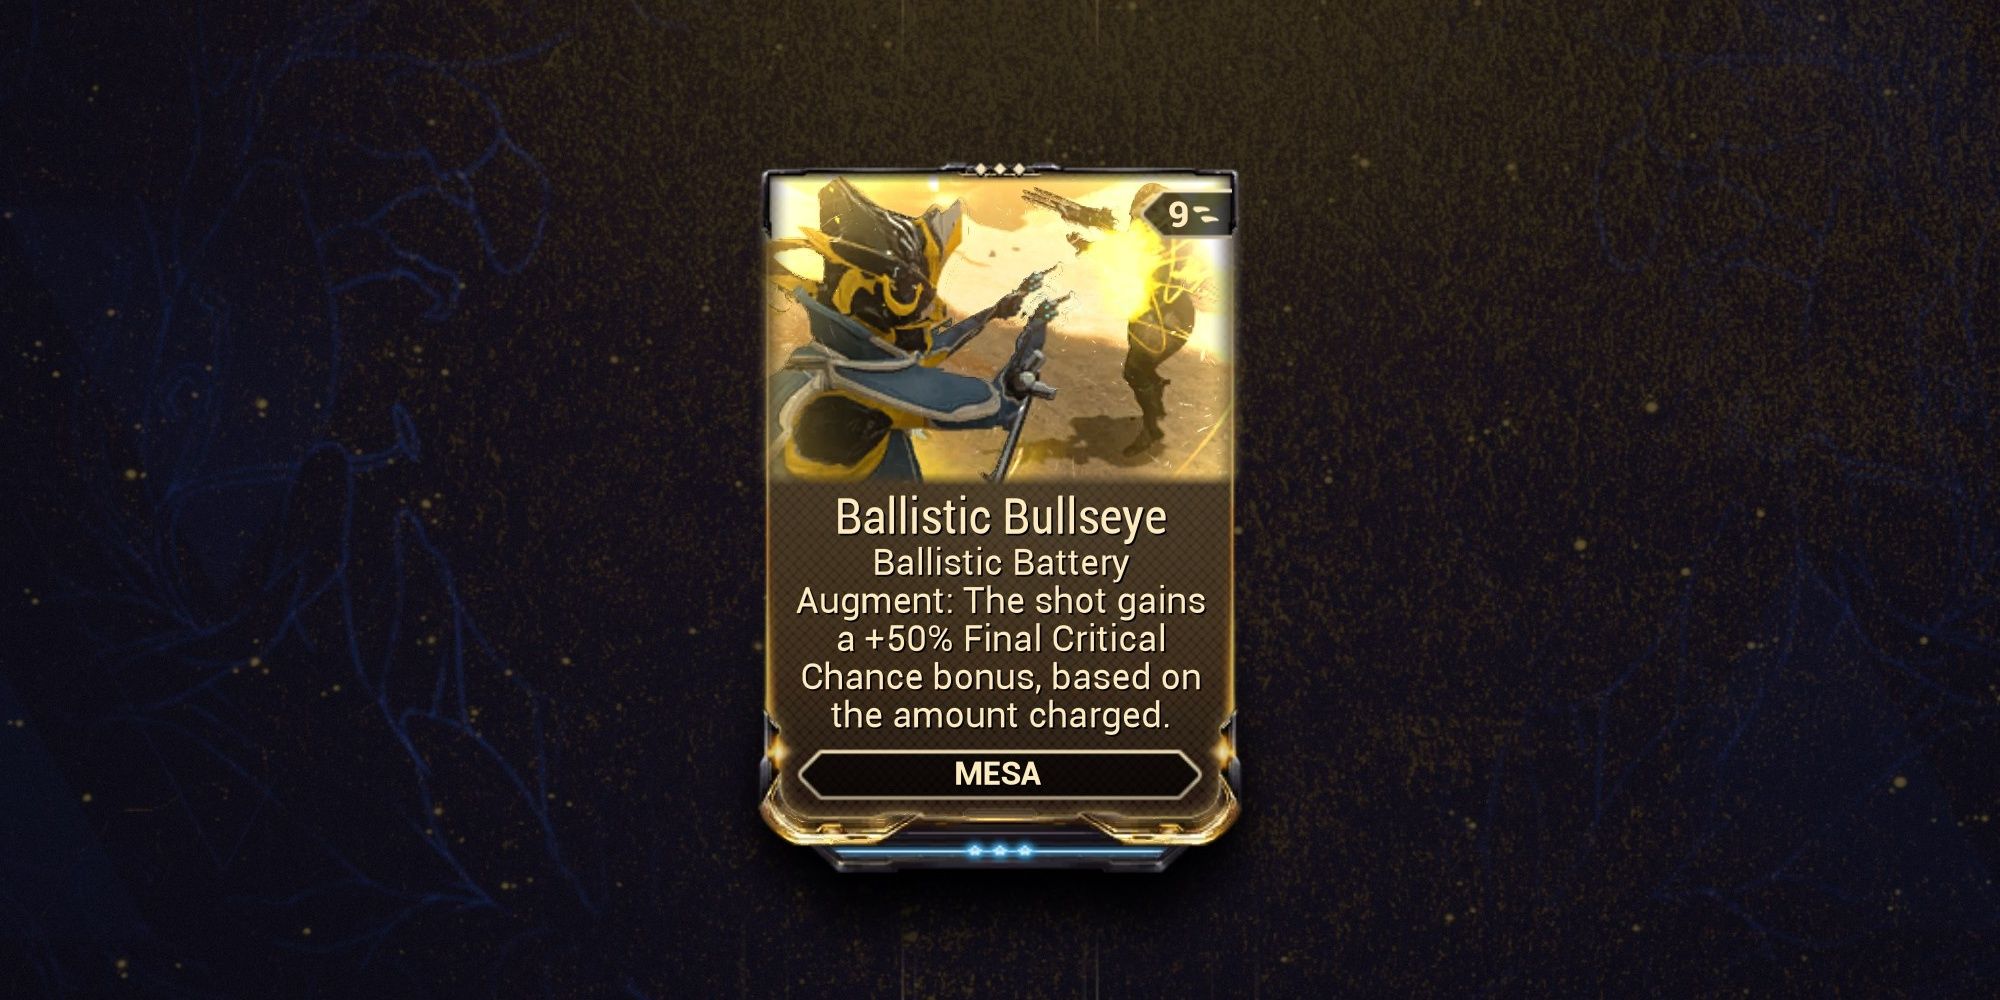
Ballistic Bullseye
Ballistic Bullseye: Ballistic Battery Augment: Applies a 100% status chance bonus to the shot based on the amount charged.
Your next gunshot gains an additive critical chance boost that's based on how charged Ballistic Battery is. Since this effect is additive, a fully-charged Ballistic Battery can greatly improve the damage of certain critical weapons. Ballistic Bullseye is unaffected by mods.
Muzzle Flash
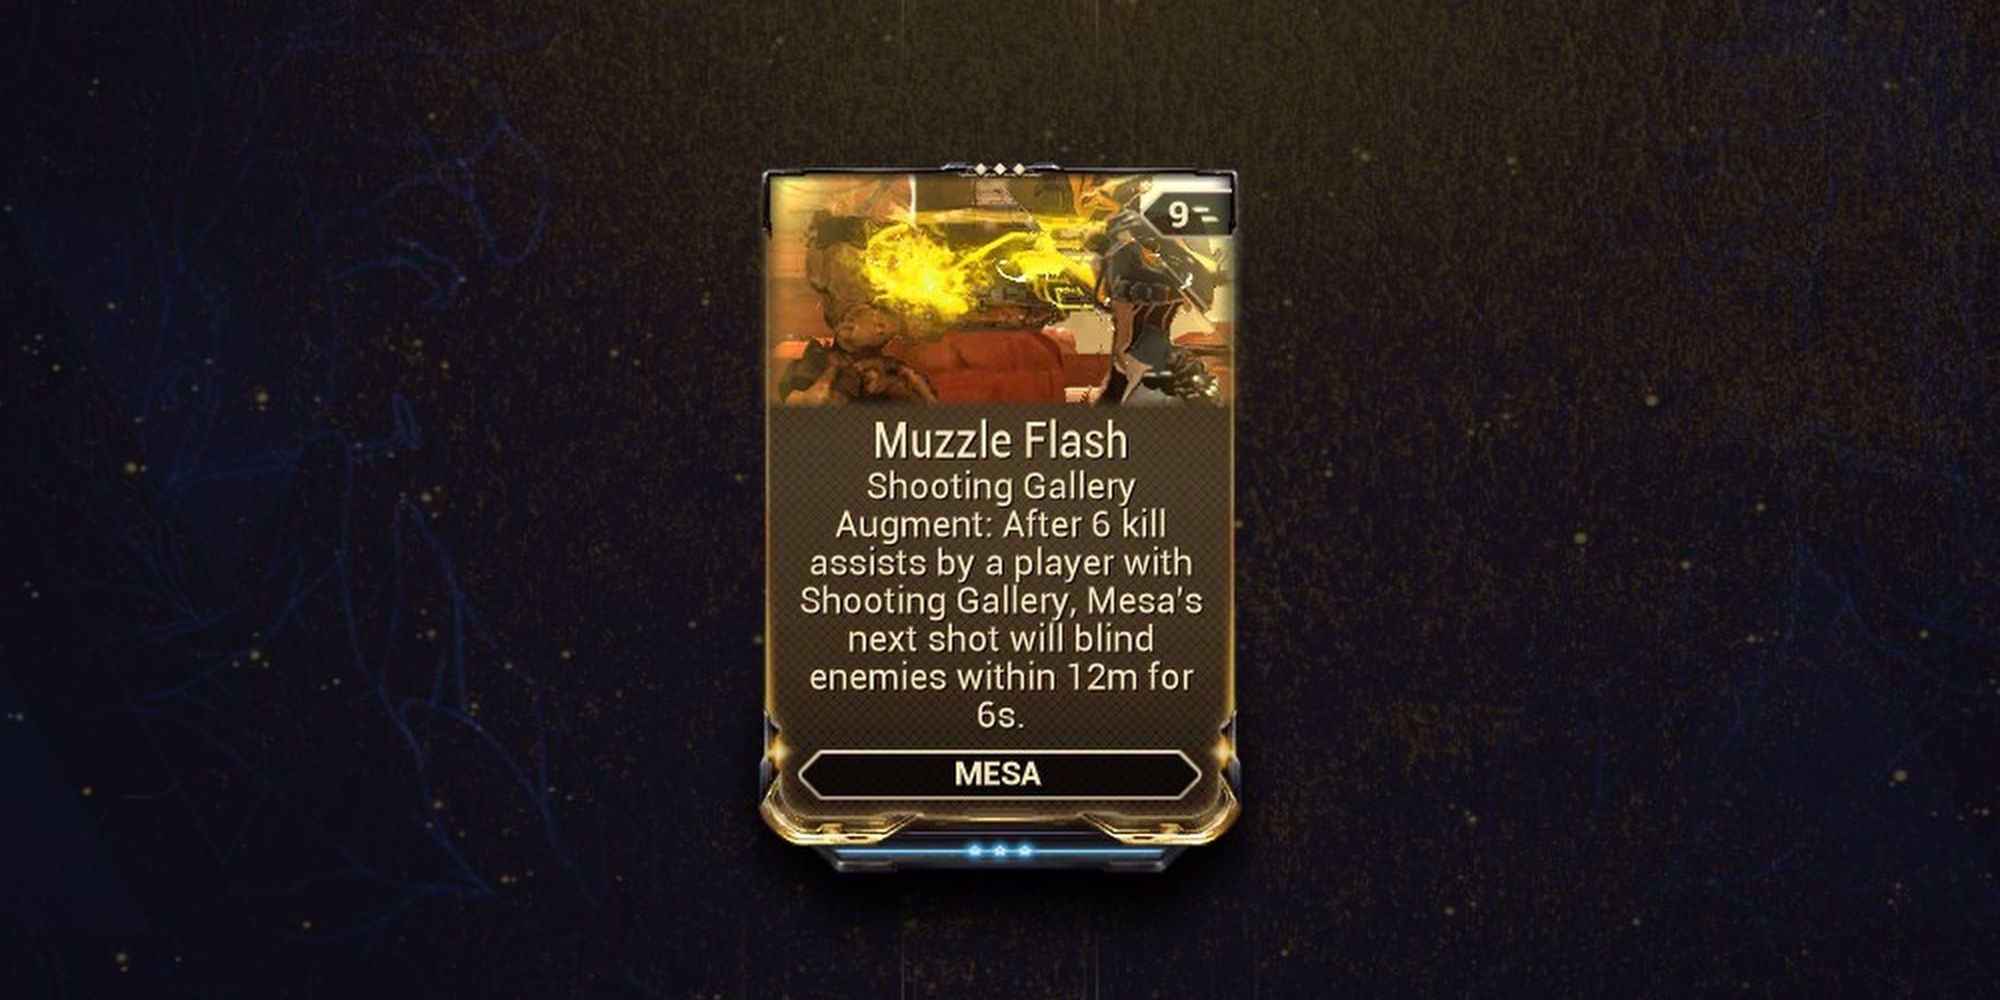
Muzzle Flash: Shooting Gallery Augment: After 6 kill assists by a player with Shooting Gallery, Mesa's next shot will blind enemies within 12m for 6s.
Muzzle Flash has an obnoxious particle effect that can cause discomfort for some players. We recommend setting your energy colors to black if you plan on using this augment.
You and any allies affected by Shooting Gallery will accumulate a buff as you land kills and assists. Kill six enemies, and your next shot will blind targets within 12 meters for the next six seconds. The blind occurs from your position, not where the projectile lands. You can extend the radius and duration of this augment with Range and Duration mods, respectively. Ability Strength and Efficiency do not affect the number of kills needed to proc this augment.
Staggering Shield
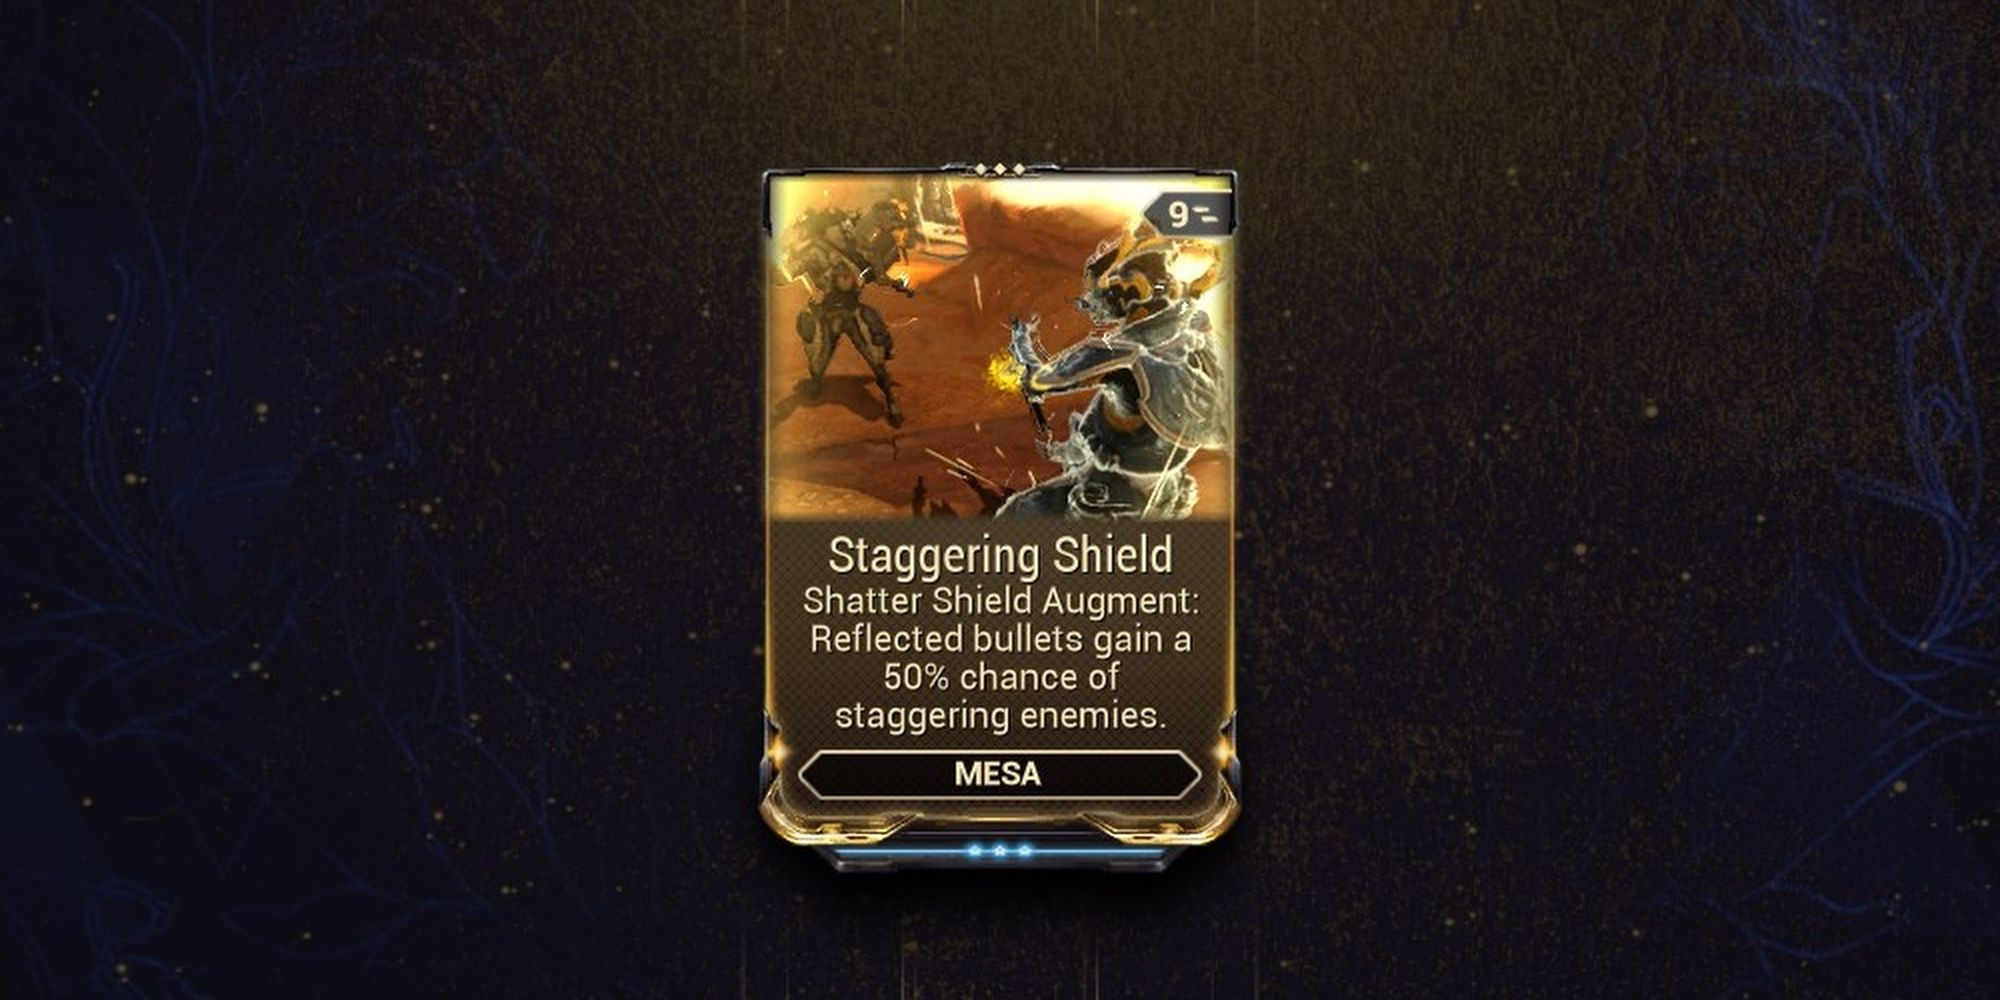
Staggering Shield: Shatter Shield Augment: Reflected bullets gain 50% chance of staggering enemies.
Reflecting bullets back at targets has a 50% chance of inflicting an Impact proc, causing them to stumble for a second. This works best against Grineer Heavy Gunners and Corpus Techs. The stagger chance of Staggering Shield can be boosted with Ability Strength, up to a guaranteed stagger at 200% Strength. To increase the effectiveness of this augment, be sure to invest in Ability Range to extend Shatter Shield's reflection radius.
Mesa's Waltz
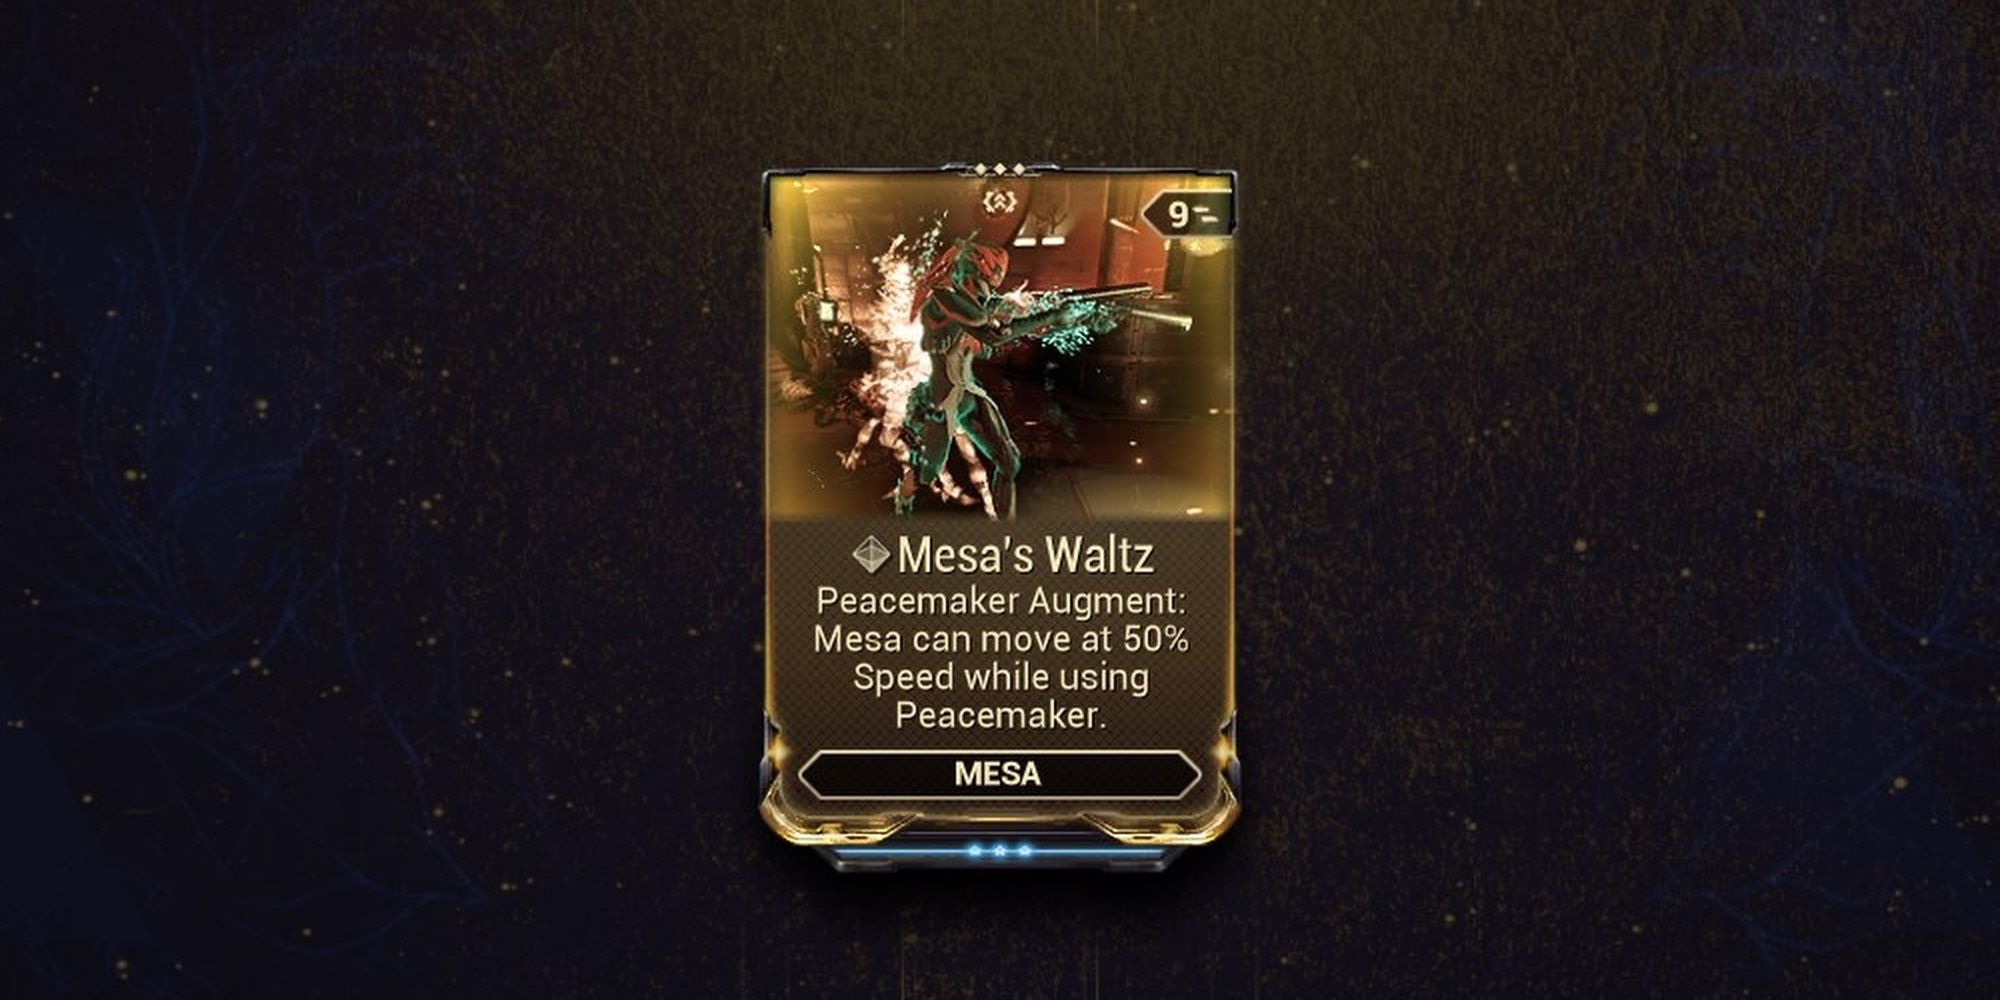
Mesa's Waltz: Peacemaker Augment: Mesa can move at 50% speed while using Peacemaker.
Mesa's Waltz allows Mesa to move while in her ultimate, only taking up her Exilus slot. This comes with some restrictions:
- Your movement speed is halved.
- You cannot sprint.
- Sliding and parkour effects are disabled.
With that said, you can roll in Peacemaker with this augment equipped. Rolling is hands-down the best way to reposition with this augment, especially if you have Amalgam Barrel Diffusion equipped. The only other method of increasing your speed with this Augment is by equipping Spry Sights on Peacemakers; Ability Strength does not affect this augment's movement speed penalty.
Mesa's Waltz has a hidden effect that causes your FOV ring to slowly reset while not firing. This allows Mesa to fully reset her auto-aim FOV without needing to recast Peacemaker, although this does reduce your damage output.
Mesa Builds
Builds for Mesa are quite simple. Just about every build wants to maximize her Peacemaker ability, so you'll want to focus on Strength, Efficiency, and Duration in that order. Ability Range is a dump stat for most Mesa builds. Regulators work best with critical-focused builds with low investment and hybrid builds with high investment.
For Helminth, we recommend Hildryn's Pillage, Rhino's Roar, or Xata's Whisper from Xaku. Bonus damage or healing can make Mesa an ever stronger gunslinger. Replace her first ability, Ballistic Battery, with whatever Helminth ability you choose.
Archon Shards
Mesa greatly benefits from Ability Strength (Crimson) and Parkour Velocity (Amber) Shards. Ability Strength buffs the damage of Peacemakers, while Parkour Velocity is incredibly useful for buffing your roll distance while using the Mesa's Waltz augment. If you want to move quickly with this augment, equip five Parkour Velocity Archon Shards.
Starter Build (0 Forma, No Subsume)
- Forma: 0
- Subsume: None/Preference
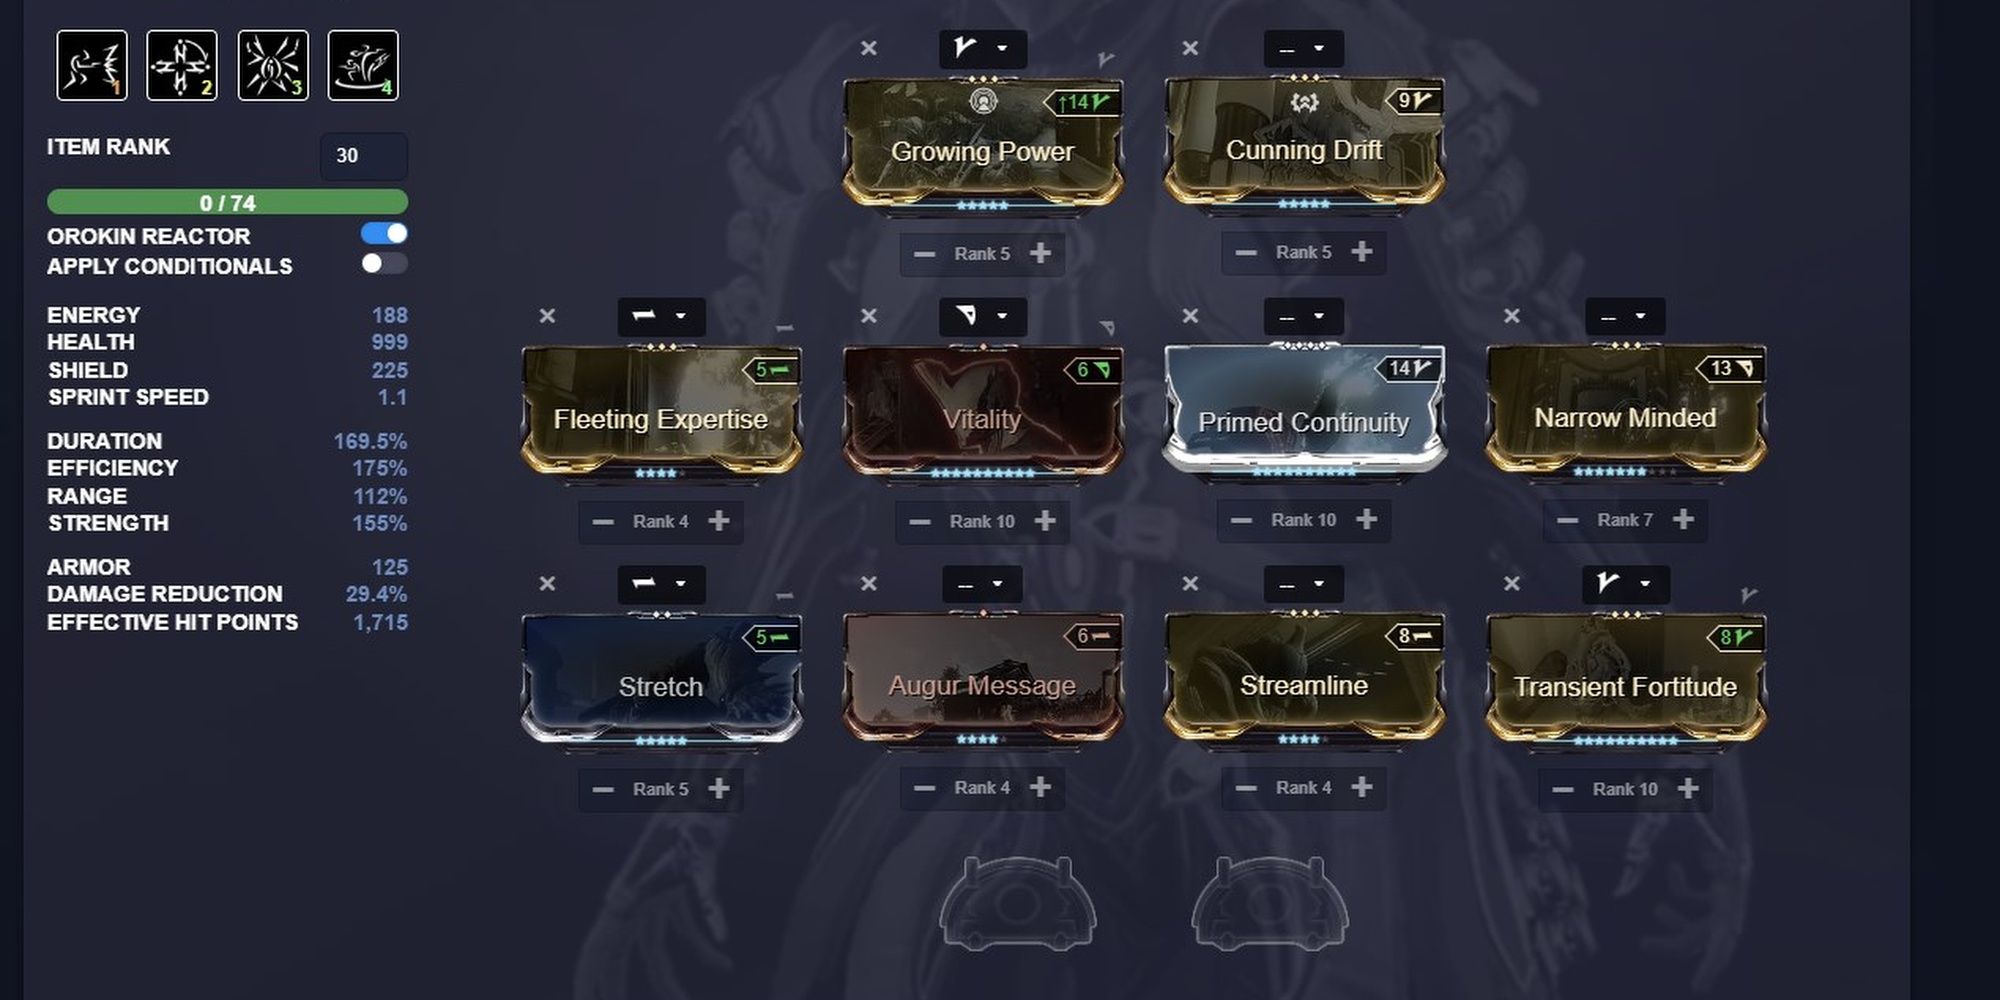
This build covers the basics for Mesa, giving you max Ability Efficiency with a hefty boost to your Duration. Transient Fortitude is the only Strength mod you need, buffing Shatter Shield's DR to 95% while giving your Peacemakers a nice damage increase. Growing Power also grants a nice Ability Strength increase, but feel free to use an aura that fits the polarity.
Efficiency is important to making Peacemakers a reliable ability, so we'll be using Fleeting Expertise and Streamline (both at R4) to max the Efficiency stat. Our Ability Duration is quite low at this point, so we'll be using Narrow Minded (R7), Primed Continuity, and Augur Message to drastically increase the duration of Shatter Shield and Shooting Gallery. We use Stretch to counter Narrow Minded's penalty, and we round off the build with Vitality to increase Mesa's survivability.
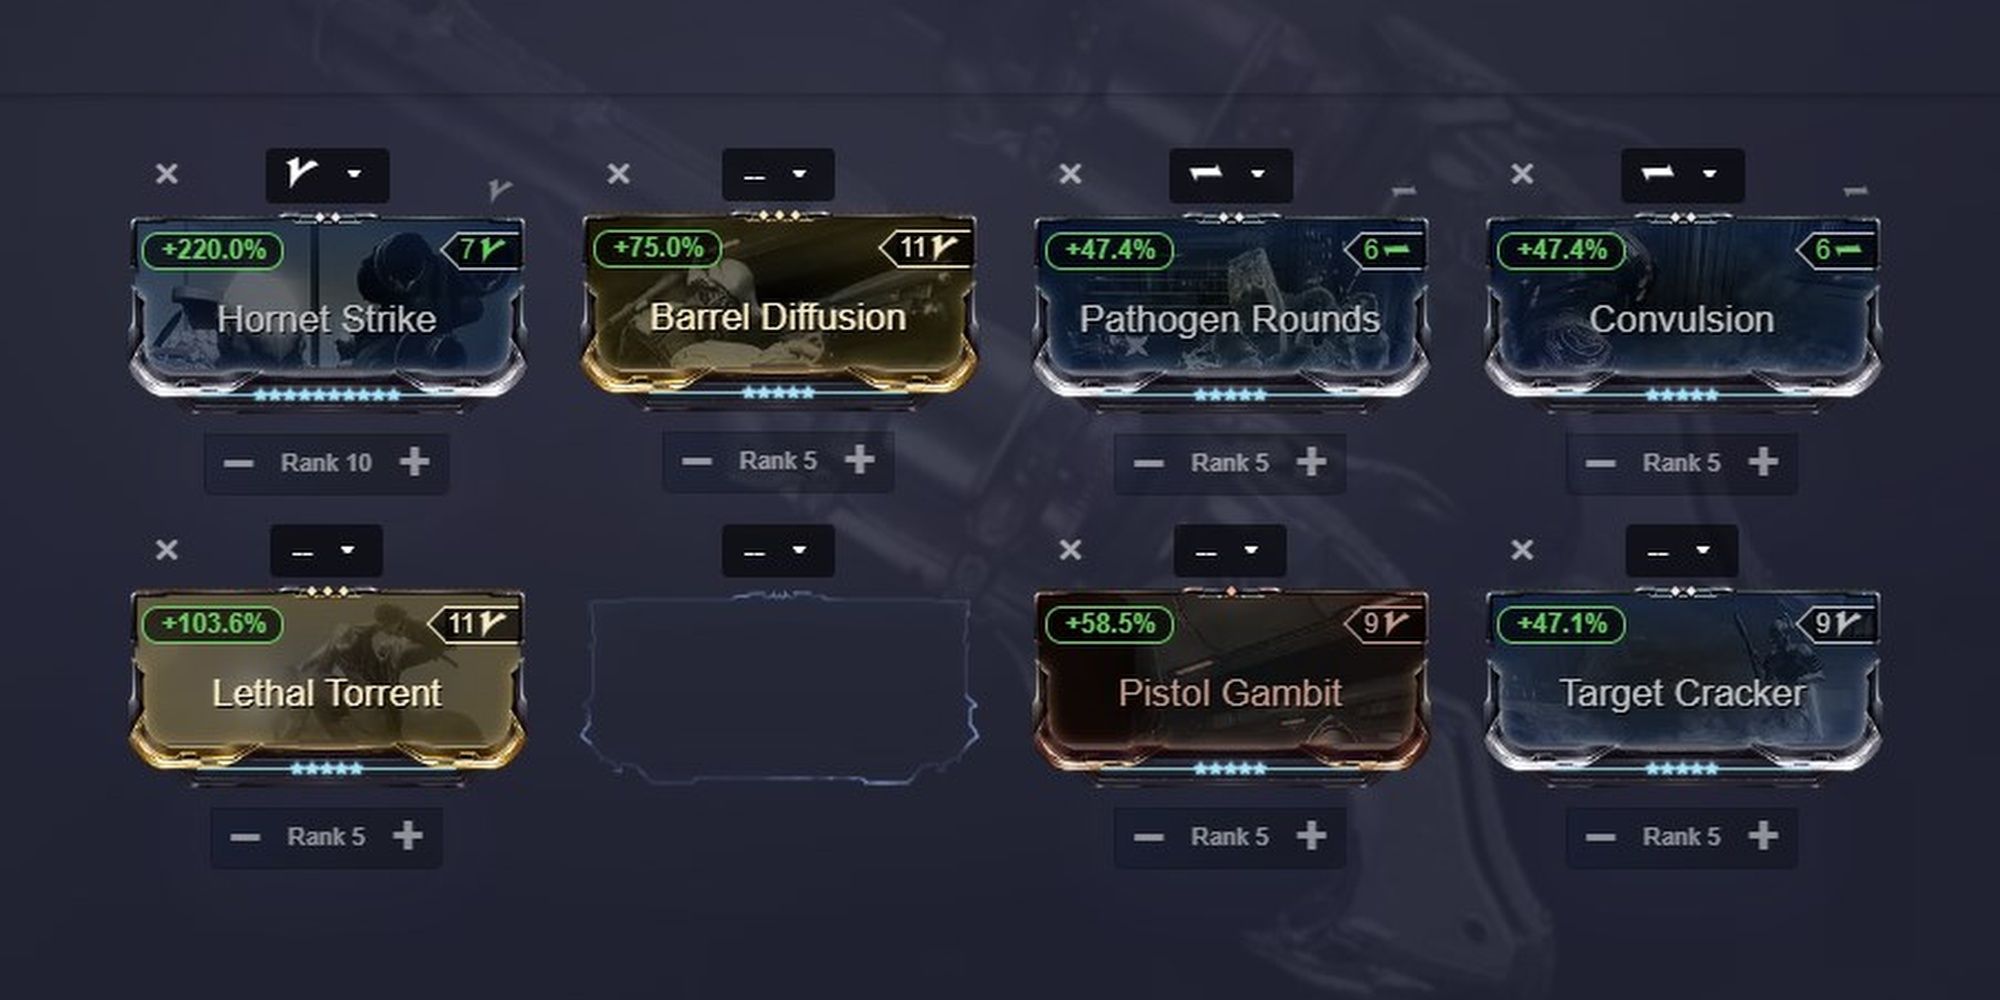
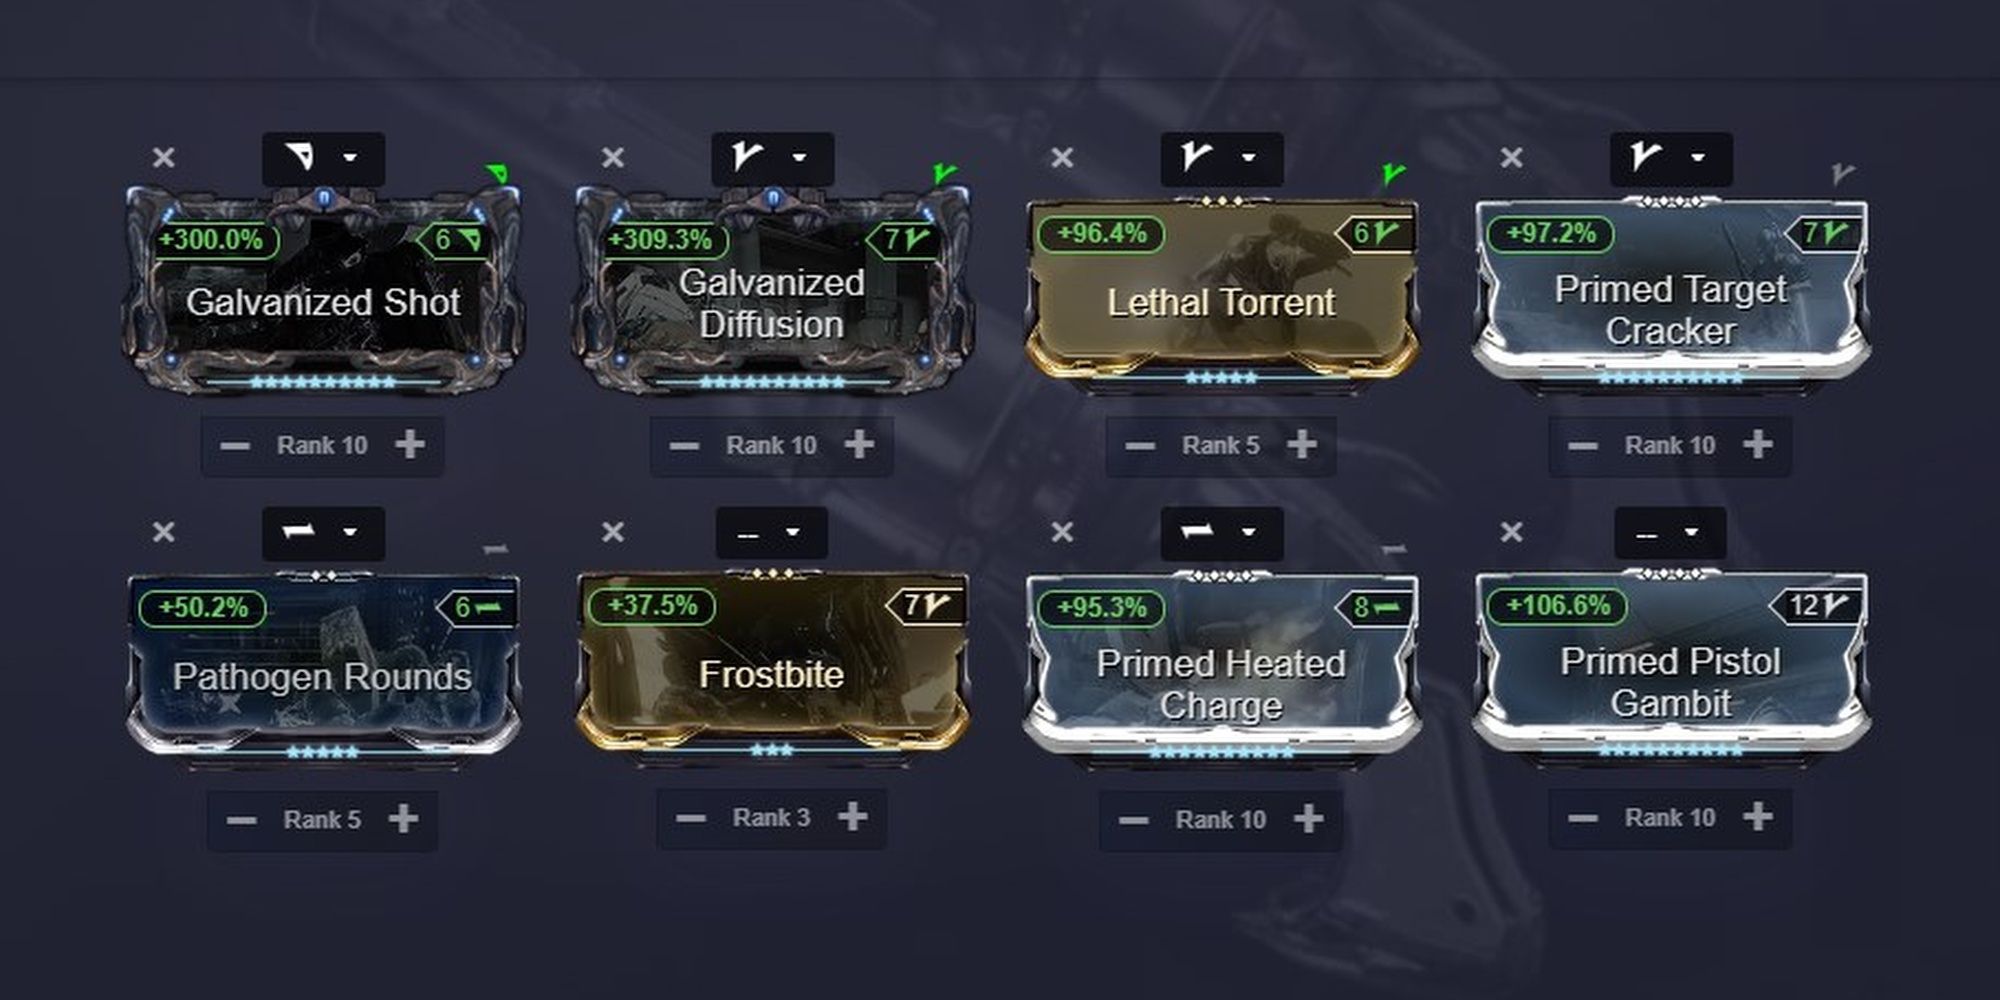
For Peacemakers, build your pistols for Corrosive damage and critical hits. We can't afford to use the Primed critical mods without using some Forma, so our example will be using the non-Primed variants. Building for Corrosive is recommended since we aren't aggressively scaling her status or fire rate. Feel free to use Viral instead, but do beware of the two dash polarities on Mesa; no Cold damage mods will fit in that socket.
Endgame Build (6 Forma, Pillage Subsume)
-
Forma: 6
- Mesa: V, D, Umbral
- Regulators: 2V, D
- Subsume: Pillage (Hildryn)
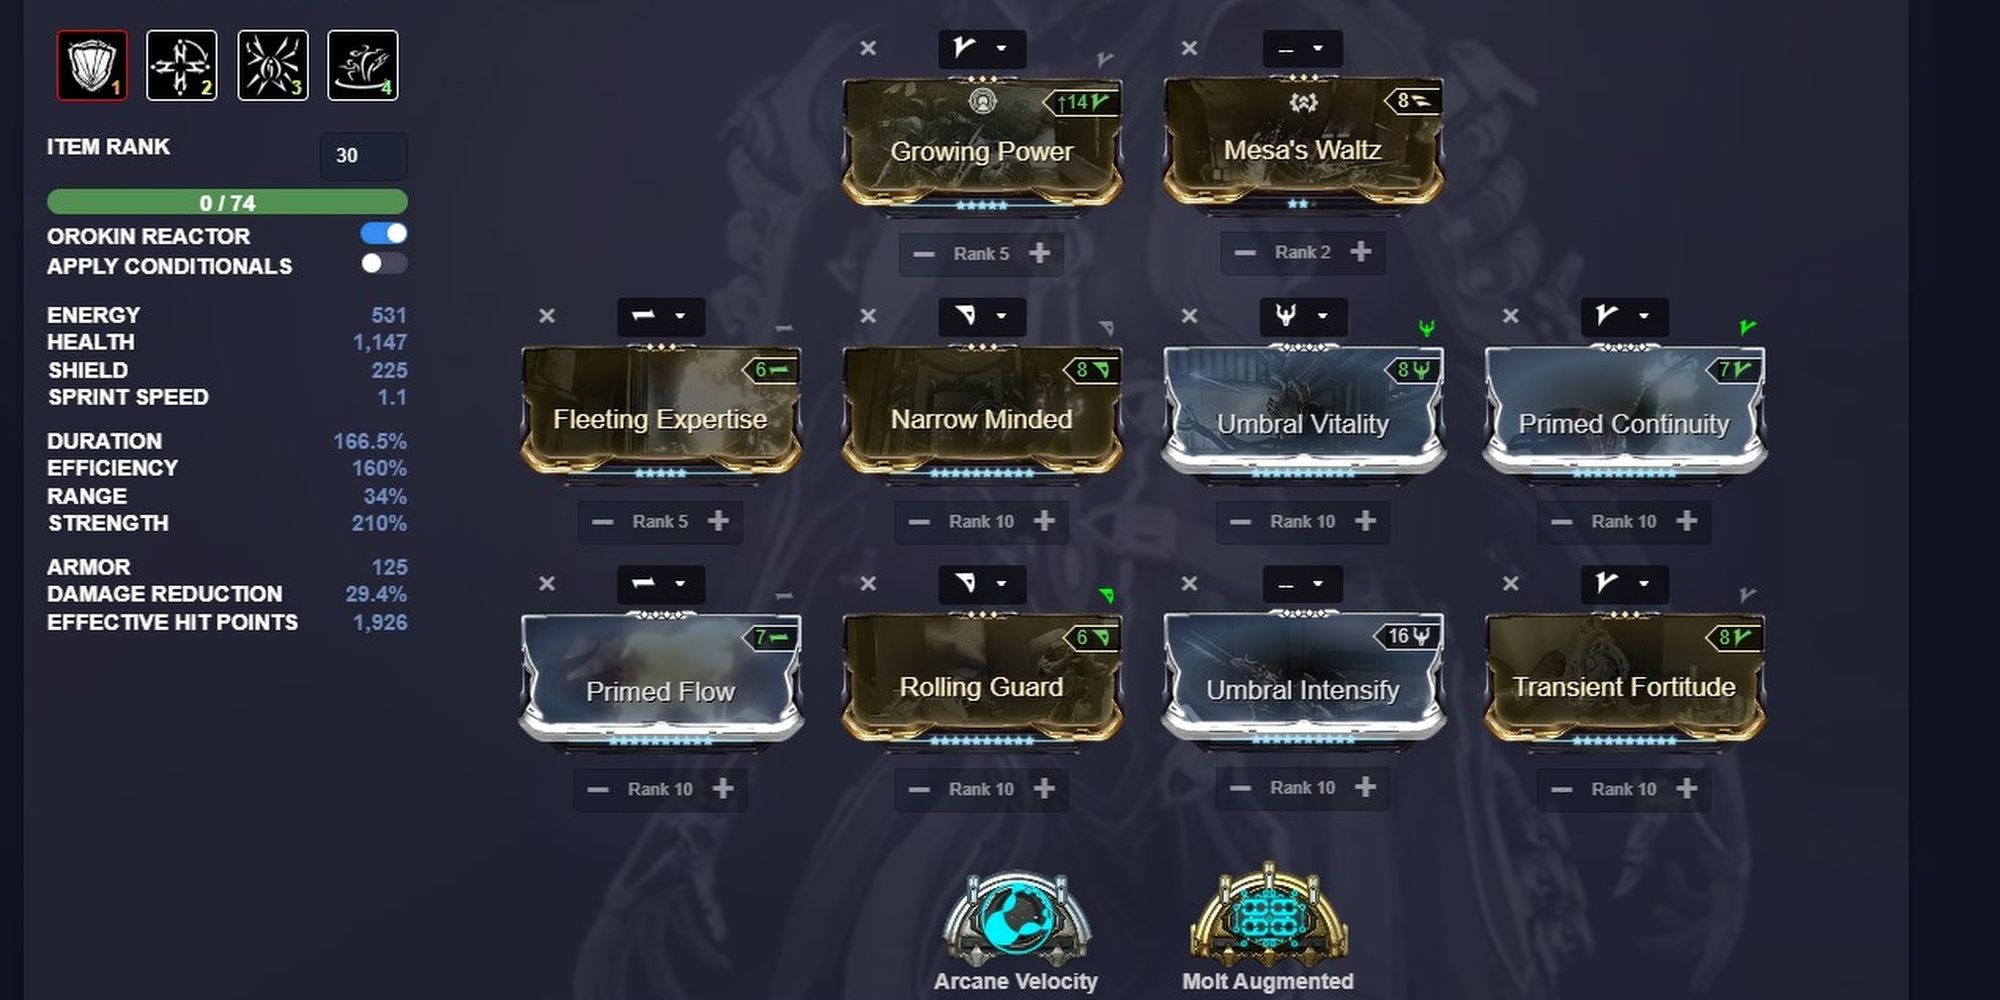
This build uses a rank two Mesa's Waltz to make room. If you don't mind using a Forma on your Exilus slot, install a double dash polarity to use a max rank Mesa's Waltz.
Similar to the starter build, your goal is to get as much Strength and Efficiency as possible, speccing for Duration with our remaining slots. We'll be using Fleeting Expertise to drastically lower Peacemaker's Energy drain. This will be especially useful with Primed Flow's massive Energy reserve boost, allowing you to stay in Peacemaker for lengthy periods.
Narrow Minded (R10) and Primed Continuity give you more than enough Ability Duration to make good use of your kit. We aren't going to mitigate the Range penalty this time since it hardly affects Peacemaker. Umbral Intensify and Transient Fortitude will give this build some much-needed Strength. Round off the build with Umbral Vitality and Rolling Guard/Adaptation (your choice) for survivability.
The aura doesn't matter—Growing Power gives a nice boost to your Strength—but the Exilus slot should have Mesa's Waltz to let you move around in your ultimate. It makes lining up shots far easier. Consider using Amalgam Barrel Diffusion on your secondary to increase the roll distance of Mesa's Waltz.
Using Pillage As Mesa
Replace Ballistic Battery with Hildryn's Pillage. This gives Mesa a panic heal and a hefty armor strip all in one ability. Whenever you're about to face Grineer or a large horde, use your Pillage ability to debuff them. Recasting it early will send the energy wave back, granting max overshields 99% of the time. Since Shatter Shield gives 95% DR to shields as well, you can afford to drop Adaptation for Rolling Guard or another mod entirely. Whenever you're on the verge of dying, use Pillage to get max shields instantly and cleanse any active status effects.
Arcanes are quite important on this build. Arcane Velocity is hilariously strong on Mesa, giving her a 120% fire rate buff to Peacemakers for critically hitting a target. In other words, it's always active. The second Arcane we use is Molt Augmented for an additional 60% Ability Strength upon landing 250 kills, something that's rather trivial for Mesa. You can also replace Molt Augmented with Arcane Avenger if you want stronger, more consistent critical hits.
Finally, use a hybrid build for Peacemakers. We'll be using Galvanized Shot to give Peacemakers damage scaling, Galvanized Diffusion and Lethal Torrent for an absurd boost to multishot, and the Primed critical mods will further amplify your damage. Viral and Heat work the best here. Use a 60/60 elemental mod in place of a full damage element (we recommend Frostbite). This gives you a 22% chance to land a status effect per bullet. And since you fire 180% faster with this build, you'll be getting full use out of Viral's status effect and Galvanized Savvy. Not even Steel Path Grineer can survive how much damage you'll be dishing out.

