Quick Links
Warframe is no stranger to progression systems. Players work to level their weapons, Warframes, Archwings, Railjack, Necramechs, and eventually their Focus Schools and Helminth. One system that unlocks later in your playthrough is the ability to create Amps for your Operator.
If you're looking to farm Eidolons and earn some powerful Warframe Arcanes, you're going to need a good Amp. A good Amp will turn Eidolon hunts from impossible to trivial, provided you make the right one. This guide will go over what Amps are, how to make them, and we'll give some in-depth information on how each Amp part works and the best Amps you can craft.
This Article Contains Spoilers For Warframe's Story Quests
What's An Amp?
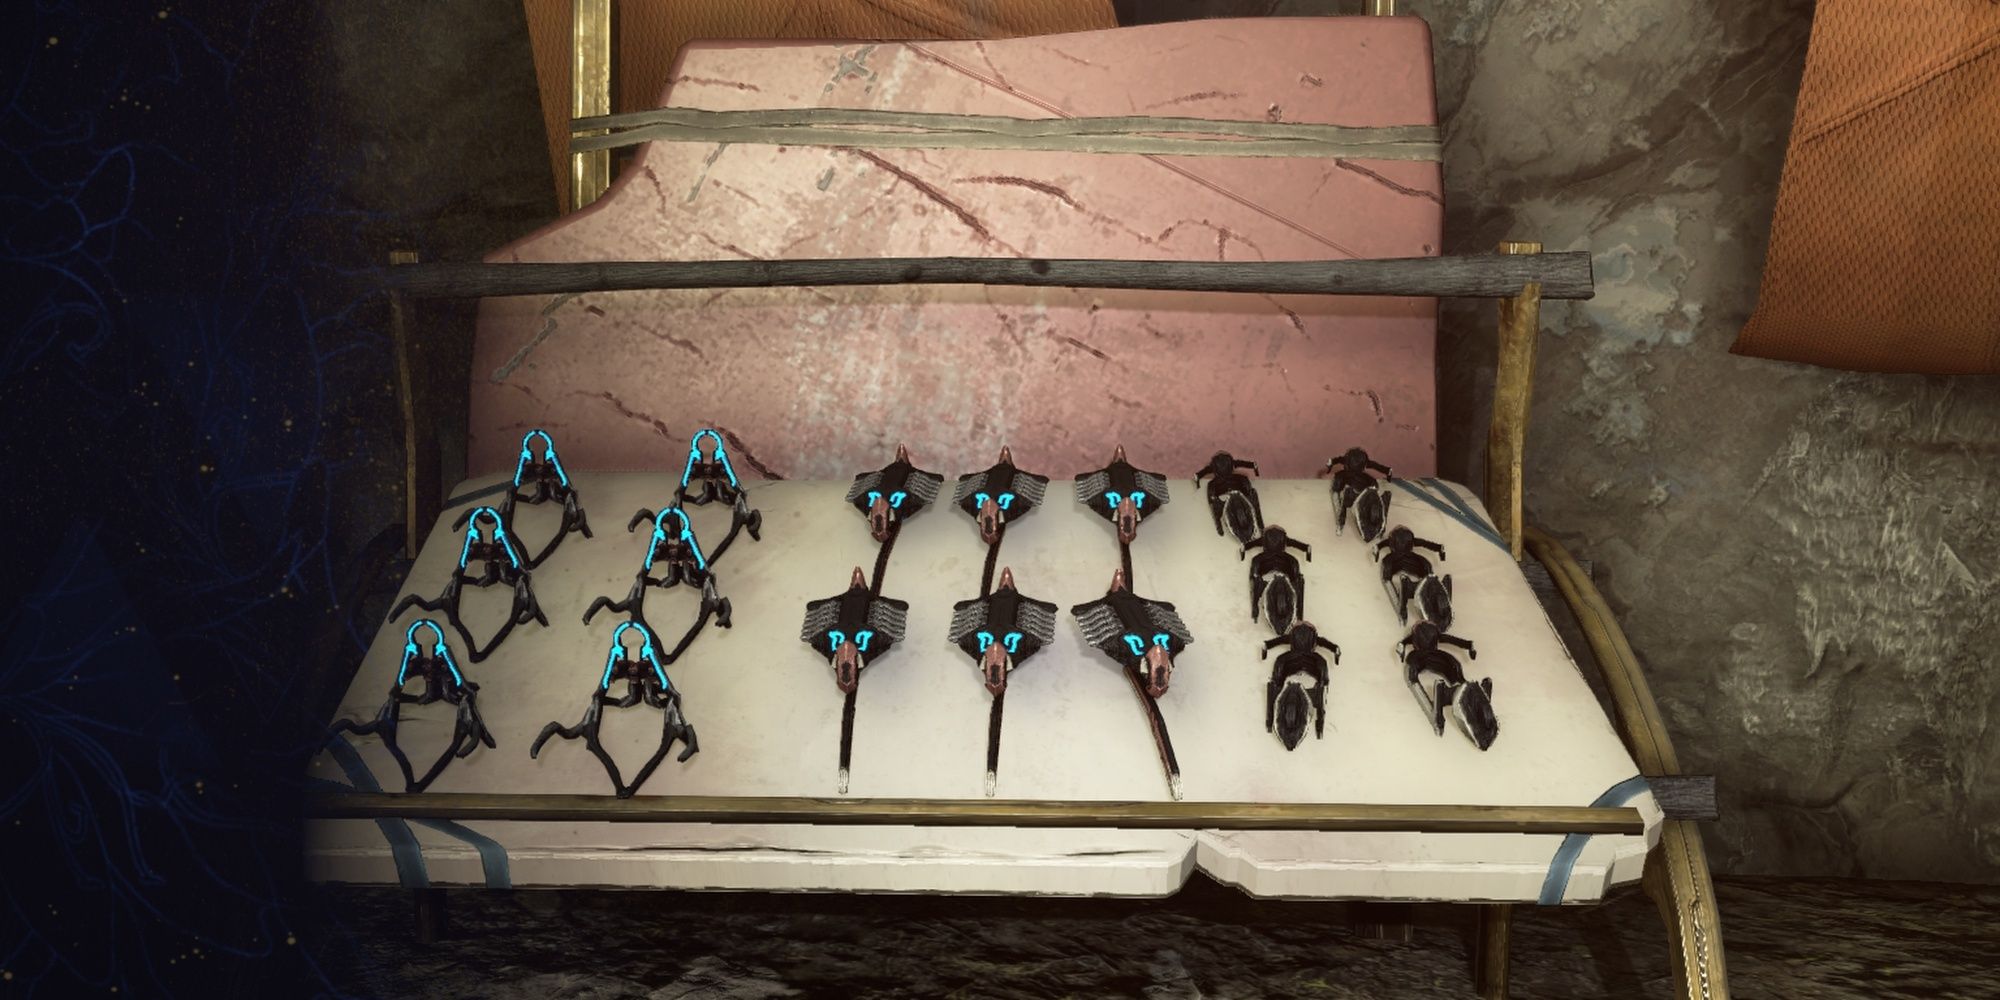
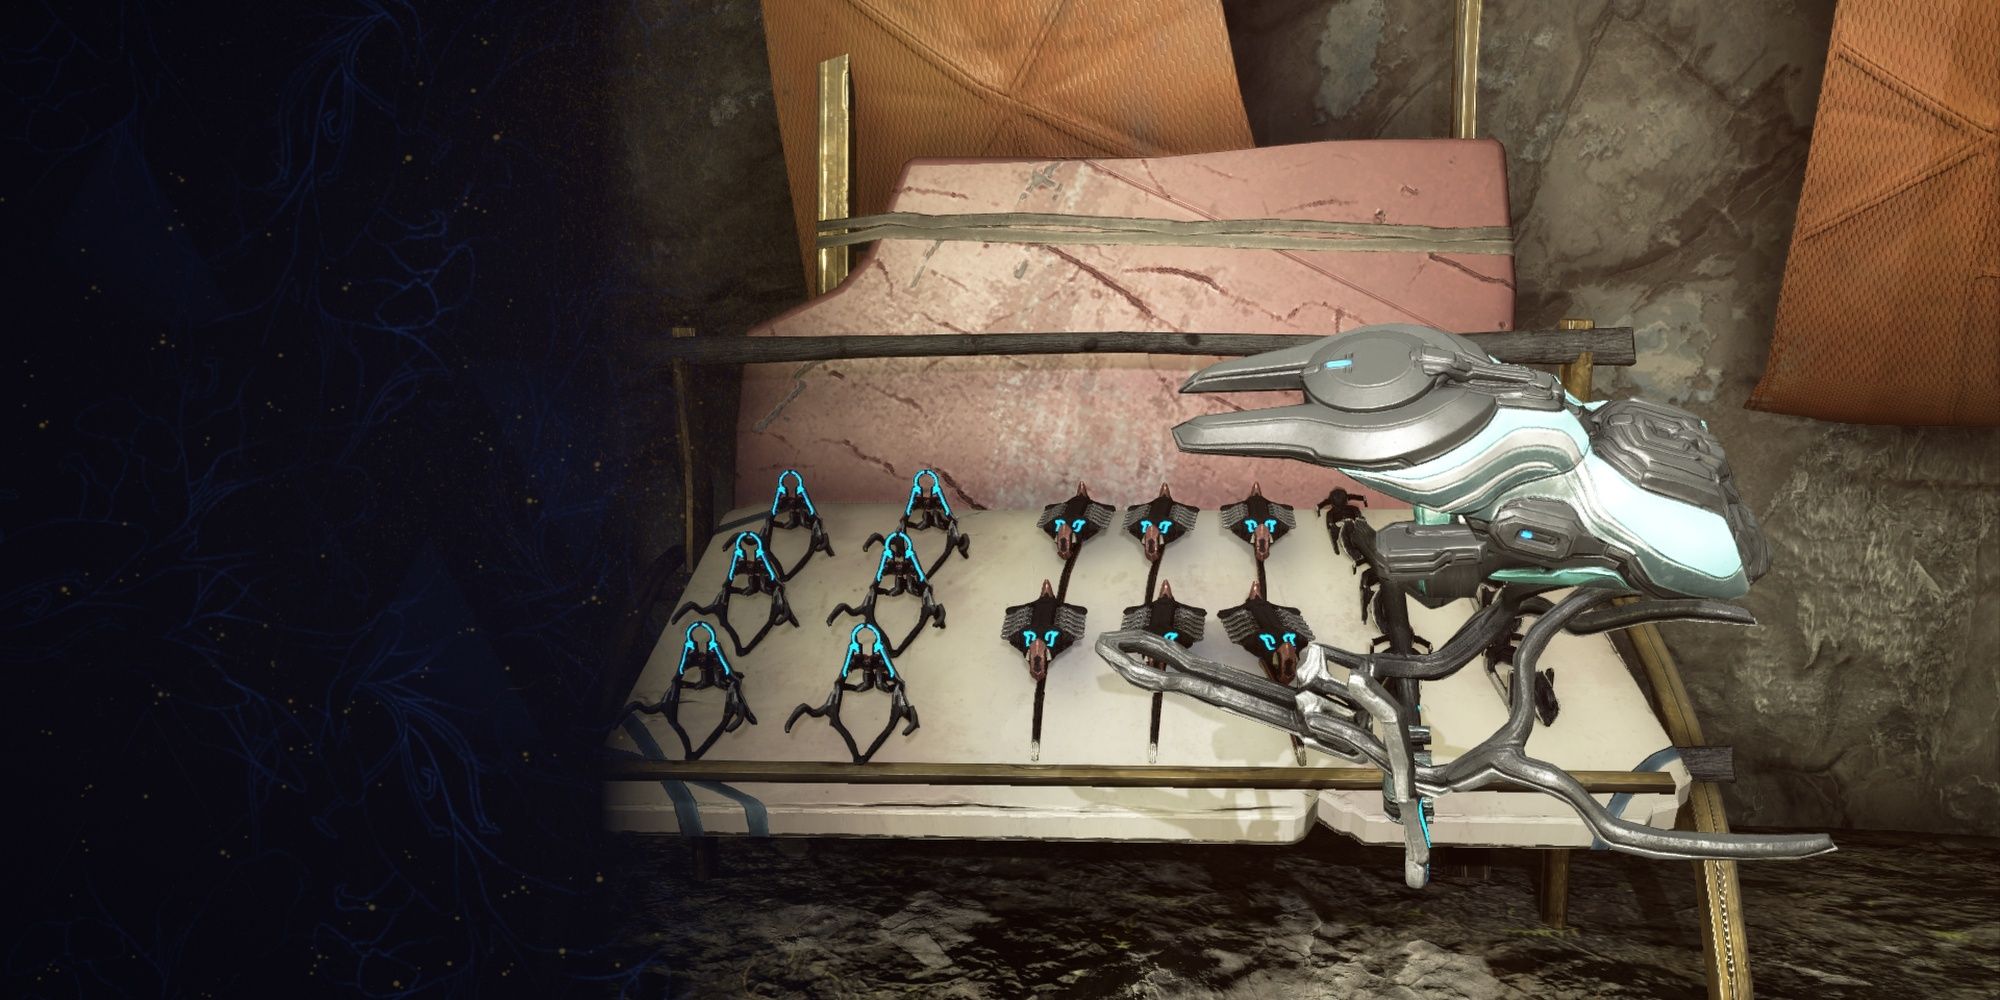
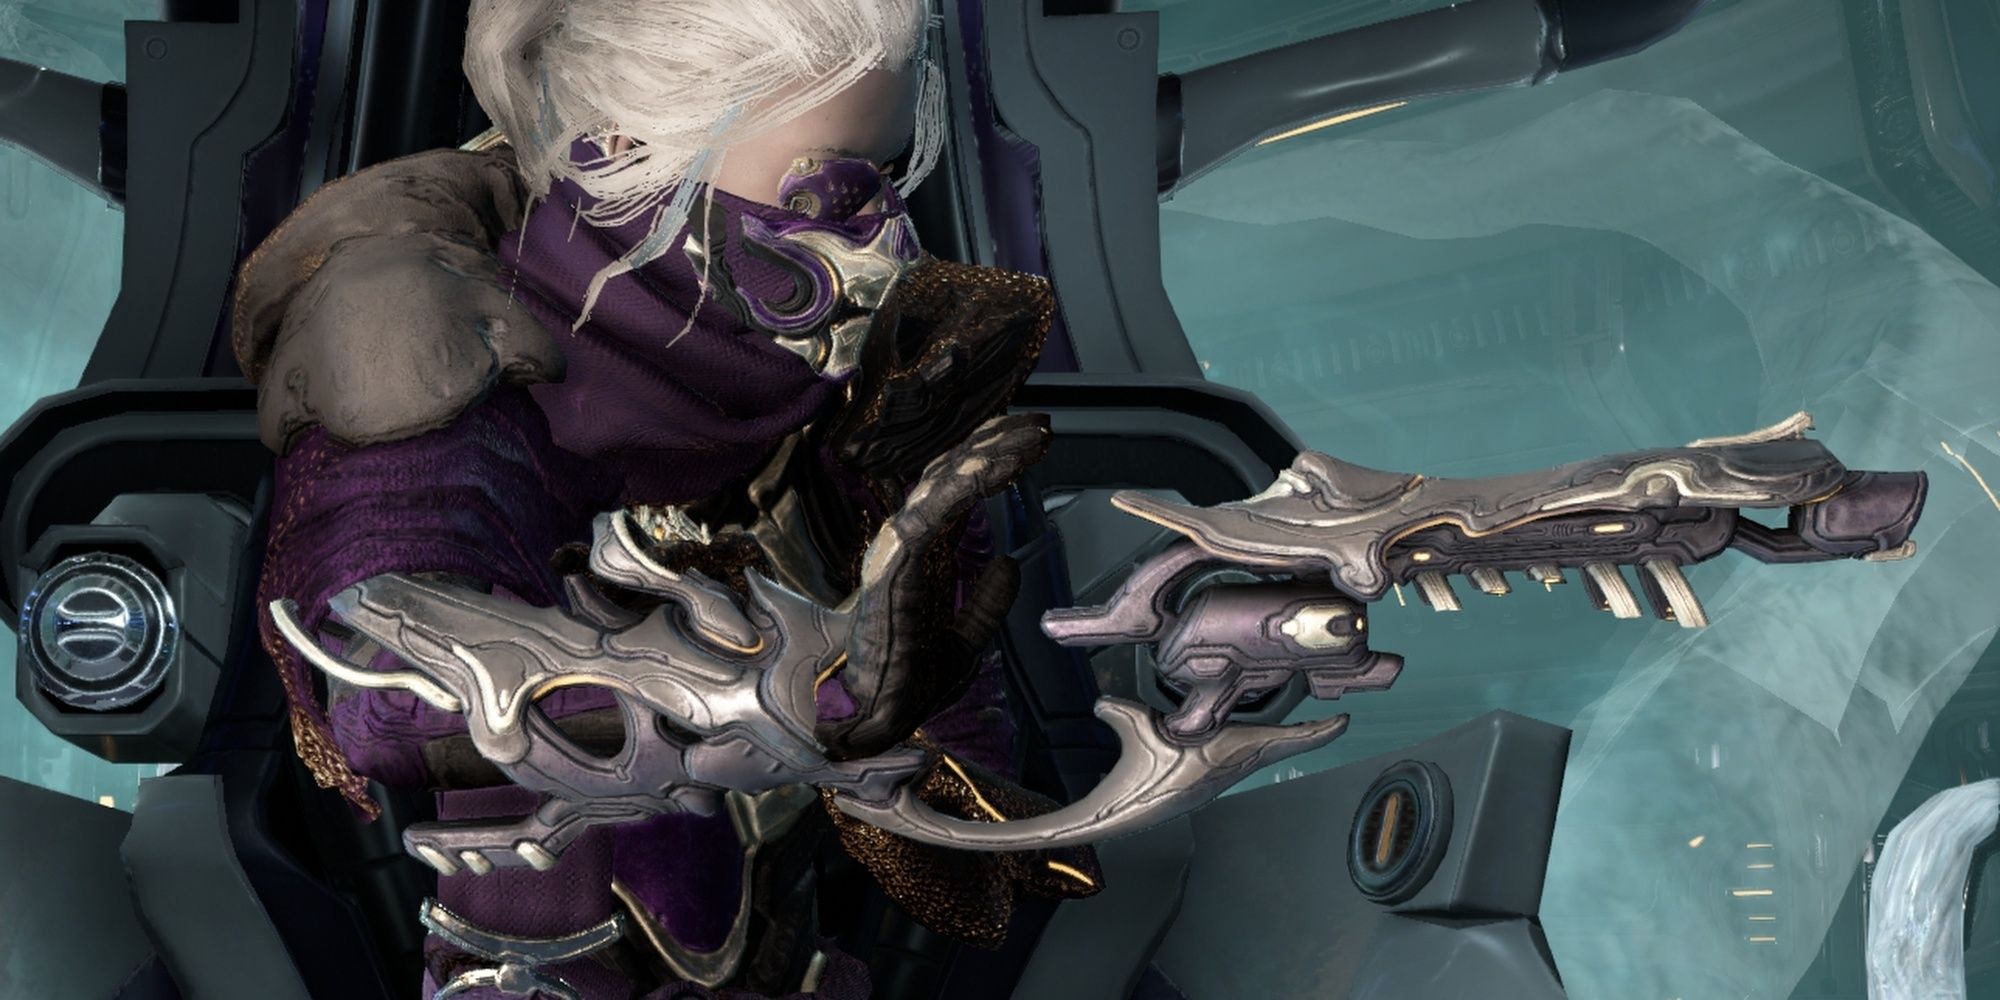
Amps are modular weapons that are wielded by your Operator—the character that controls all of your Warframes. They behave similarly to Kitguns, granting unique fire modes based on which parts you used to assemble the weapon. You'll start with a Mote Amp upon completing The War Within quest, with more powerful Amps becoming available as you increase your level with the Quills and Vox Solaris factions. If you want to farm Eidolons or make your Operator competent at fighting enemies, you're going to need a good Amp.
Unlocking Amps
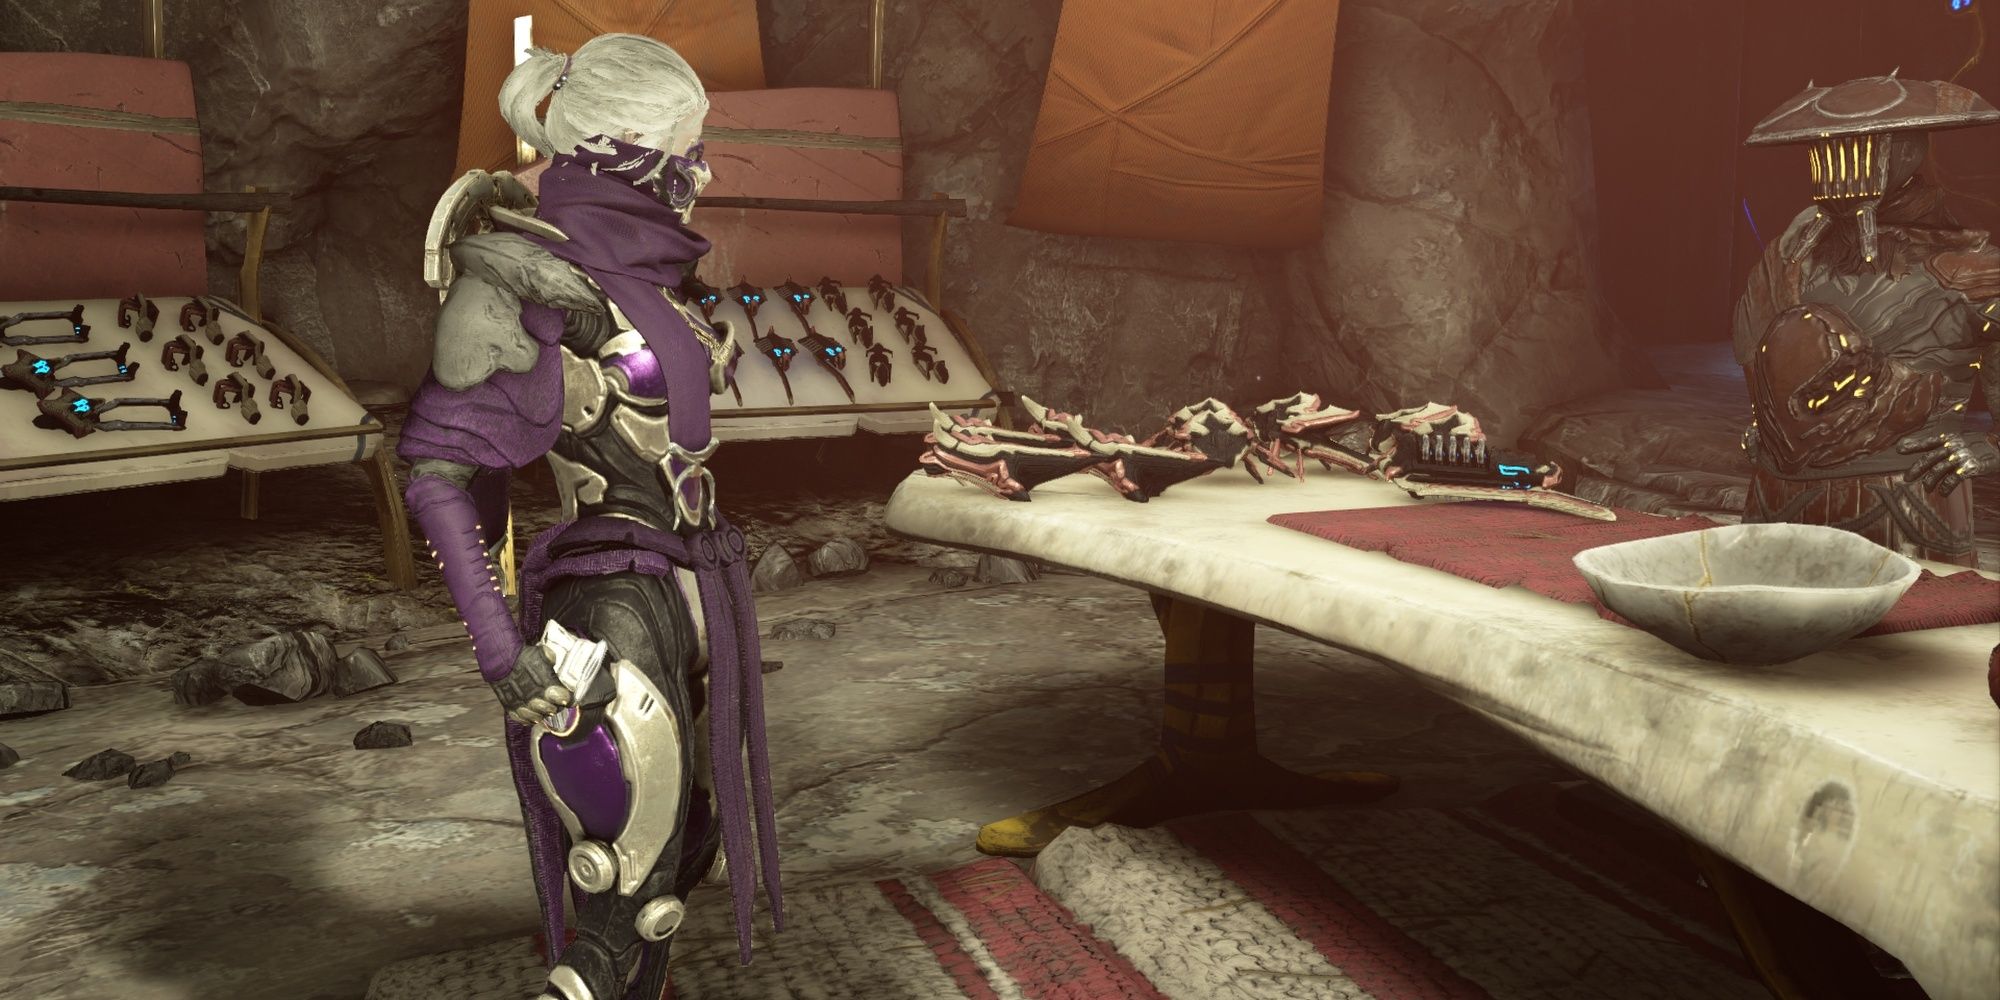
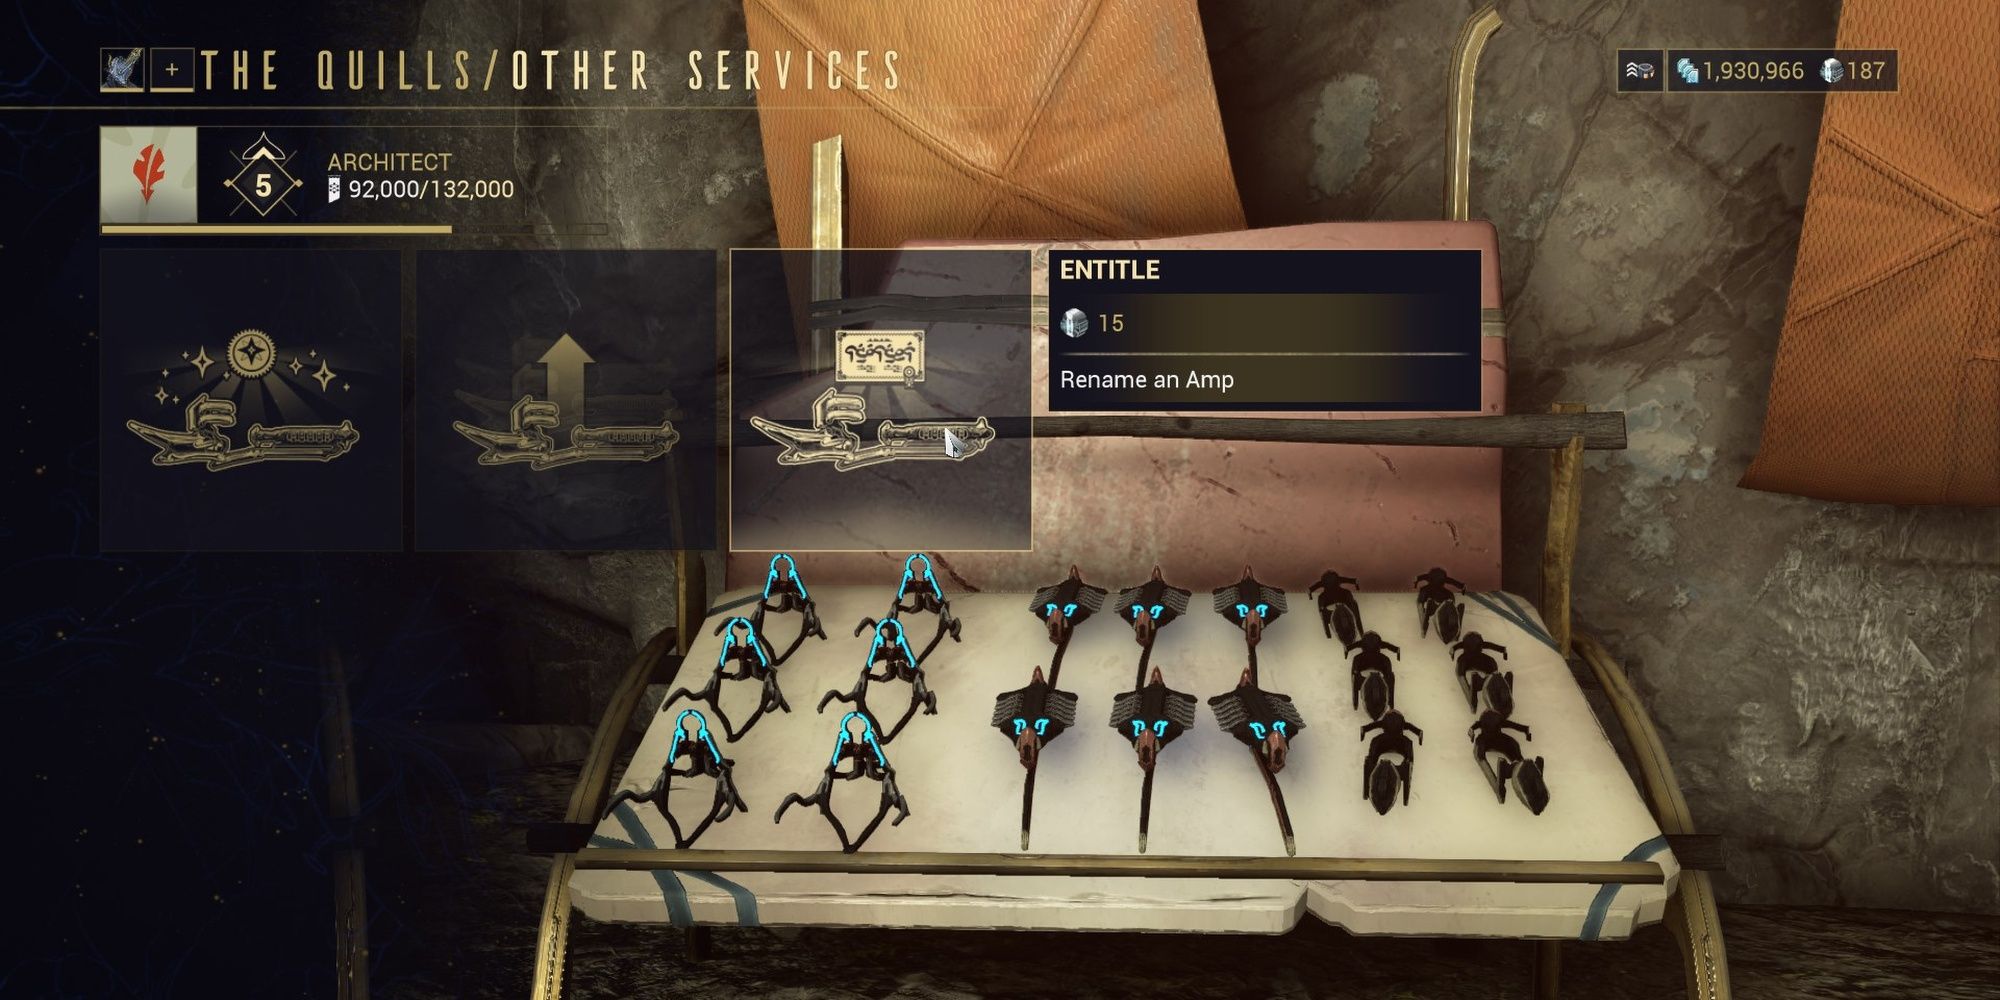
Amps are unlocked upon completing The War Within quest. Once you've finished that quest, speak to Quill Onkko in Cetus to obtain a Mote Amp. A second pre-built Amp called the Sirroco is also obtained by completing The New War quest. Future Amps will be obtained by crafting certain pieces and combining them at either Onkko or Little Duck.
Crafting Amps
Speak to Quill Onkko or Little Duck to get started with crafting an Amp. There are three parts that create an Amp:
- Prism – Primary fire
- Scaffold – Secondary fire
- Brace – Stat bonus
You can remember it as Primary Prism, Secondary Scaffold, and Bonus Brace. There are seven tiers for each Amp part. The first four tiers are obtained from Quill Onkko in Cetus. The last three are obtained from Little Duck in Fortuna.
Tiers are unlocked and referenced sequentially. For example, the Raplak Prism is the first Prism you'll be able to purchase from Quill Onkko. This makes it a T1 Prism. Onkko's last Scaffold he sells, the Phahd Scaffold, is a T4 Scaffold since it's the last Scaffold you unlock from him. Little Duck's offerings cover tiers 5-7, as most players will have leveled Onkko before Vox Solaris.
Leveling And Guilding Amps
Once you've created an Amp, you'll need to use your Operator to level that Amp. Once an Amp reaches level 30, you can gild it to enhance its base damage, critical chance, and status chance. You also need be rank three with either the Quills or Vox Solaris to gild an Amp. The cost of gilding an Amp will cost 5,000 Standing with either the Quills (Onkko) or Vox Solaris (Little Duck).
Gilding an Amp resets its level to zero, but unlocks the ability to equip Focus Lenses and Arcanes into your Amp. You'll also earn Mastery Points for leveling your newly-gilded Amp.
All Amp Parts
|
Cetus Parts |
|||
|---|---|---|---|
|
Prism |
Scaffold |
Brace |
|
|
Tier 1 |
Raplak |
Pencha |
Clapkra |
|
Tier 2 |
Shwaak |
Shraksun |
Juttni |
|
Tier 3 |
Granmu |
Klebrik |
Lohrin |
|
Tier 4 |
Rahn |
Phahd |
Anspatha |
|
Fortuna Parts |
|||
|
Prism |
Scaffold |
Brace |
|
|
Tier 5 |
Cantic |
Exard |
Suo |
|
Tier 6 |
Lega |
Dissic |
Plaga |
|
Tier 7 |
Klamora |
Propa |
Certus |
Further Boosting Amp Damage
Unlike your other weapons, Amps cannot be modded. You only have five ways of boosting an Amp's damage:
- Gild your Amp once it reaches level 30.
- Fire your Amp through a Volt's Shield ability.
- Gain a Damage Blessing from a Relay Font.
- Equip Virtuous Arcanes.
- Use certain Focus Ways.
Amp Naming Explained
The community refers to their Amps based on the tier of parts used in its construction. For example, combining the Raplak Prism (first unlock), Phahd Scaffold (fourth unlock), and Certus Brace (seventh unlock) would give you a 1-4-7 Amp. If you used a T5 Prism instead, your Amp would now be referred to as a 5-4-7.
Each number in that trio represents the Prism, Scaffold, and Brace. The first number is your Prism, the second is your Scaffold, and the third number refers to your Brace.
This might seem like an odd thing to explain, but just about every Warframe player talks about Amps with number combinations instead of parts. If you ever hear someone say they're using a "1-2-7" or a "3-1-6," they're referring to an Amp combination.
Amp Mastery Points
Once you've gilded an Amp, you'll start to earn Mastery Points for leveling it up. Only gilded Prisms give Mastery Points; Scaffolds and Braces don't give Mastery Points. This means you'll need to craft seven unique Amps—each with a unique Prism—to earn all the Mastery from this system. Each Amp part is worth 3,000 Mastery Points, granting a total of 24,000 Mastery Points for leveling all Amp Prisms.
All Amp Parts
|
Note: All stats listed below assume the Amp is gilded. |
Prisms
|
Part |
Fire Mode |
Stats |
|---|---|---|
|
Raplak |
Single-shot beam |
|
|
Shwaak |
Arca Plasmor projectile |
|
|
Granmu |
Tri-burst grenade launcher |
|
|
Rahn |
Full-auto Raplak |
|
|
Cantic |
Burst-fire Raplak |
|
|
Lega |
Ignis flamethrower |
|
|
Klamora |
Short-range, wide angle flamethrower |
|
Scaffolds
|
Part |
Fire Mode |
Stats |
|---|---|---|
|
Pencha |
Opticor beam |
|
|
Shraksun |
Explosive Arca Plasmor projectile |
|
|
Klebrik |
Auto-aim beam |
|
|
Phald |
Ricocheting disk |
|
|
Exard |
Granmu that fires until ammo is fully spent |
|
|
Dissic |
Arcing bomb that detonates on impact |
|
|
Propa |
Floating mine that explodes after a short delay |
|
Braces
|
Part |
Stats |
|---|---|
|
Clapkra |
+40 Amp Energy |
|
Juttni |
-1s Amp recharge delay |
|
Lohrin |
+12% Amp Critical and Status Chance |
|
Anspatha |
+20 Amp Energy, +15/s Energy recharge rate |
|
Suo |
+100 Amp Energy, +2s Amp recharge delay |
|
Plaga |
-20 Amp Energy, -1.5s Amp Recharge delay |
|
Certus |
+20% Amp Critical Chance |
Credit to the Warframe Fandom Wiki for the information provided above.
Pre-Built Amps
|
Amp |
Stats |
|---|---|
|
Mote Amp |
|
|
Sirocco |
|
Virtuous Arcanes
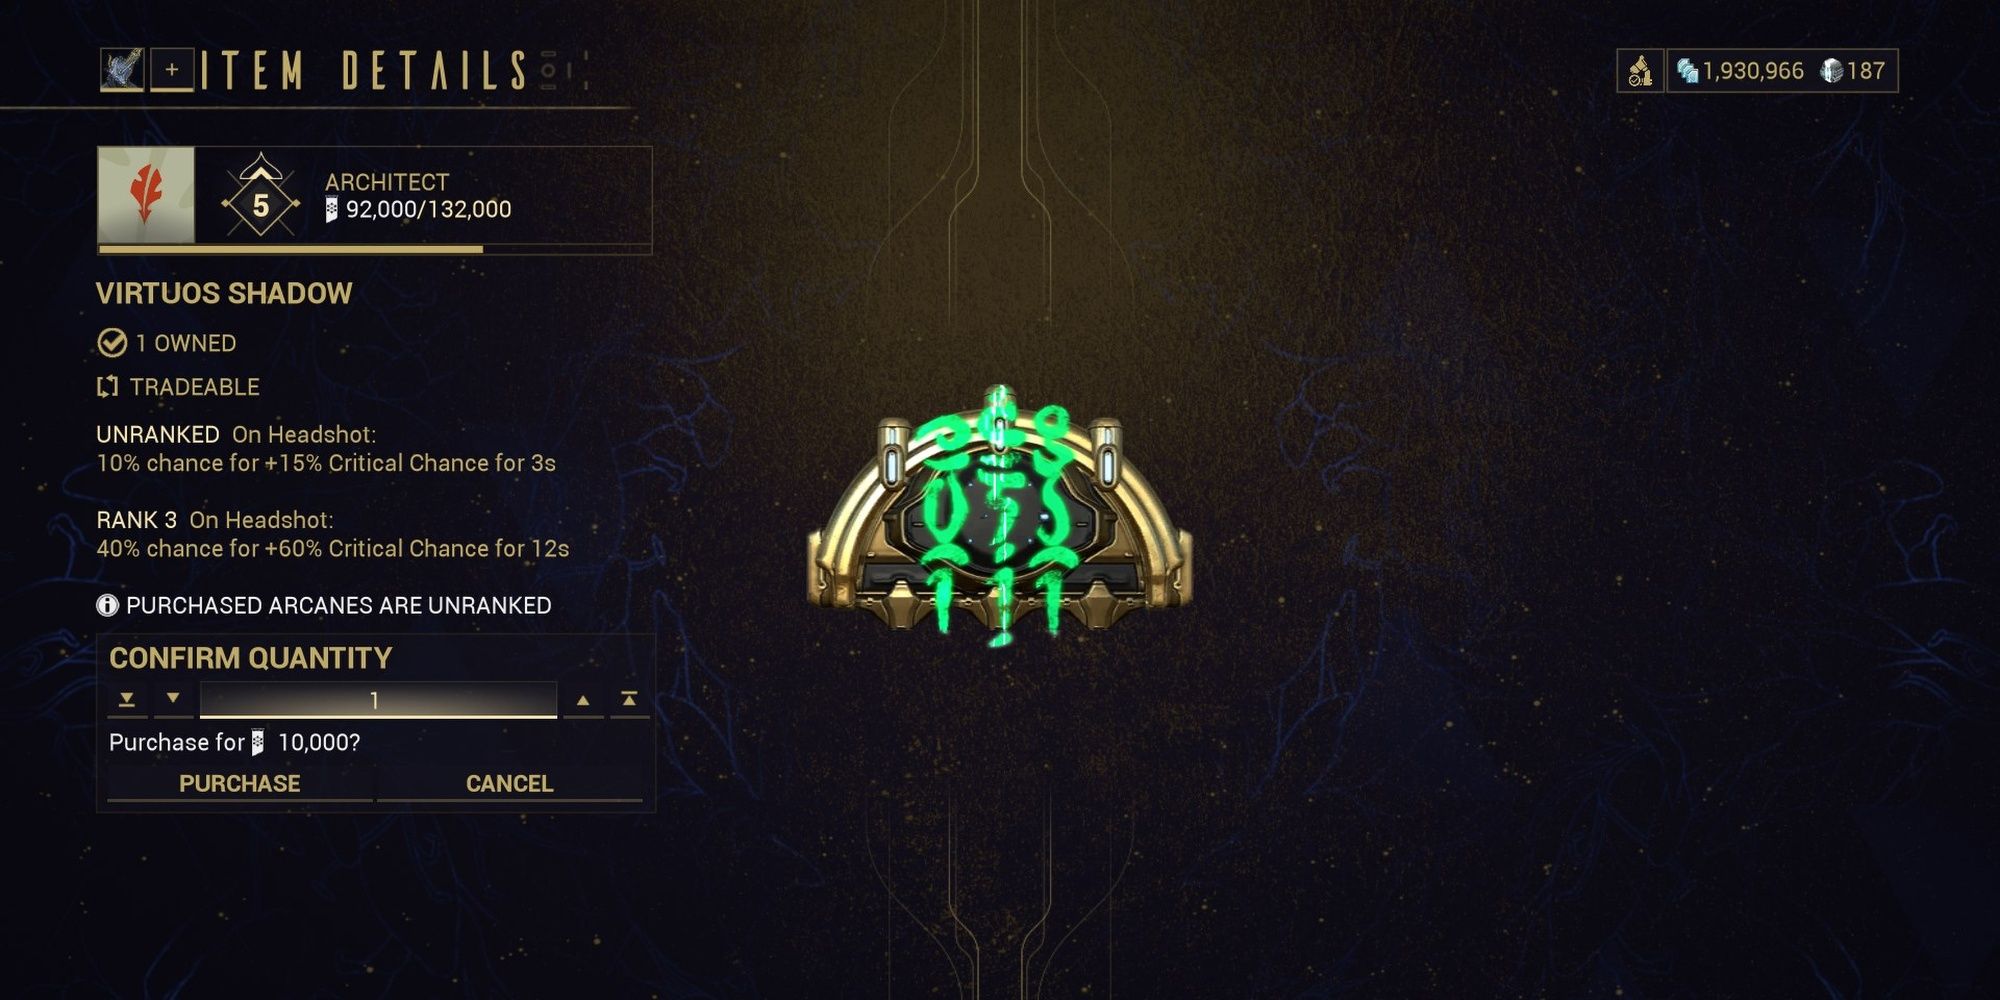
Virtuous Arcanes work similarly to Exodia and Pax Arcanes. When you've gilded an Amp, you'll unlock a Virtuous Arcane slot that can equip one of ten different Arcanes. Unlike Warframe Arcanes, Virtuous Arcanes have three ranks instead of five. Most Virtuous Arcanes are sold by Quill Onkko, although any Arcanes that alter your Amp's damage type are sold by Little Duck. Any Virtuous Arcane can go on any gilded Amp; the parts that make up the Amp are irrelevant.
Every Virtuous Arcane
|
Virtuous |
Activator(Chance) |
Effect |
Notes |
|---|---|---|---|
|
Forge |
Hit(100% chance) |
Convert 98% of Void damage into Heat. |
|
|
Fury |
Status Effect(20% chance) |
Increases Amp damage by 30%. |
|
|
Ghost |
Headshot(40% chance) |
Increases Amp status chance by 60%. |
|
|
Null |
Kill(100% chance) |
Increases Amp Energy regen by 20%. |
|
|
Shadow |
Headshot(40% chance) |
Increases Amp critical chance by 60%. |
|
|
Spike |
Hit(100% chance) |
Converts 98% of Void damage into Puncture. |
|
|
Strike |
Critical(20% chance) |
Increases Amp critical damage by 60%. |
|
|
Surge |
Hit(100% chance) |
Converts 98% of Void damage into Electricity. |
|
|
Tempo |
Kill(60% chance) |
Increases Amp fire rate by 60%. |
|
|
Trojan |
Hit(100% chance) |
Converts 98% of Void damage into Viral. |
|
The Best Amp Combinations
Chances are that you're looking to make an Amp so you can defeat Eidolons and the Profit Taker Orb. If that's the case, you'll want to make either a X-2-7 (X denoting any Prism), or a X-7-7 Amp. We talk more about the differences below. For those who want to toy around with a few Amp parts, we list the best Amp parts and Arcanes below as well.
The Best Amp Parts And Arcanes
-
Prism: Raplak, Shwaak, Klamora
- Prism is the least important part of the bunch. Use whichever ones you like.
-
Scaffold: Shraksun, Propa
- These are the best Scaffolds for killing Eidolons.
- Phald is also good for killing fodder enemies (explained later).
-
Brace: Certus
- Gives the most critical chance of any Brace, making it the best.
-
Arcane: Virtuous Shadow
- Gives additional critical chance, making Eidolon hunts much easier.
- Use Madura's Flame Dash to easily activate this Arcane.
X-2-7 Or X-7-7
The difference between an X-2-7 and an X-7-7 is the Scaffold you use—the X can be any Prism you like. The T2 Scaffold, Shraksun, fires a projectile that pierces targets and explodes after traveling a few meters. The T7 Scaffold, Propa, lobs a mine two meters in front of your character that detonates shortly afterward or when it hits something.
While the Propa Scaffold deals more damage with the explosion, its short travel distance makes it quite easy to damage and stun your Operator. Using a Volt Shield will mitigate this issue, but one wrong shot can bring your Operator to the brink of death. It might deal more damage than a Shraksun, but the Shraksun can damage targets with its projectile before it explodes.
Overall, we feel that the X-2-7 Amp is better, but only by a hair. The X-7-7 Amp might deal more upfront damage when you critically hit, but the X-2-7 gives you more opportunities to critically hit. The X-2-7 is also much less likely to stagger and flat-out kill your Operator. Regardless of whichever Amp you use, pair your Amp with Virtuous Shadow and either the Madurai or Unairu Focus school.

