Quick Links
Warframe's Veilbreaker update added three weekly missions that give players the chance to control Kahl-175, a Grineer soldier last seen in "The New War" quest. The second mission in this series of weekly excursions is Junk Run, a much more action-packed level than Sneaky Sabotage.
You'll need to free your brothers, find spare Thumper parts, rescue any Ostron prisoners you find, and take down a Narmer Thumper with anything you can find. Compared to Sneaky Sabotage, this mission is far shorter and has much easier collectables to find. This guide will show you how to clear this mission and where to find every collectable.
Junk Run Mission Walkthrough
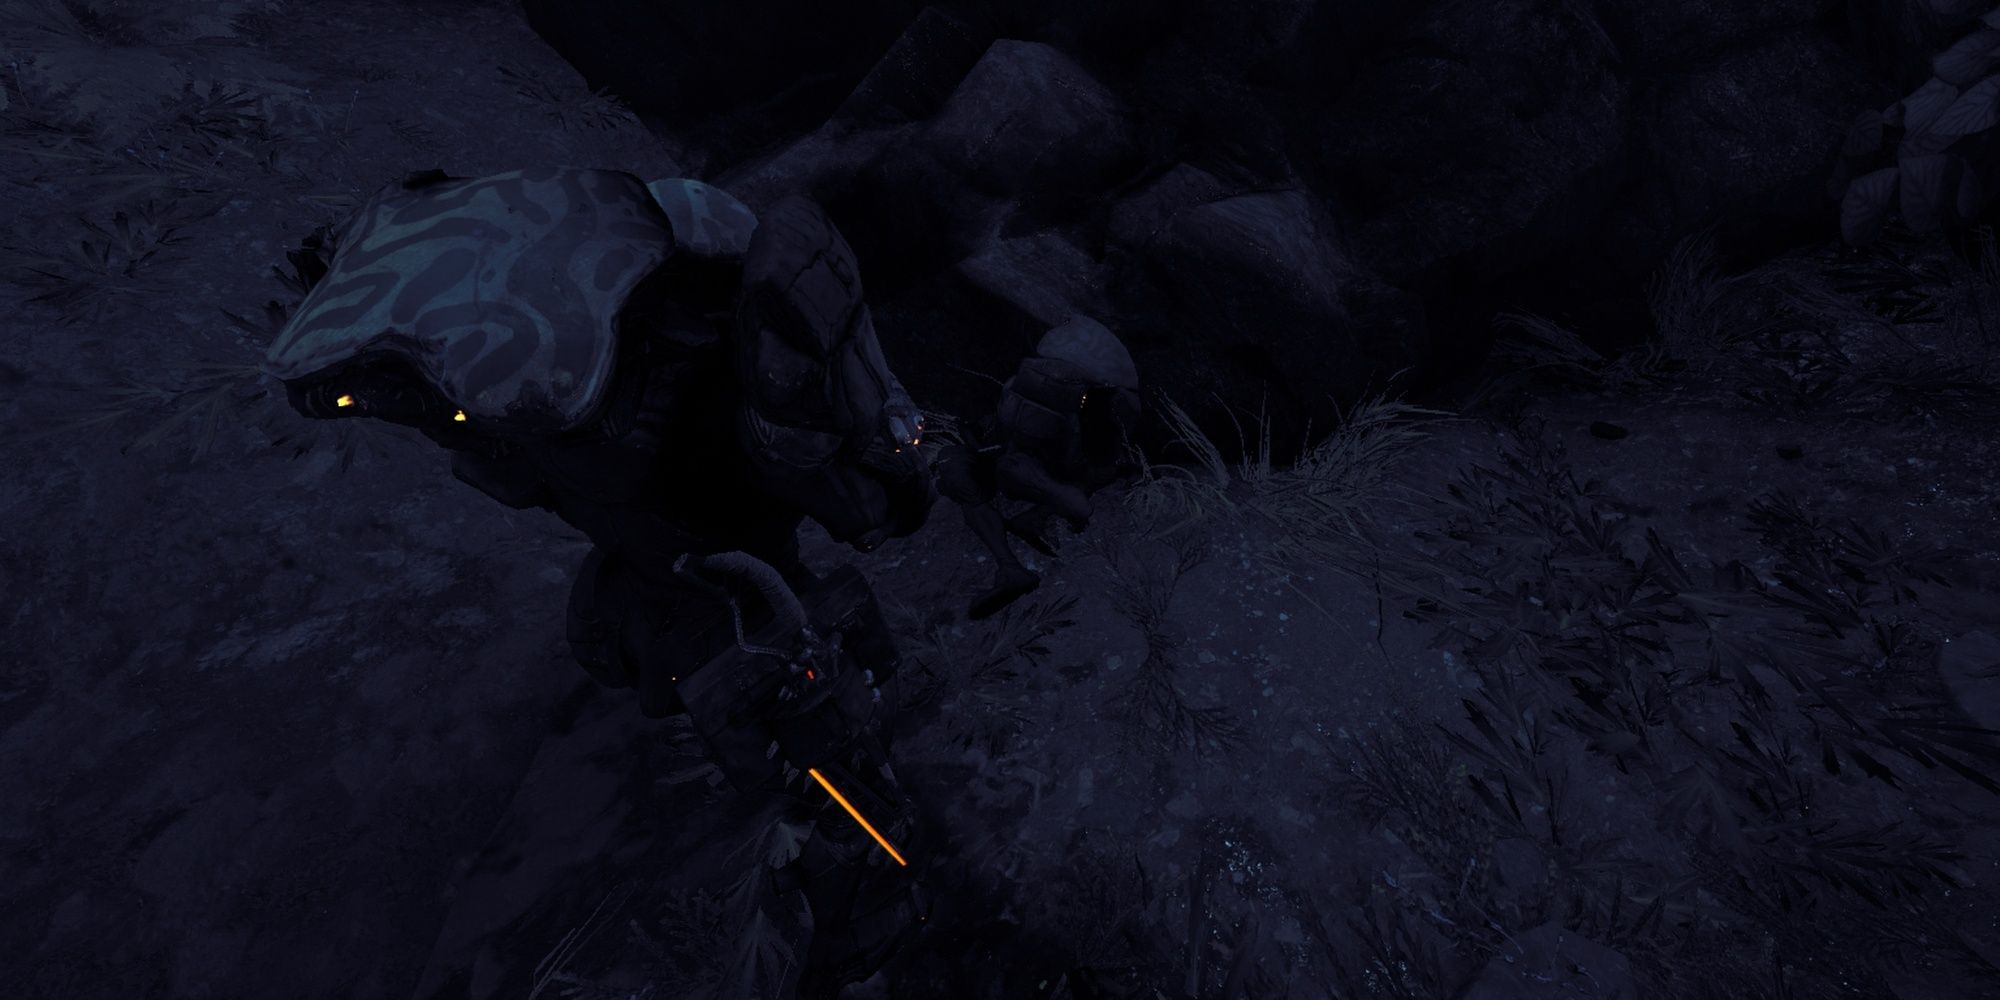
Similar to last week's mission, your goal is to reach the other side of the forest by using Sentient cameras and avoiding detection from Deacons. Fortunately, you're equipped with a gun this time, so you'll have a means of dealing with any Sentients or Narmer on your path.
Salvage Locomotion Core
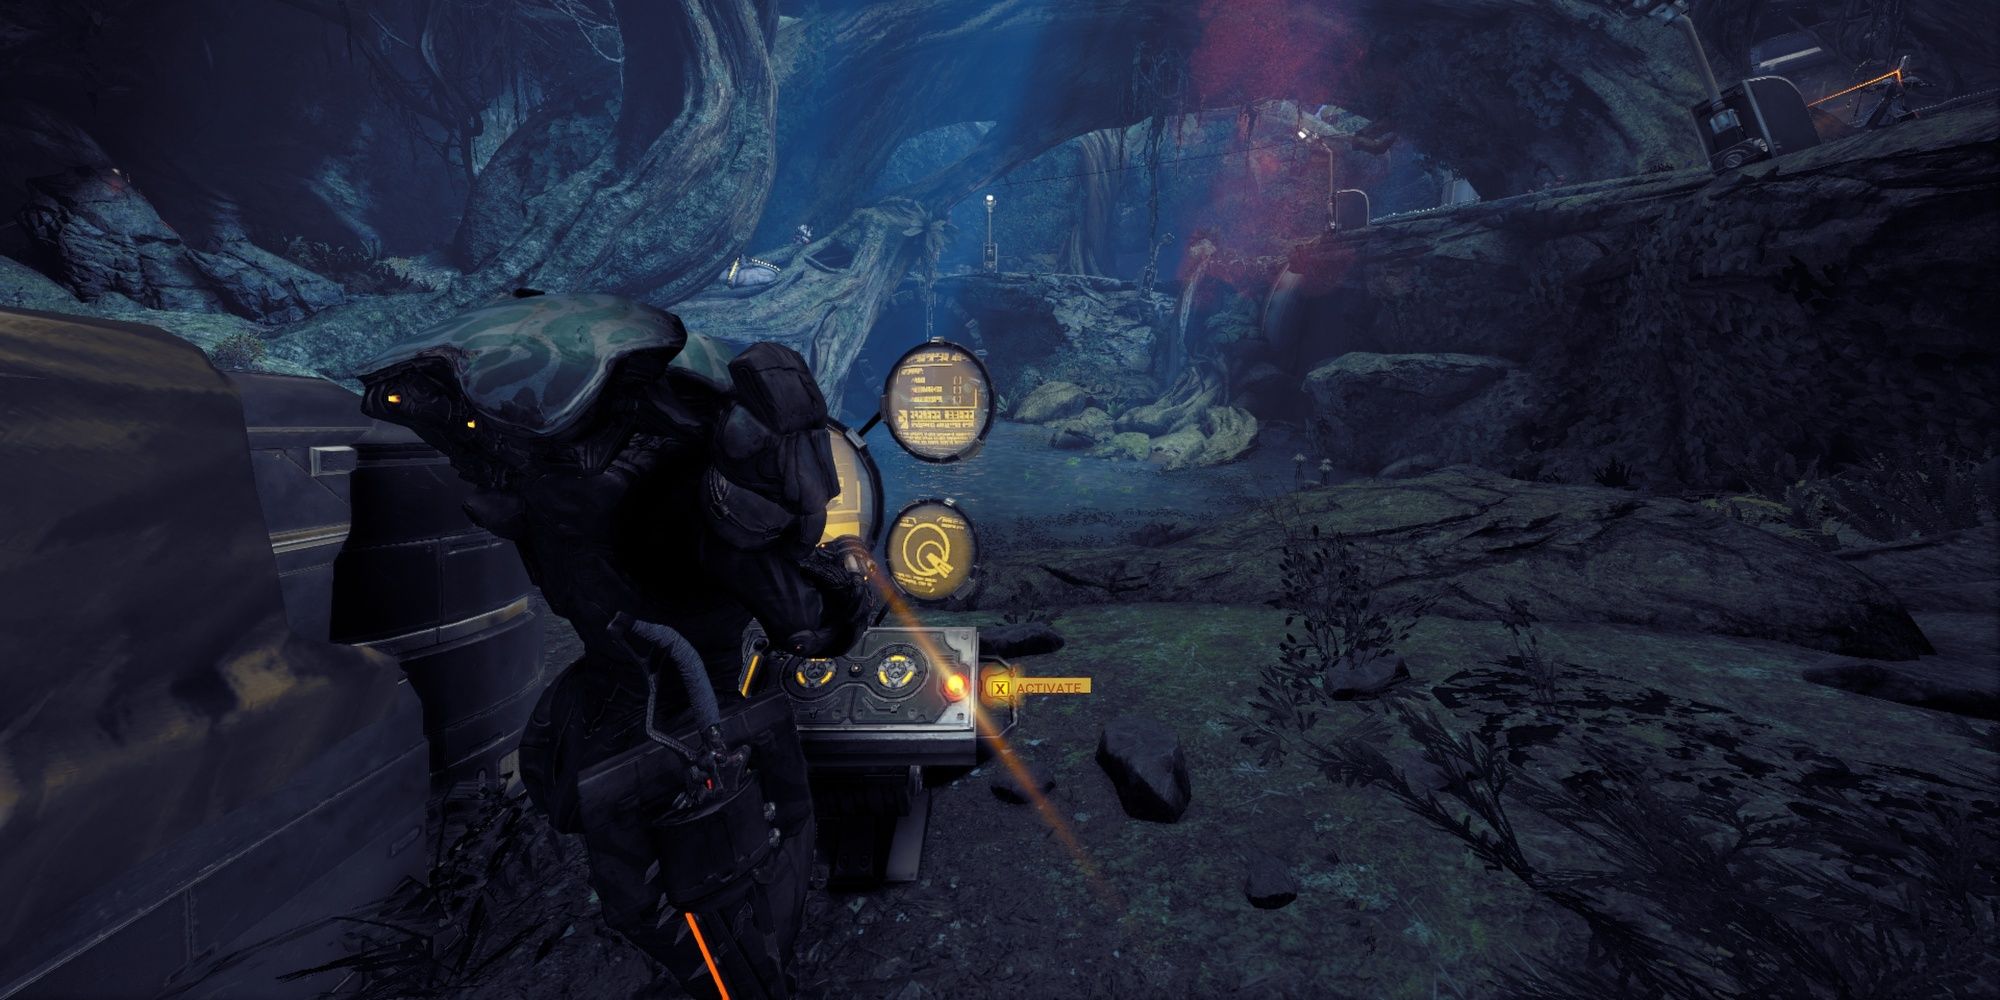
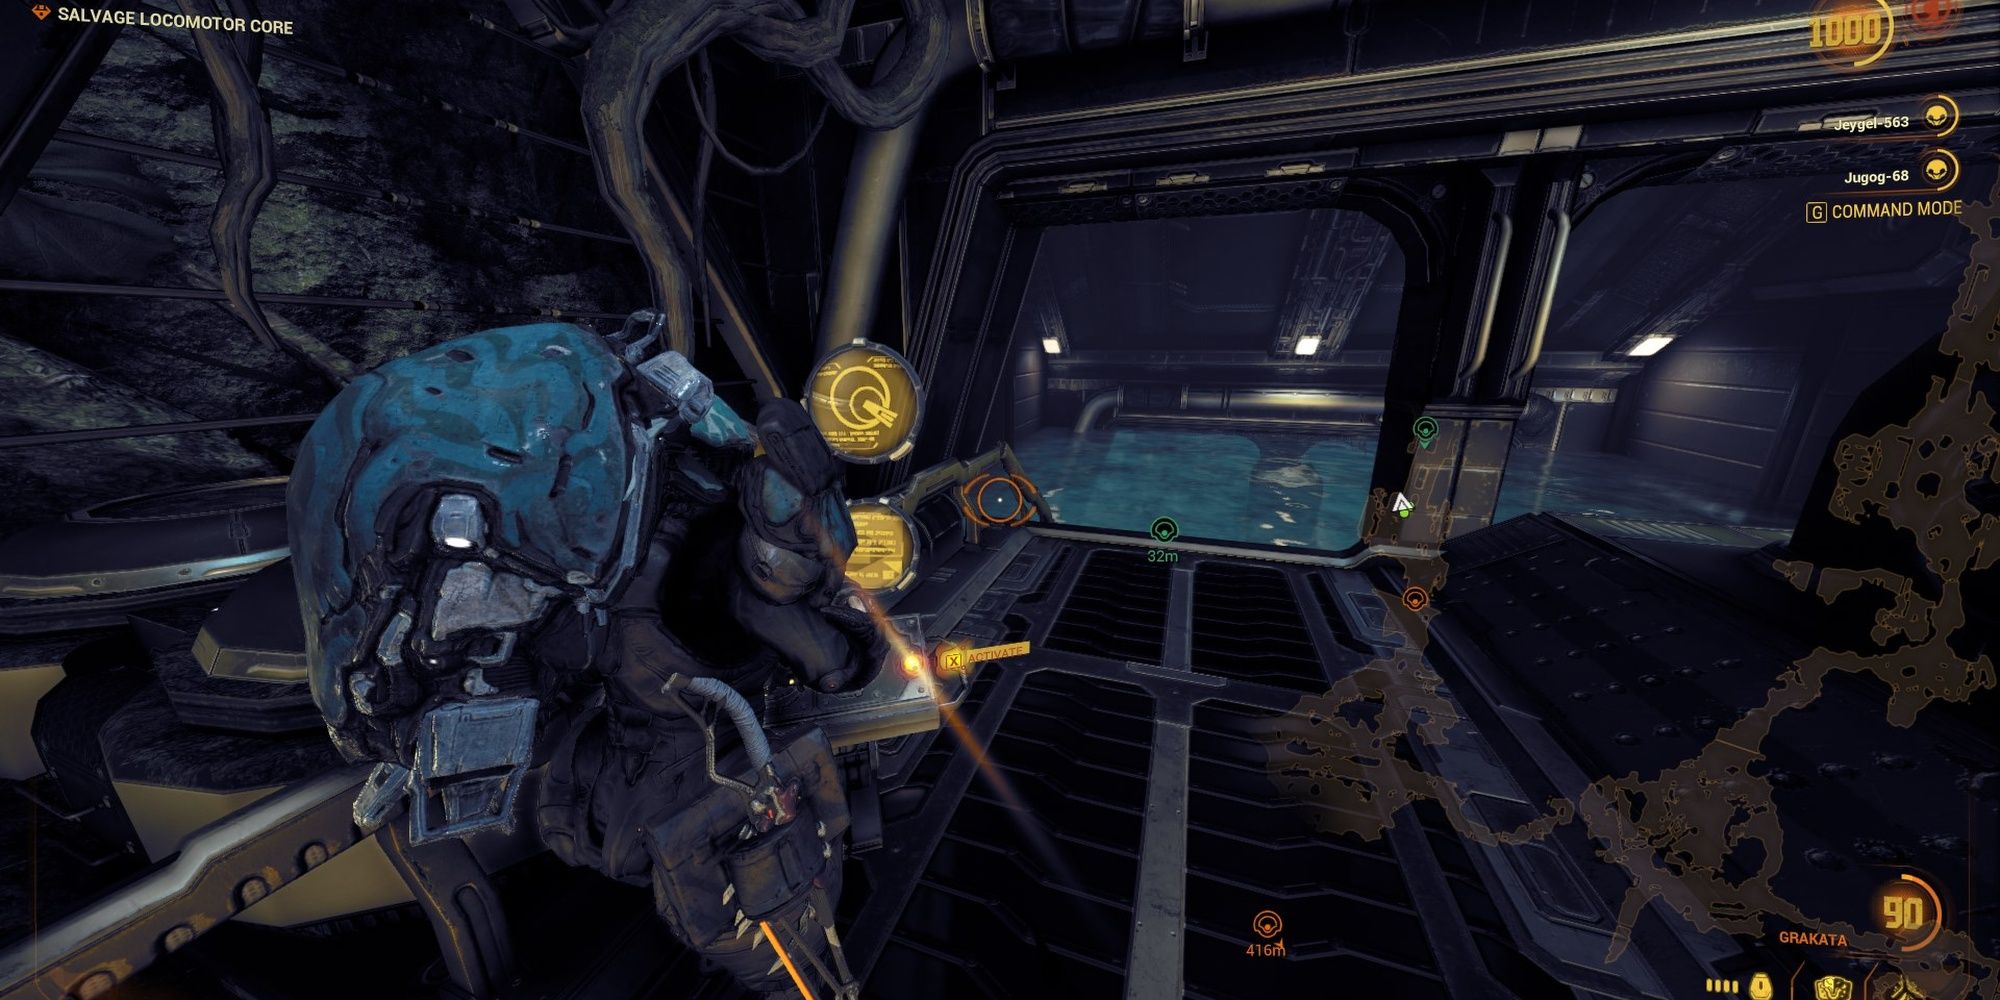
Start the mission by interacting with the terminal at the end of the landing pad. Like before, interact with the panel near the forcefield to destroy it. The next section will require you to avoid a Deacon while you swap which gate is open.
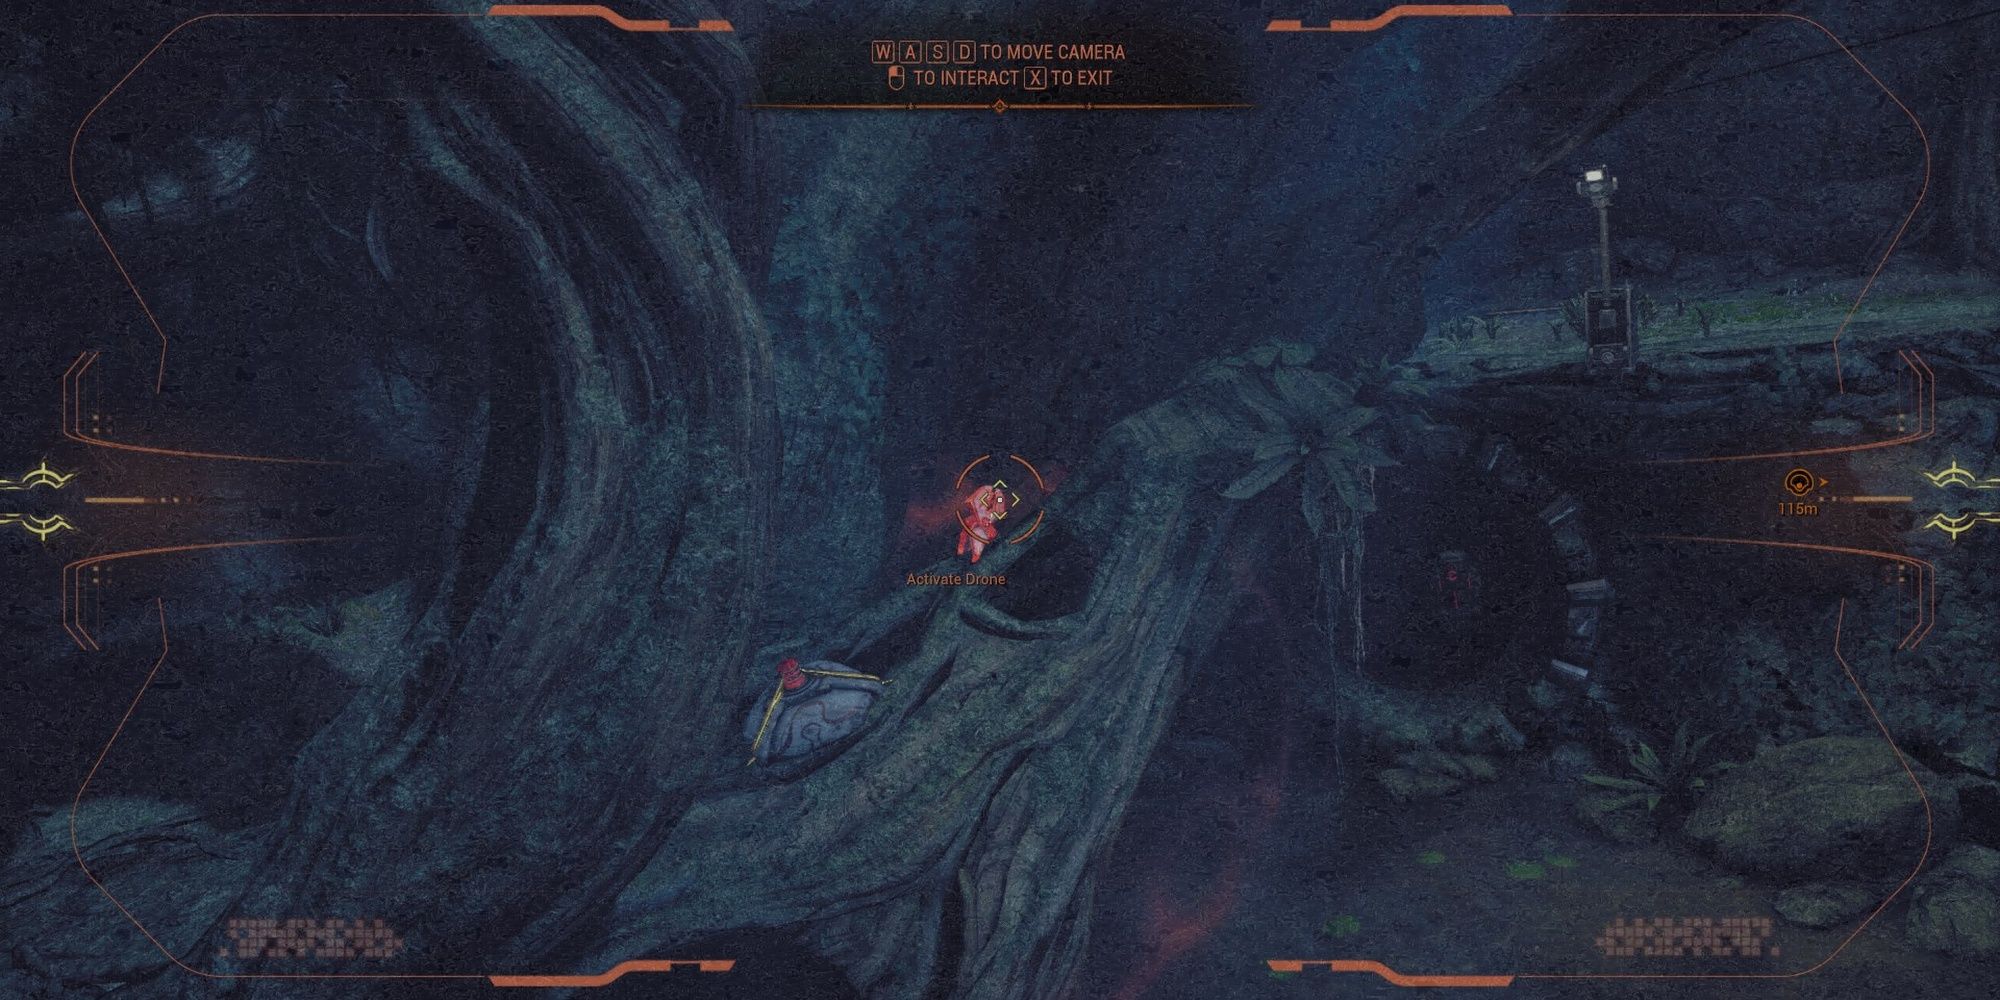
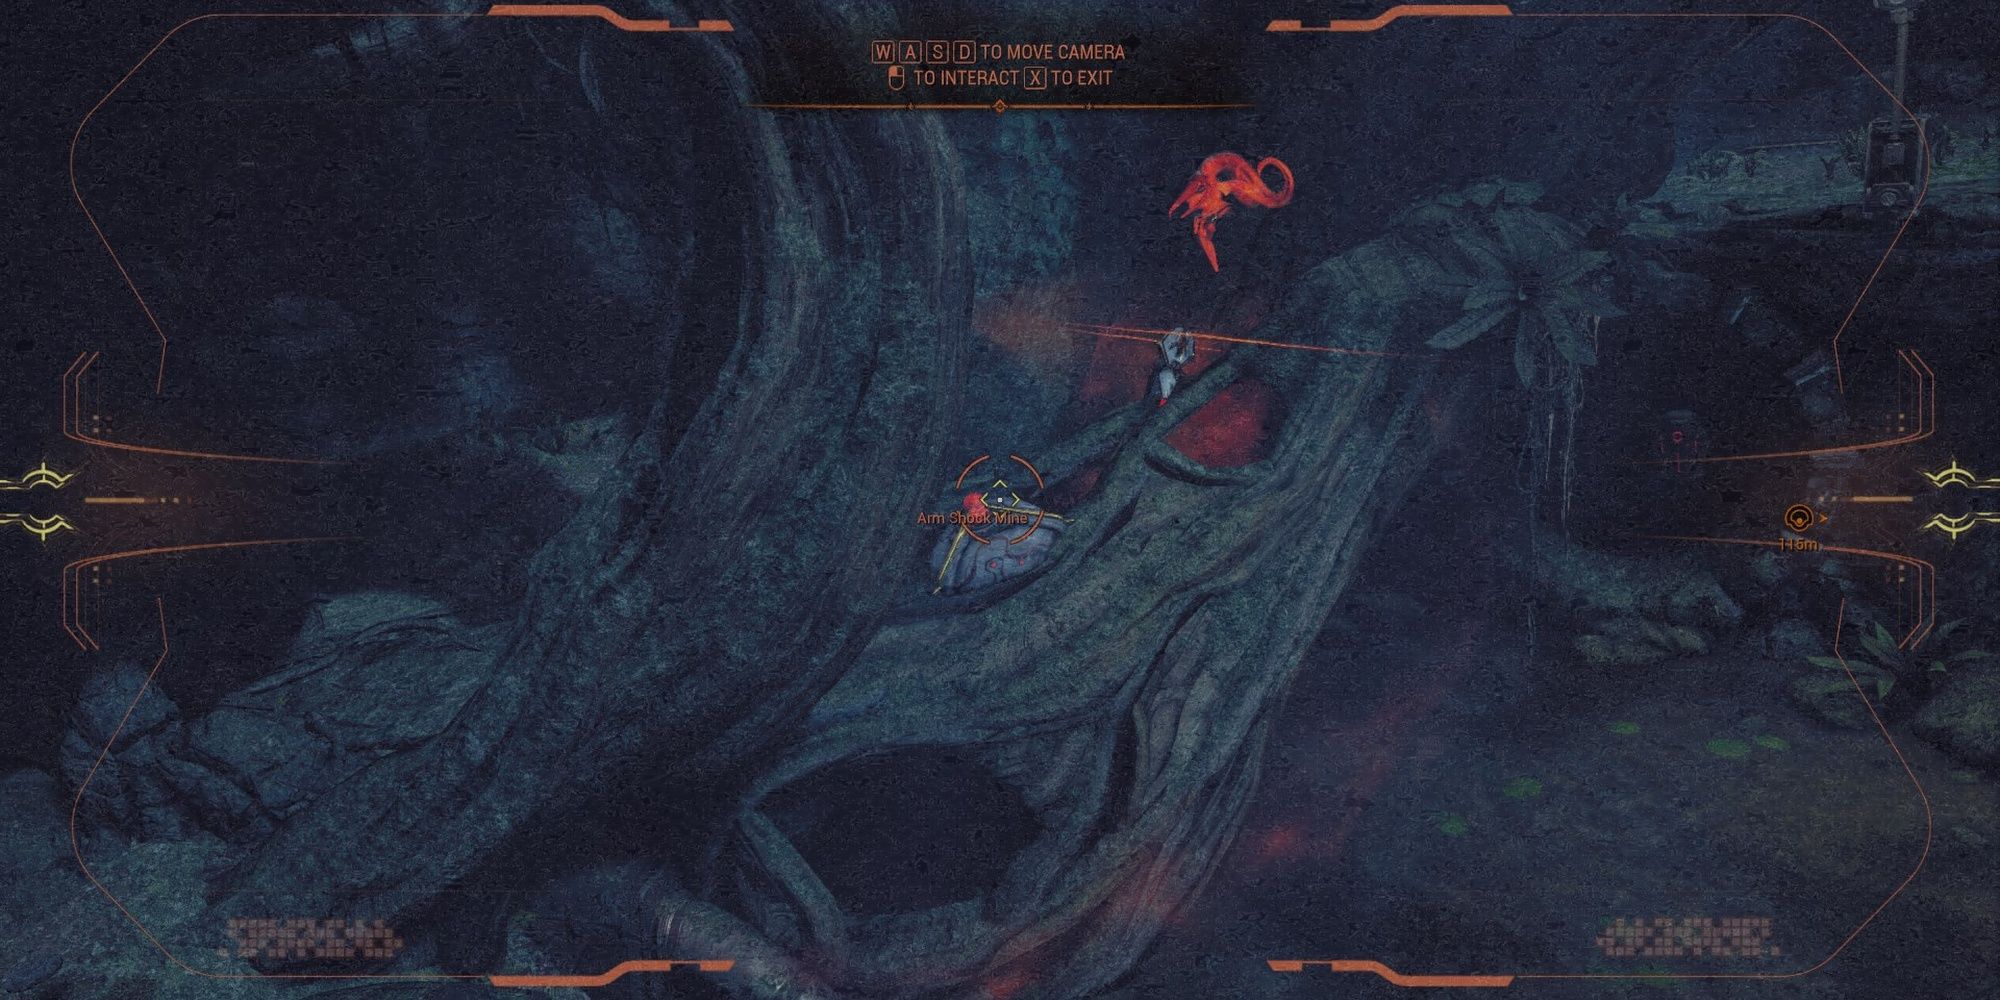
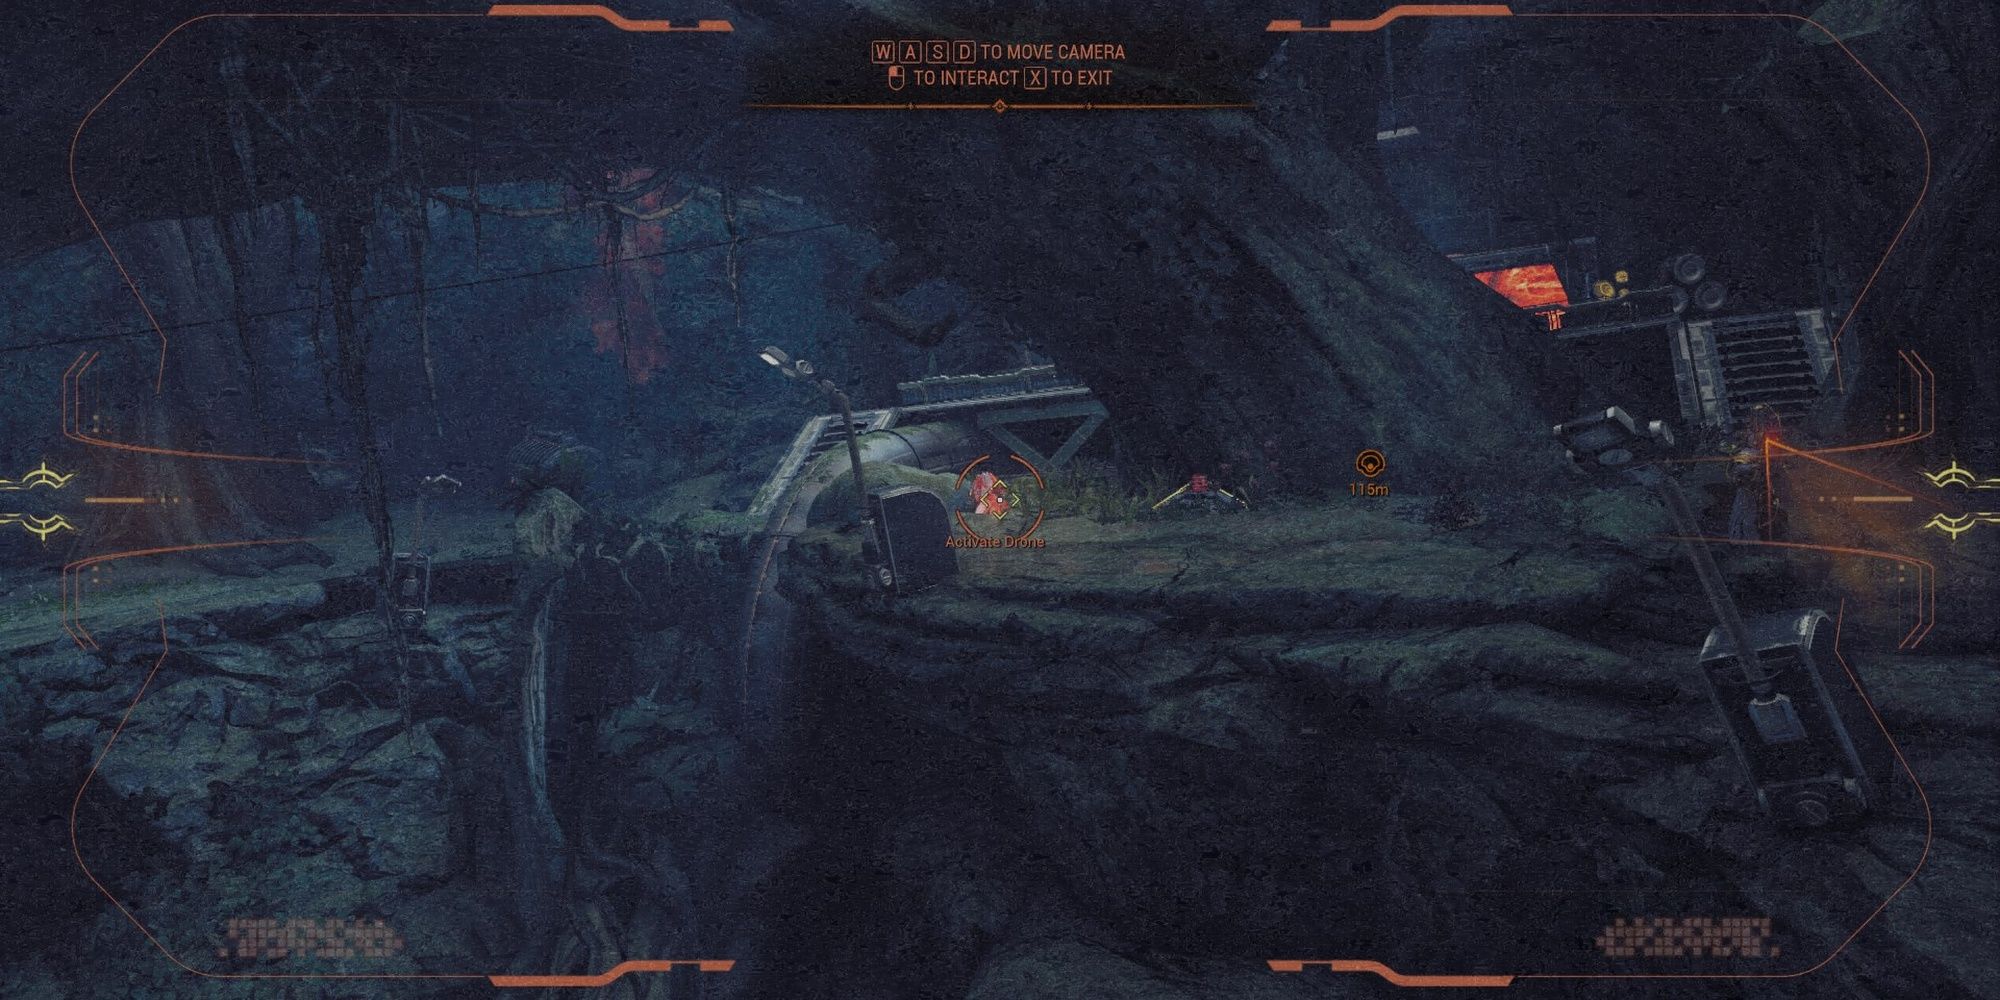
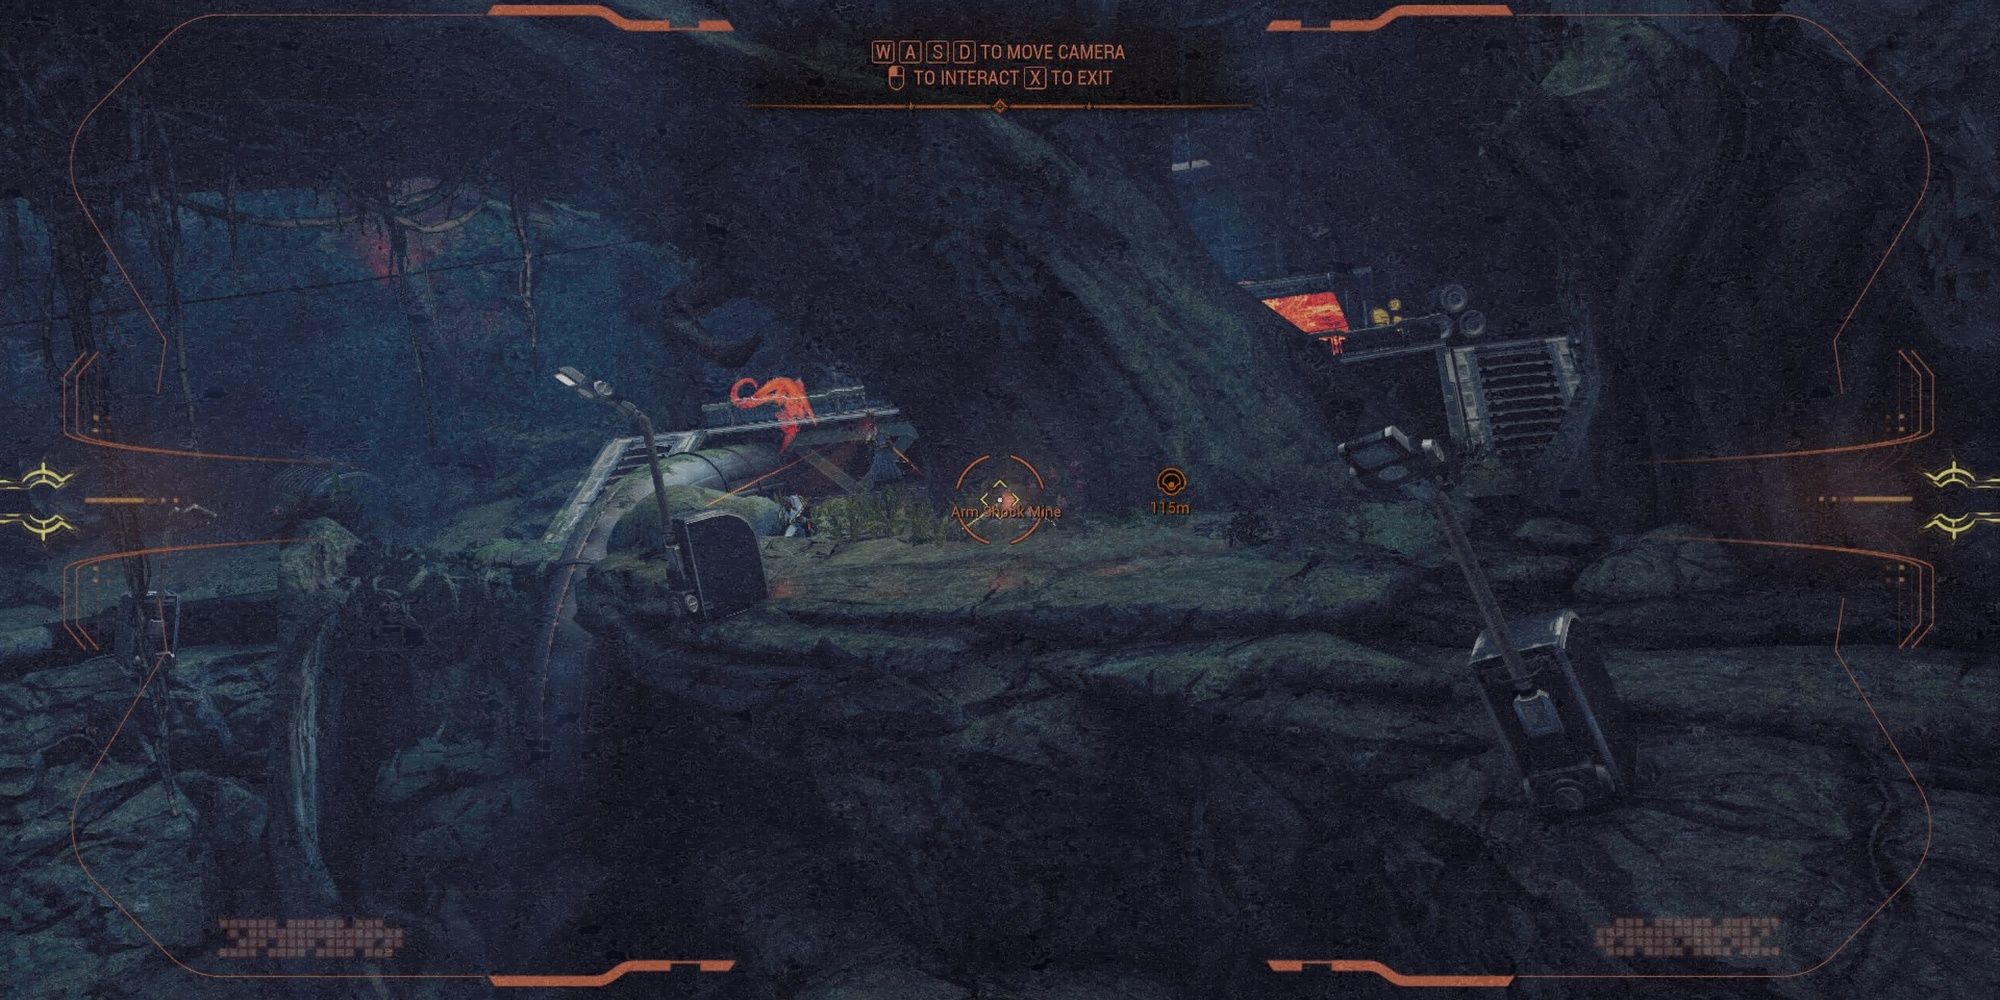
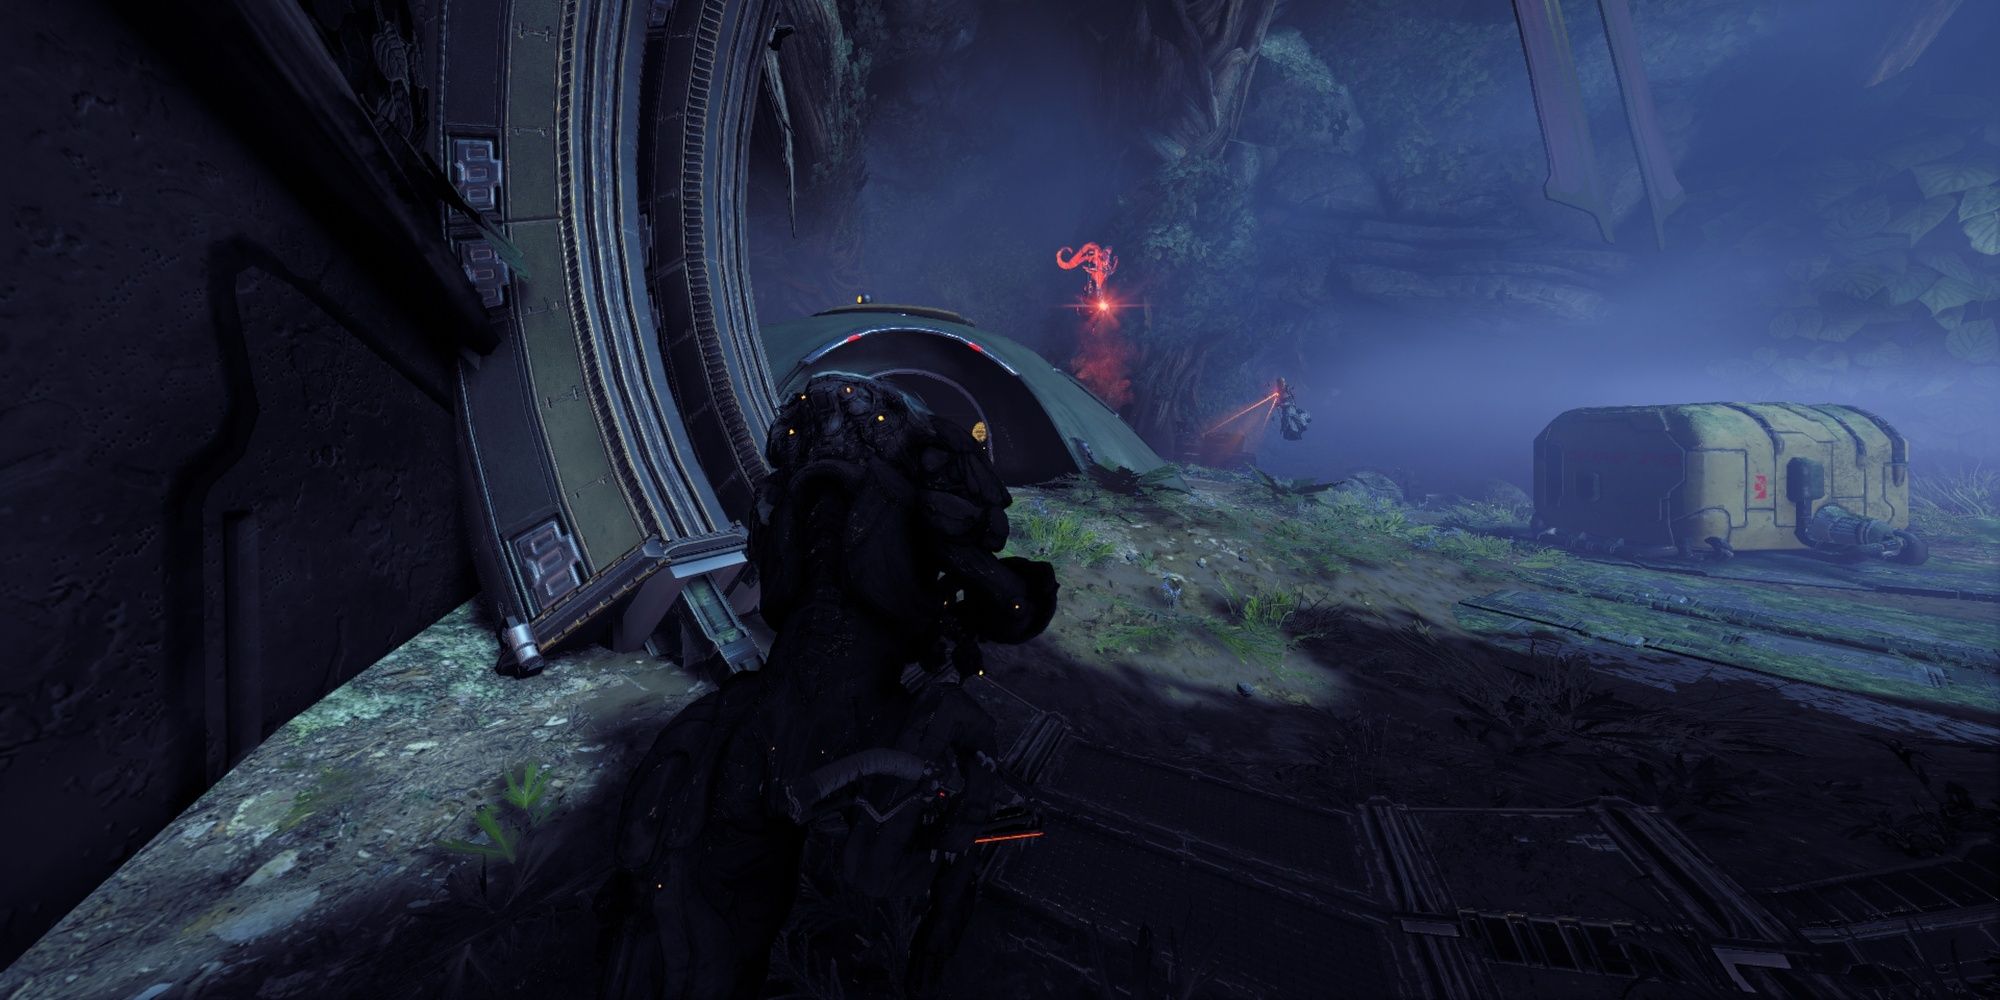
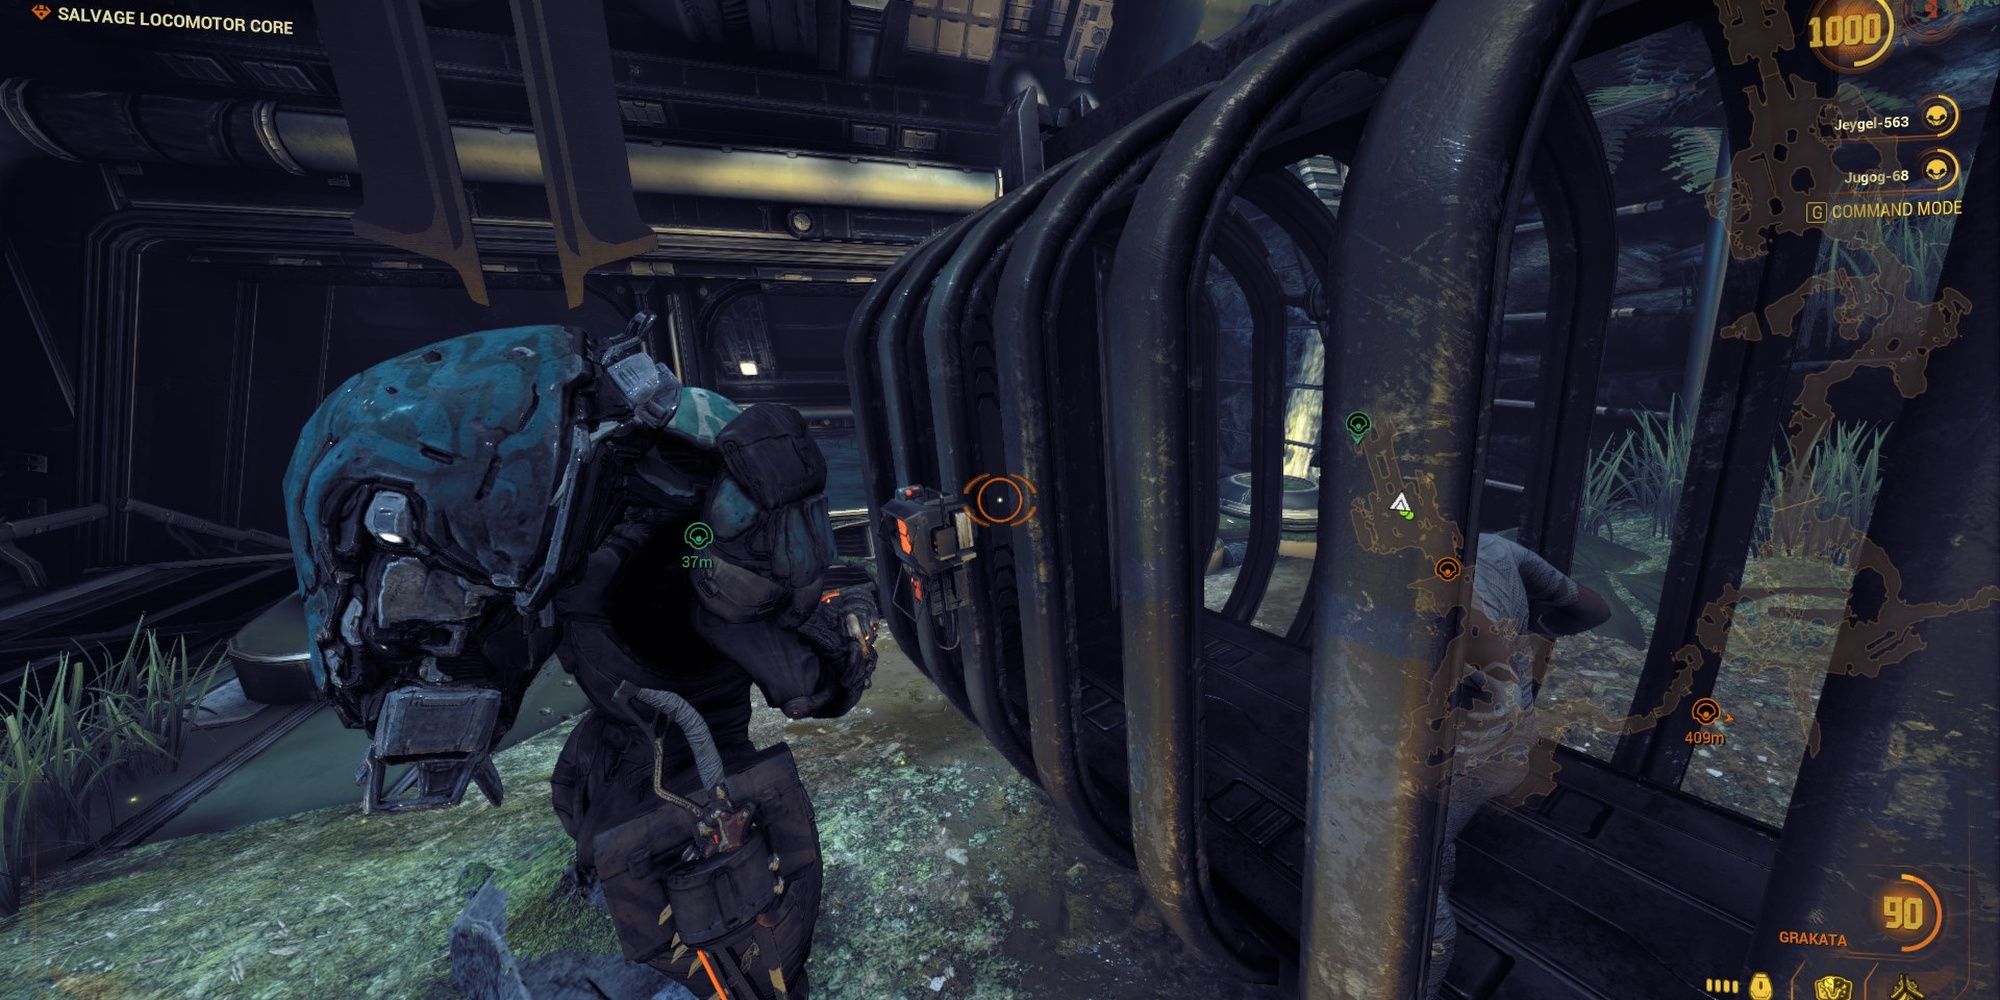
The next section has two Deacons patrolling the area. You can destroy the Deacons by luring them to downed Sentient cameras. Use your camera to activate the drone, wait for the Deacon to get near it, then use the nearby shock mine to destroy them. This will give you a clear path to the next forcefield on your right.
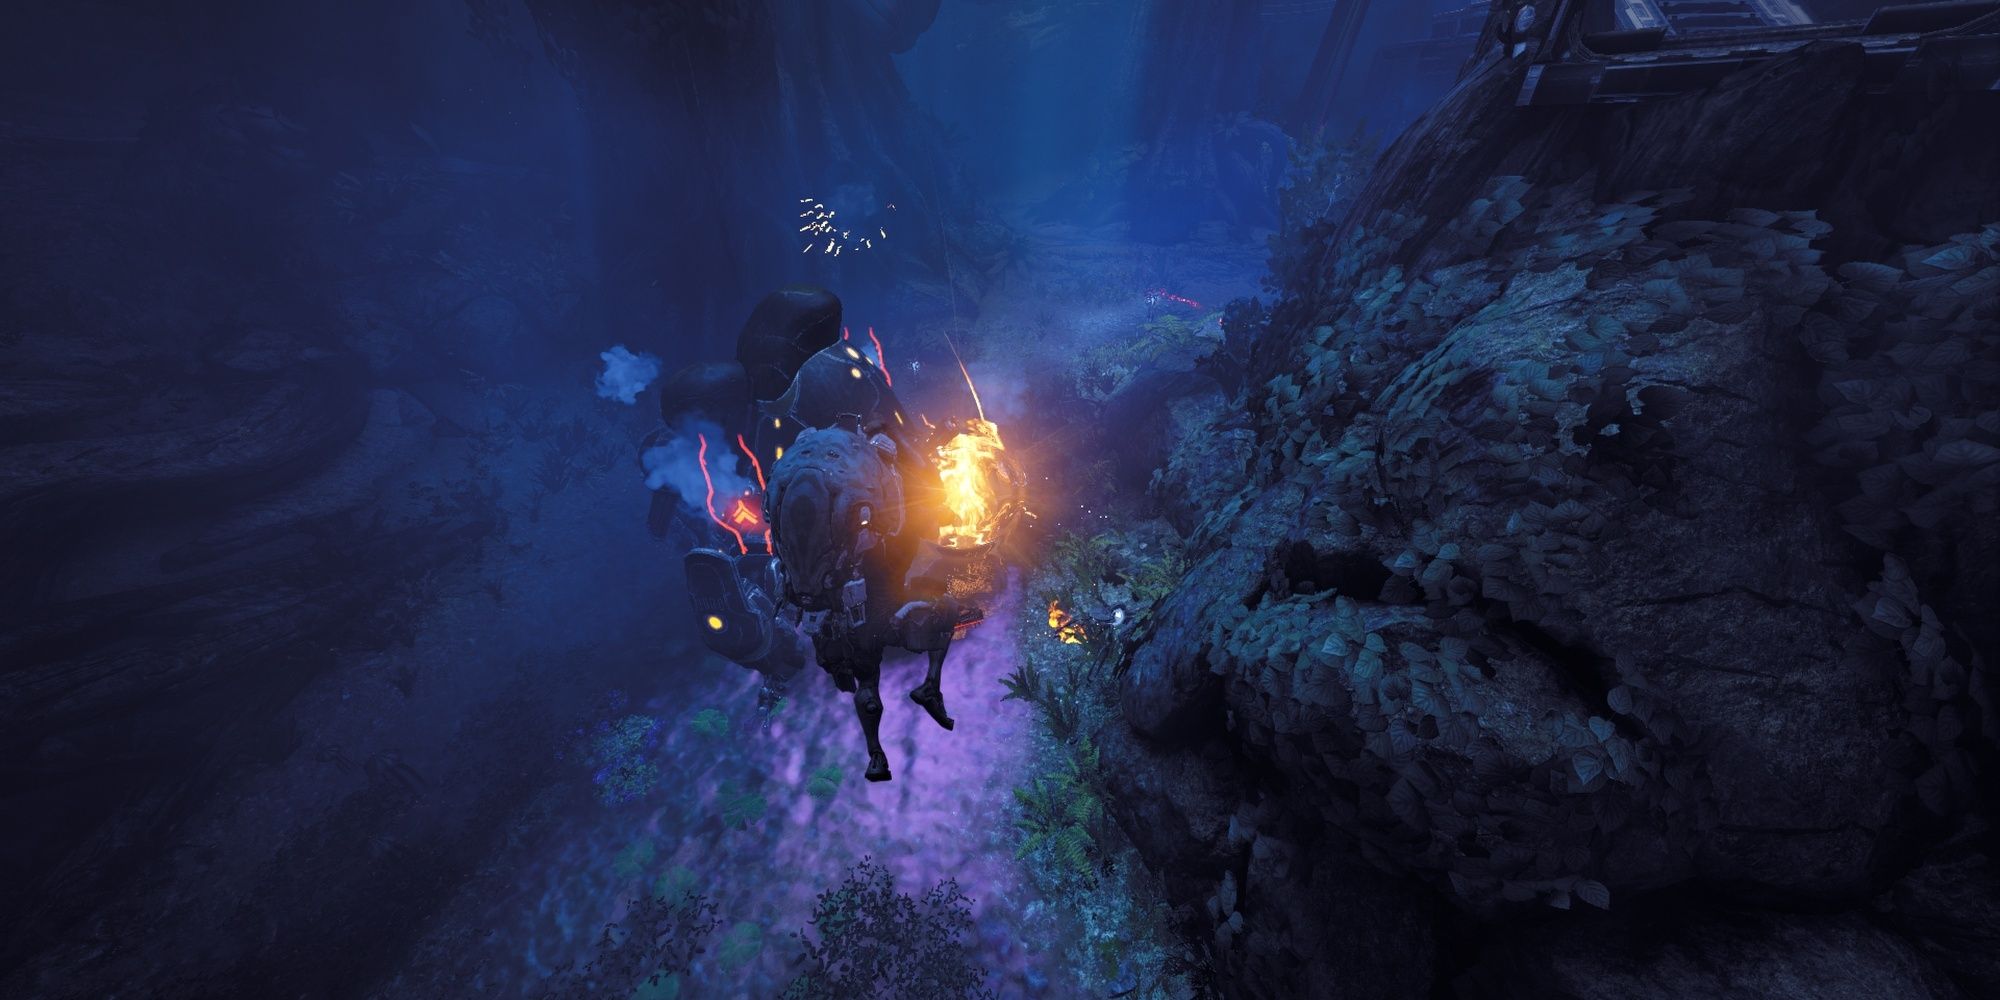
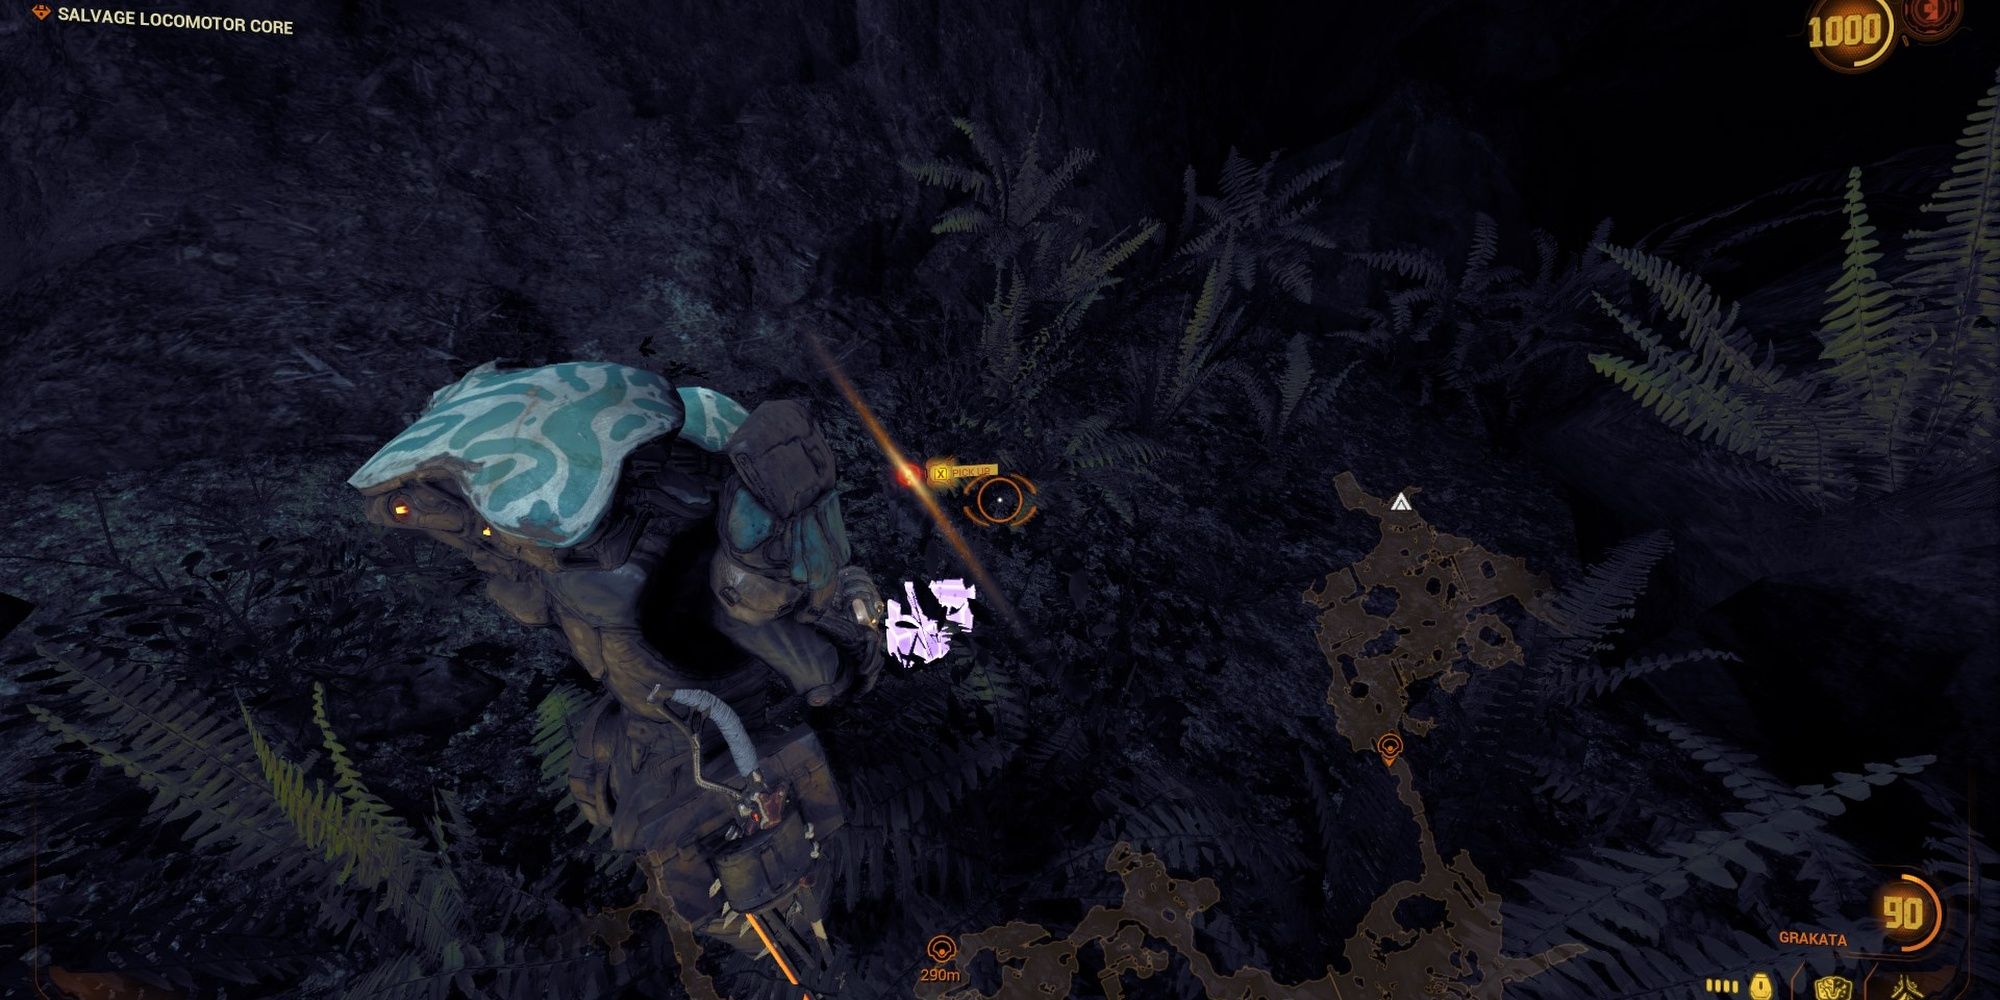
At this point, you'll find a Sentient hovering over a slain Grineer with a jetpack. Land a stealth attack to one-shot the Sentient, then take your brother's jetpack. This will make traversal a lot easier. You can either follow the waypoint to continue the mission, or you can make a slight detour to your right and grab some Thumper Parts for Chipper, completing a side objective.
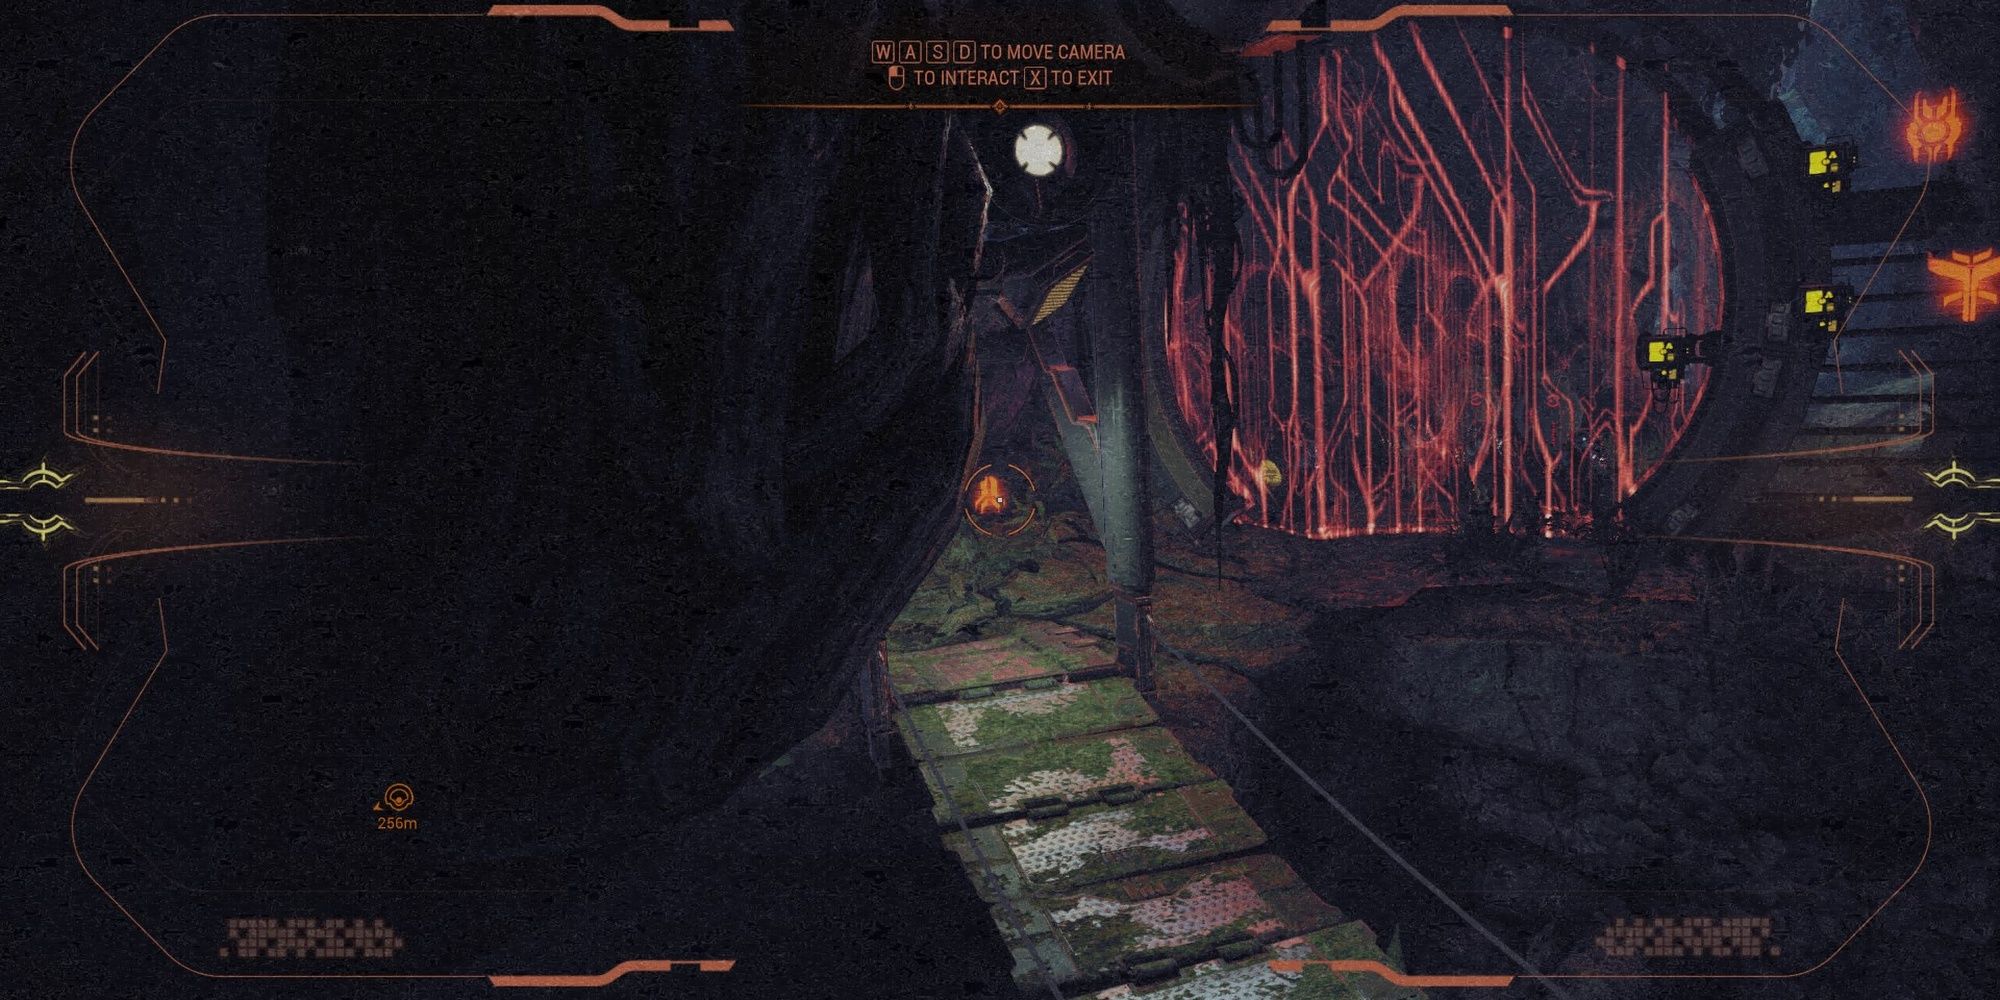
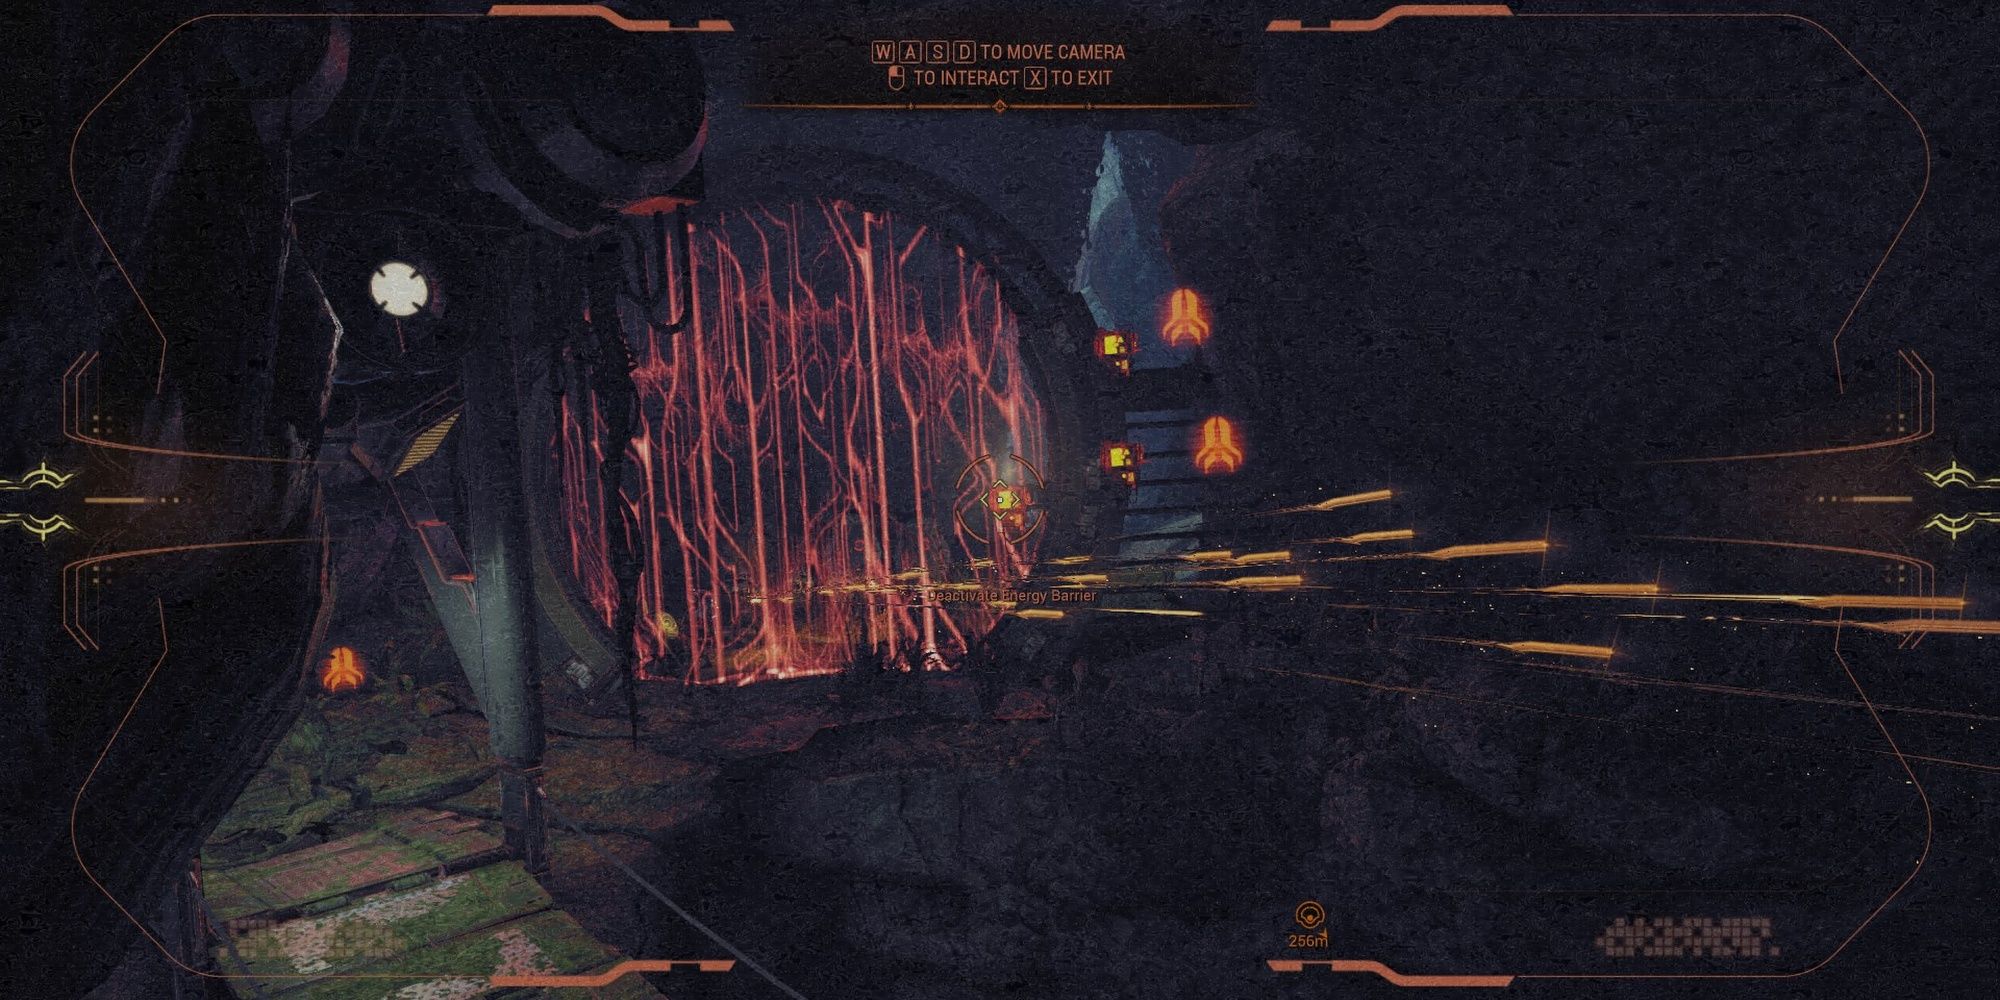
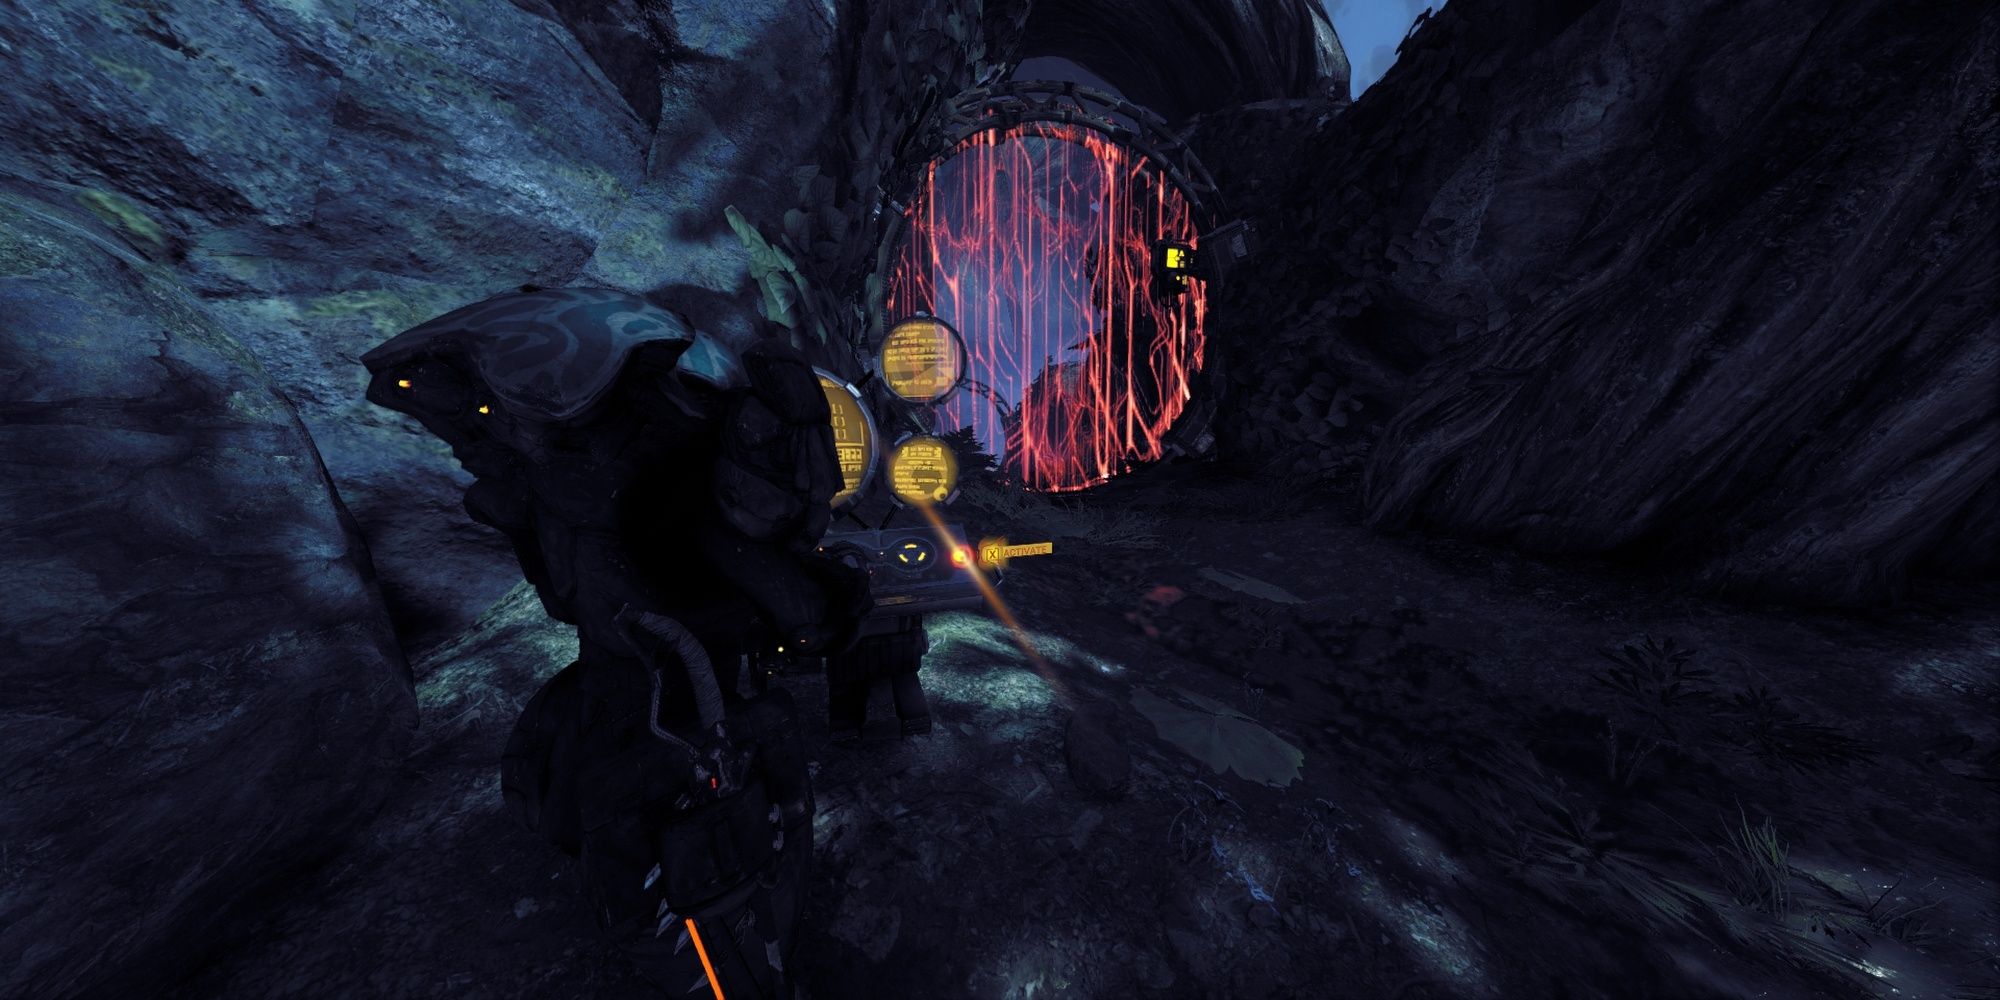
Up ahead is another Narmer gate, except this one is locked behind a small set of symbols. You'll need to look around with the camera to see them:
- Symbol #1: To your left.
- Symbol #2: To your right, barely visible across the rope bridge.
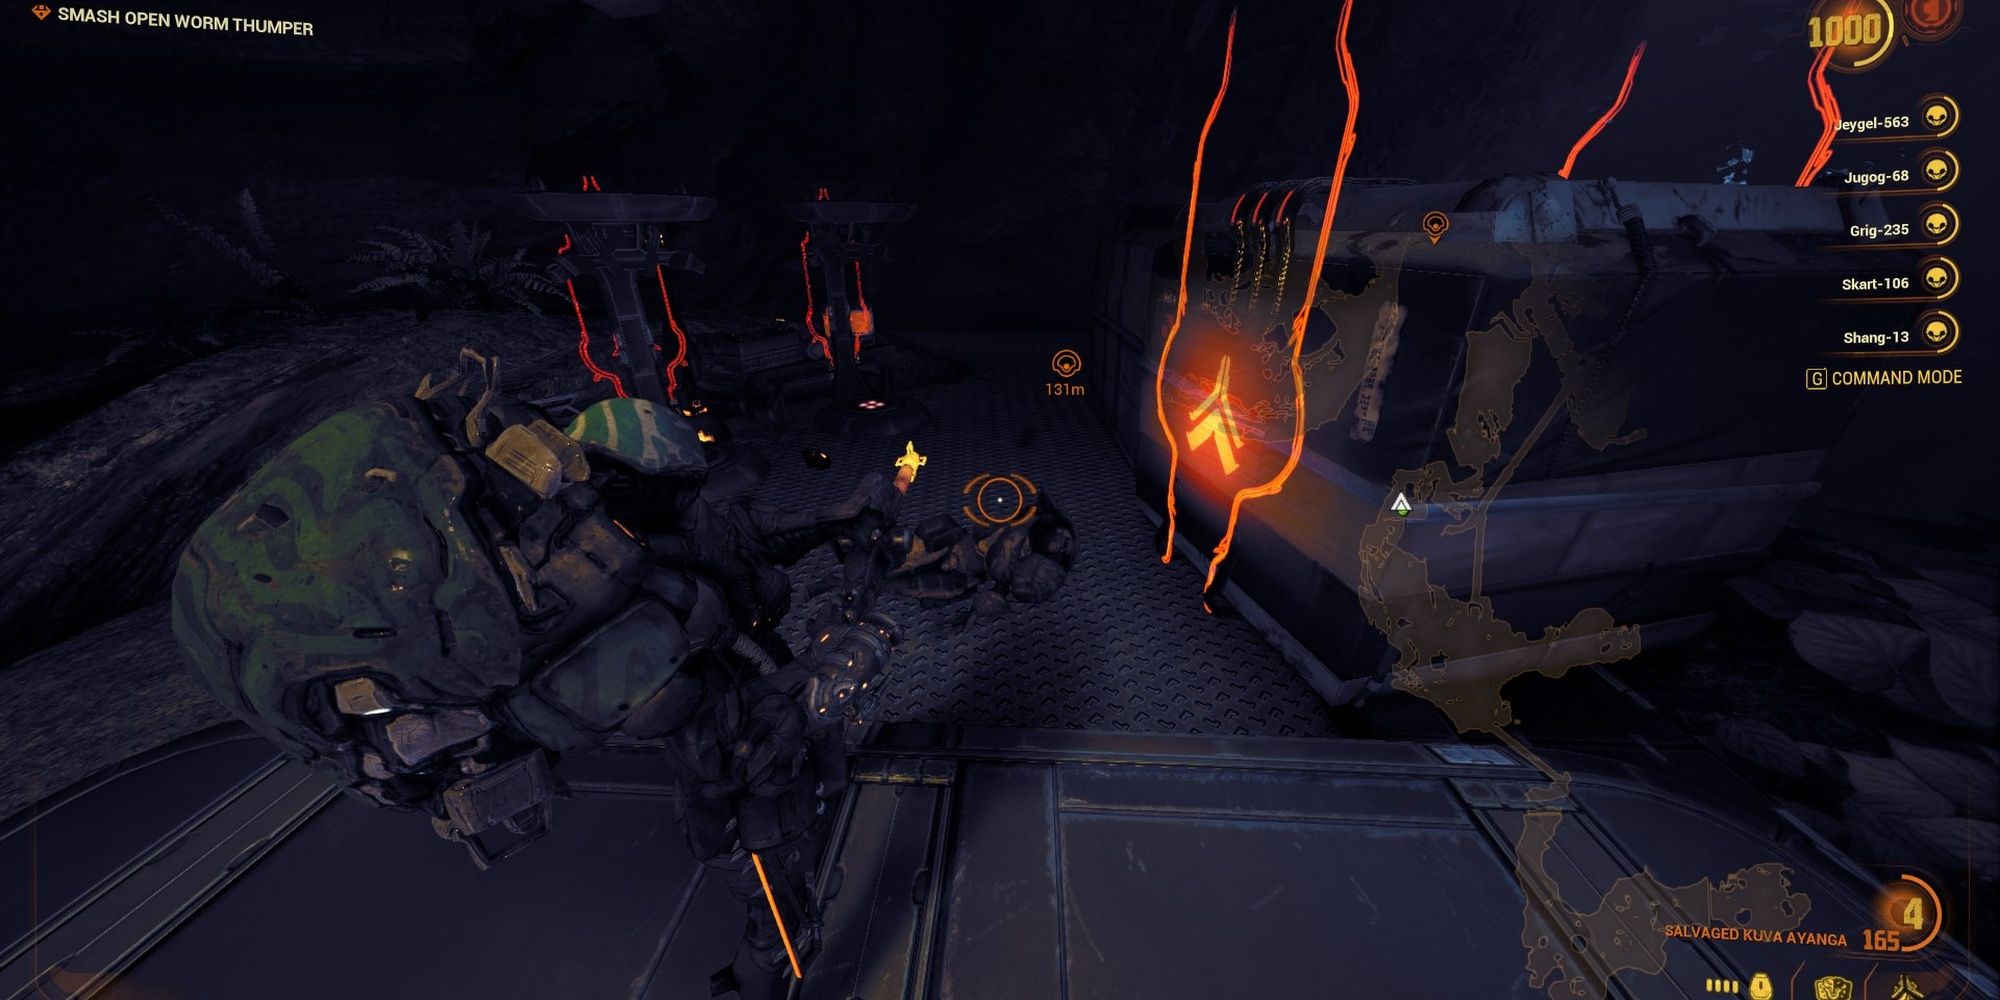
With the correct sequence, activate the third terminal to drop the gate. This section will lead you toward a Kuva Ayanga, an Archgun that fires high-damage grenades. Use the weapon to clear a path towards the downed Thumper. Interacting with the Thumper will cause it to flee. Follow its lead.
Sentient Multikill Challenge
If you want to achieve five multikills quickly, lure every Sentient you find to the Kuva Ayanga's spawn location. The narrow tunnel that leads to the area funnels the Sentients in a tight space, making it perfect for landing rapid kills.
Smash Open Worm Thumper
Entering the boss arena will lock you in this room for the rest of the mission. Grab any collectables you missed before proceeding.
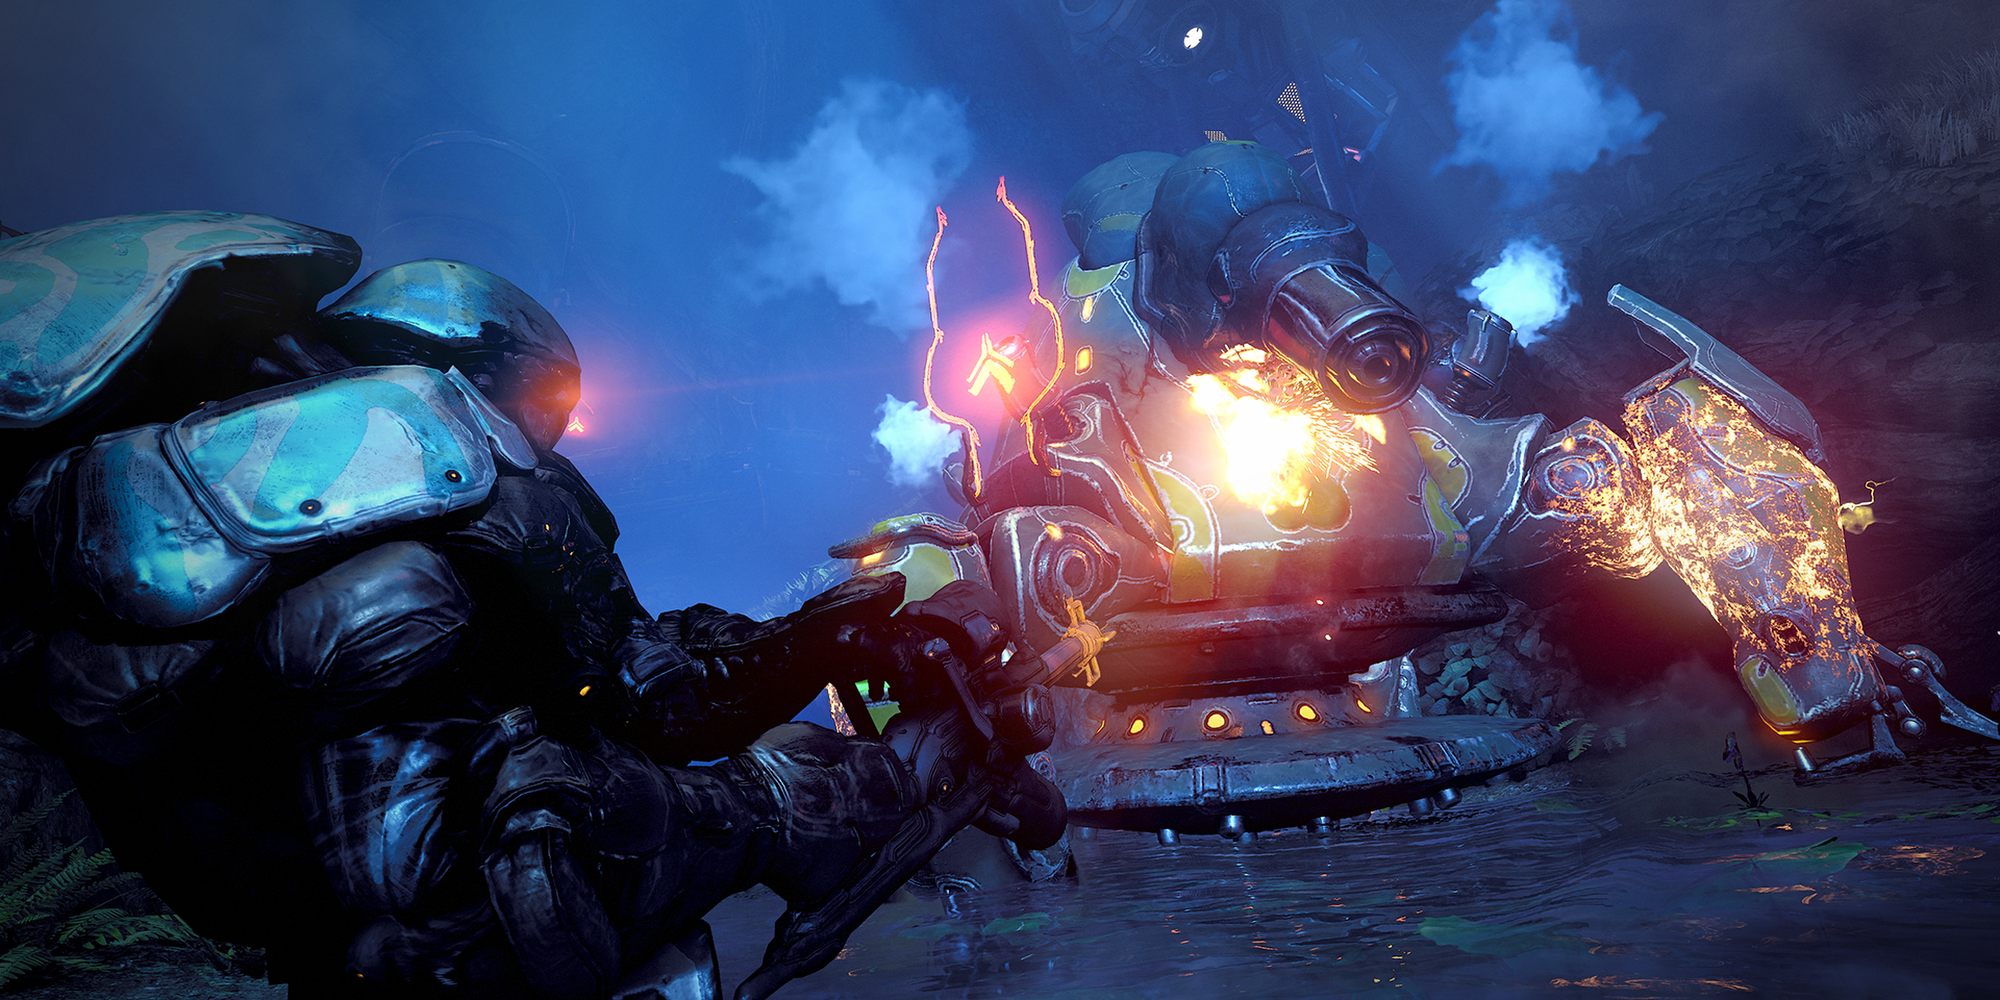
The Thumper works as it does in the Plains of Eidolon. This giant walker has a massive health pool and some serious firepower, but it does have a weakness: its legs. Focus on damaging the Thumper's legs to break them, dealing substantial damage to the vehicle. You can use the Rampart gun turrets overlooking the arena to temporarily stun the Thumper, making this much safer. Keep your weapons locked on each leg until they explode, and repeat until the Thumper is destroyed. When finished, follow the waypoint to extraction.
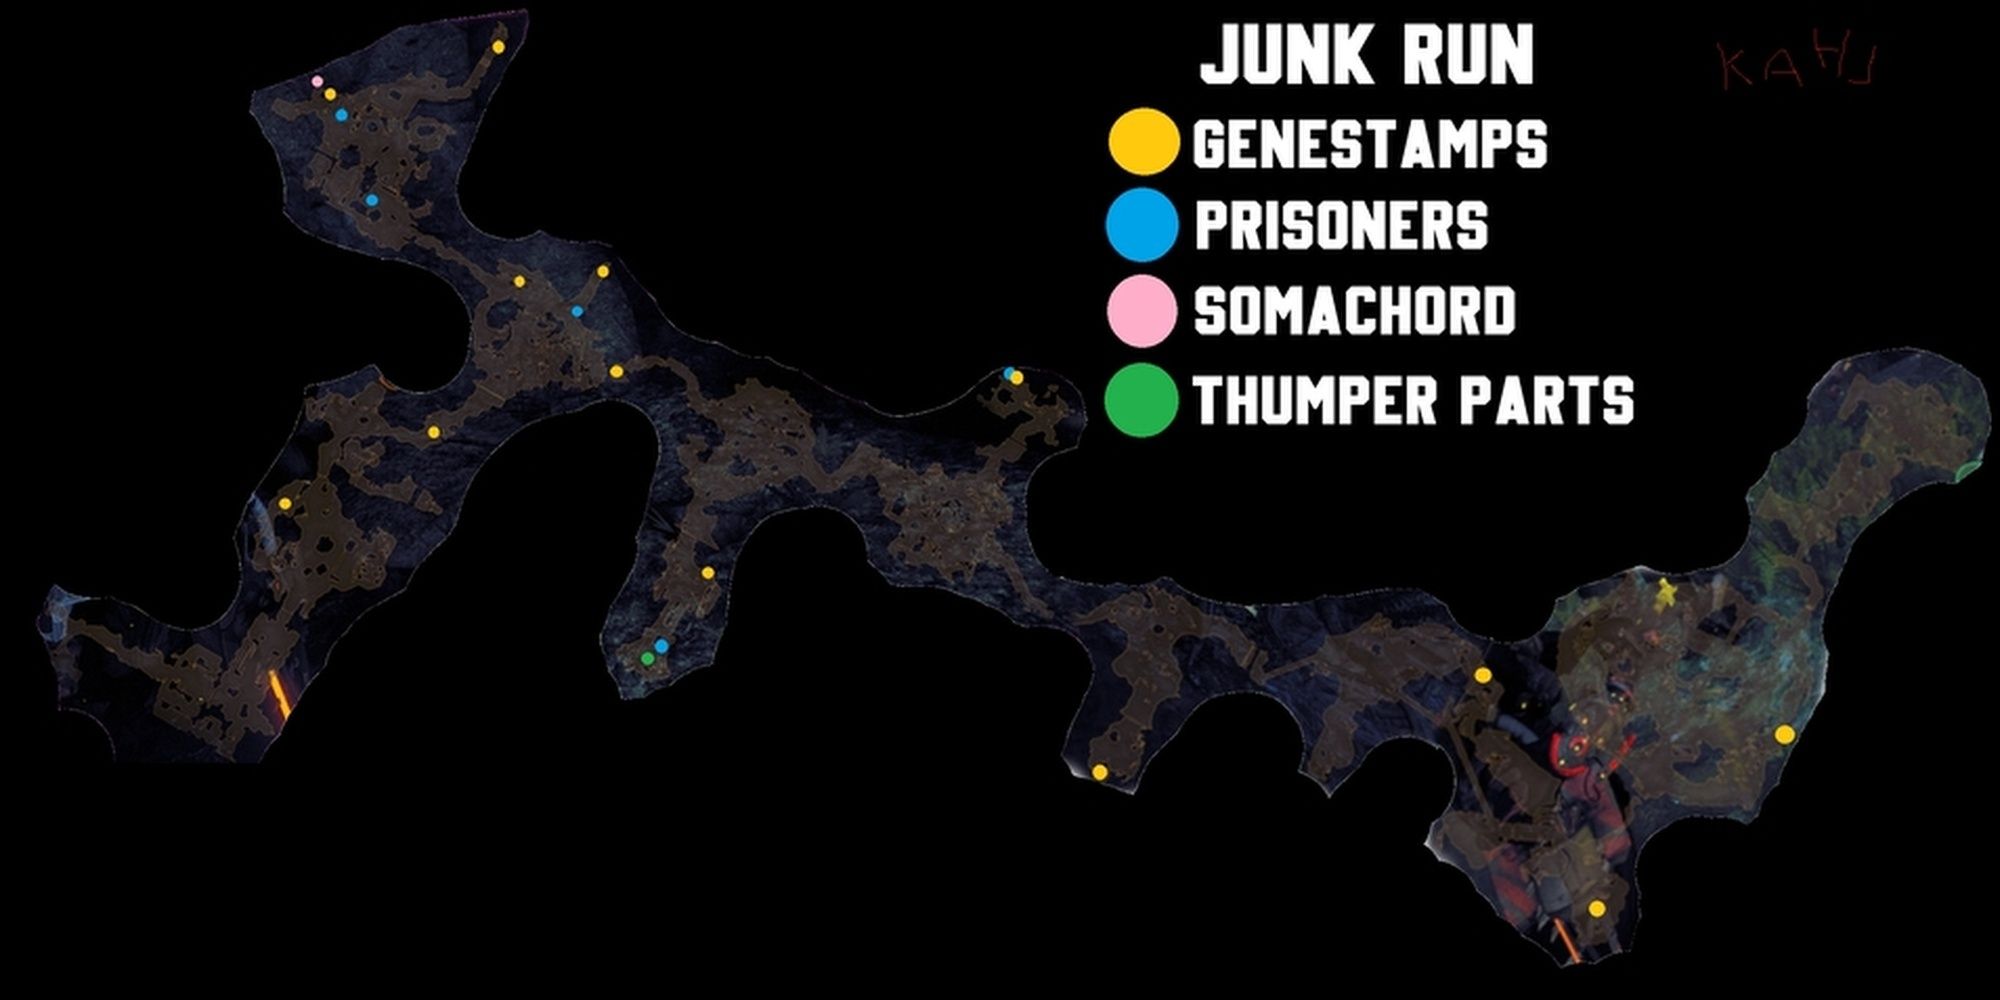
Collectable Map
This map—created by Reddit user u/QuadLyStop—gives an overview of where to find each collectable. You start the mission at the bottom-left corner of the map.
Veiled Grineer Locations
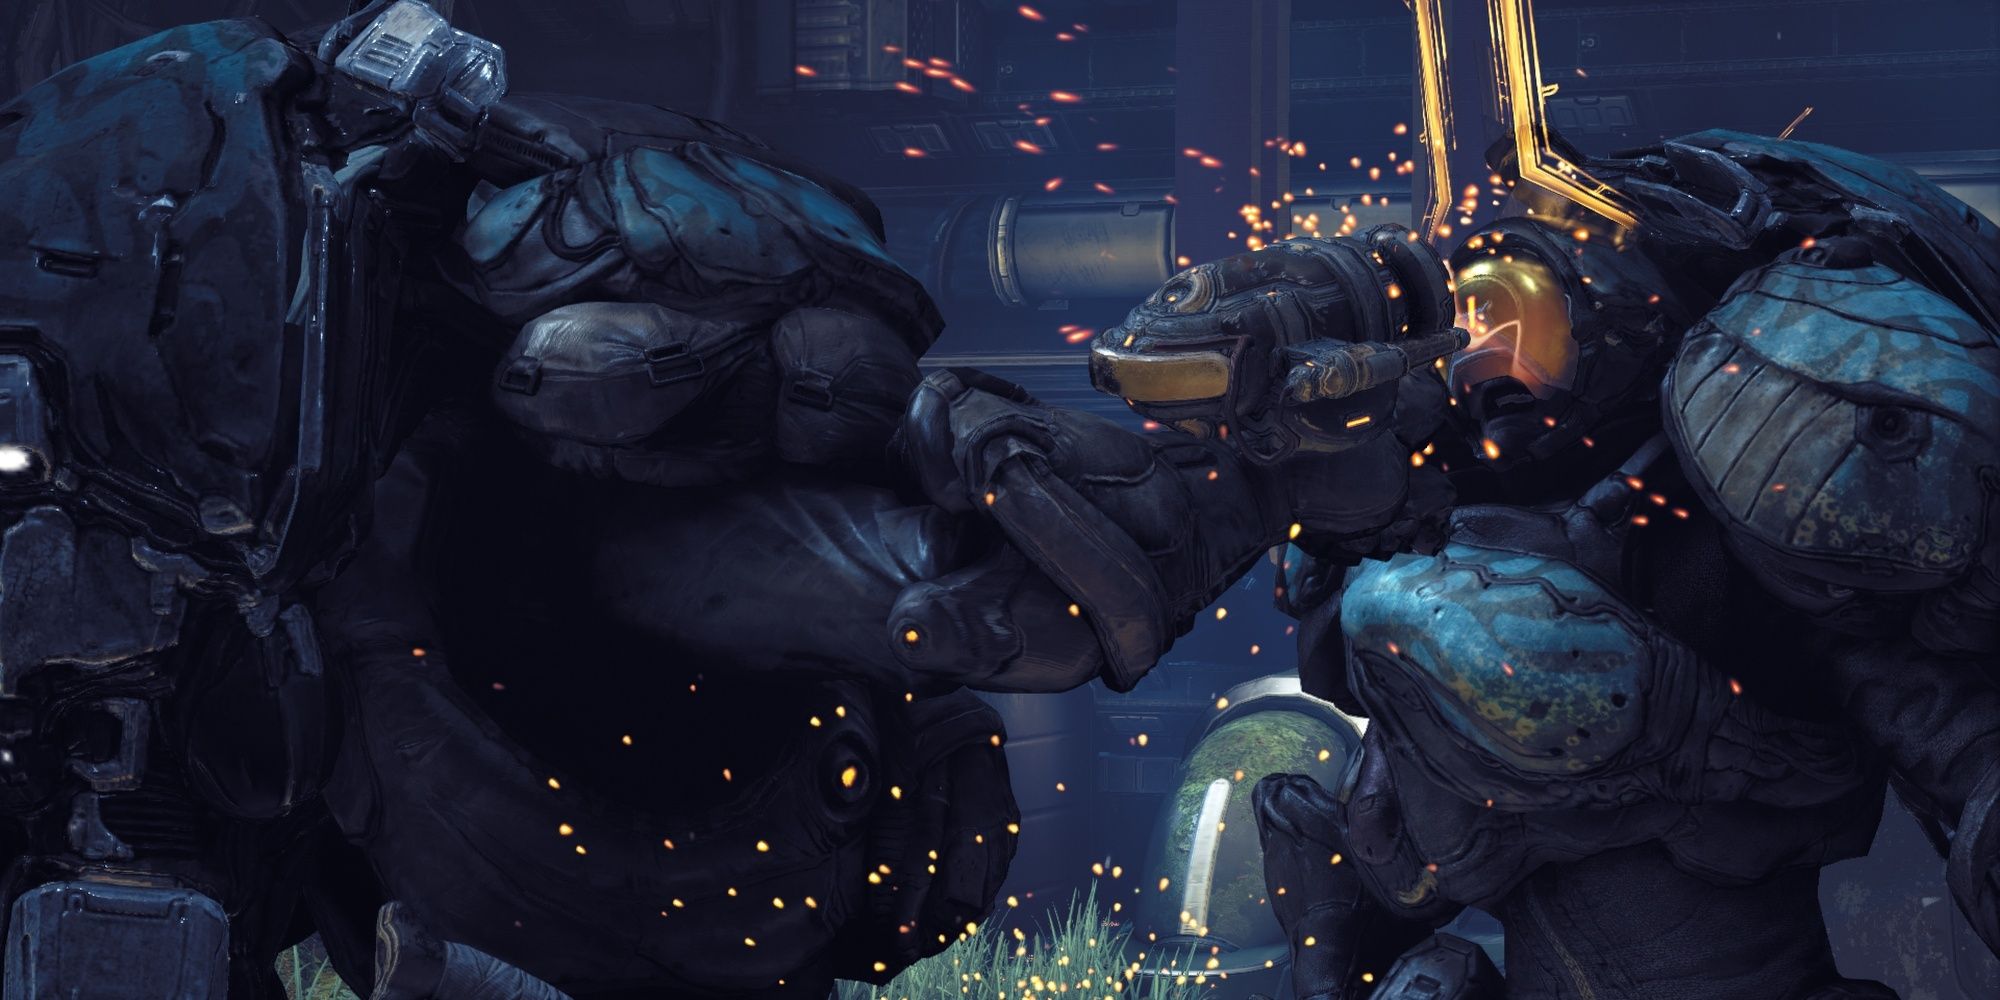
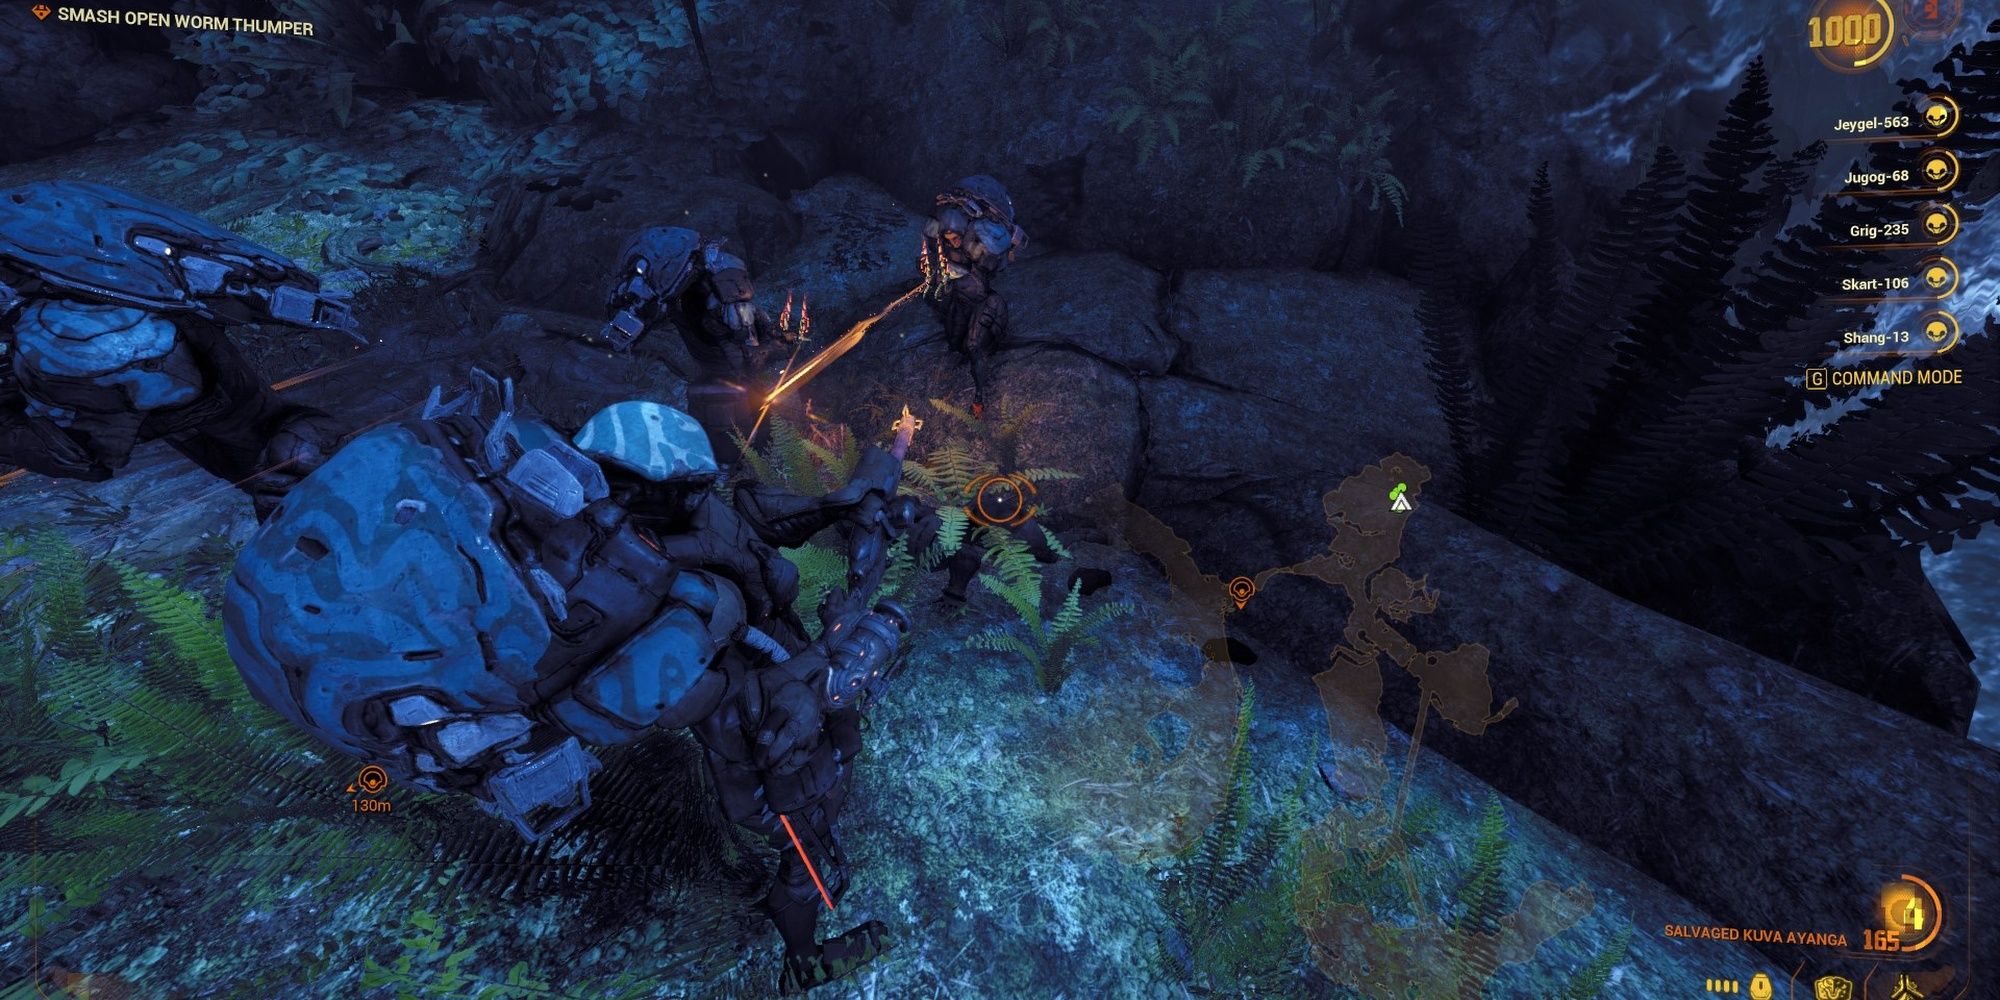
The Veiled Grineer are quite easy to find on this mission. Grineer can be found at most side locations and just before you obtain the Kuva Ayanga. Each spot that spawns Grineer will spawn at least two Veiled soldiers. Use your Veilbreaker (your third ability as Kahl) to stun the Grineer soldiers. Get close to them and press the interact key to break them free.
Specific Grineer spawn locations include:
- After getting your jetpack, hang a right to find a small band of Grineer. They'll be right next to the terminal used to drain the water blocking the spare Thumper parts.
-
In the spacious tile preceding the bridge puzzle, you can find two jet troopers.
- If they aren't in that area, hang a left.
- Right before you reach the bridge puzzle, hang a right to find two more soldiers.
Genestamp Locations
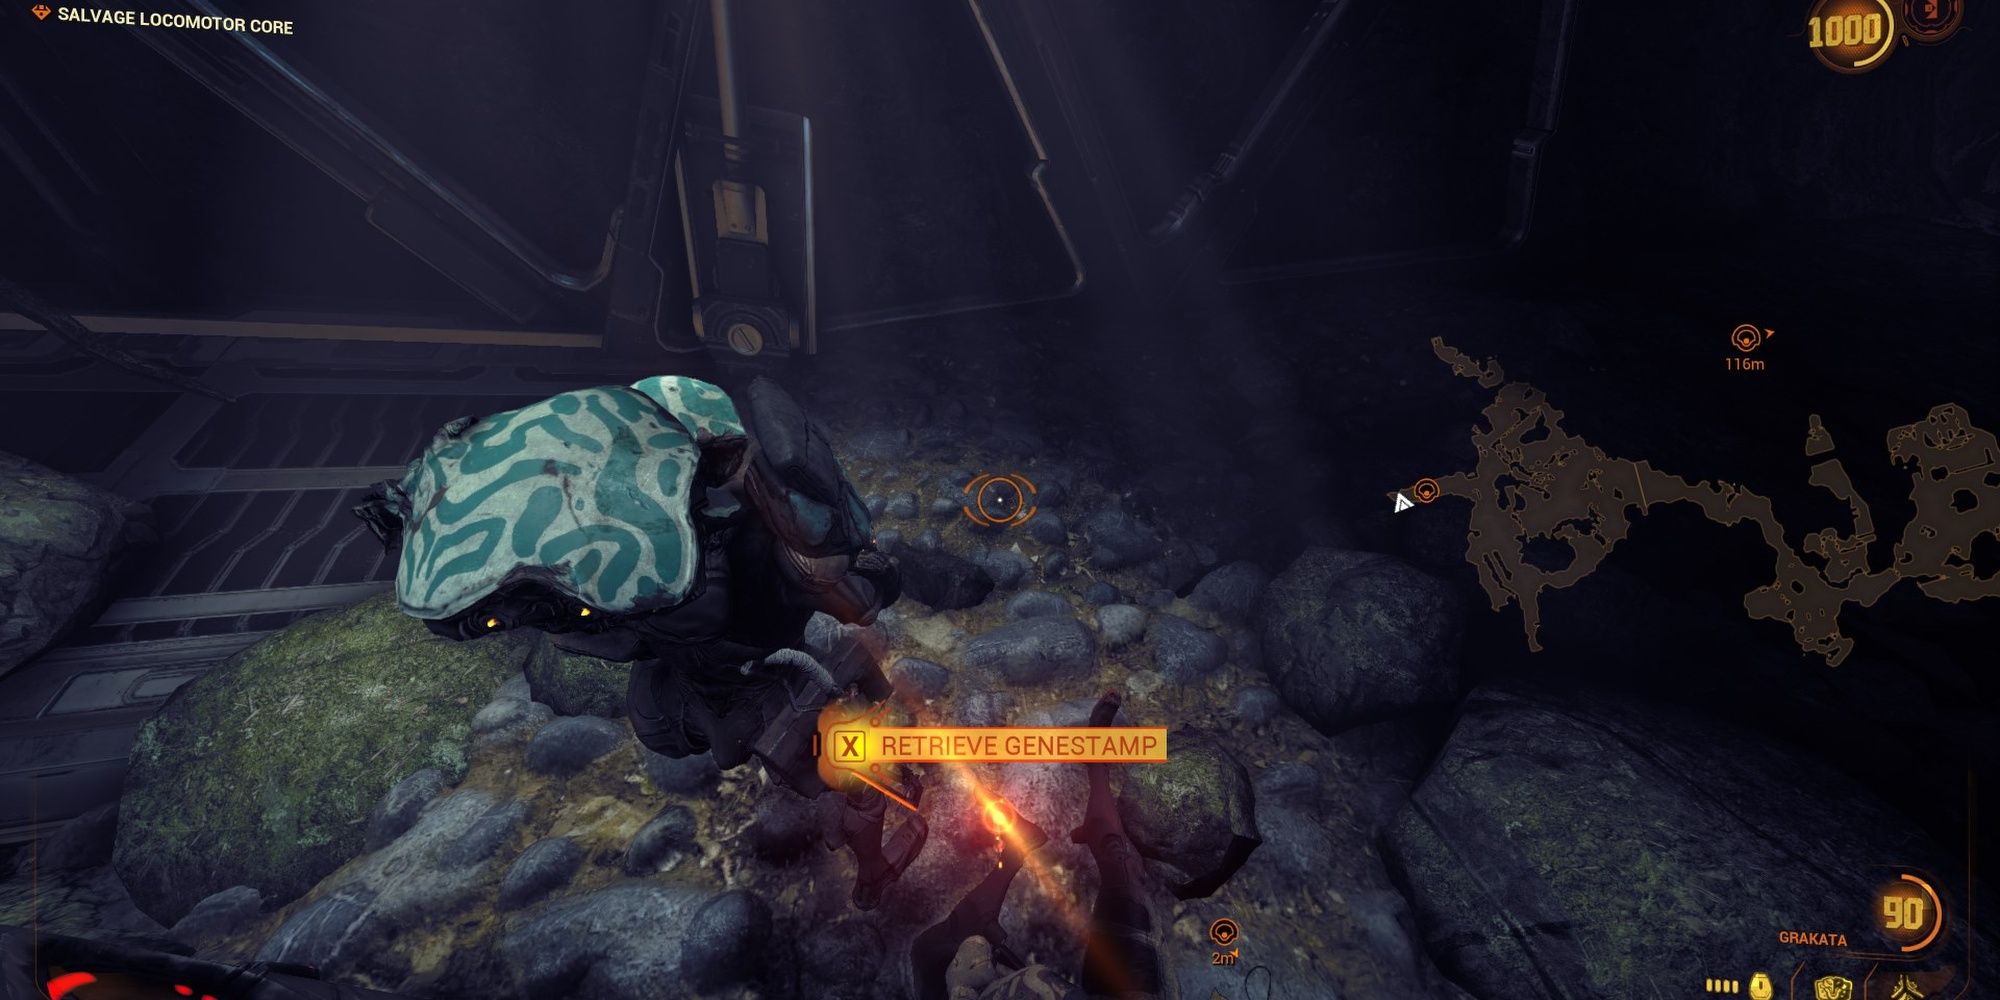
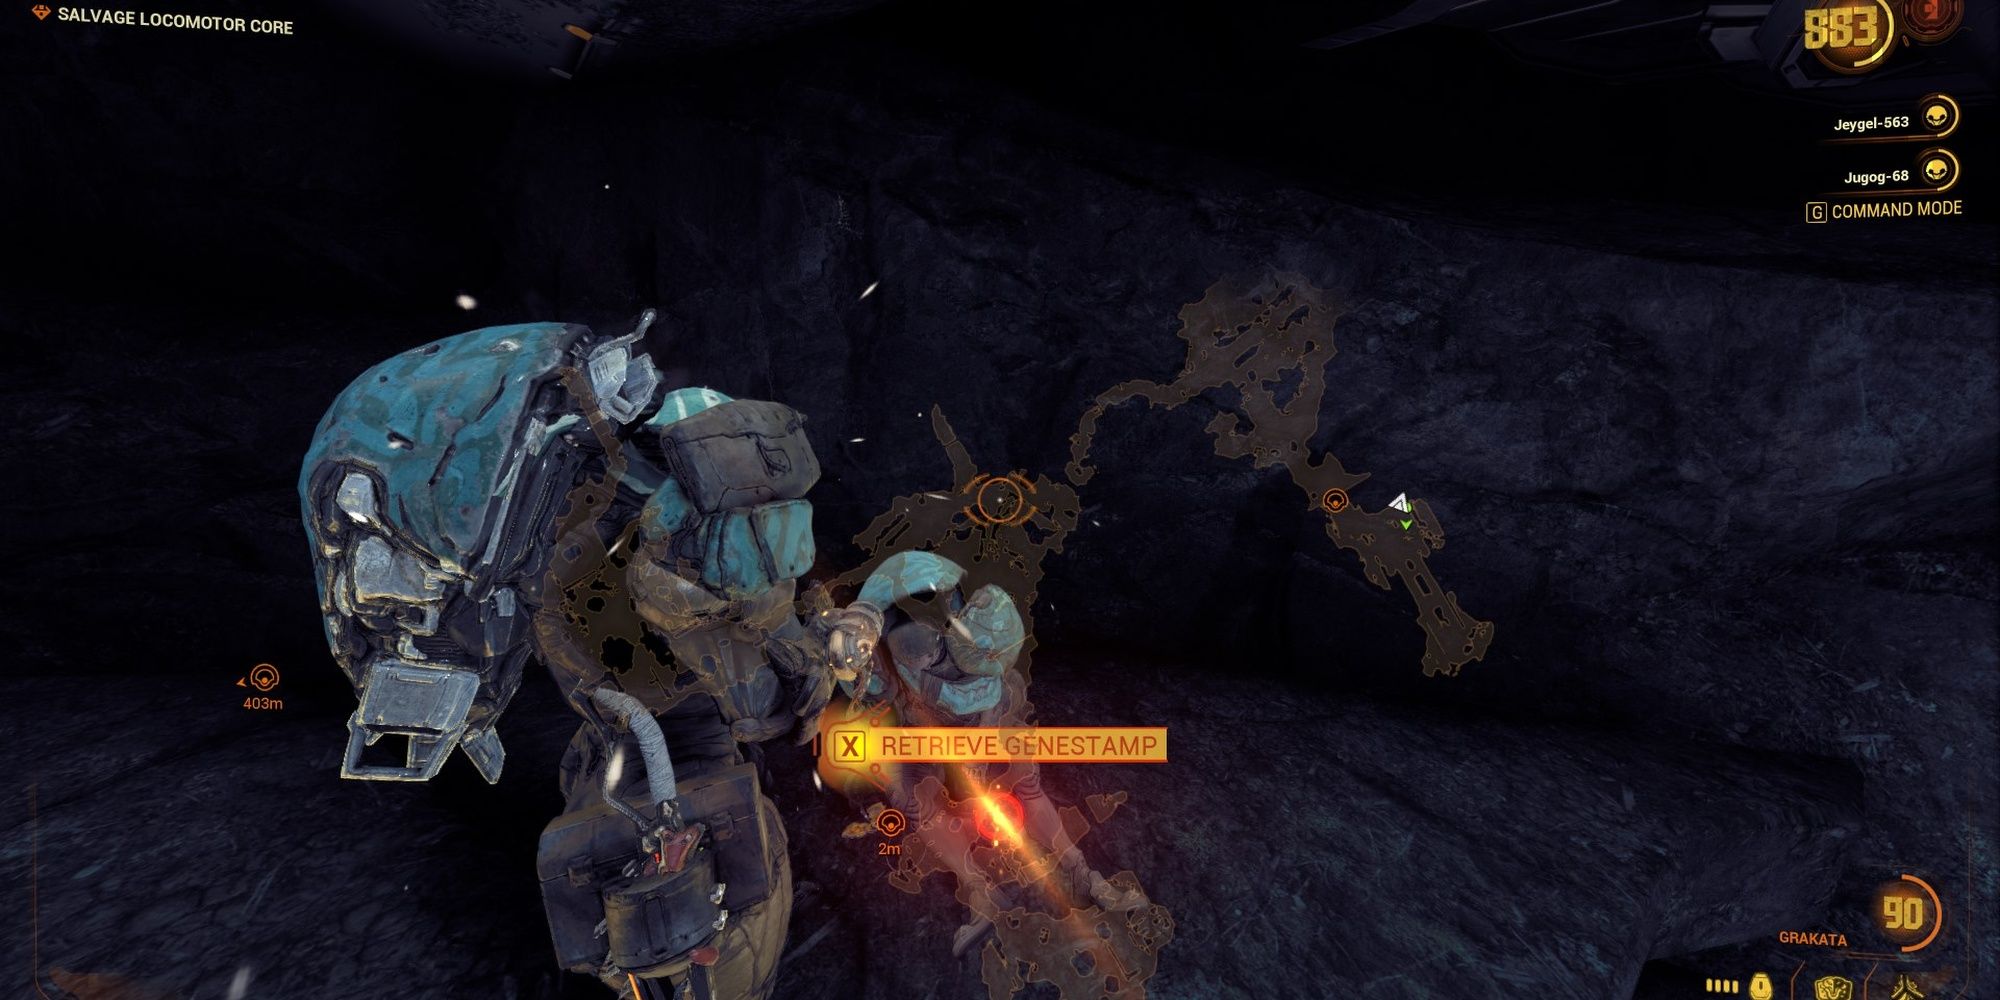
Grineer bodies with Genestamps will be highlighted on your HUD when you get close to them.
Genestamp Location #1: Spawn
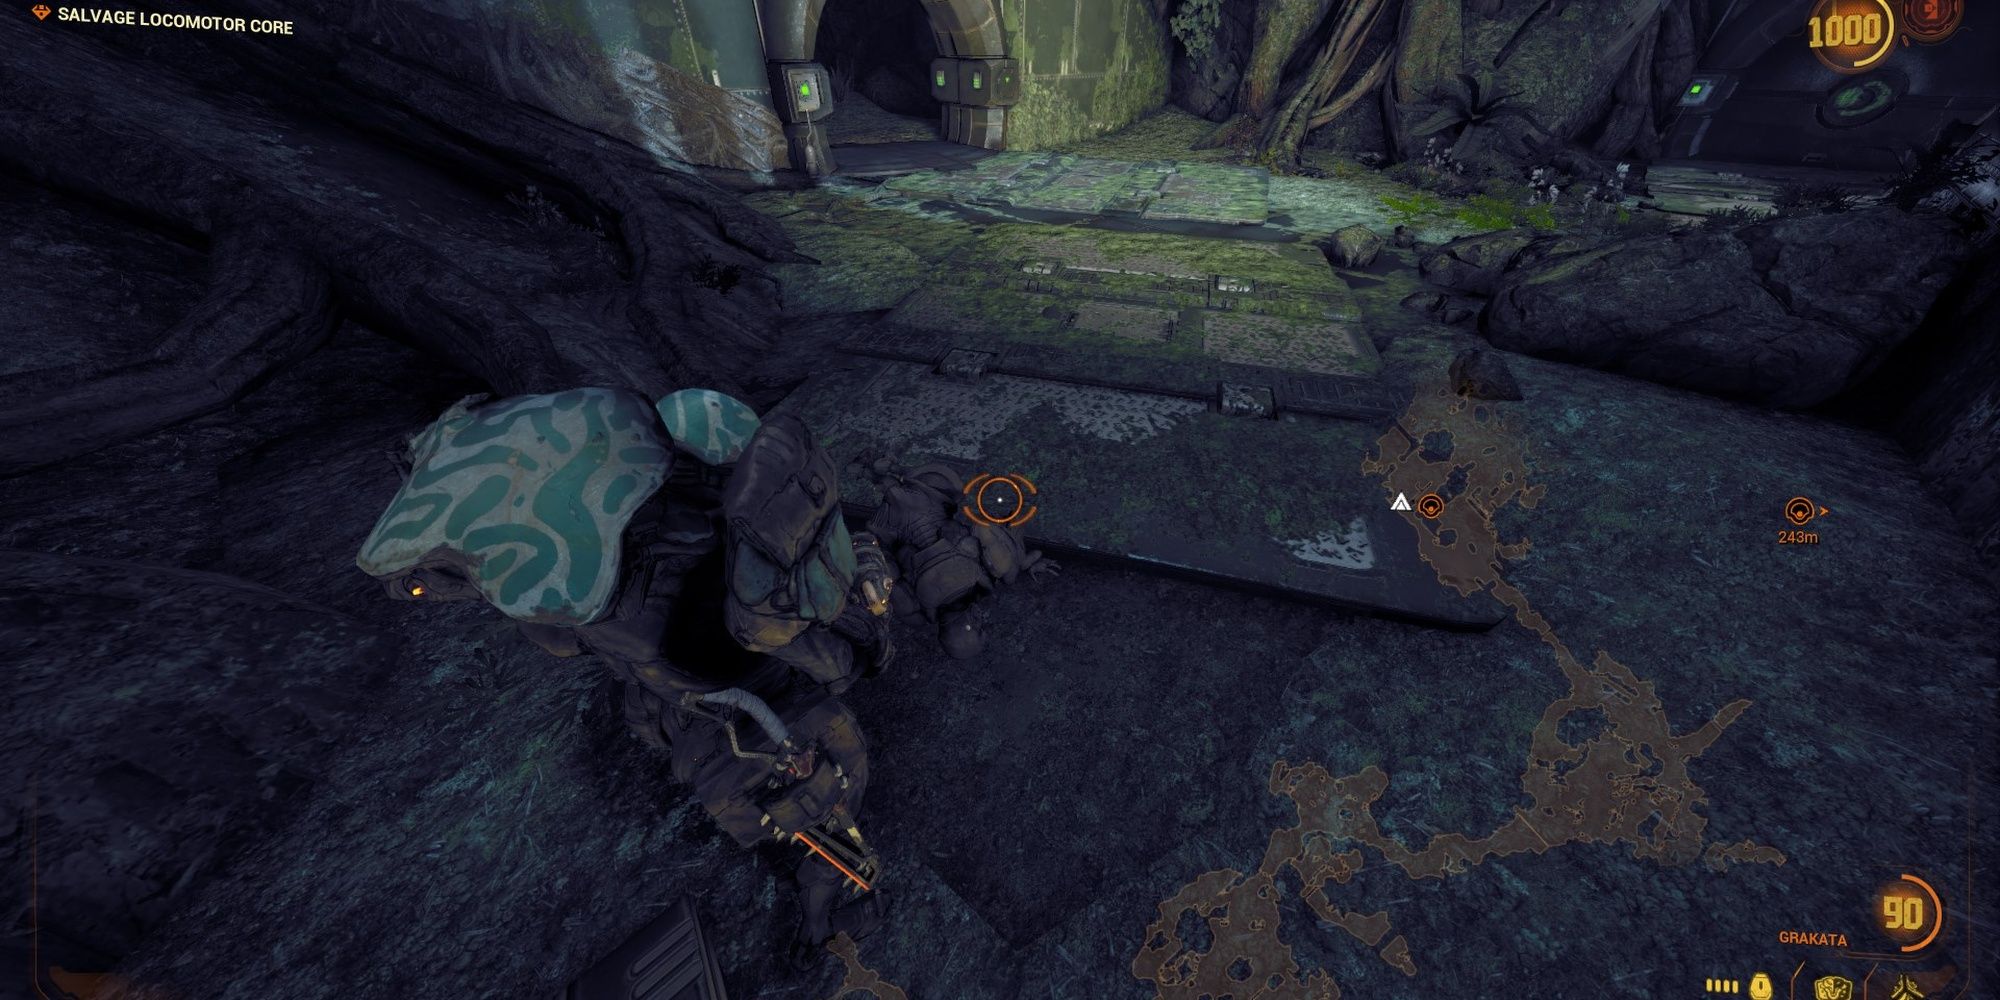
From the camera terminal right after spawn, run up the stairs to your left. This one is impossible to miss; the body will flash on your HUD when you get near the camera terminal.
Genestamp Location #2: Spawn
Right after you sneak past the first Deacon, look right under the Narmer crates on your path to find a Grineer corpse.
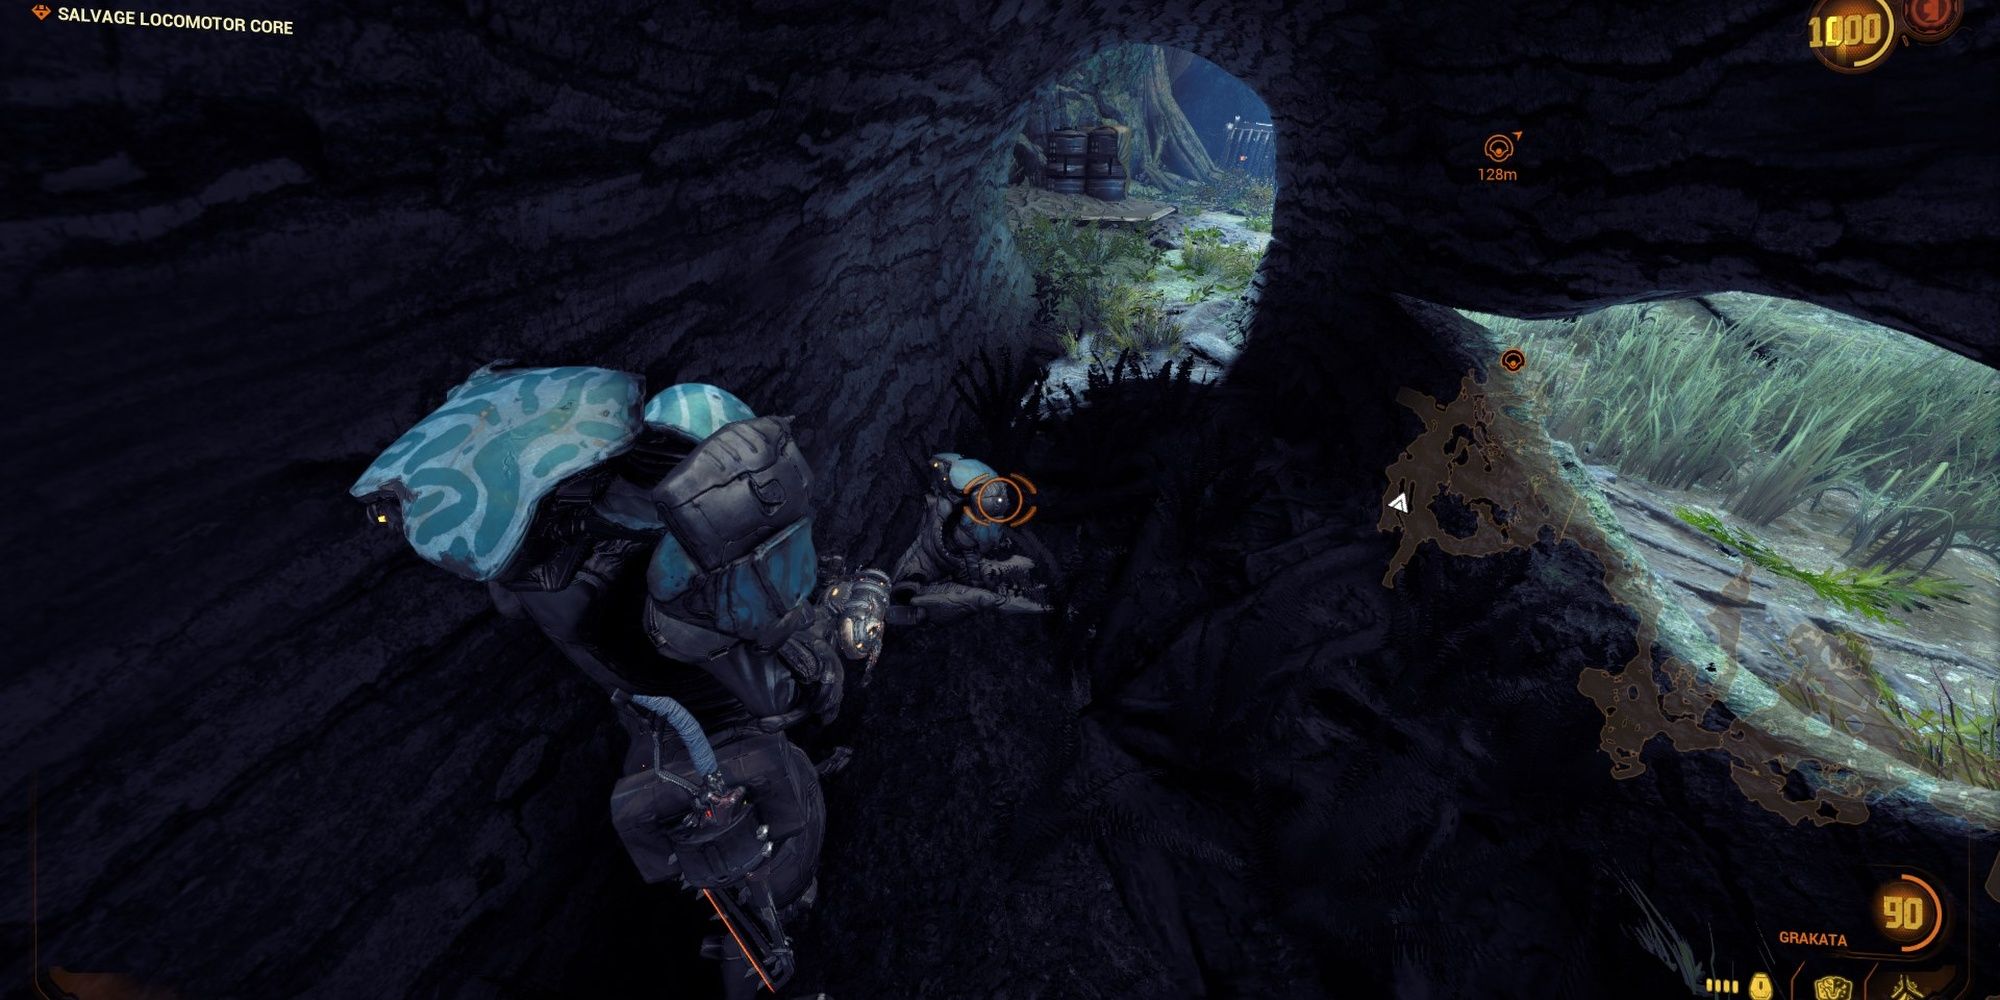
Genestamp Location #3: Log
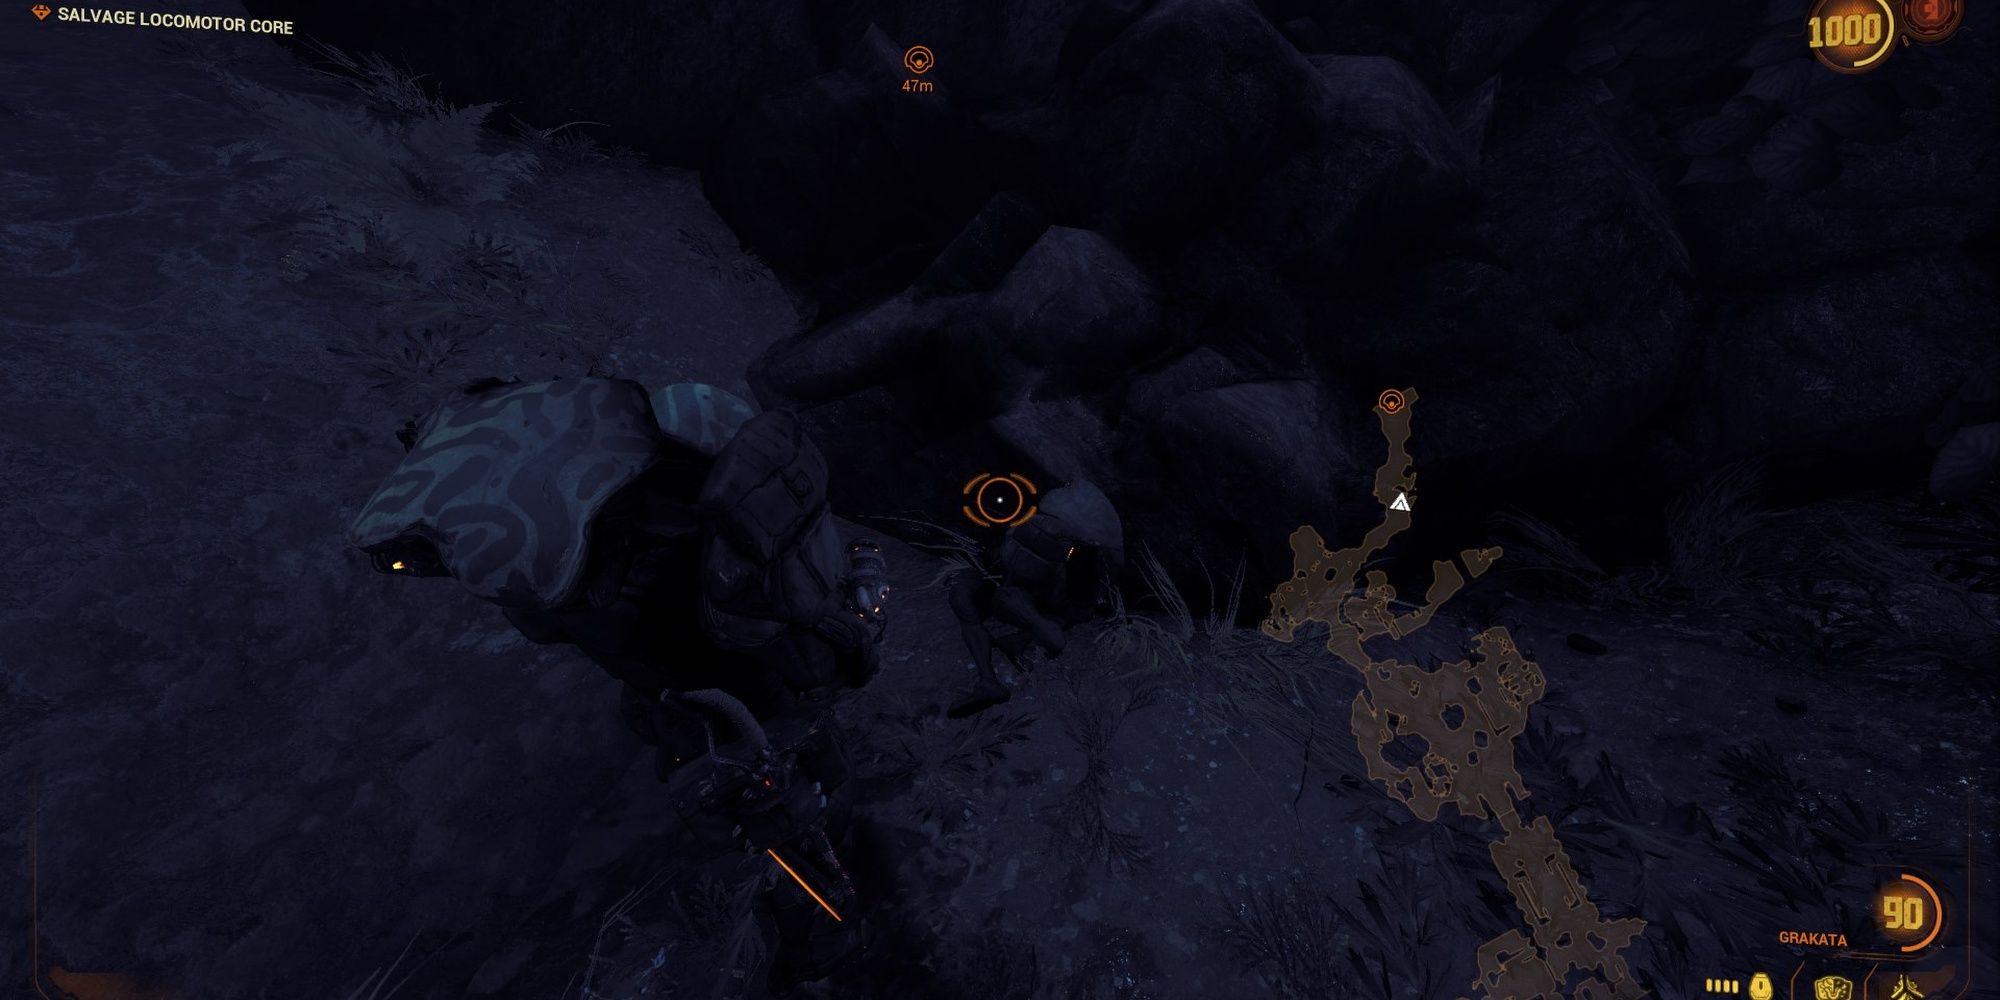
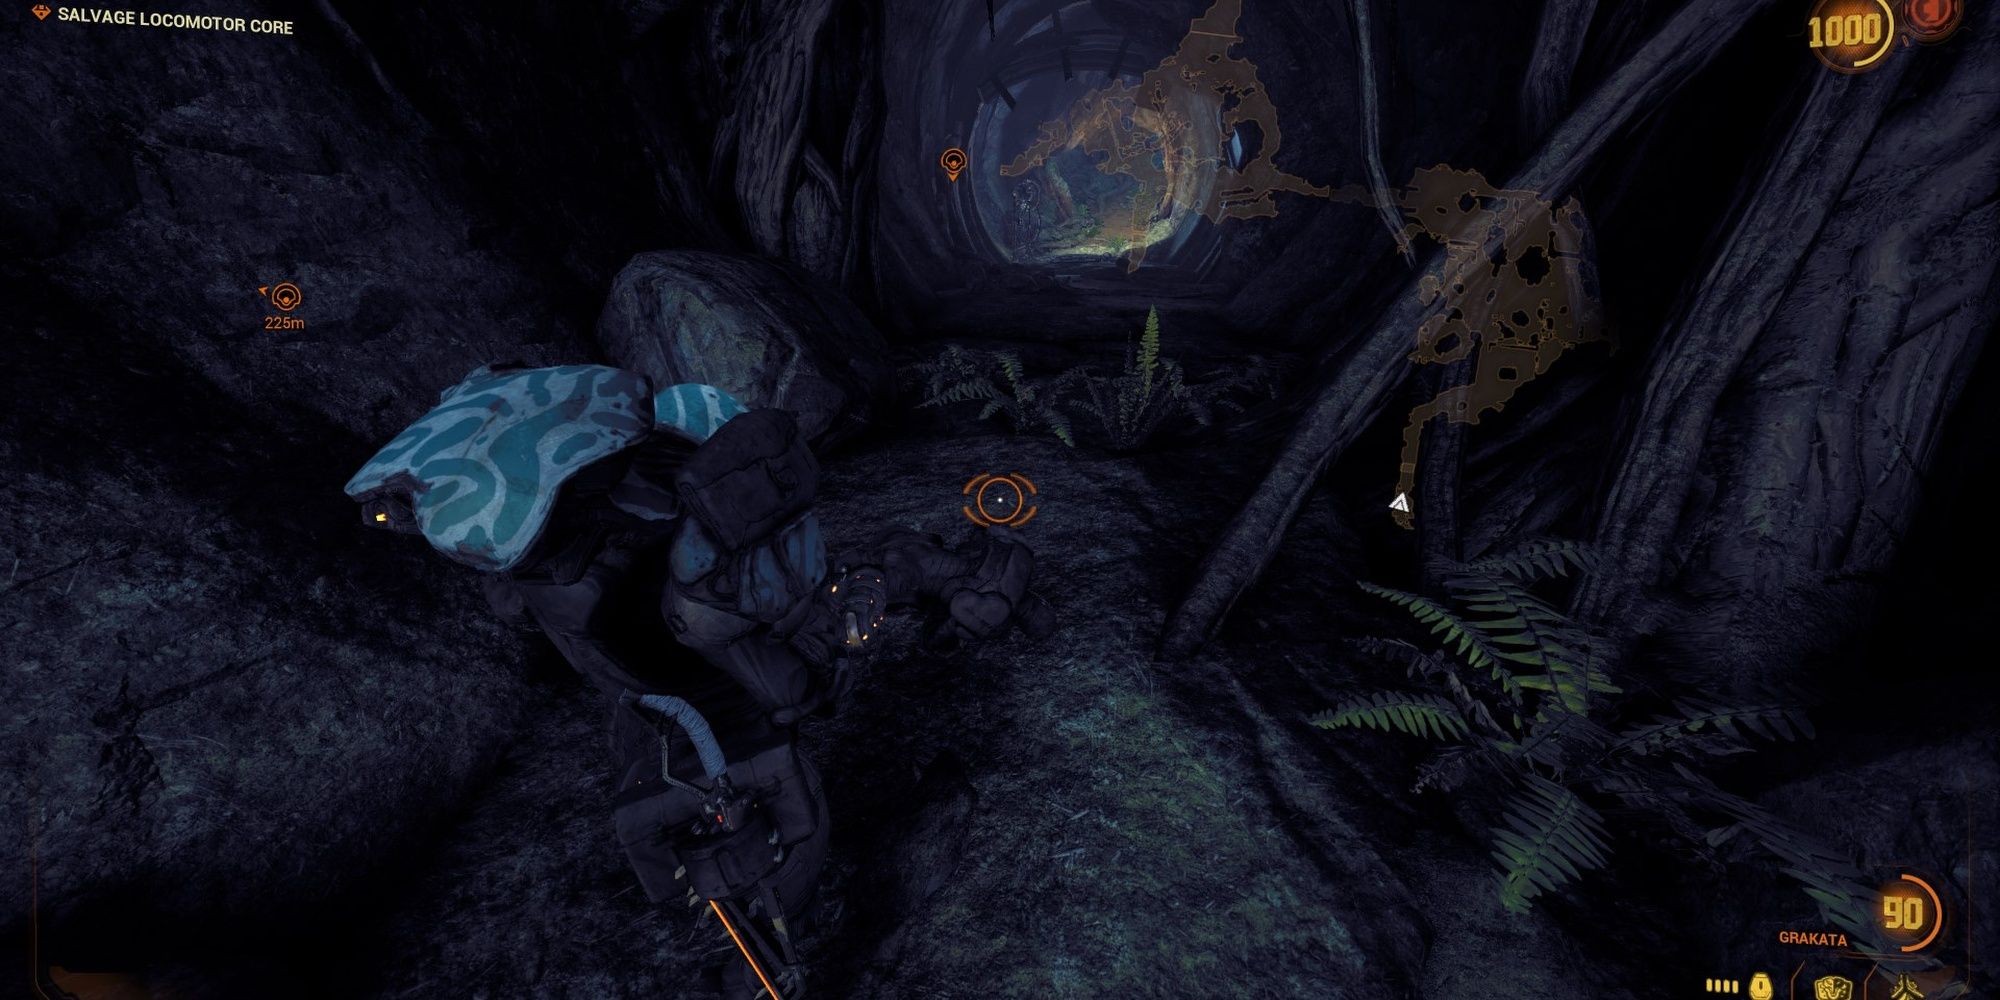
In the Deacon duo area, look for a hollowed-out log on its side. A corpse can be found inside.
Genestamp Location #4: Deacon Area Dead-End
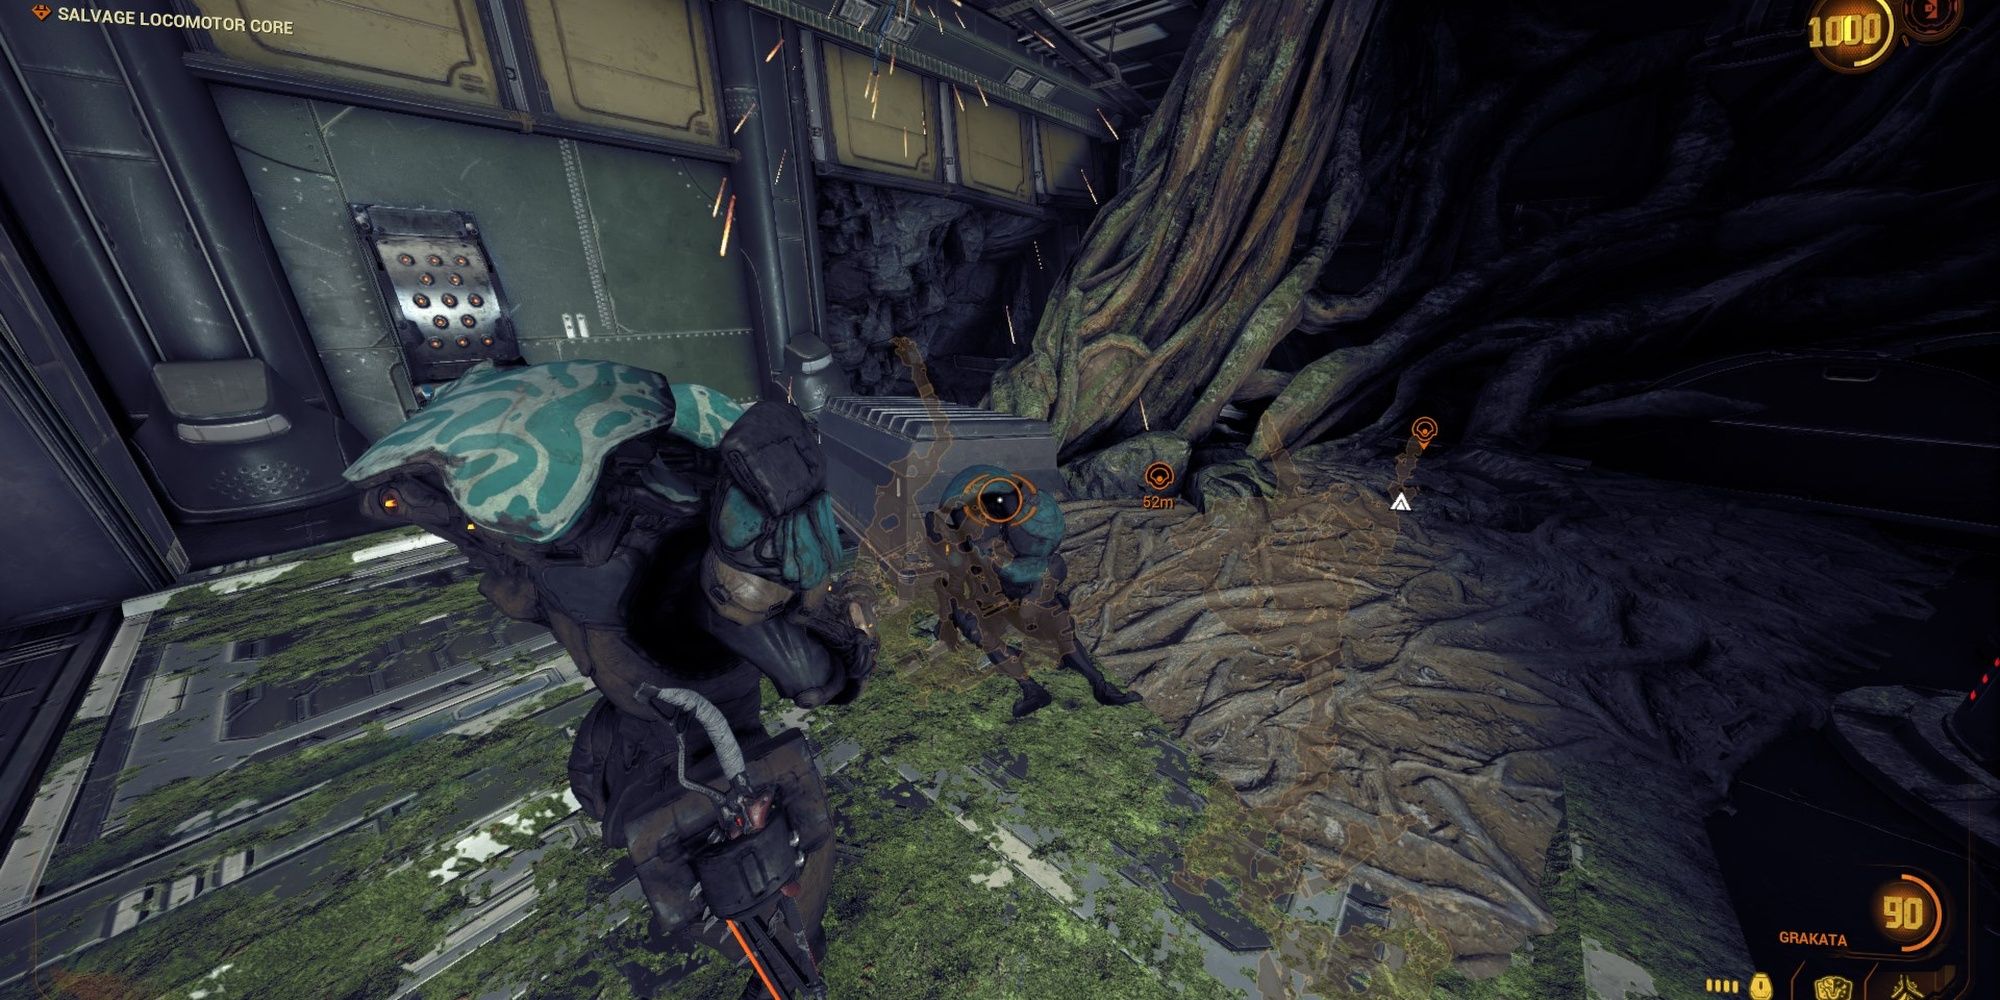
Head to the north-most point of the Deacon duo area to find a dead end. A corpse can be found lying next to a Grineer locker.
Genestamp Location #5: Left Detour
From the Deacon duo room, head to your left to enter a side area. The building straight ahead has a body that occasionally has a Genestamp.
Genestamp Location #6: Left Detour #2
In the same hidden area as the last Genestamp, head outside the building and head left. The corpse will be right next to an Ostron prisoner.
Genestamp Location #7: Left Detour #3
You'll find this body in a dead-end that faces north, located in the same side area as the last two Genestamps.
Genestamp Location #8: Main Path
This body is impossible to miss. It's located right after you open the Narmer forcefield in the Deacon duo area.
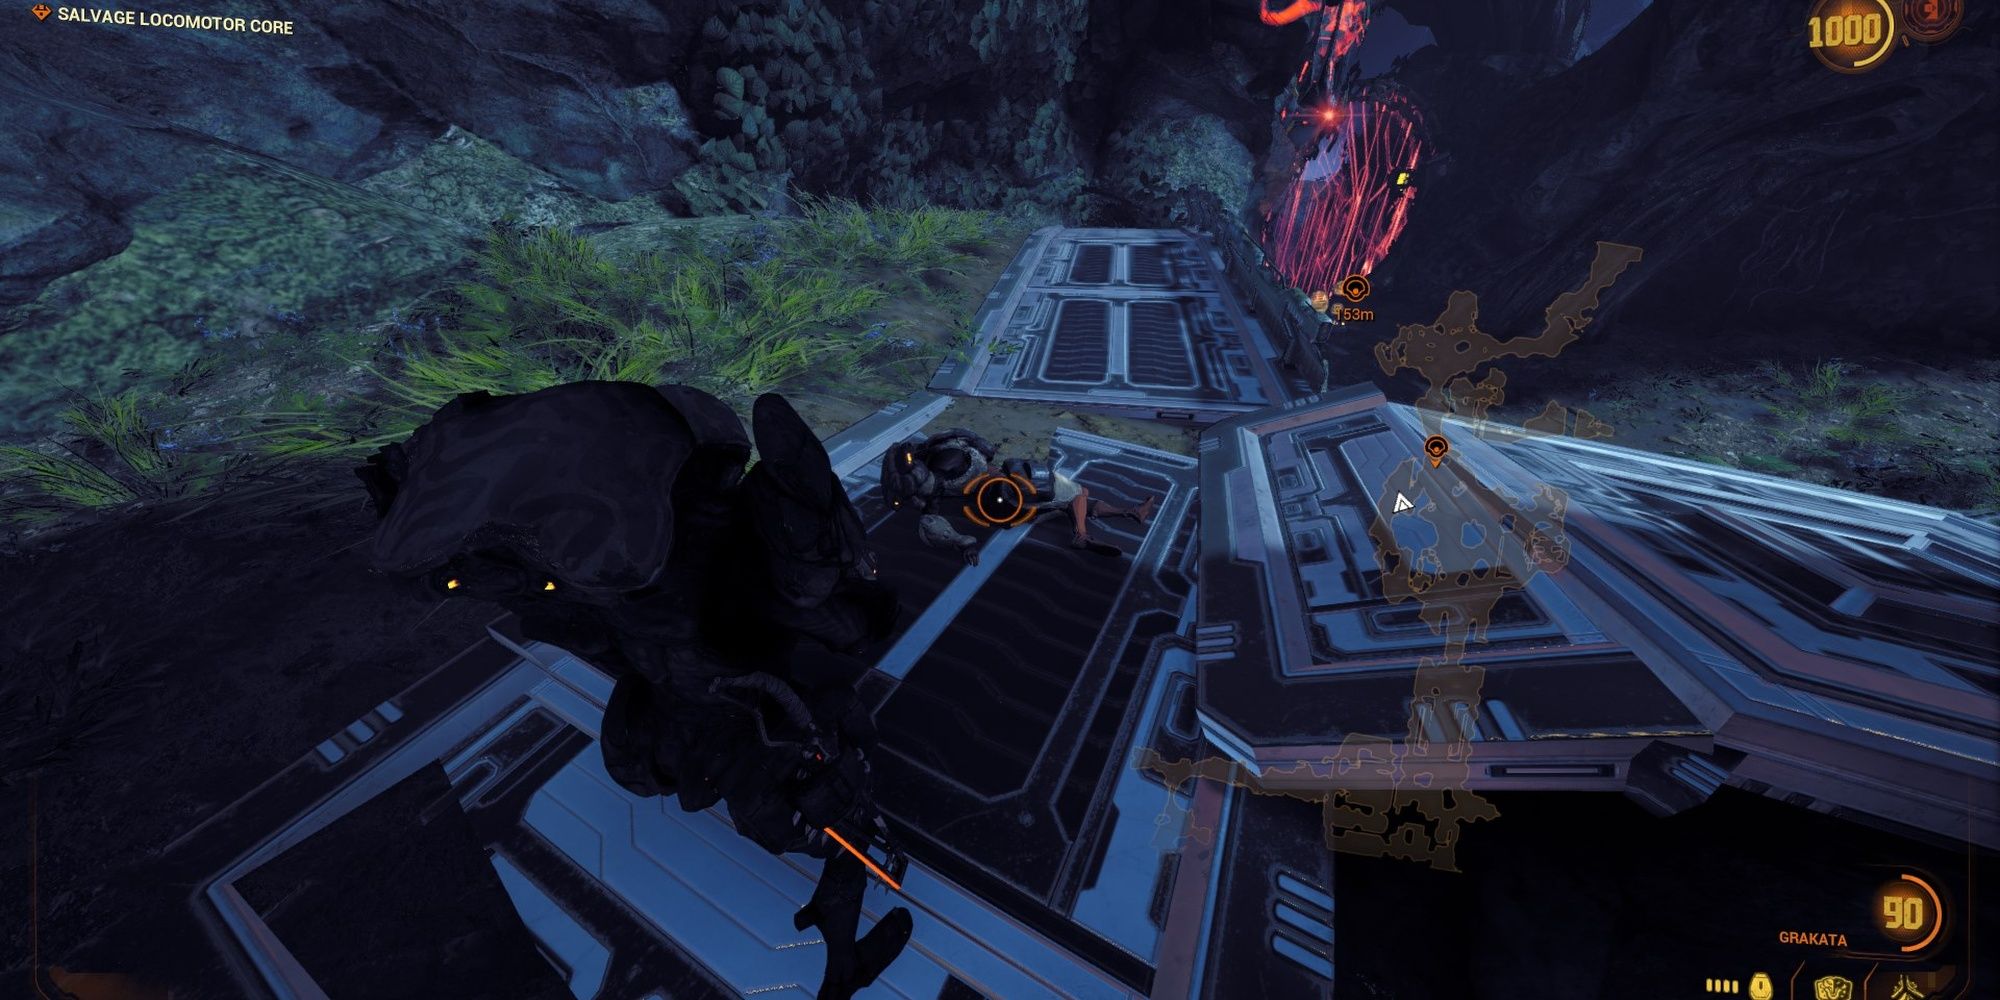
Genestamp Location #9: Thumper Parts
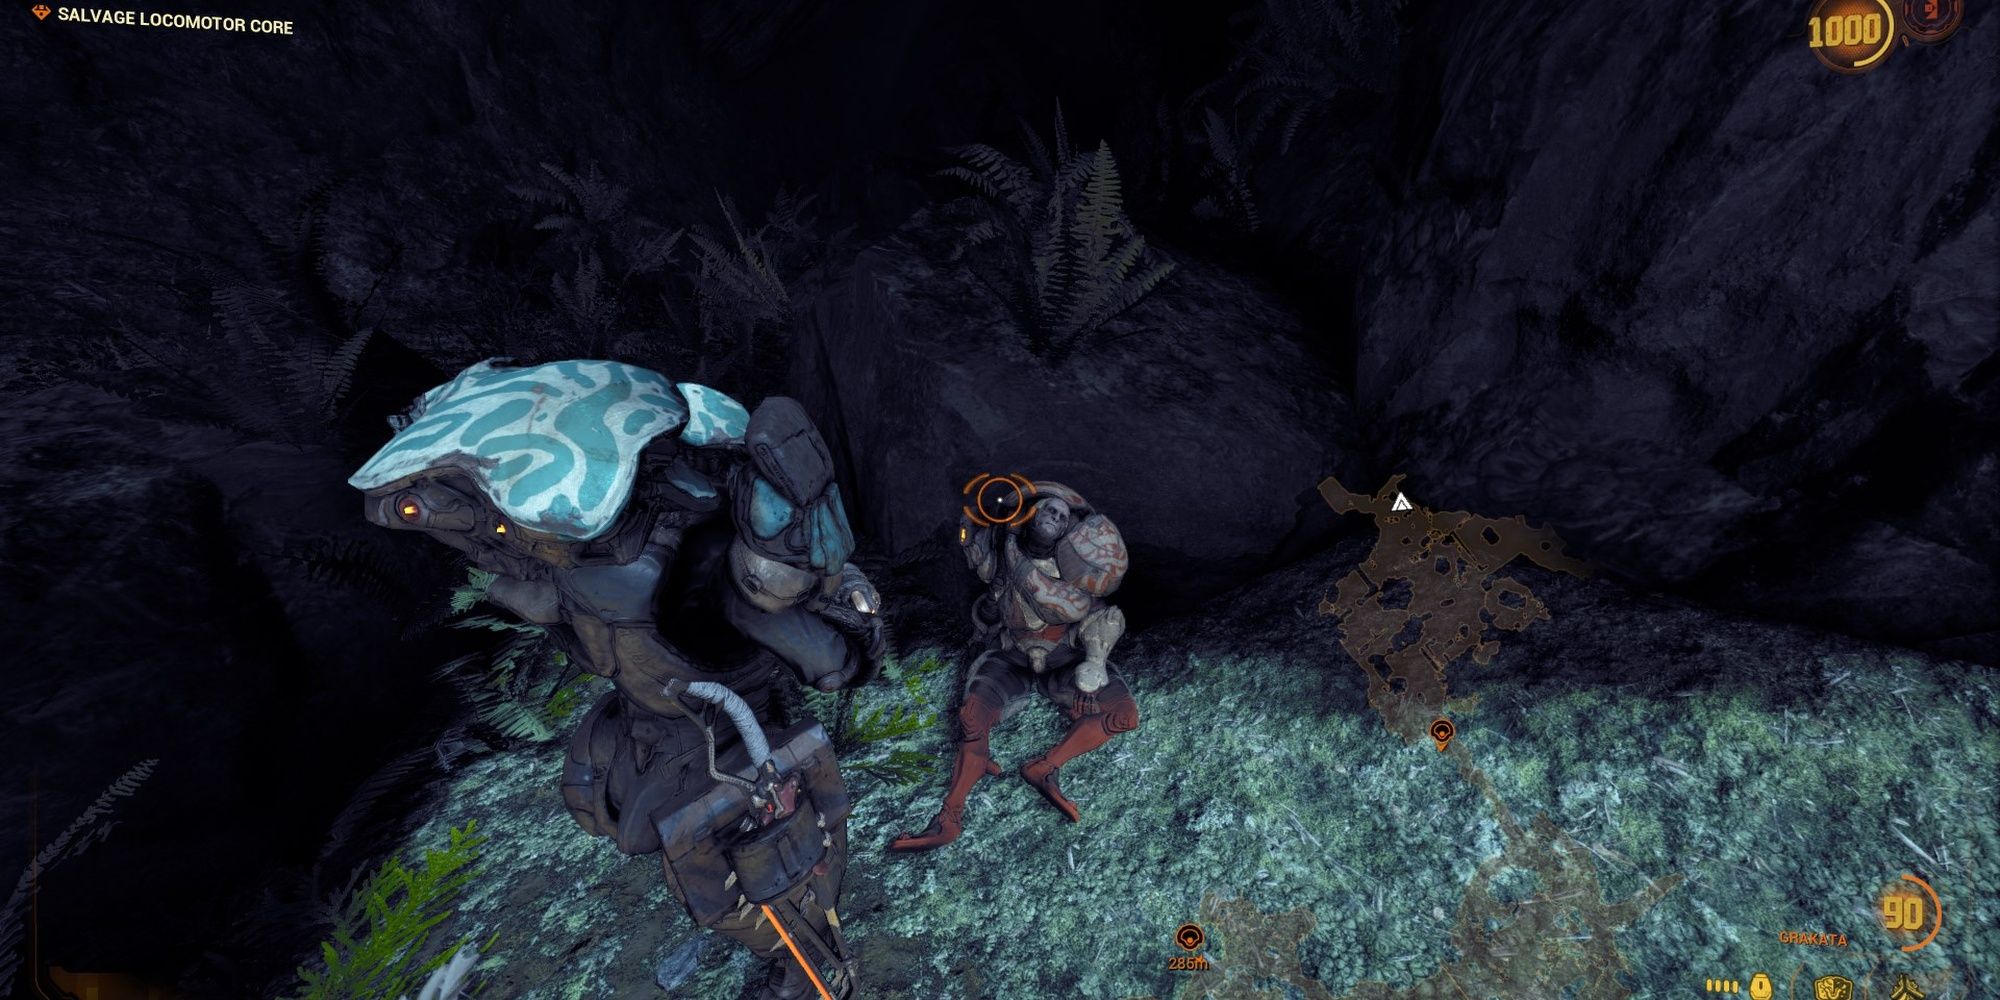
This Genstamp is on a corpse overlooking the Thumper parts terminal. Get to the terminal, turn around, and climb up the ledge.
Genestamp Location #10: Bridge Detour #1
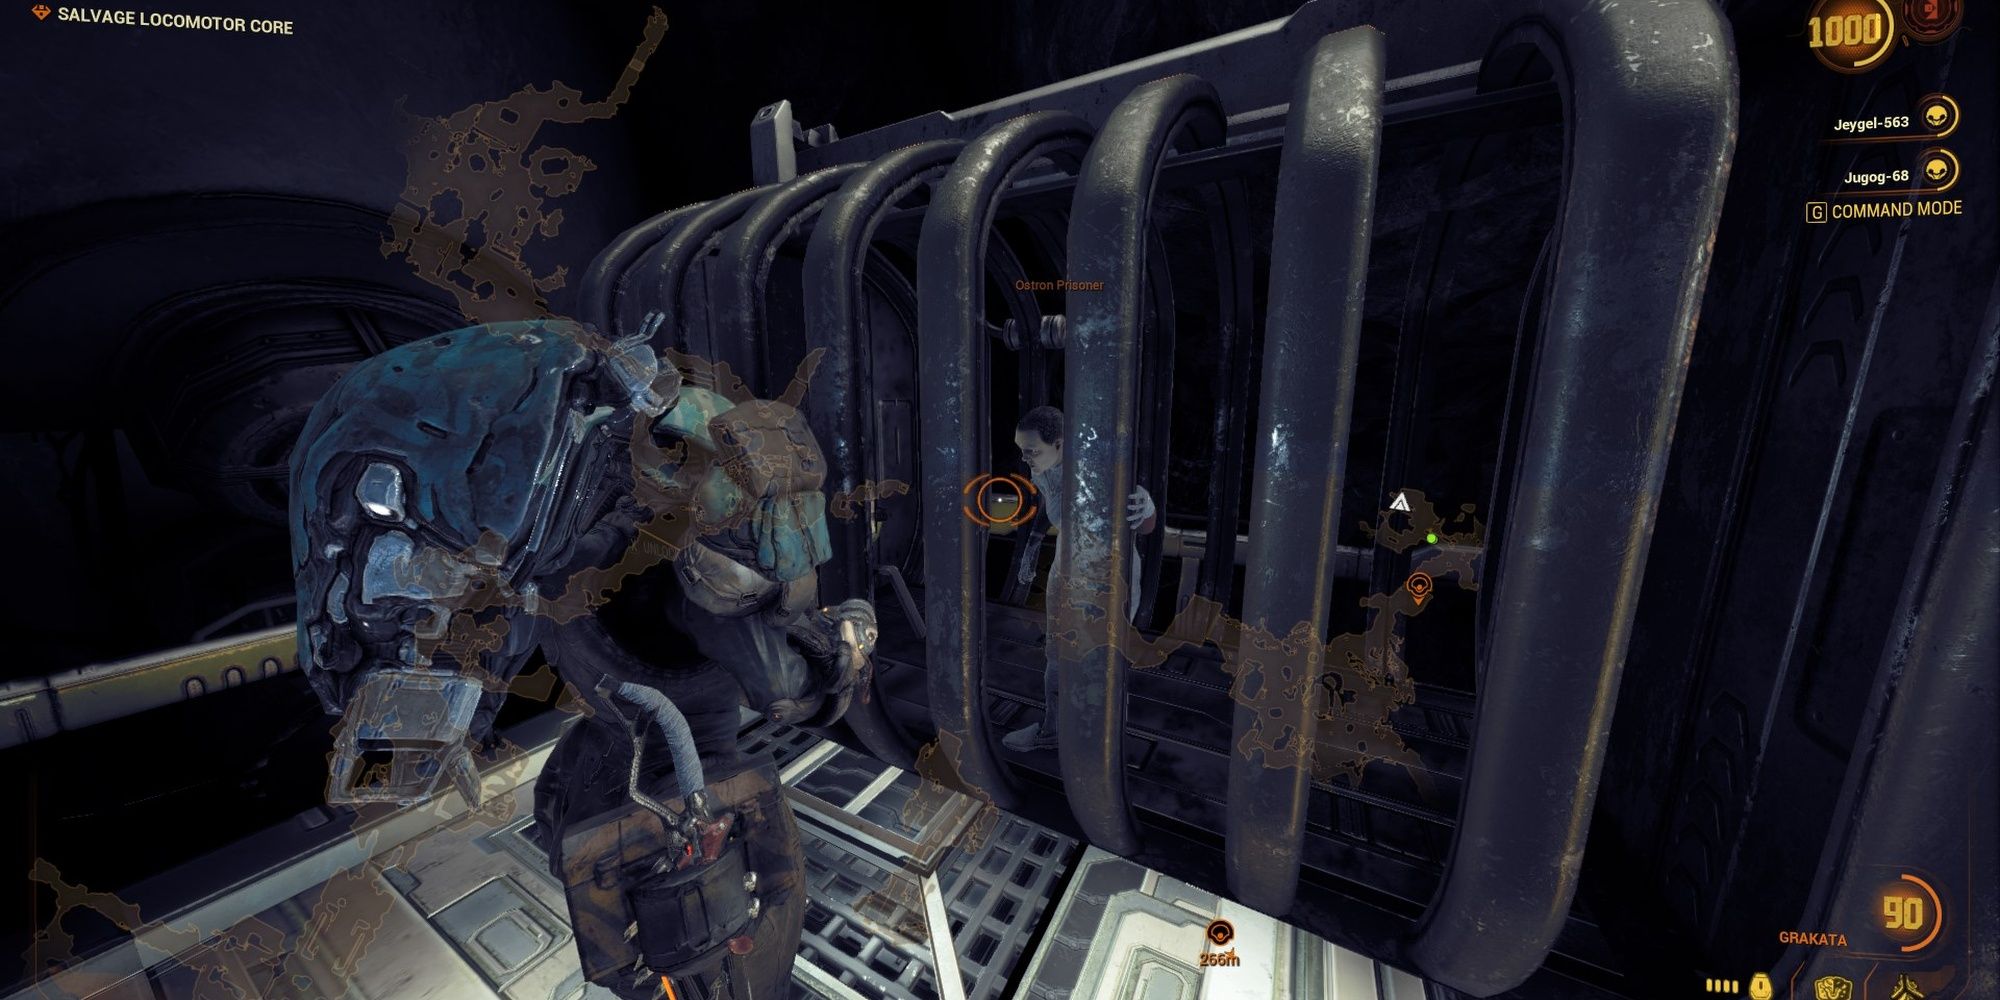
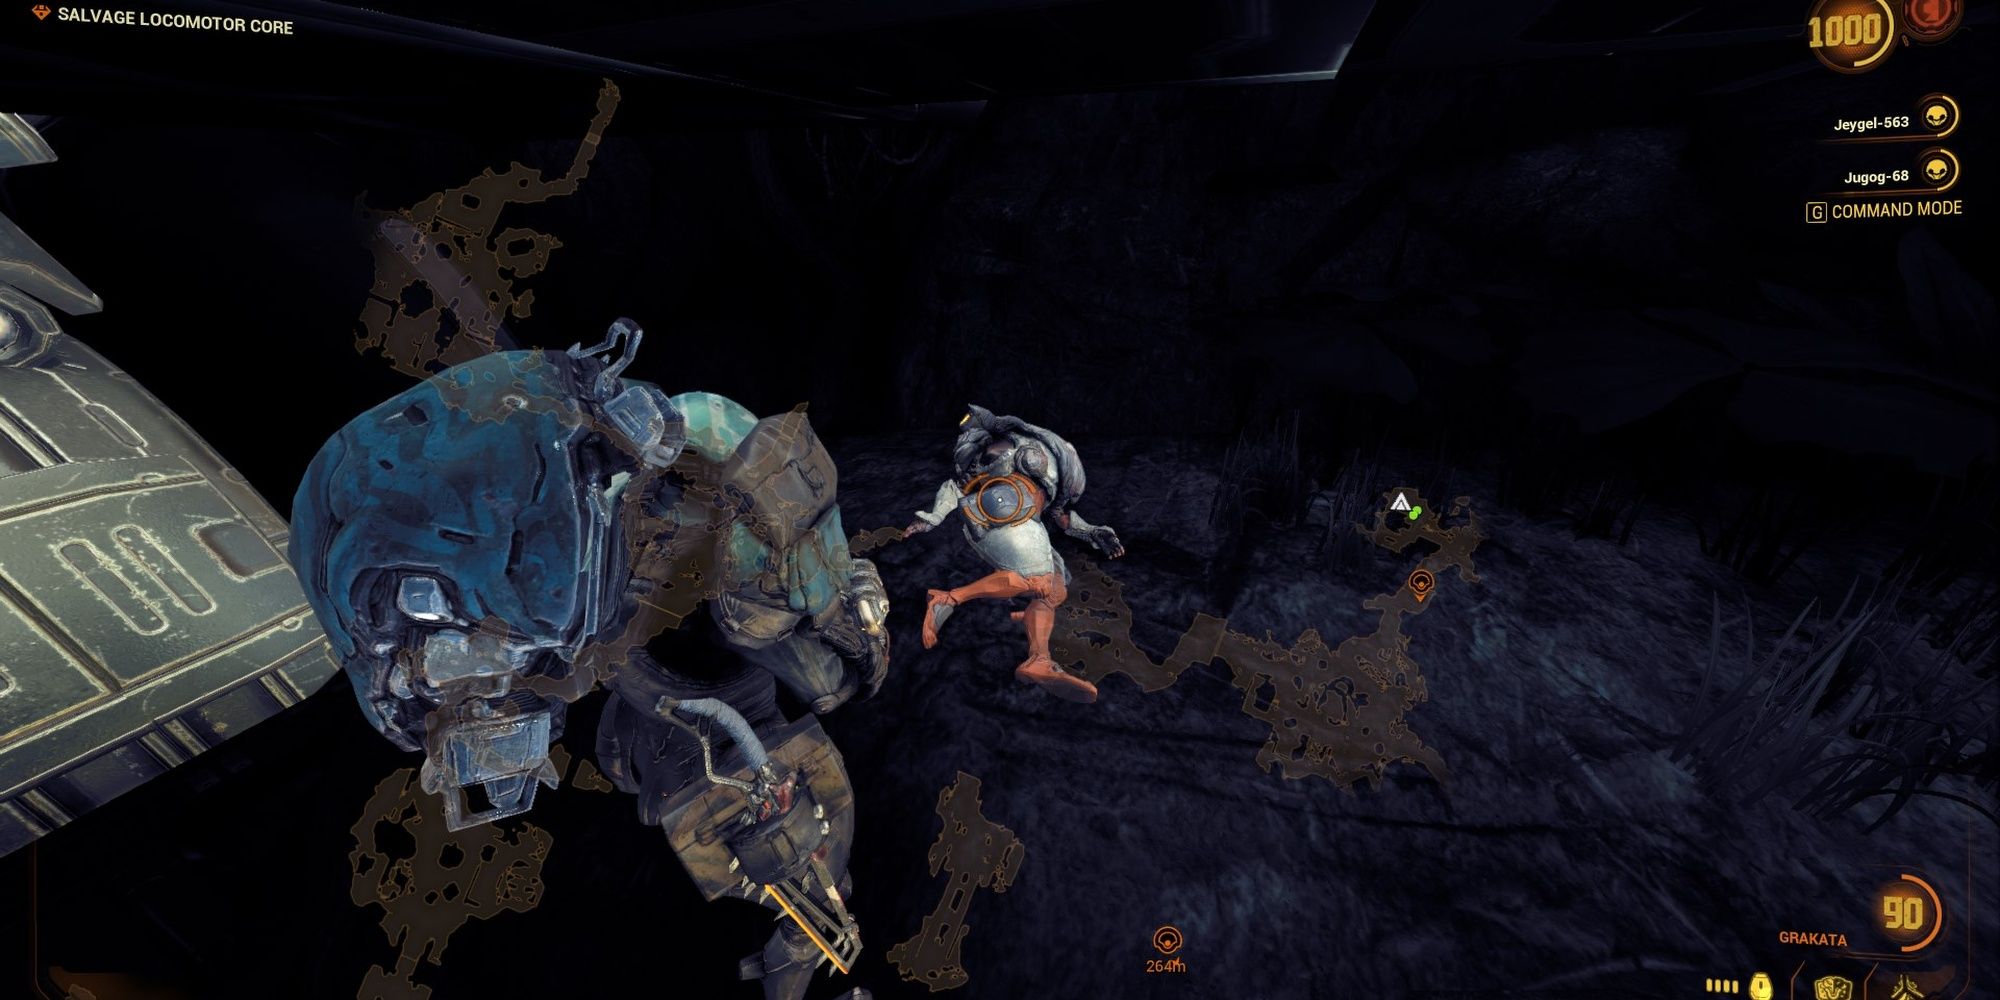
In the open tile preceding the bridge puzzle, make a detour to your left (facing north) to find a small hidden area. Hang left to find an Ostron prisoner and a Genestamp body down the stairs.
Genestamp Location #11: Before Fighting The Thumper #1
Right after you acquire your Kuva Ayanga, hug the left wall until you reach some Narmer crates. A corpse laying near the crates can sometimes spawn with a Genestamp.
Genestamp Location #12: Before Fighting The Thumper #2
This Genestamp is found in a field just before you fight the Thumper boss.
Genestamp Location #13: Thumper Boss Arena
When the Thumper boss spawns, fly to the right of it. A corpse can be found laying on a dimly-lit stone ledge overlooking the area.
Ostron Prisoner Locations
Ostron Prisoner #1: Deacon Duo
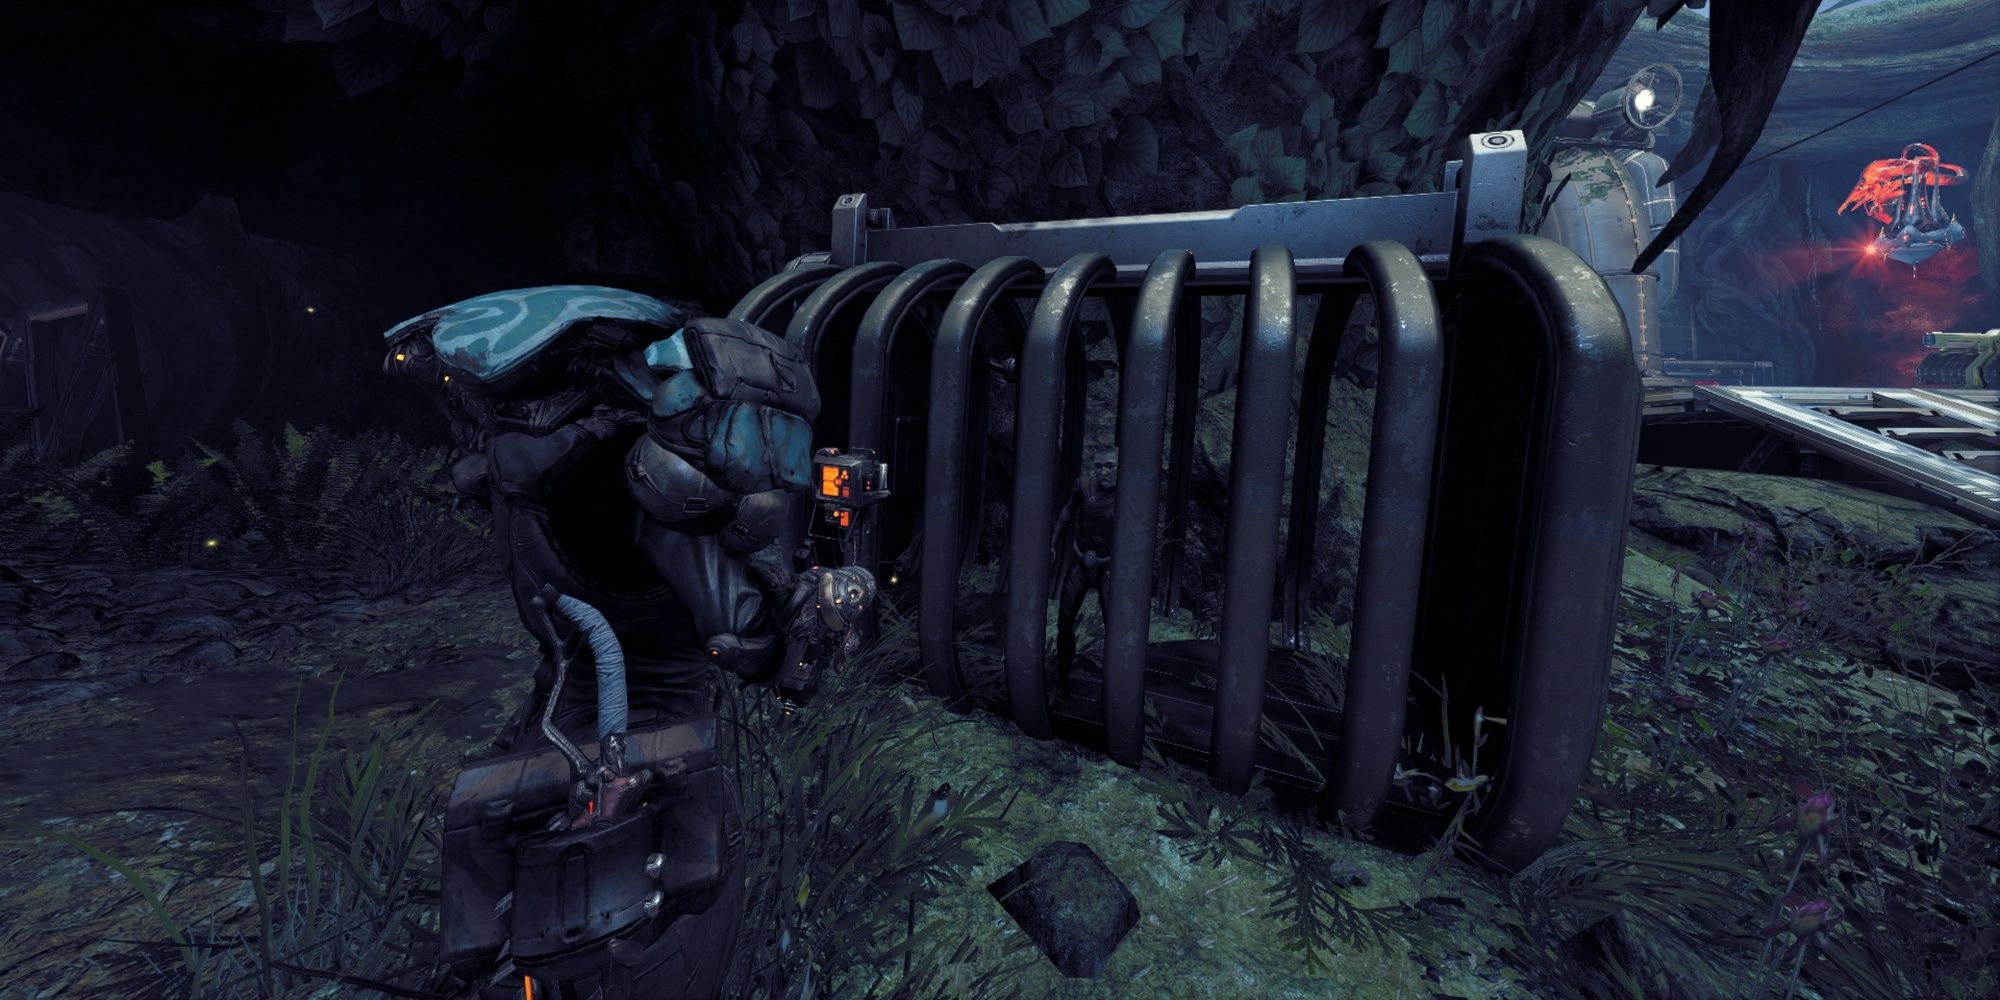
Right after you deal with the Deacon duo, head up a floor and continue north. You'll find the Ostron cage right next to a dead end.
Ostron Prisoner #2: Left Detour #1
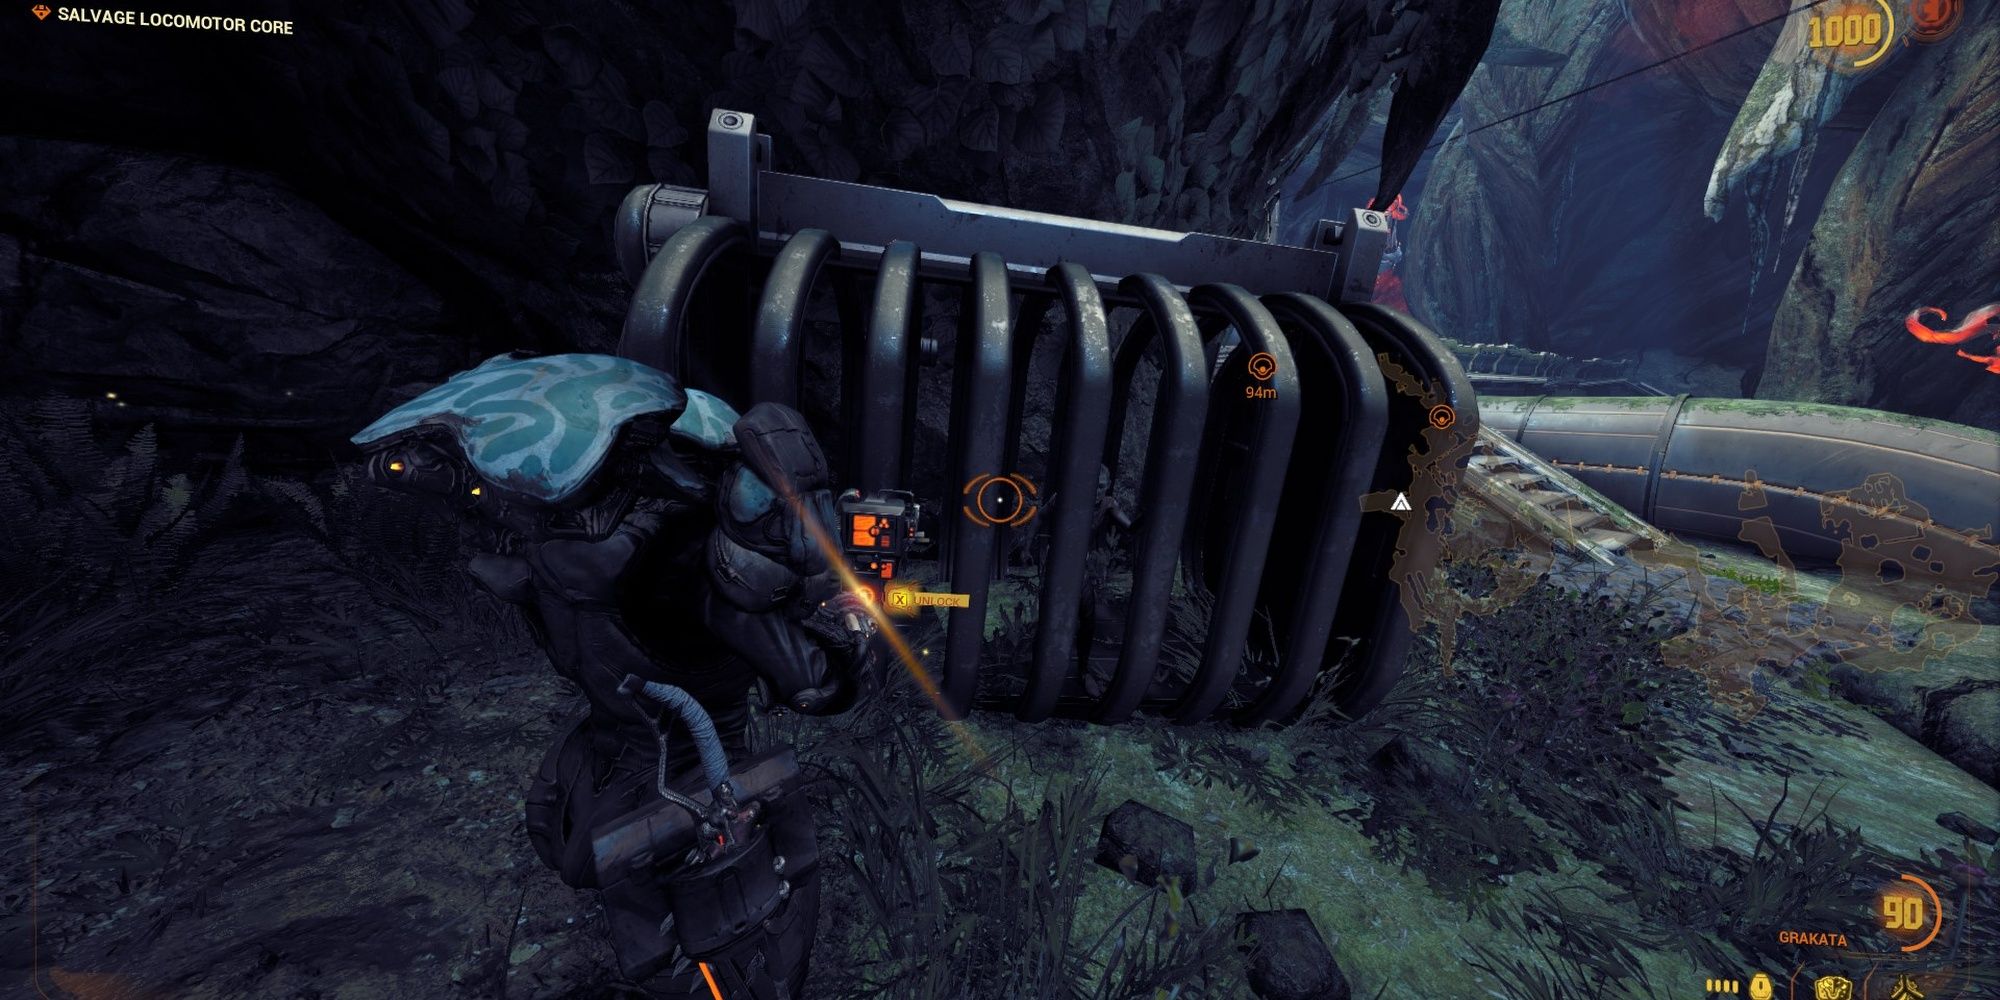
From the Deacon duo area, hang left to enter a hidden area. Right in front of you will be an Ostron cage.
Ostron Prisoner #3: Left Detour #2
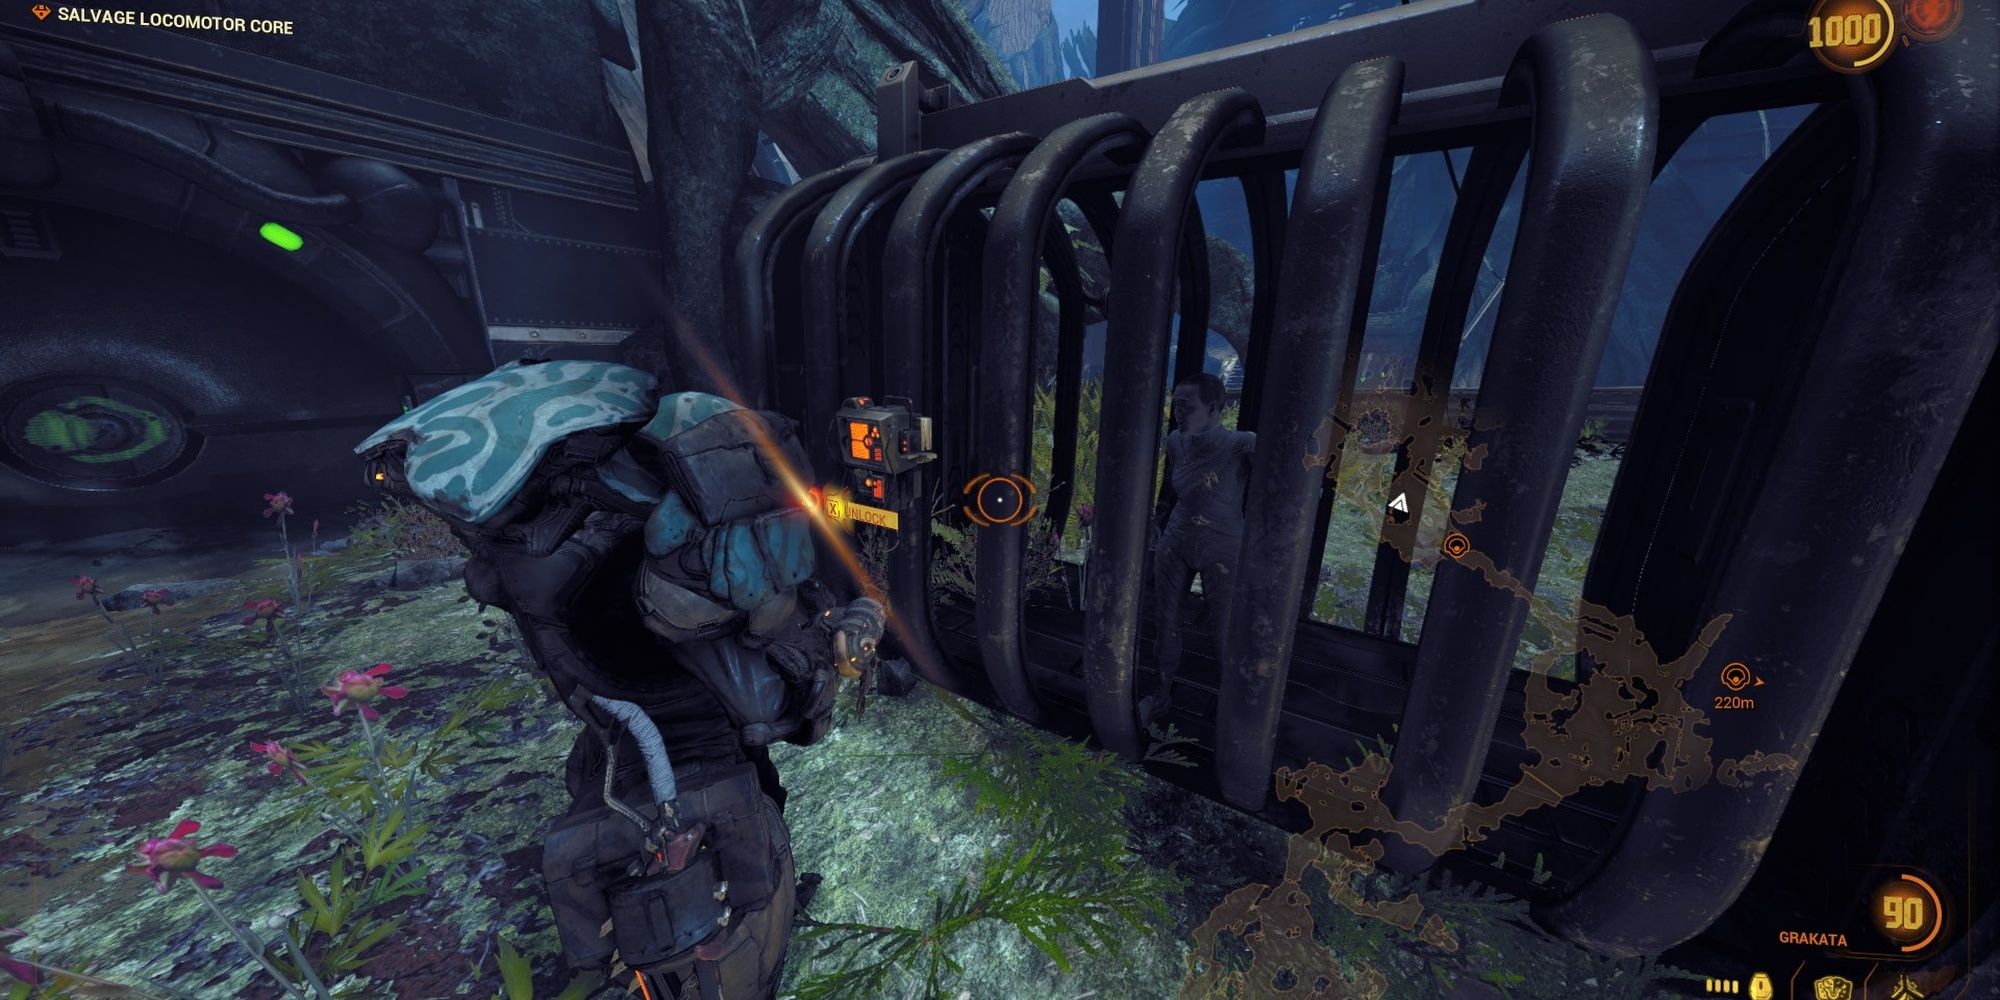
From the last prisoner, keep walking to the very back of the tile to find another prison cell.
Ostron Prisoner #4: Thumper Parts
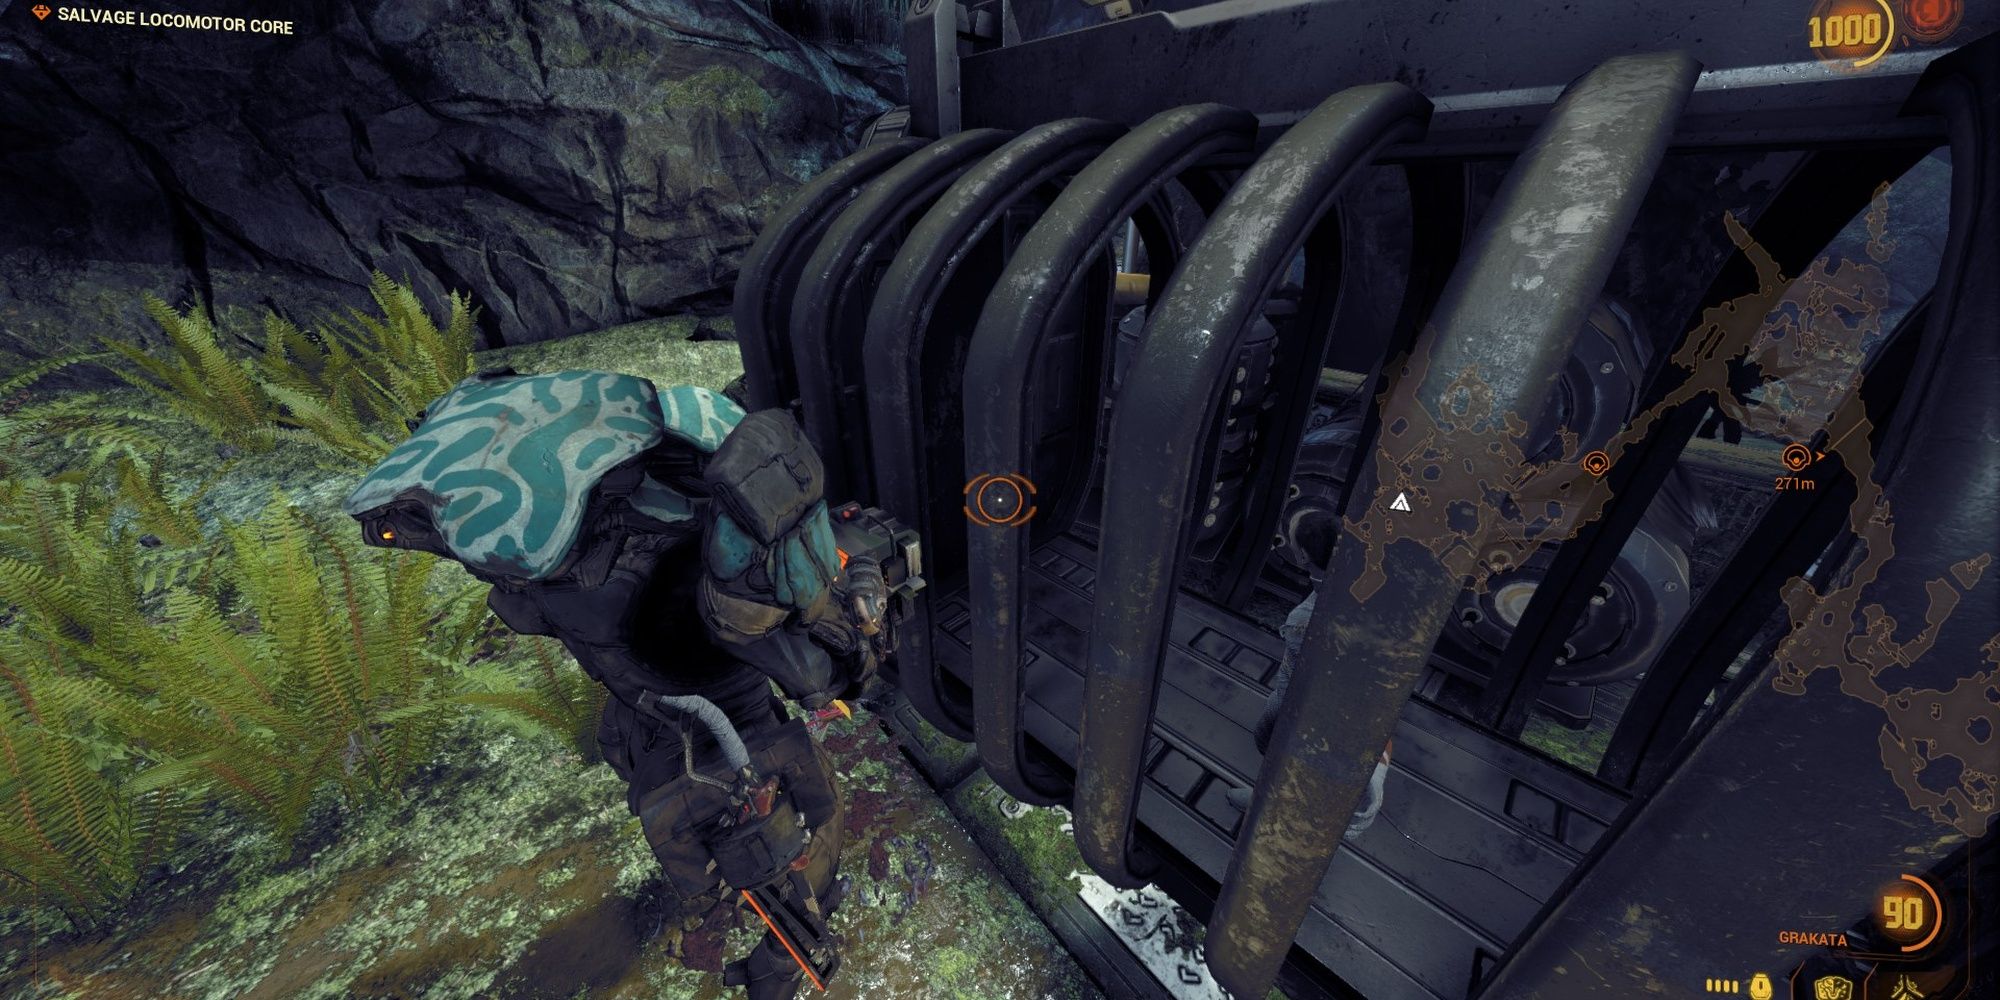
This Ostron cell is located next to the Thumper parts side objective. The cage is right next to the terminal used to drain the nearby water.
Ostron Prisoner #5: Bridge Detour #1
In the open space preceding the bridge puzzle, hang a left (facing north) to find a hidden area with destroyed Grineer platforms. Climb up the broken walkway to your left to find the Ostron jail cell.
Thumper Parts Location
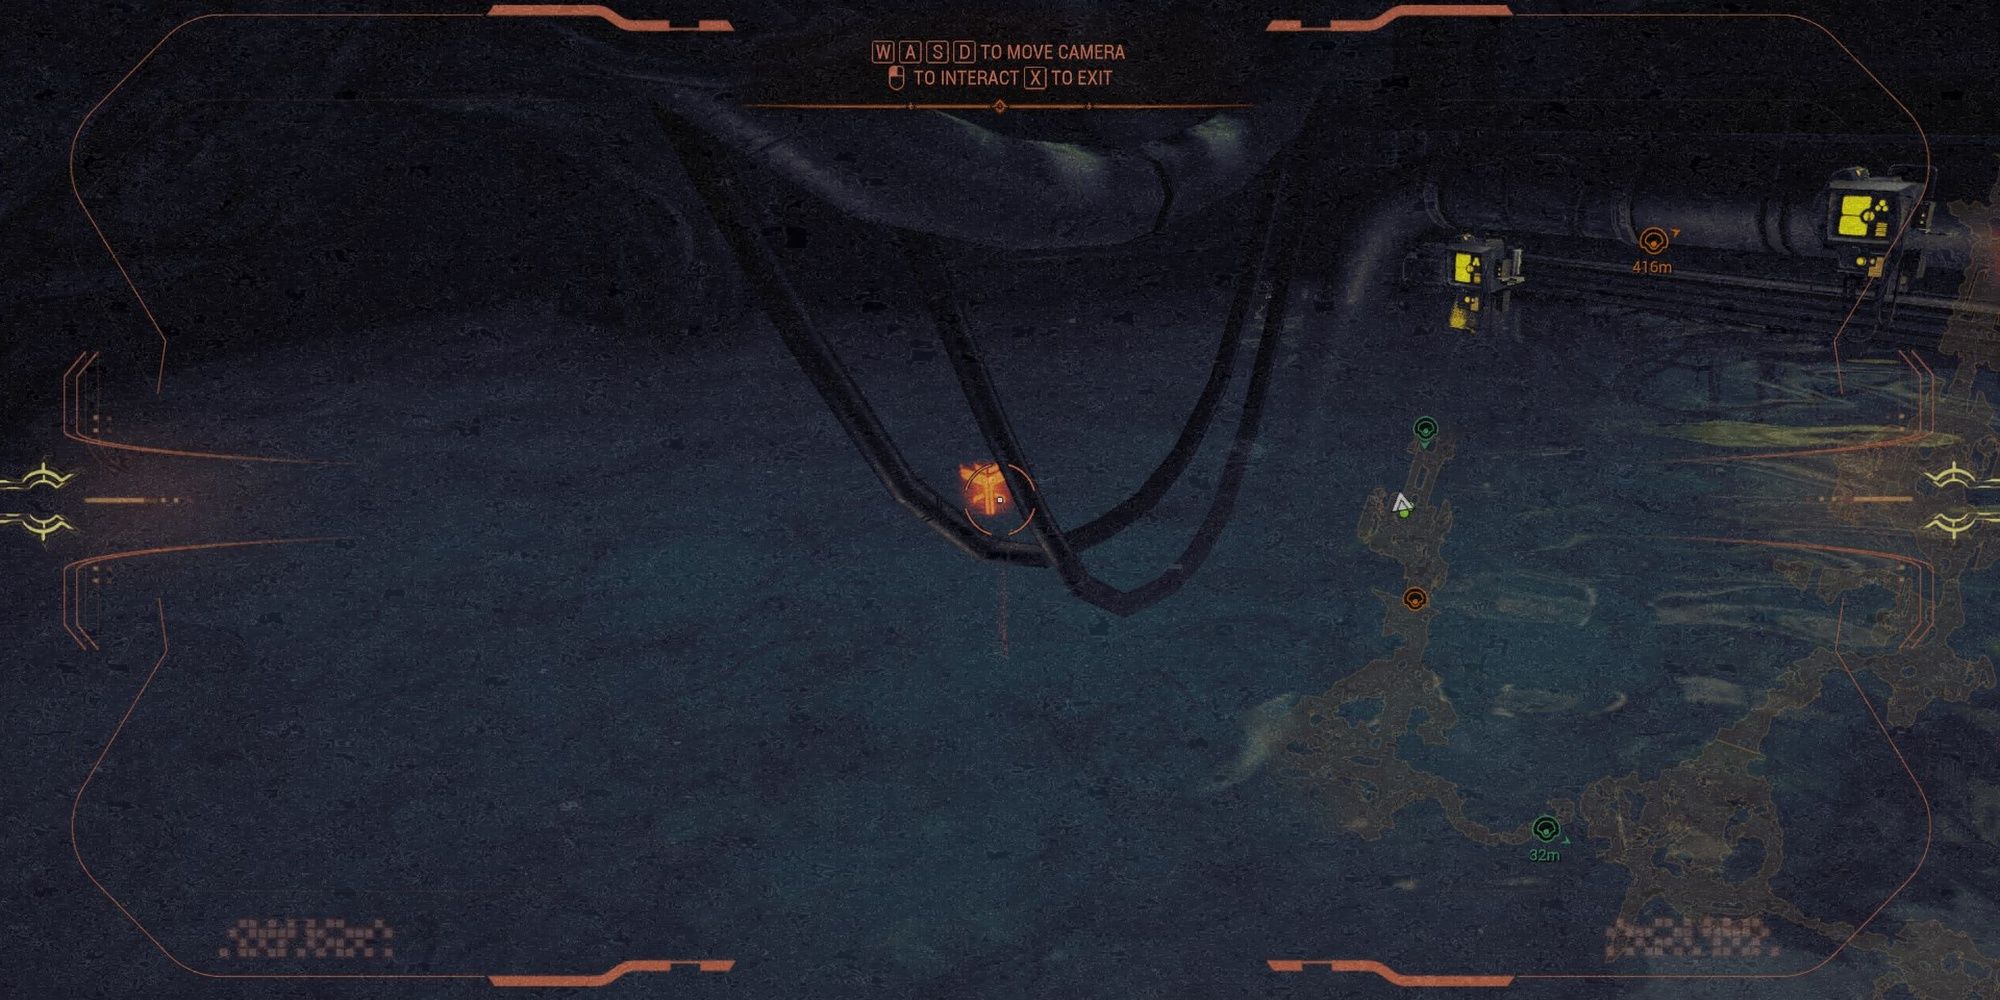
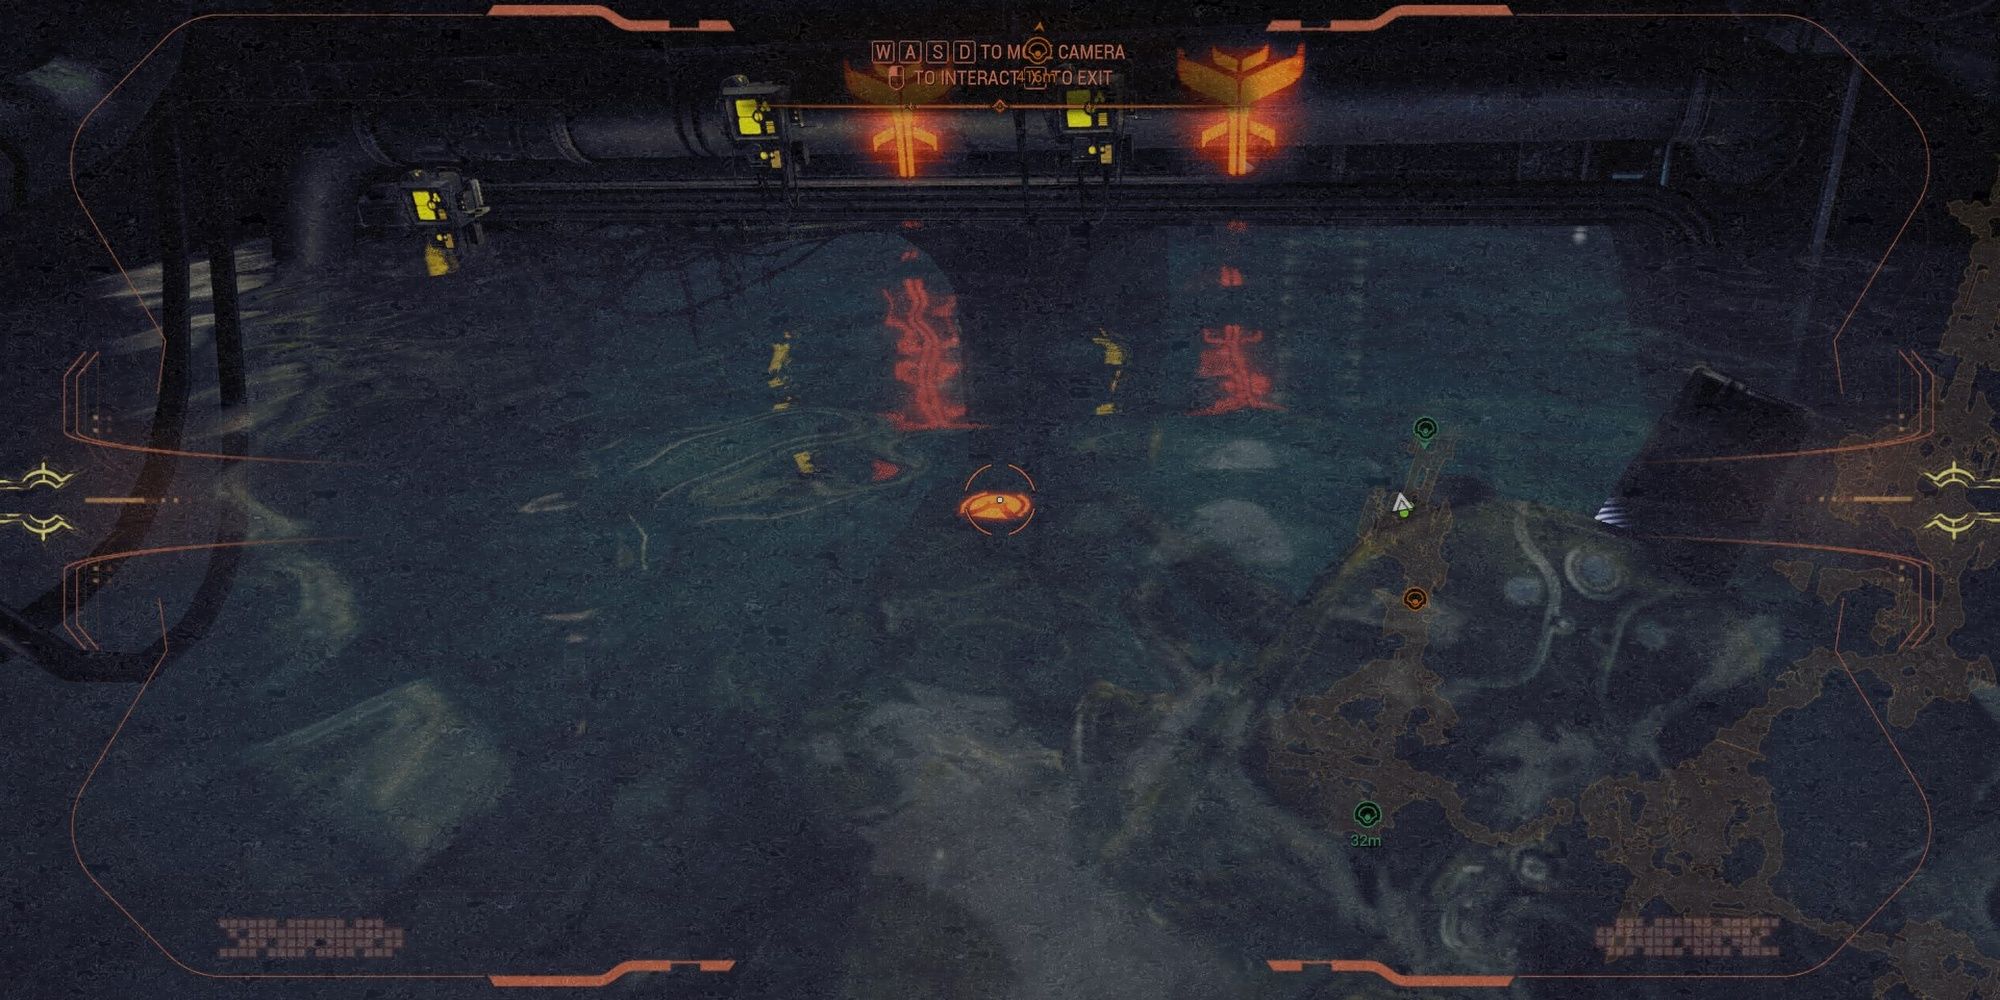
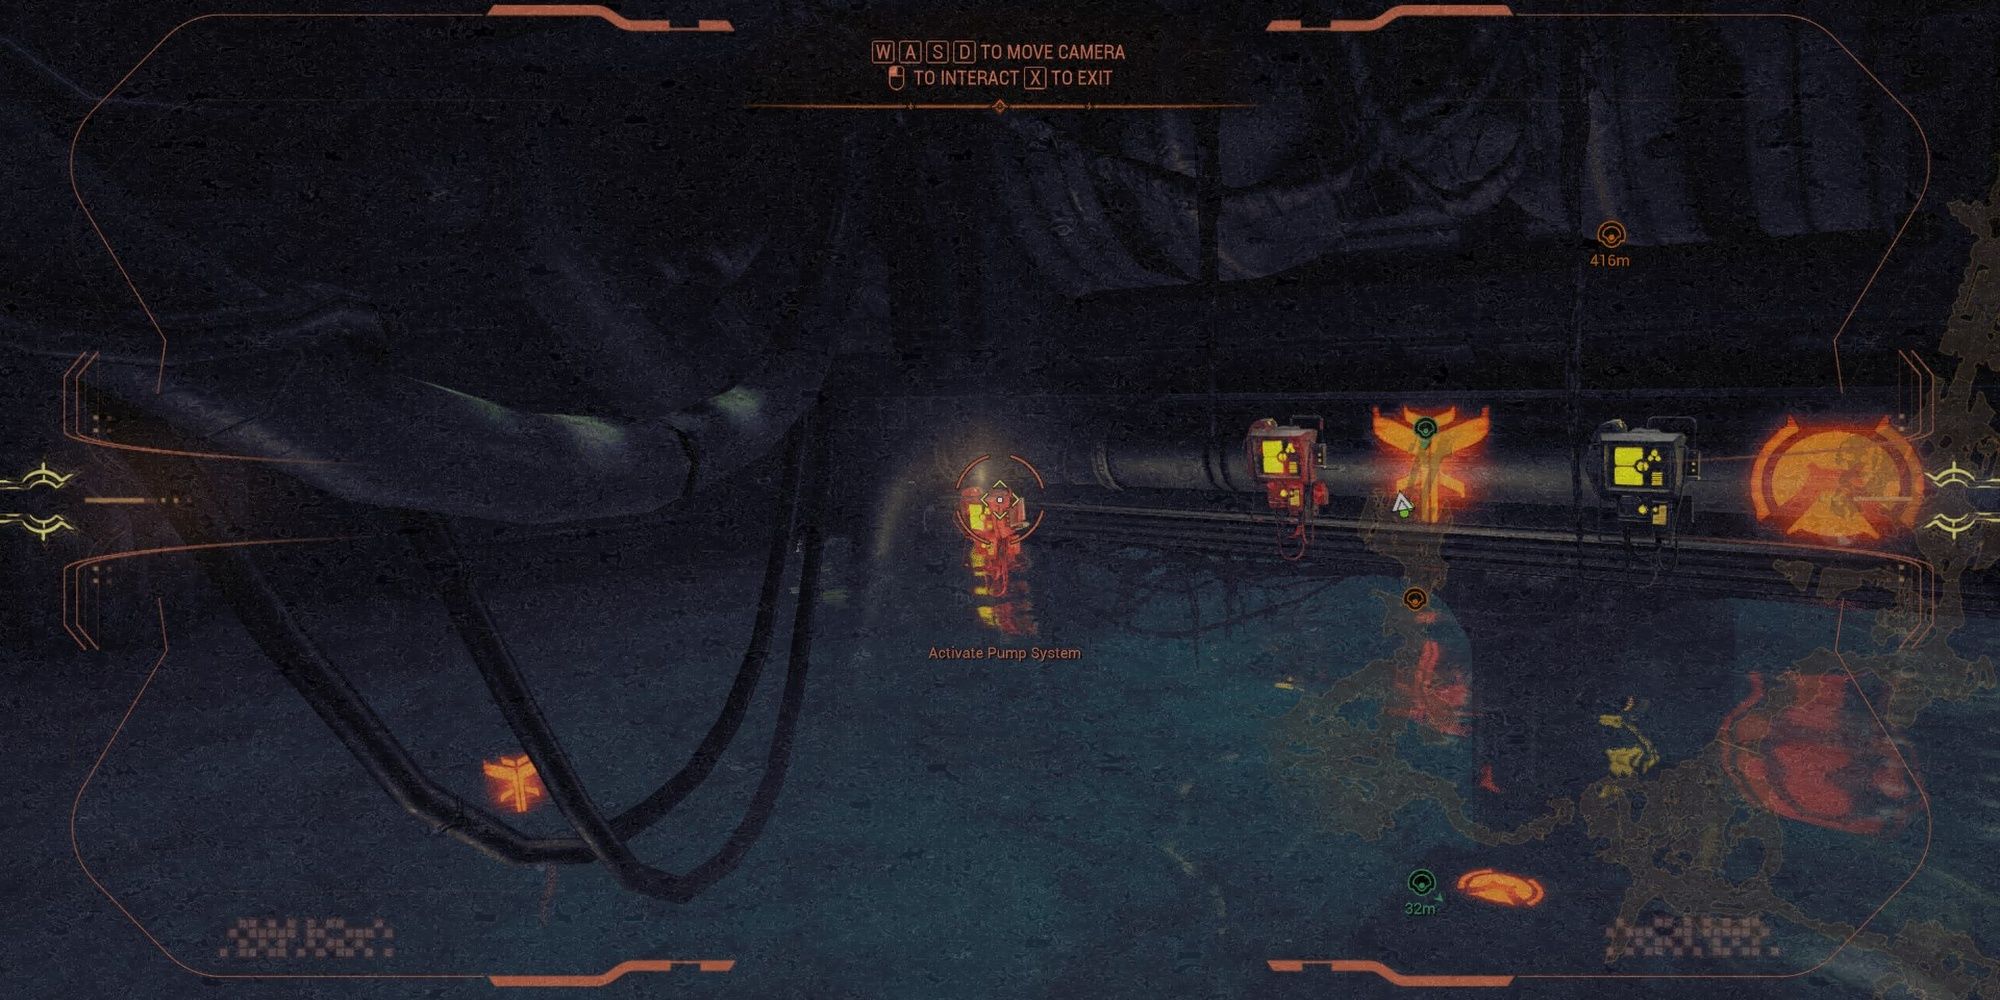
After you get your hands on a jetpack, hang a right to find a flooded area. You'll need to interact with a nearby terminal and enter a code to drain the water. The symbols are located to your left and directly above a flooded crate. Once you've drained the water, run down the stairs to collect the parts.
Somochord Location
You'll find the Somochord fragment in a hidden room that's adjacent to the Deacon duo tile. After you deal with the Deacons, hang a left (west) on the upper floor to reach a hidden tile. The Somochord fragment is at the very end of the room beside an Ostron prison cell and Grineer corpse.

