Quick Links
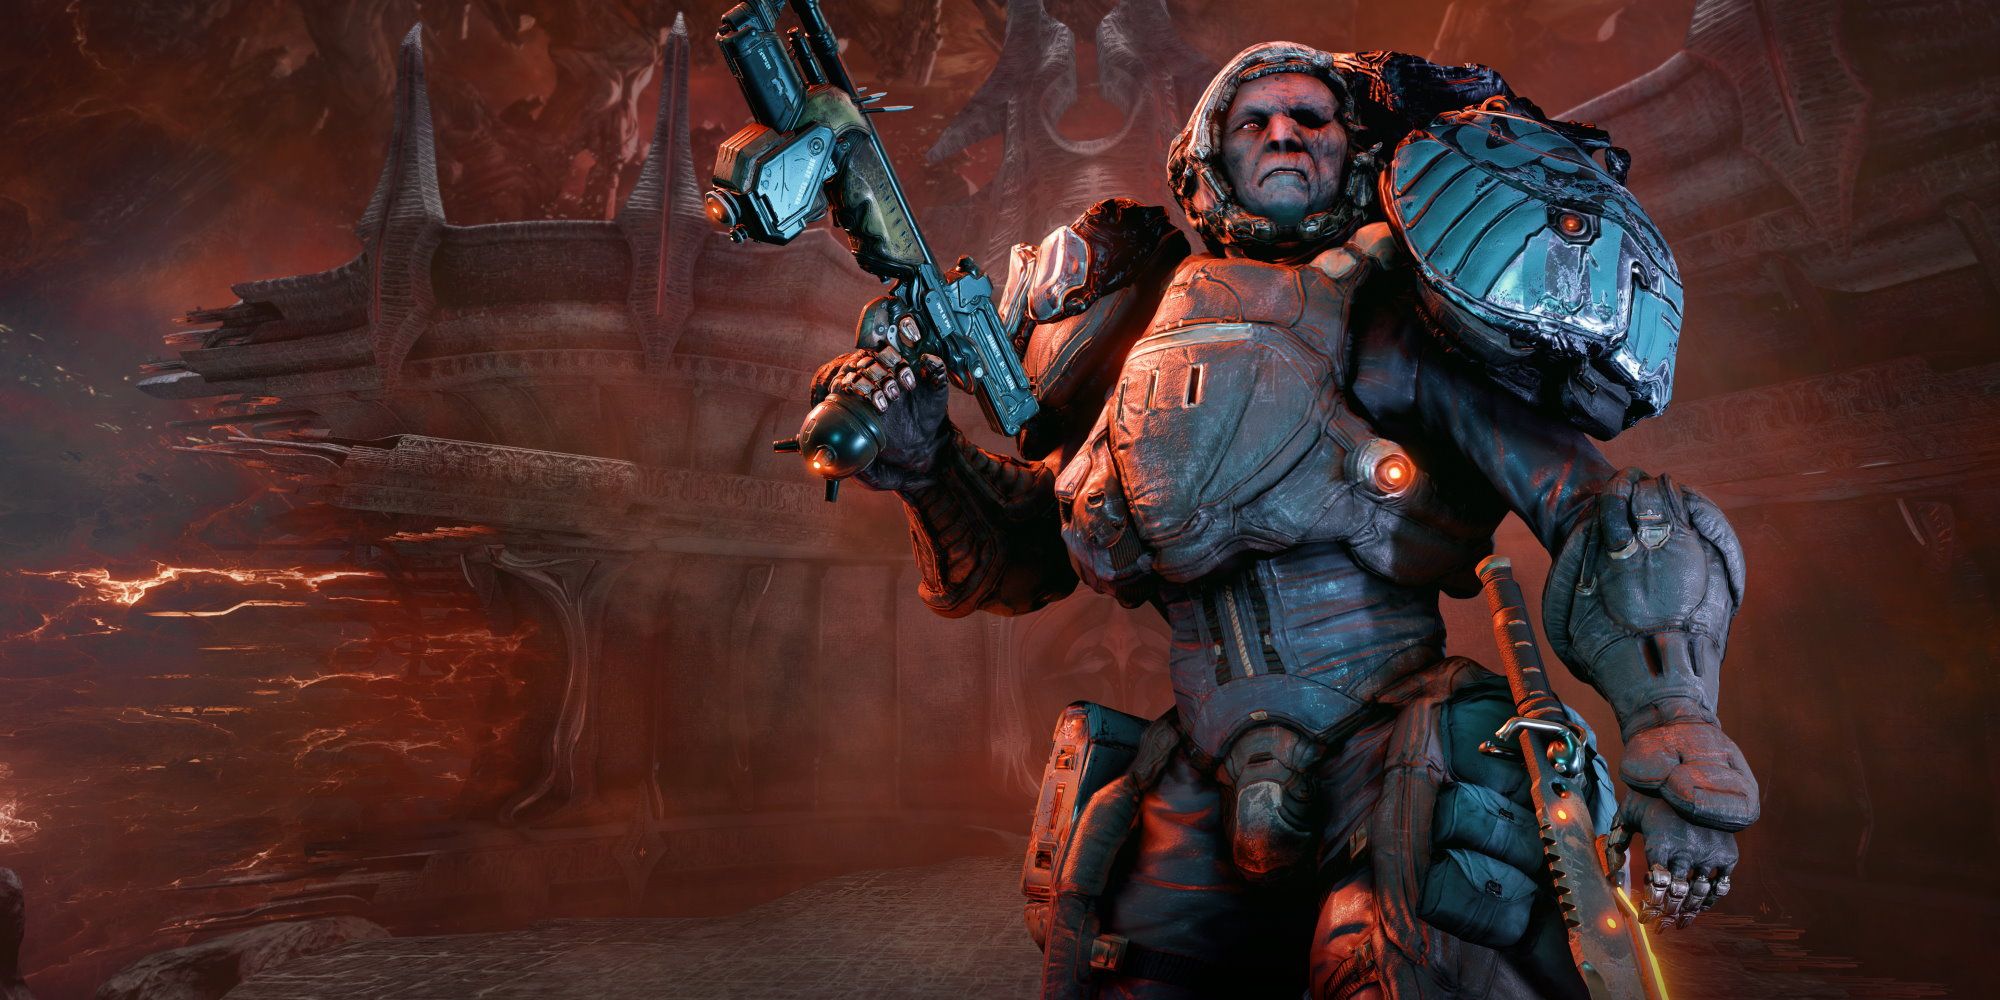
Warframe's Veilbreaker update brought with it three weekly missions where Tenno get to play as Kahl-175, a Grineer soldier determined to rescue their brothers from the clutches of Narmer. The third and final mission tied to this questline is Prison Break, a variant of what you played in the "Veilbreaker" quest.
The mission itself treads familiar ground, yet this level has a series of collectables and other goodies for you to find. If you're looking to max your weekly Stock earnings to get your hands on Archon mods or Styanax, you'll need to find all Genestamps, Passwords, and Kahl's Floof. Here is a complete guide on Veilbreaker's Prison Break mission and where to find all collectables.
Prison Break Mission Walkthrough
Prison Break is effectively the "Veilbreaker" quest with optional collectables to find. Your goal is to free multiple Grineer and Corpus soldiers while fending off waves of Sentient enemies. It's a little longer than last week's Junk Run, but the collectables are quite easy to find this week (excluding Genestamps).
Find Brothers
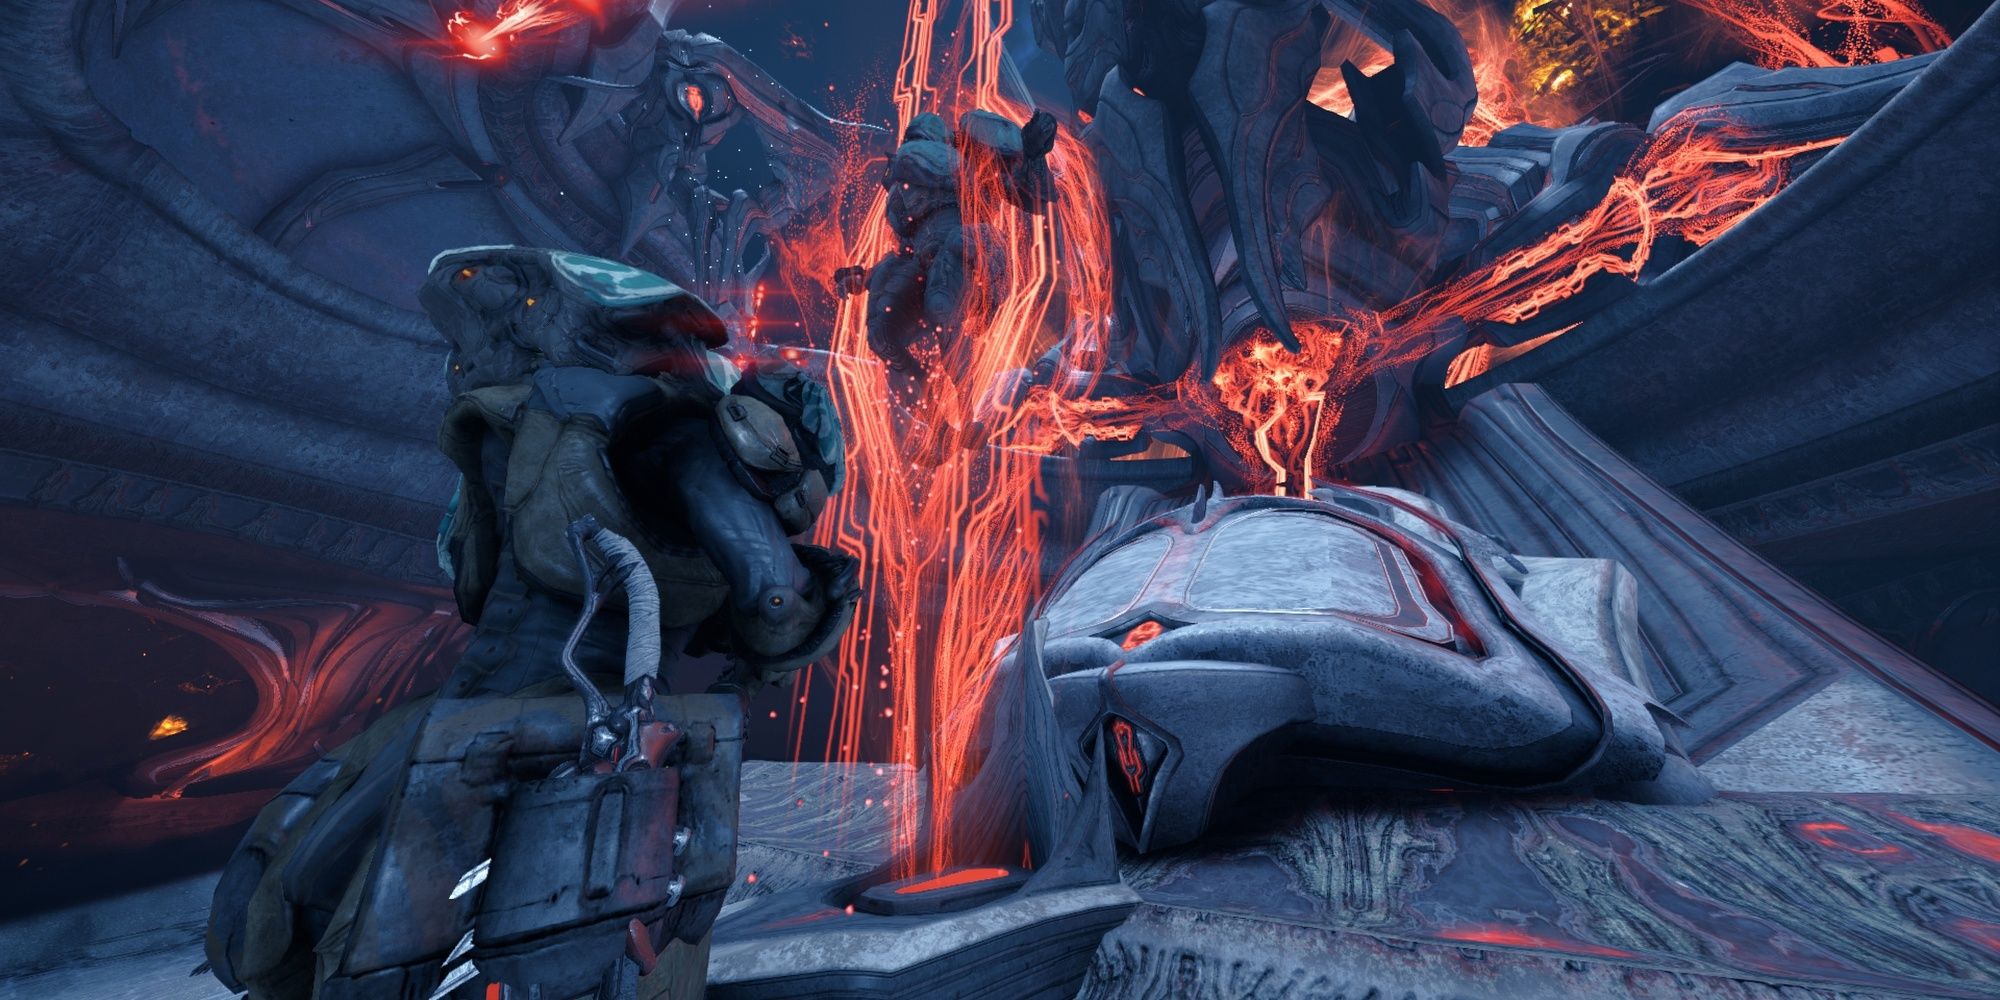
The first half of the "Veilbreaker" quest will repeat here. You'll need to enter a certain part of the Sentient ship and interact with a trapped brother. This will start a jailbreak sequence where you must defend the captured target against Sentient threats. Occasionally, a ring will appear in the arena that will halt your progress. You or a fellow brother must stand in the ring to continue the jailbreak sequence.
Rescuing your first brother will grant access to Command Mode, allowing you to order your brothers to hold positions, detonate environmental debris, or focus on a certain target. Order your brother to destroy the debris blocking your path, then proceed further into the ship. Rescue any hostages, order your brothers to stand in rings when they appear, and you should have a small army of Grineer in no time.
Expose Node Things
Once you break the Immunodes, start hunting for collectables. Entering the Bolkor transport will lock off the first half of the level.
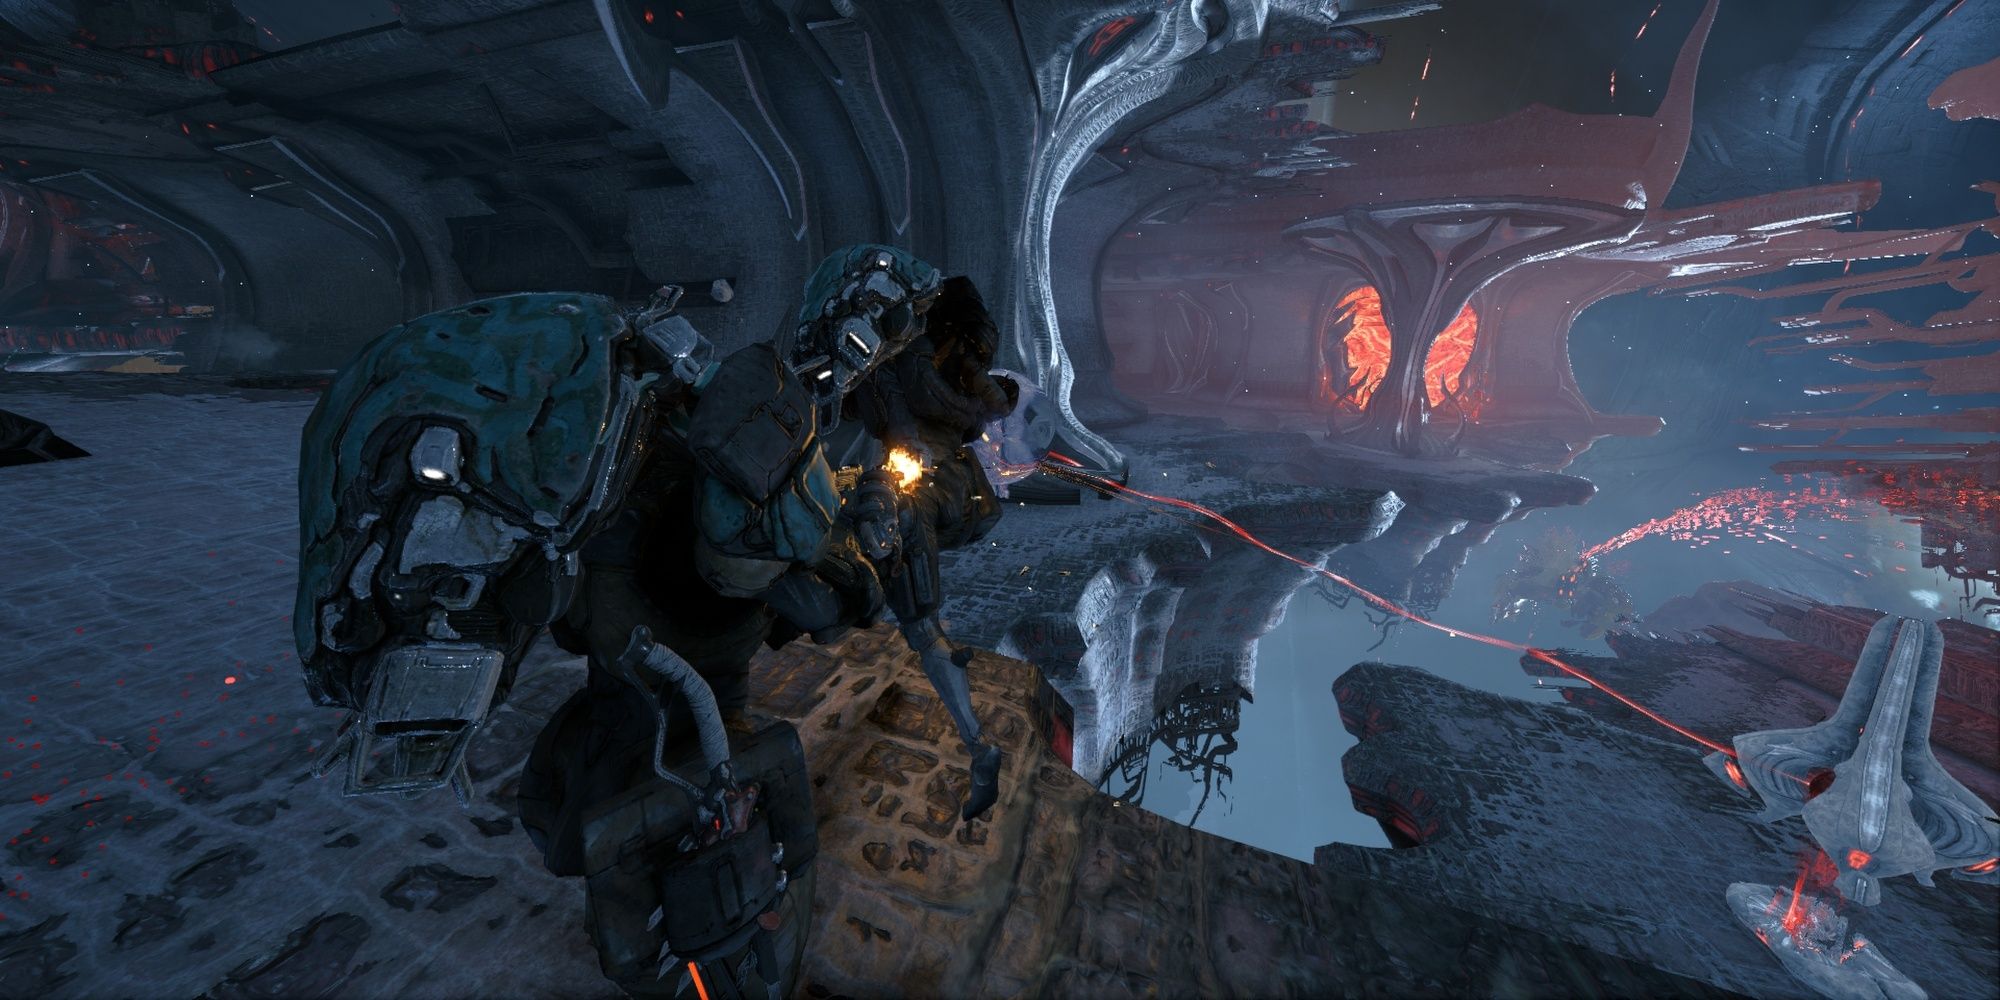
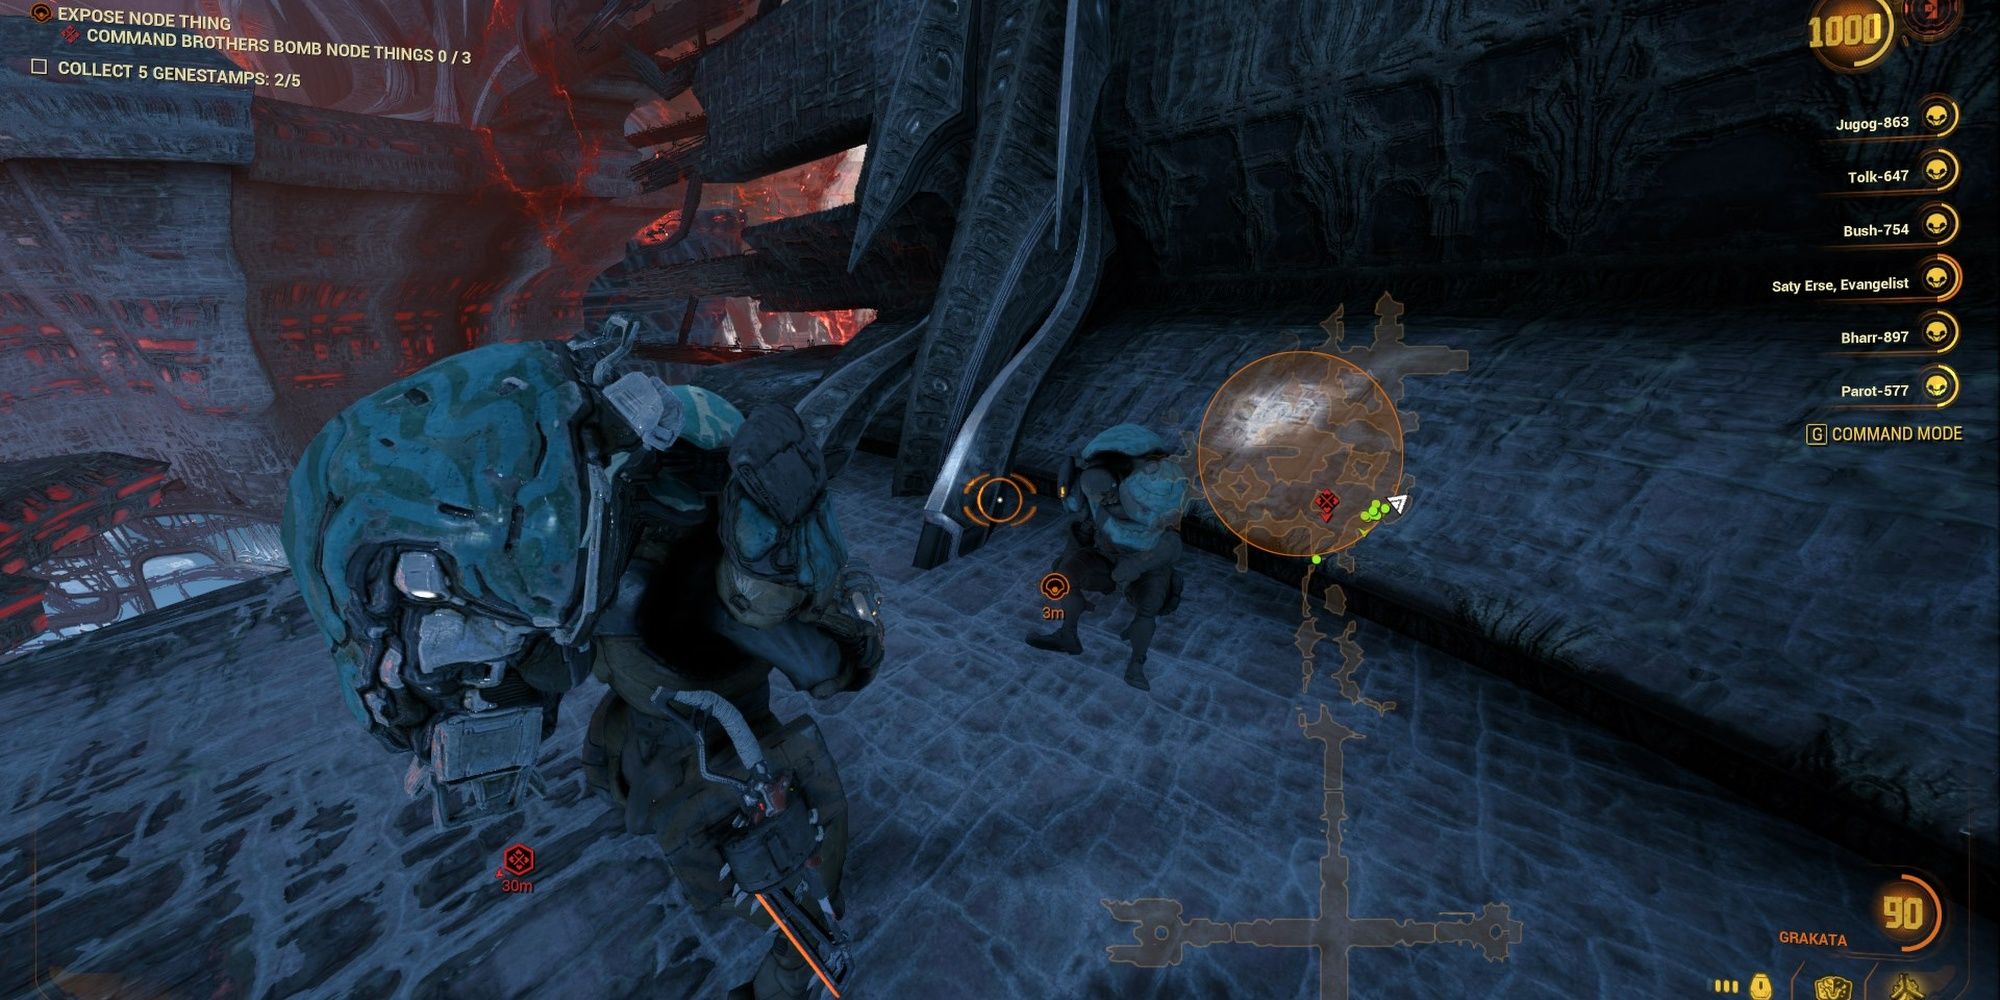
With a small squad formed, you'll need to destroy three Immunodes in the area. Use your Command Mode to order a squad member to detonate the Immunode. Repeat this two more times to make the central Sentient structure vulnerable, then give it everything you've got. Follow the waypoint towards extraction to enter a transport ship. Shoot down any Sentients in your path until you crash.
Upon crash-landing, grab the Grattler Archgun and proceed further into the ship. You'll need to rescue two more brothers to find extraction. Once again, order your brothers to stand in any rings that appear. Rescuing all hostages will show the path to evac, although Daughter mentions that a Sentient-controlled Grineer is blocking it. Proceed to find a familiar foe.
Defeat The Wolf Of Saturn Six
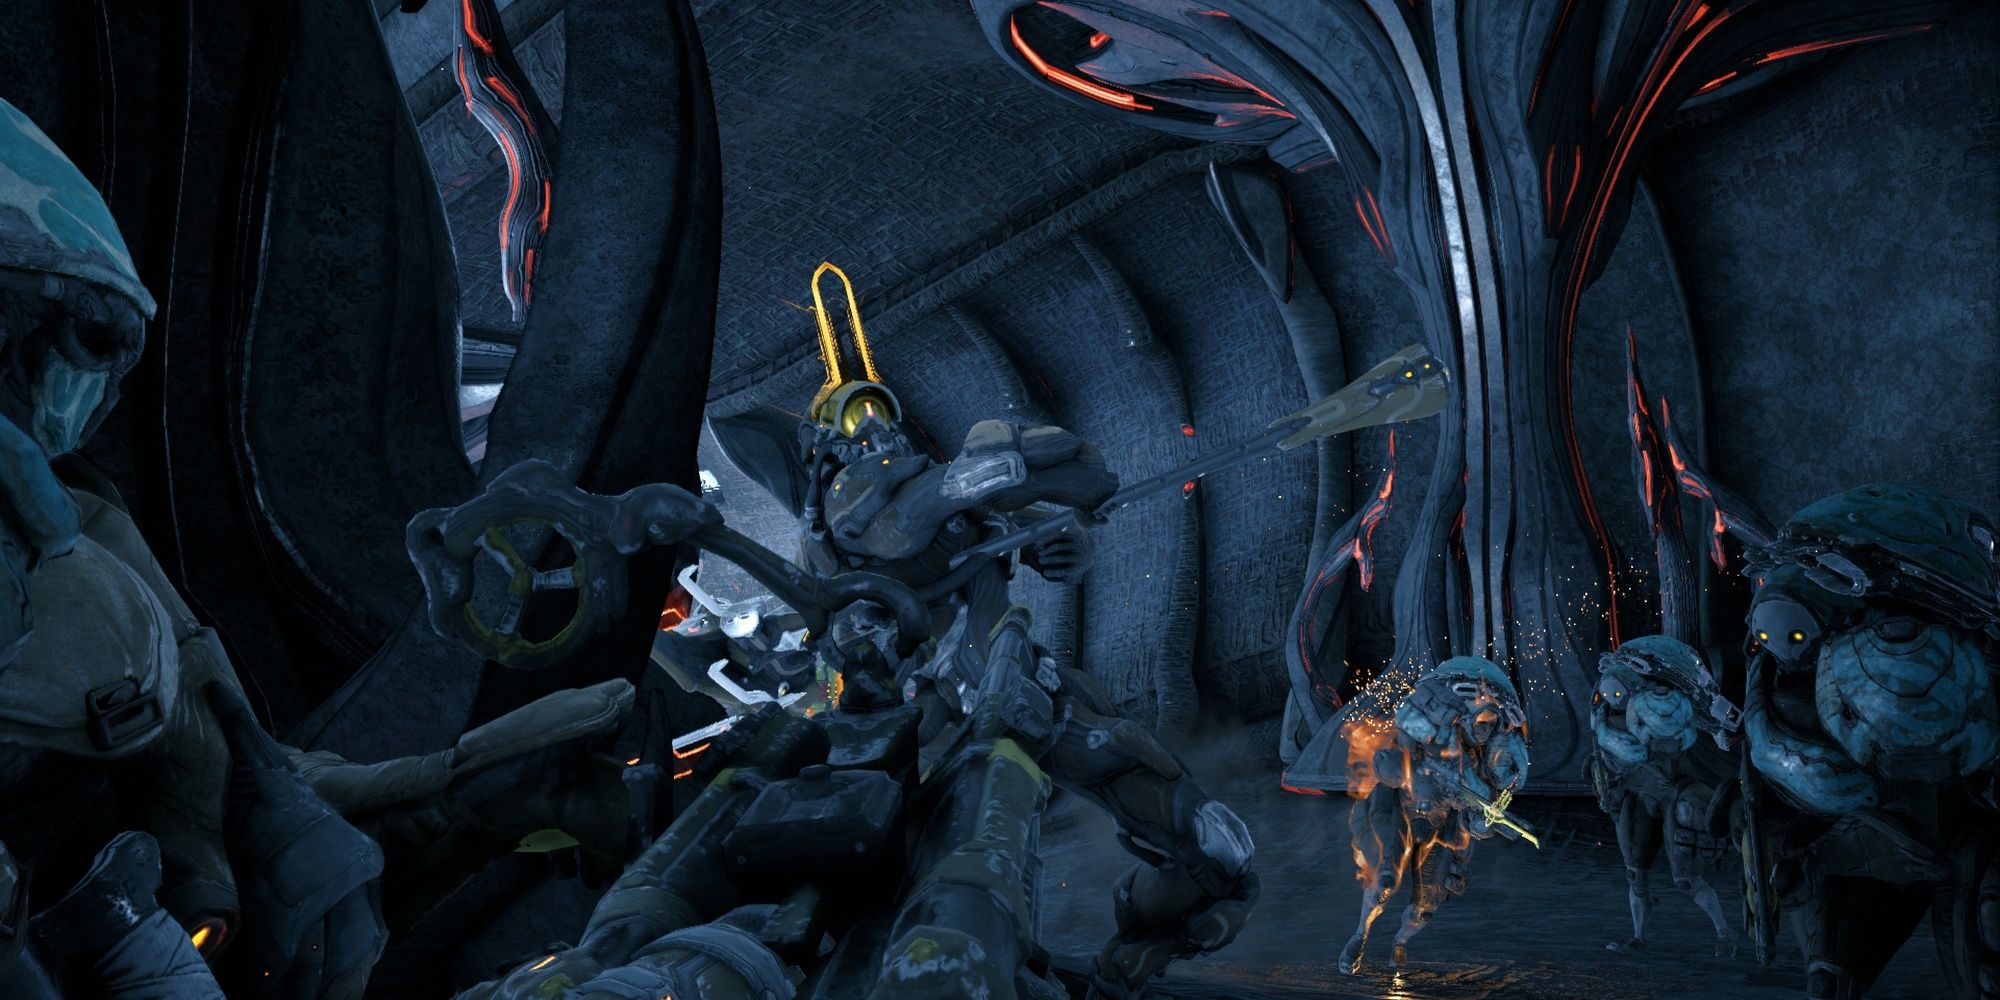
The Wolf of Saturn Six from the very first Nightwave is here, utilizing the same moveset as his Nightwave debut. Wolf is a tanky boss with high mobility, throwing his hammer around to stun you. Use your jetpack to stay above the ground as much as possible, pelting at the Wolf with your Grattler. Order your brothers to attack the Wolf, or else they'll focus on the Sentient fodder enemies. Keep your distance, make use of your grenades, and you shouldn't have any issues with this fight. Make your way towards the Railjack when you're done, ending the mission.
Map Of Collectables
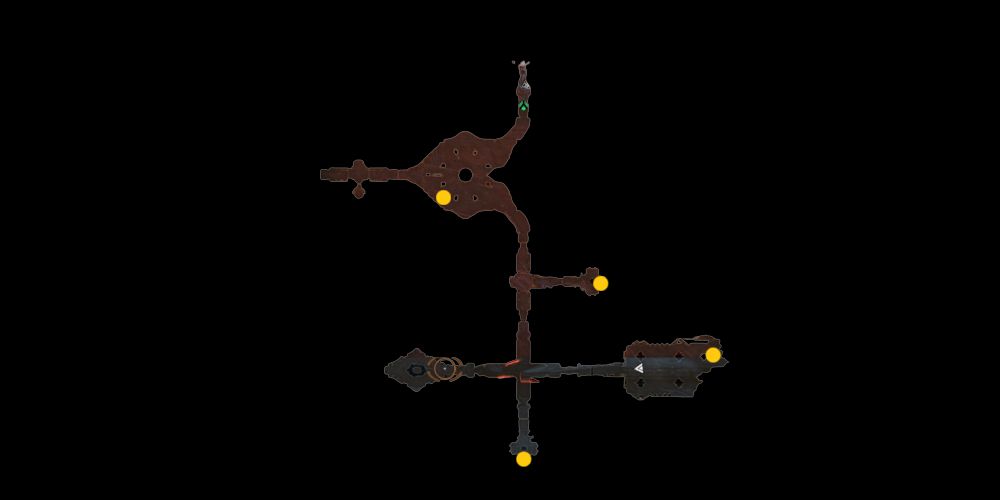
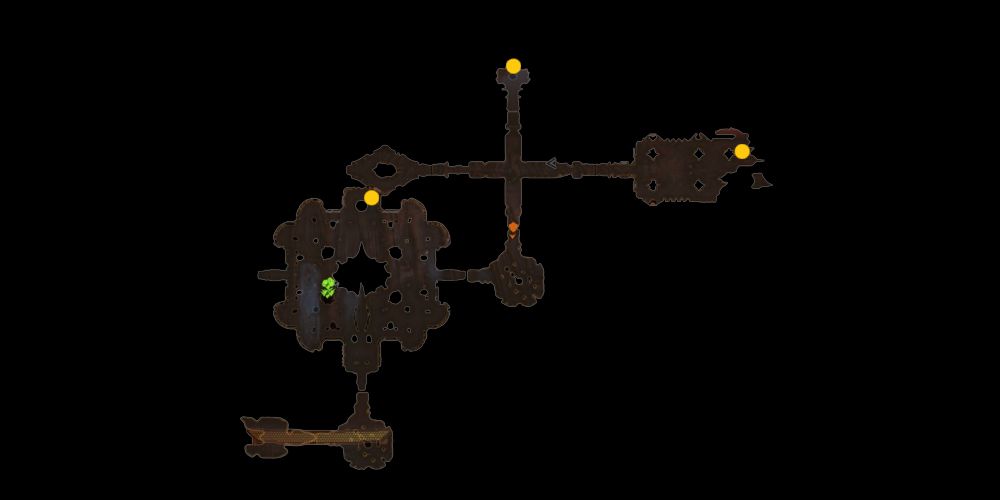
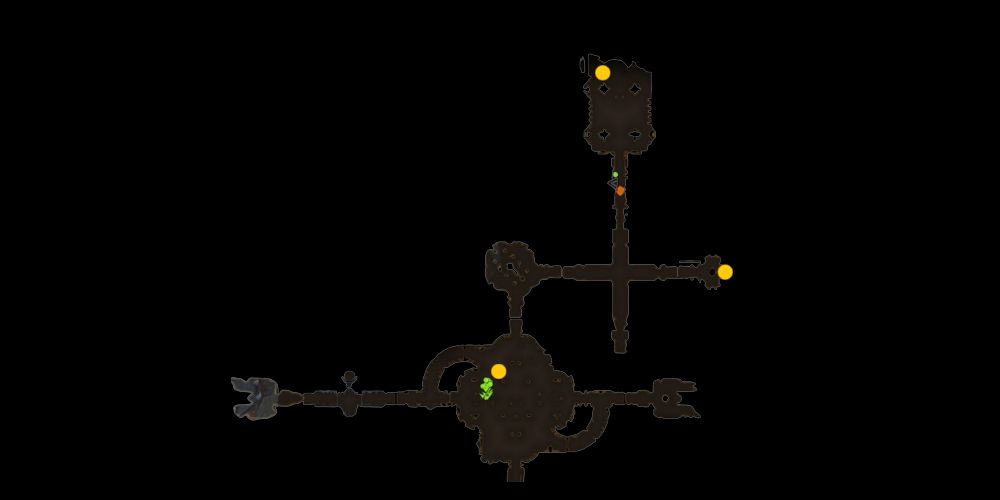
This level is randomly generated. Maps won't be 1:1 with your game.
We can't give precise spawn locations since this mission seems to be randomly generated, but we can give you a rough idea of where to find each collectable type. In general, you'll find all collectables in dead-end rooms in the tileset. With that said, the first section of this mission seems to have a mostly static tile.
Some general notes on collectable spawns:
-
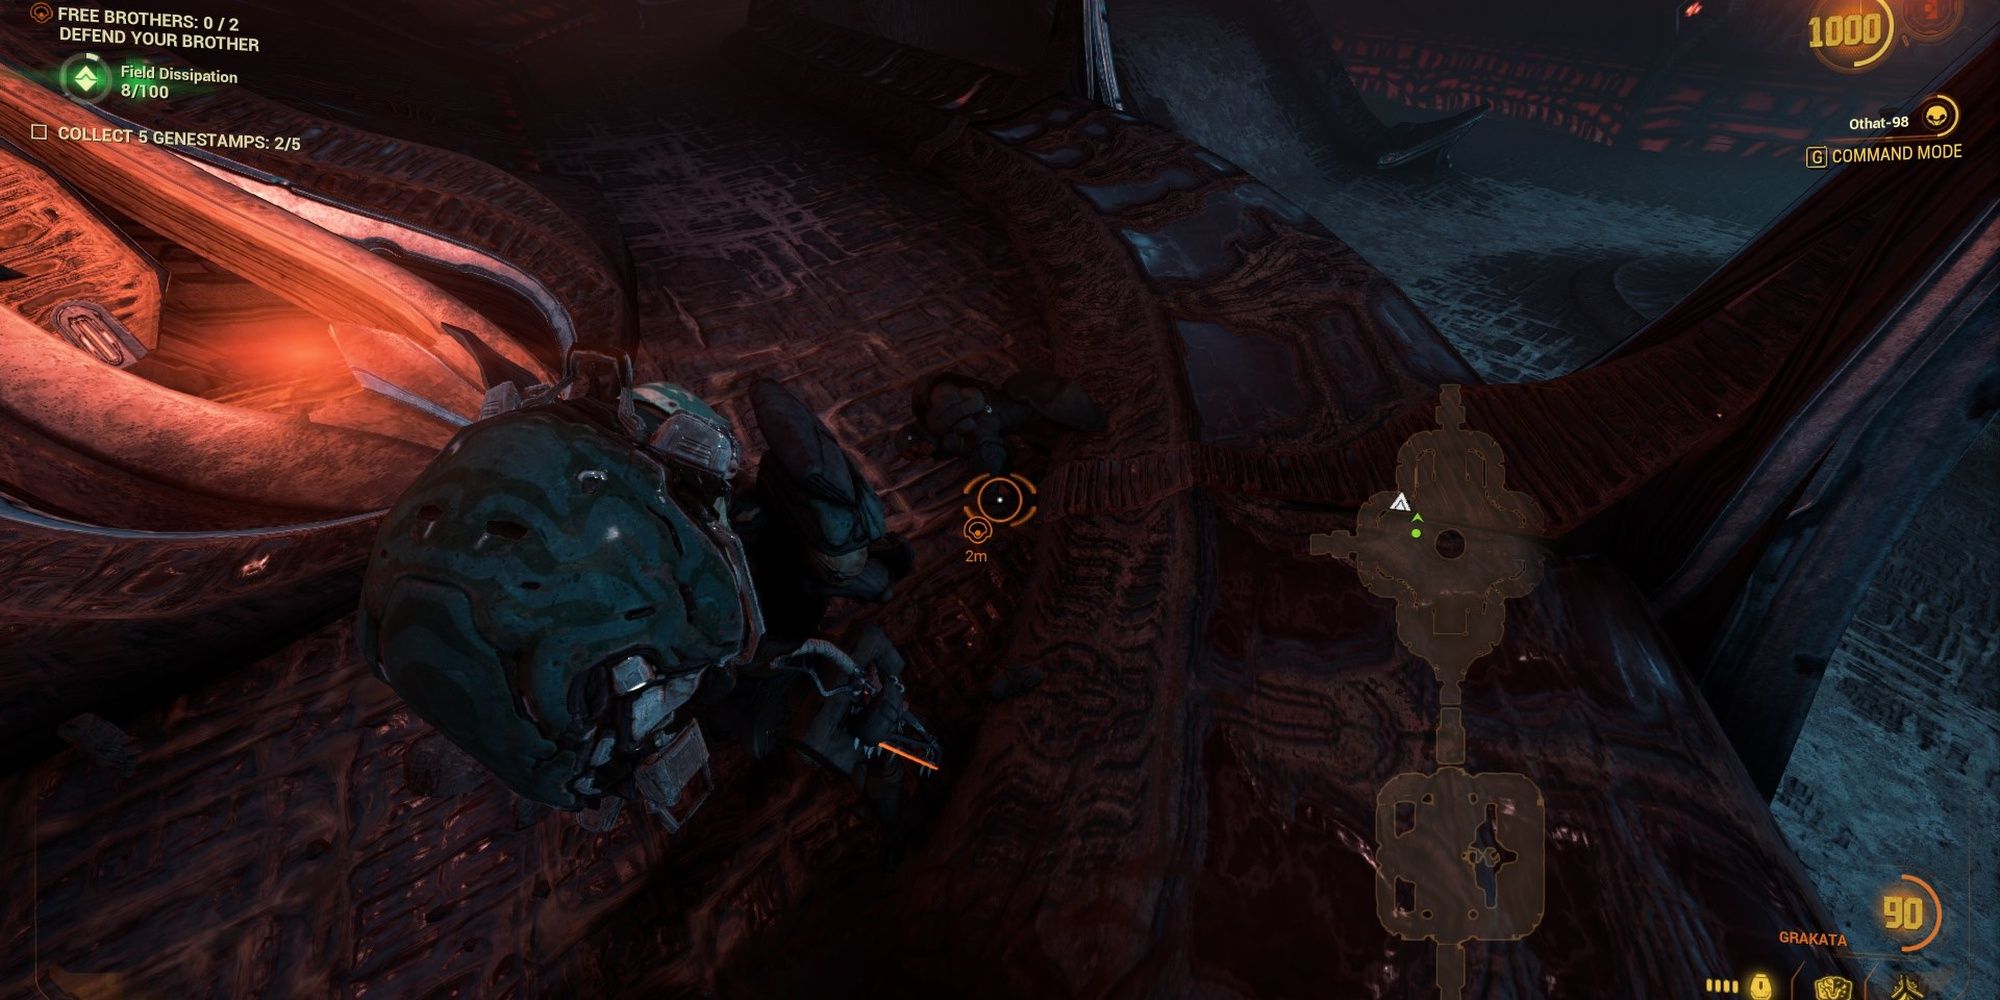
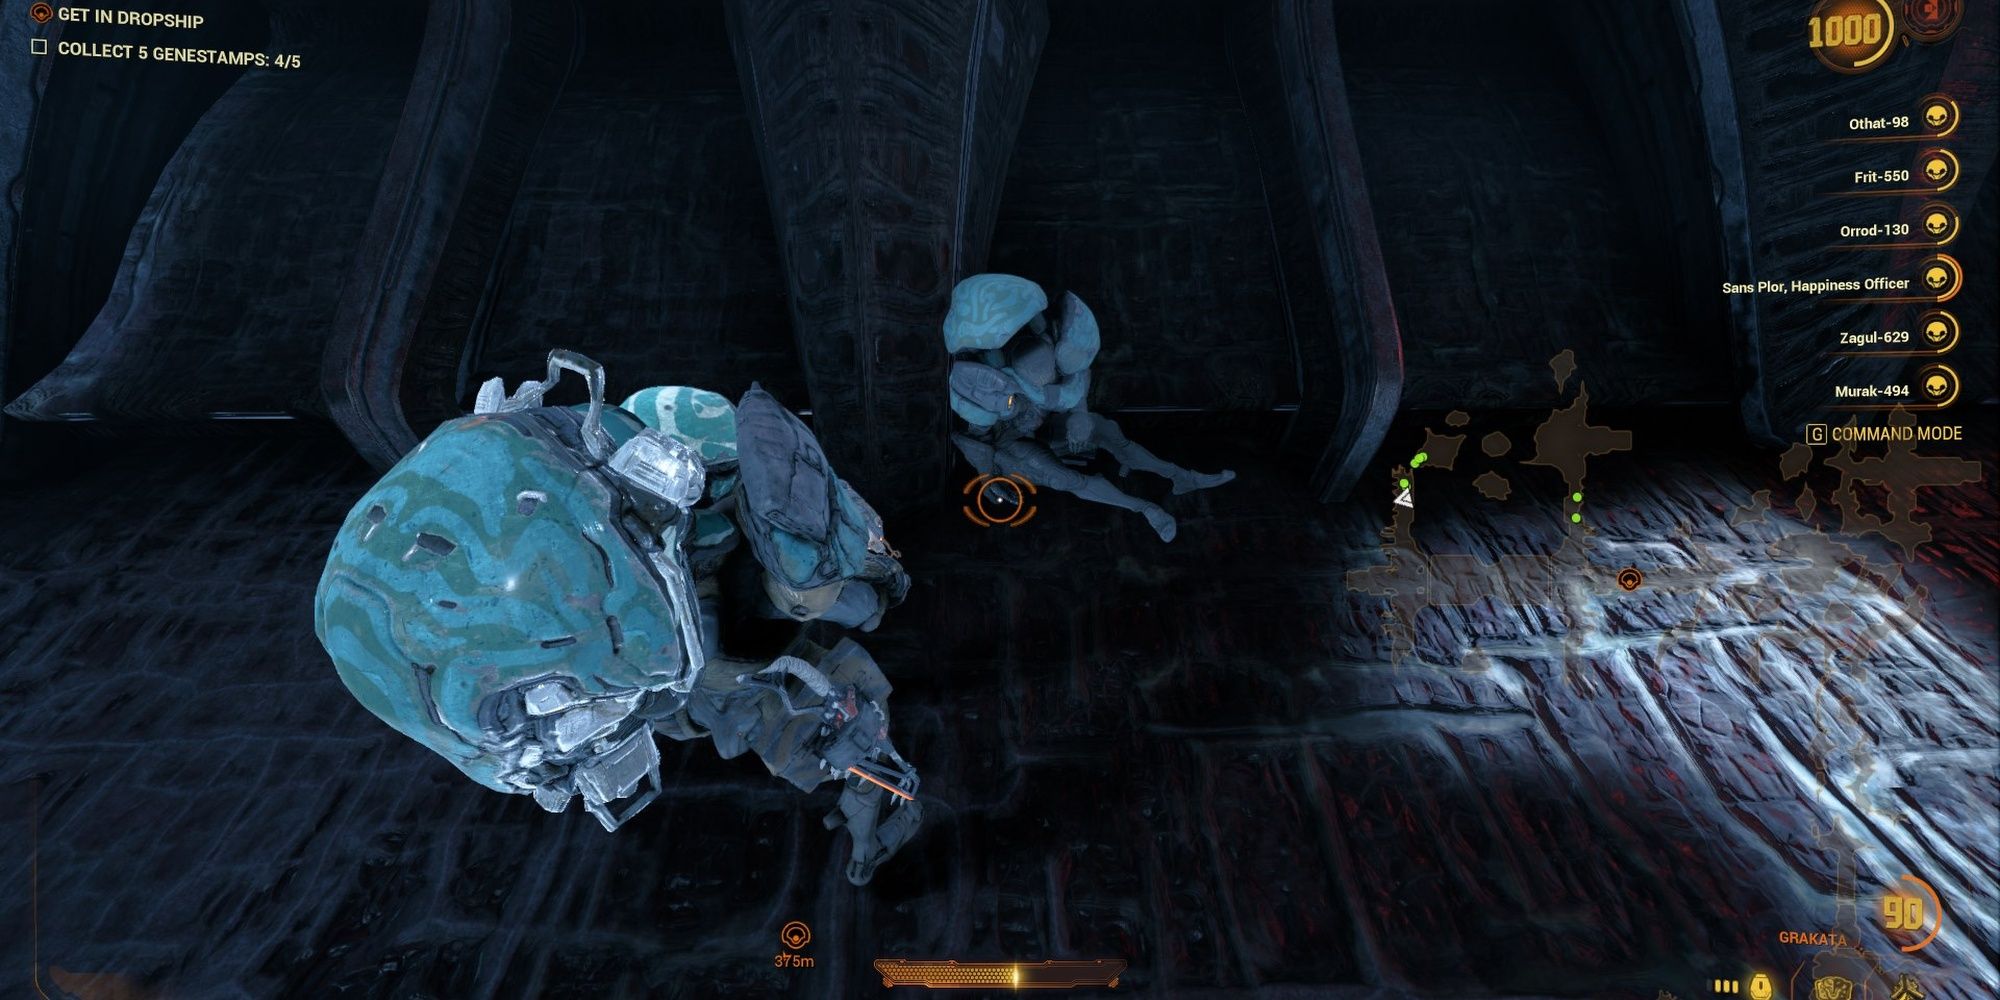
Genestamps: One potential spawn can be found in each jail cell room, and one can spawn in each dead-end tile.
- The image gallery showcases potential Genestamp spawns during the second half of the level.
- Immunodes: Spawn in dead-ends. Three are guaranteed to spawn near the end of part one.
- Codes: All four spawn in the first half of the mission. The cache always spawns near extraction in the second half.
- Floofs: They seem to spawn near Genestamp corpses.
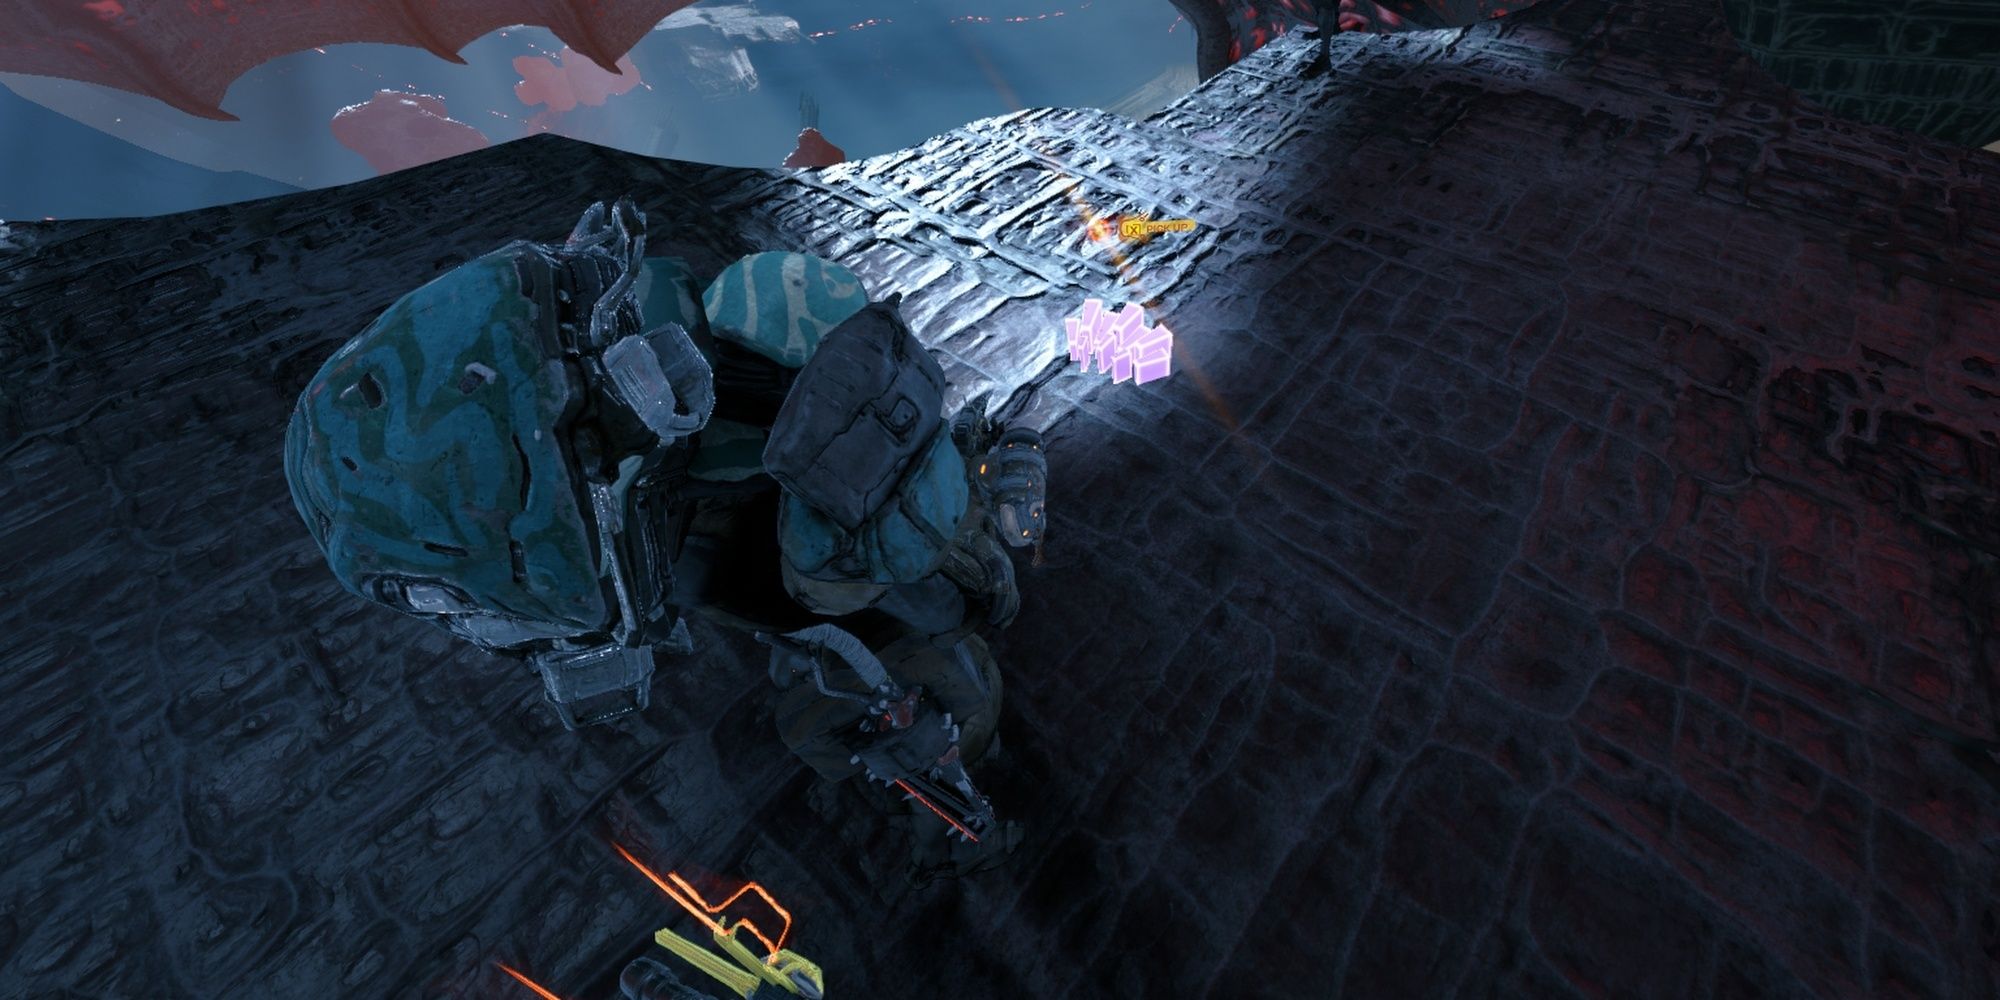
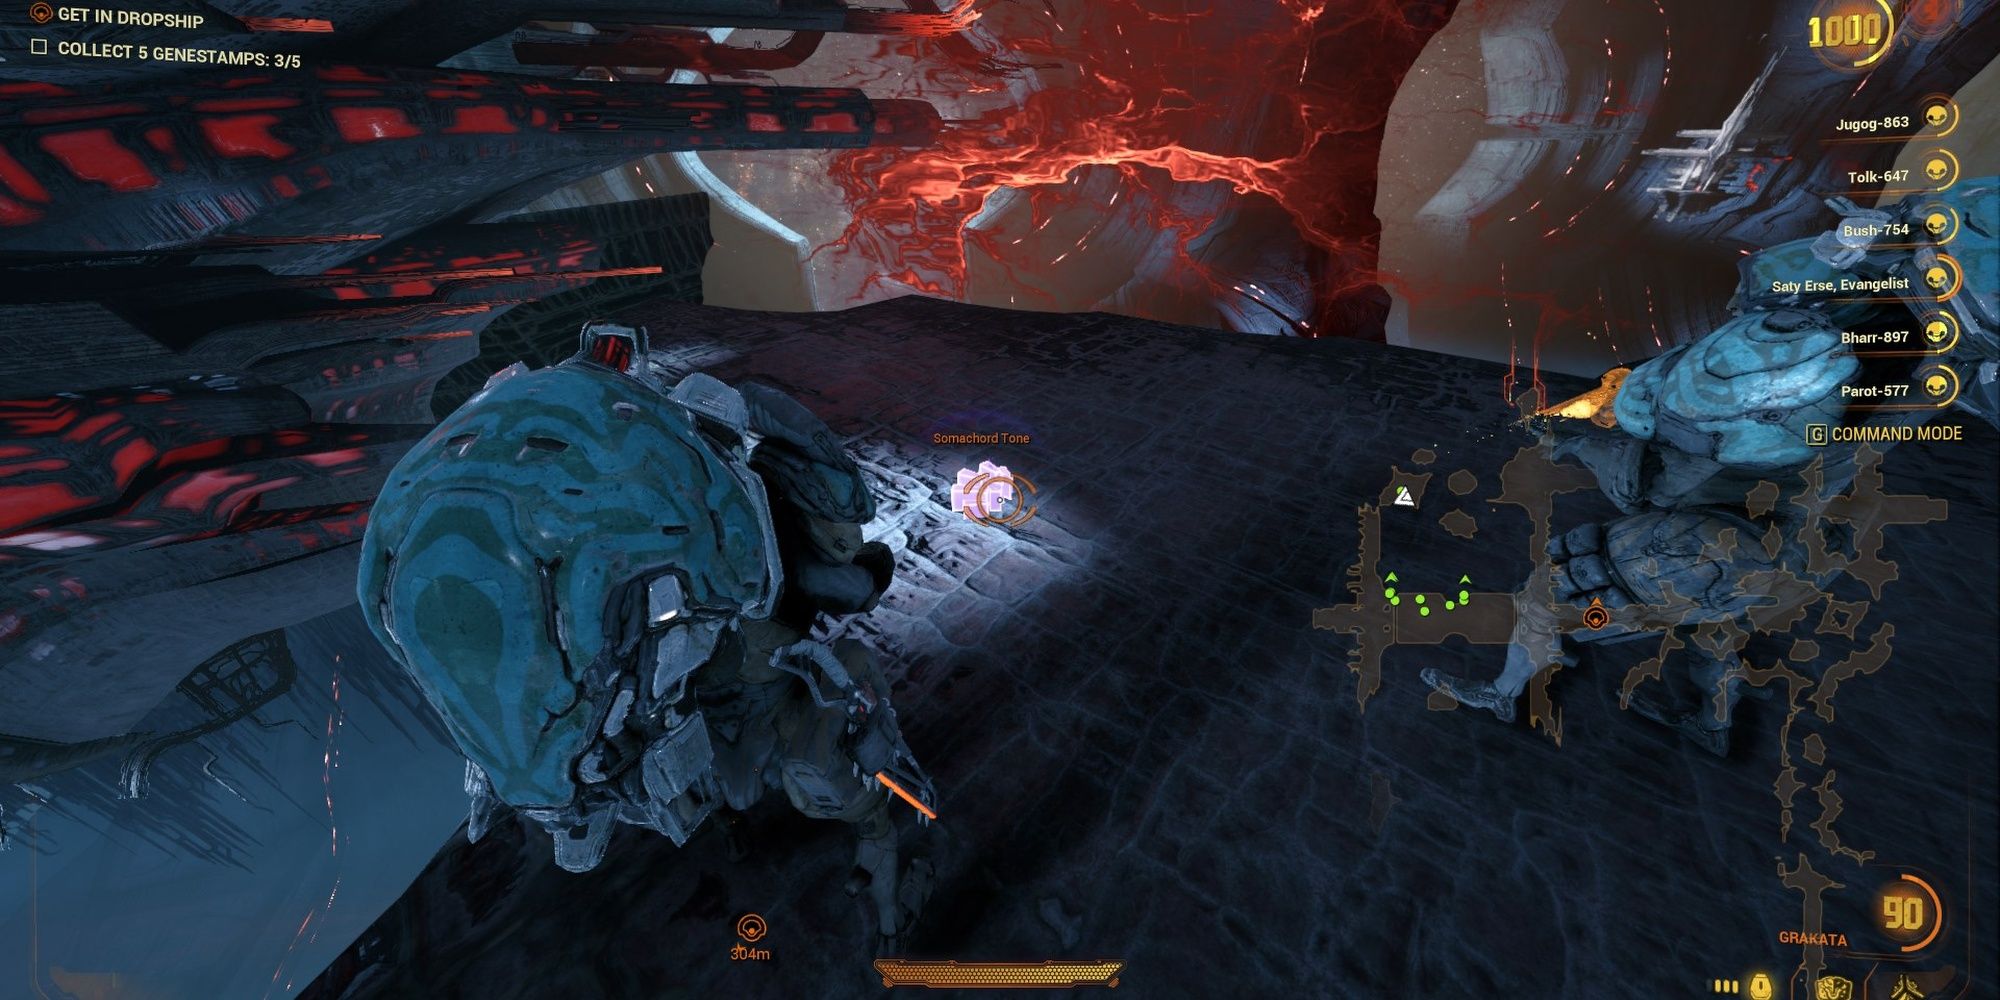
- Somochord Fragments: The second spawn (northern part of the map above) moves around slightly. Look around each floating platform.
Veiled Grineer Locations
Brothers you rescue from jail cells do not count; they must have a Veil device on their head.
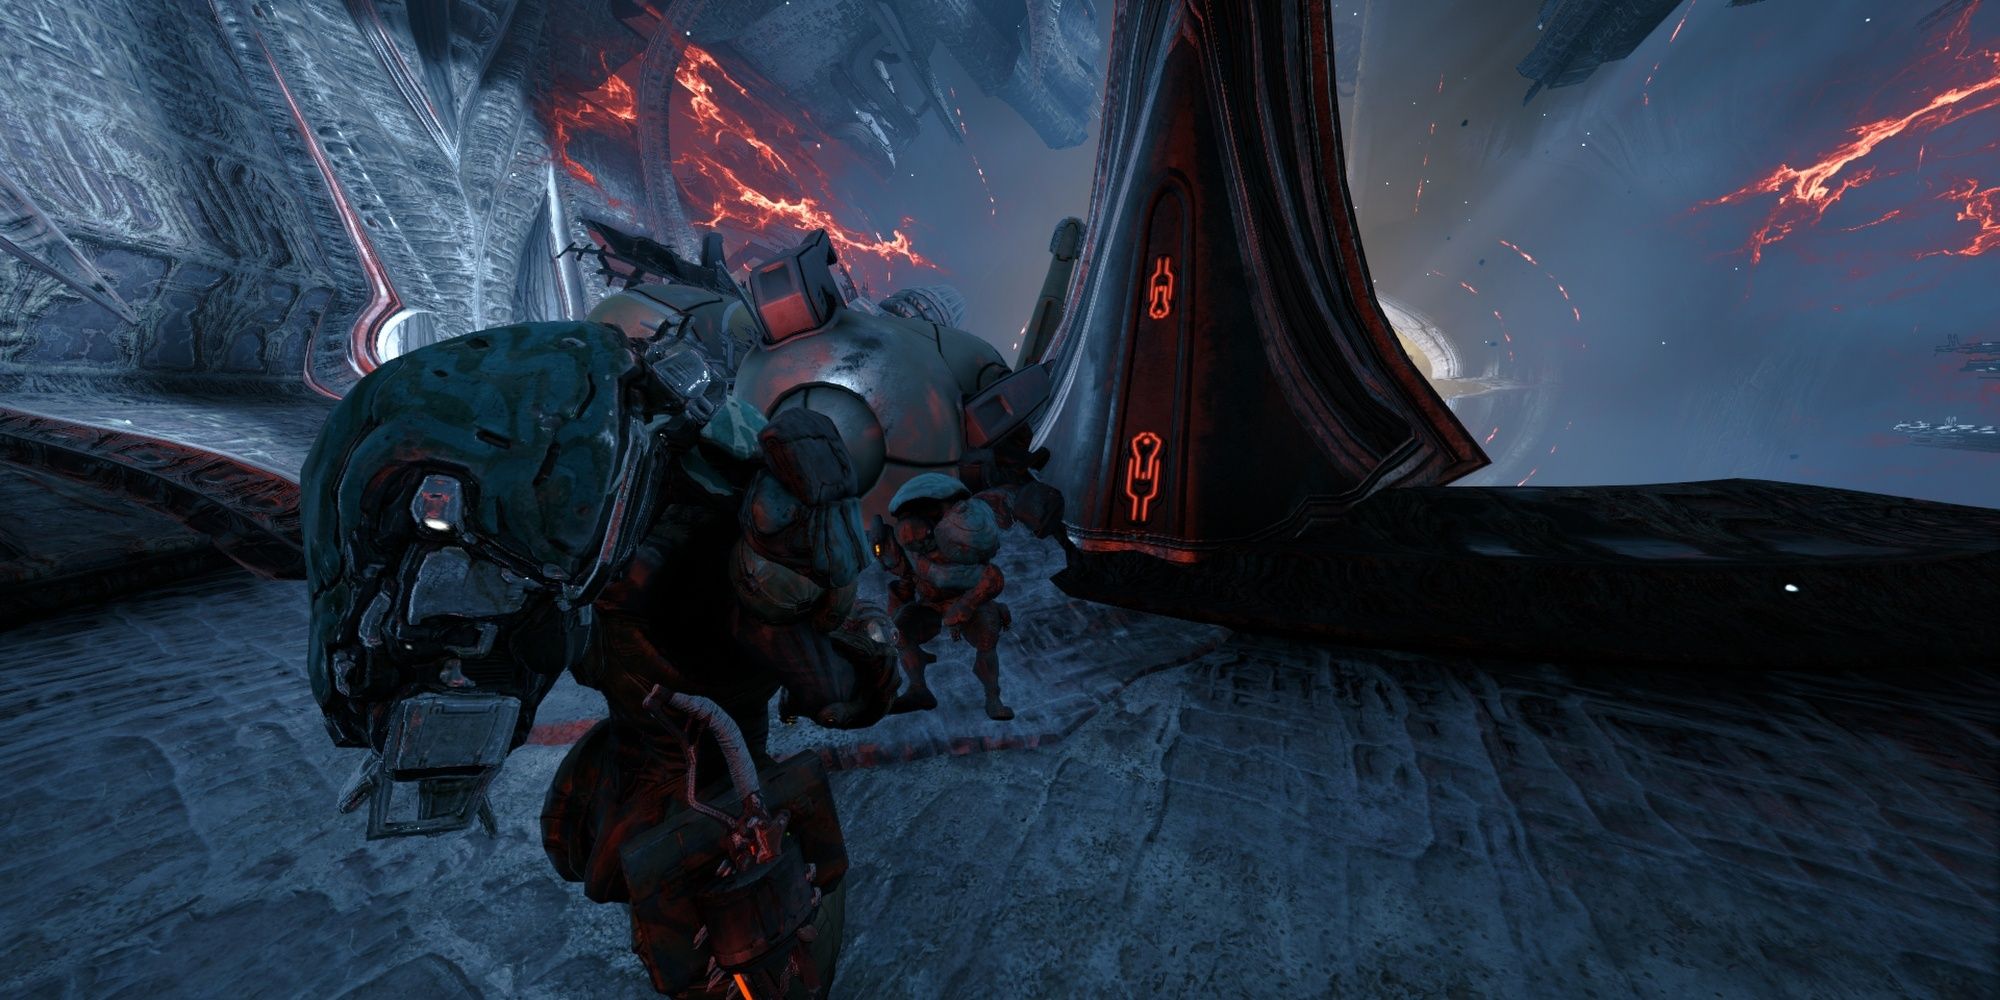
Veiled Grineer spawn in most dead-end side rooms. Anytime you rescue two brothers, look for side rooms that lead to dead-ends. These rooms typically house one Veiled Grineer soldier, sometimes two. Grineer can sometimes jetpack outside the map, so give them a second to reappear near your location. You only need to rescue five Veiled Grineer to finish the weekly challenge.
To rescue a Narmer Grineer, use your Veilbreaker (third ability) on any Grineer. This will stun them temporarily. Use your interact button to start the Veilbreaking QTE. Breaking the Veil device will make them a permanent ally for the rest of the mission.
Genestamp Locations
Since this level is randomly generated unlike past Veilbreaker missions, we've had to change this section slightly from out past guides. We'll be listing Genestamp corpses that will always spawn in your run, then we'll list one subheader with images of all Genestamps tied to dead-ends and other RNG tiles. Five are guaranteed to spawn each run, so keep your eyes peeled. If you explore all side rooms on your run, you should find five Genestamps in one or two runs.
Potential Genestamp Location #1: First Brother
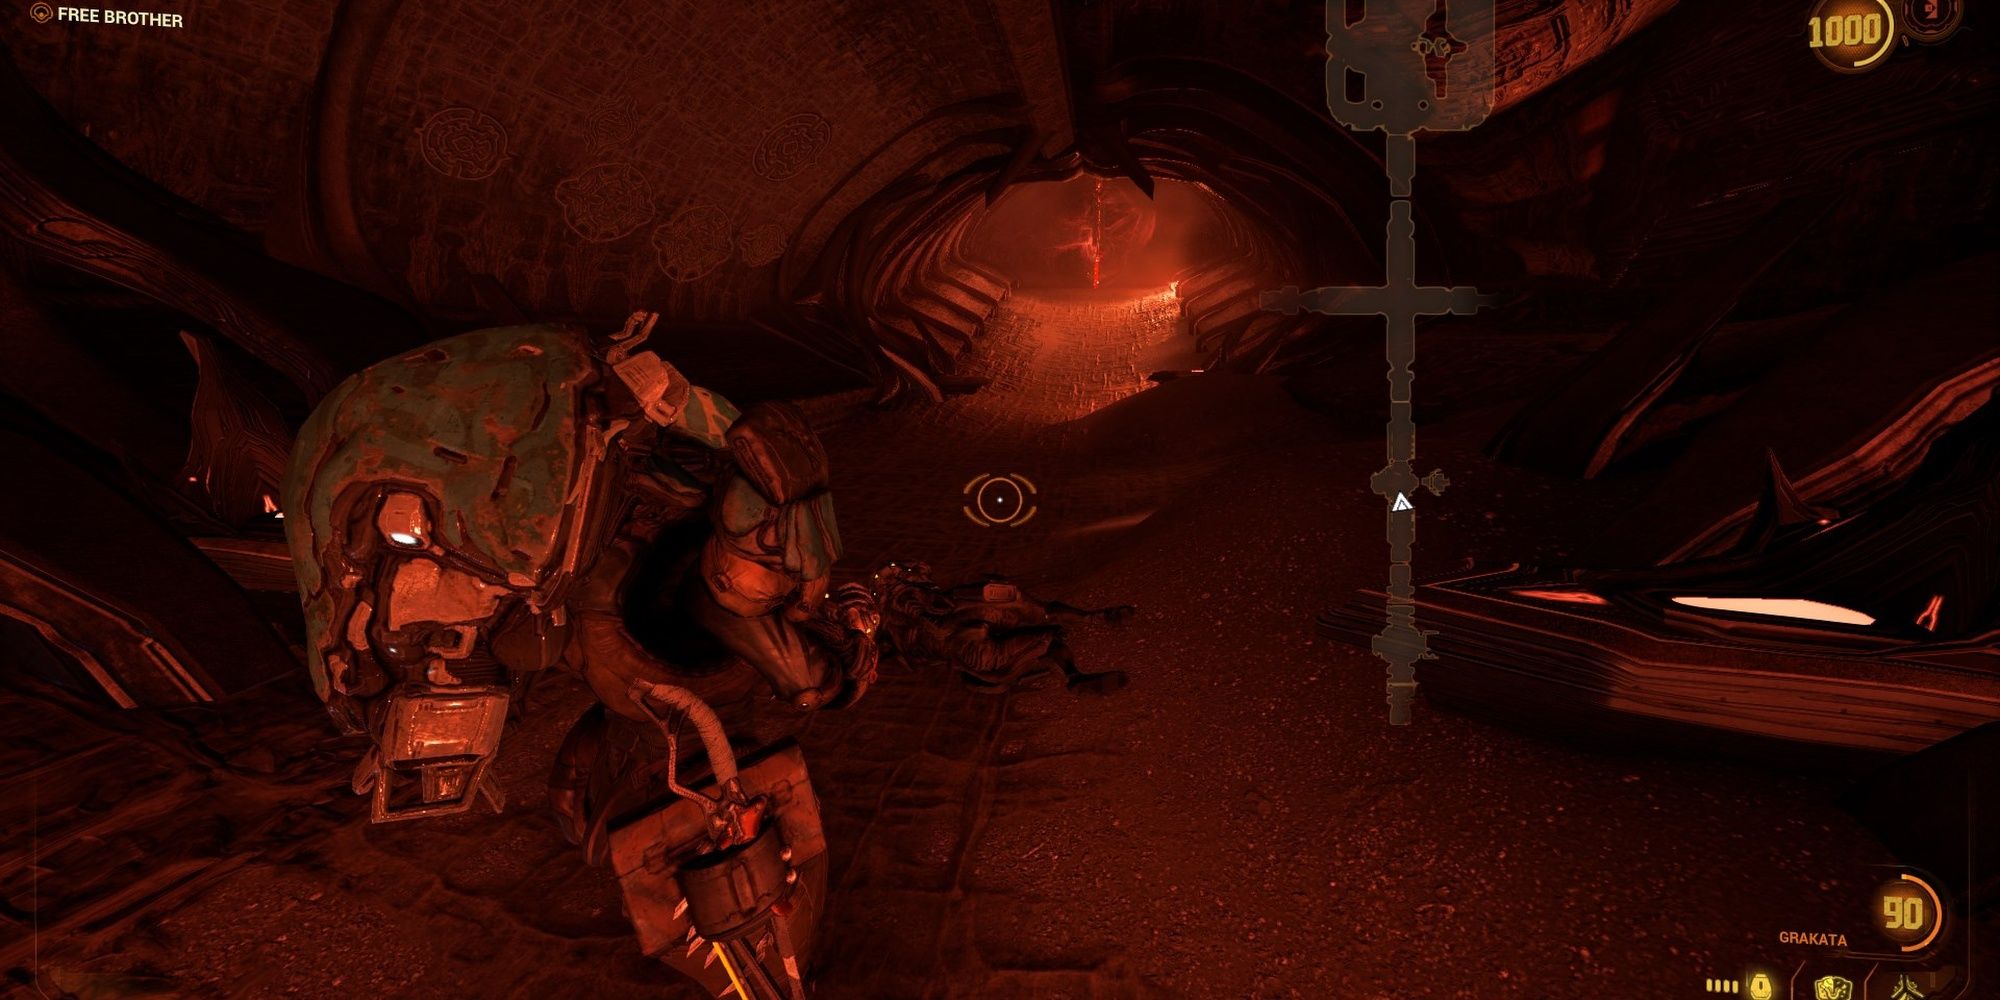
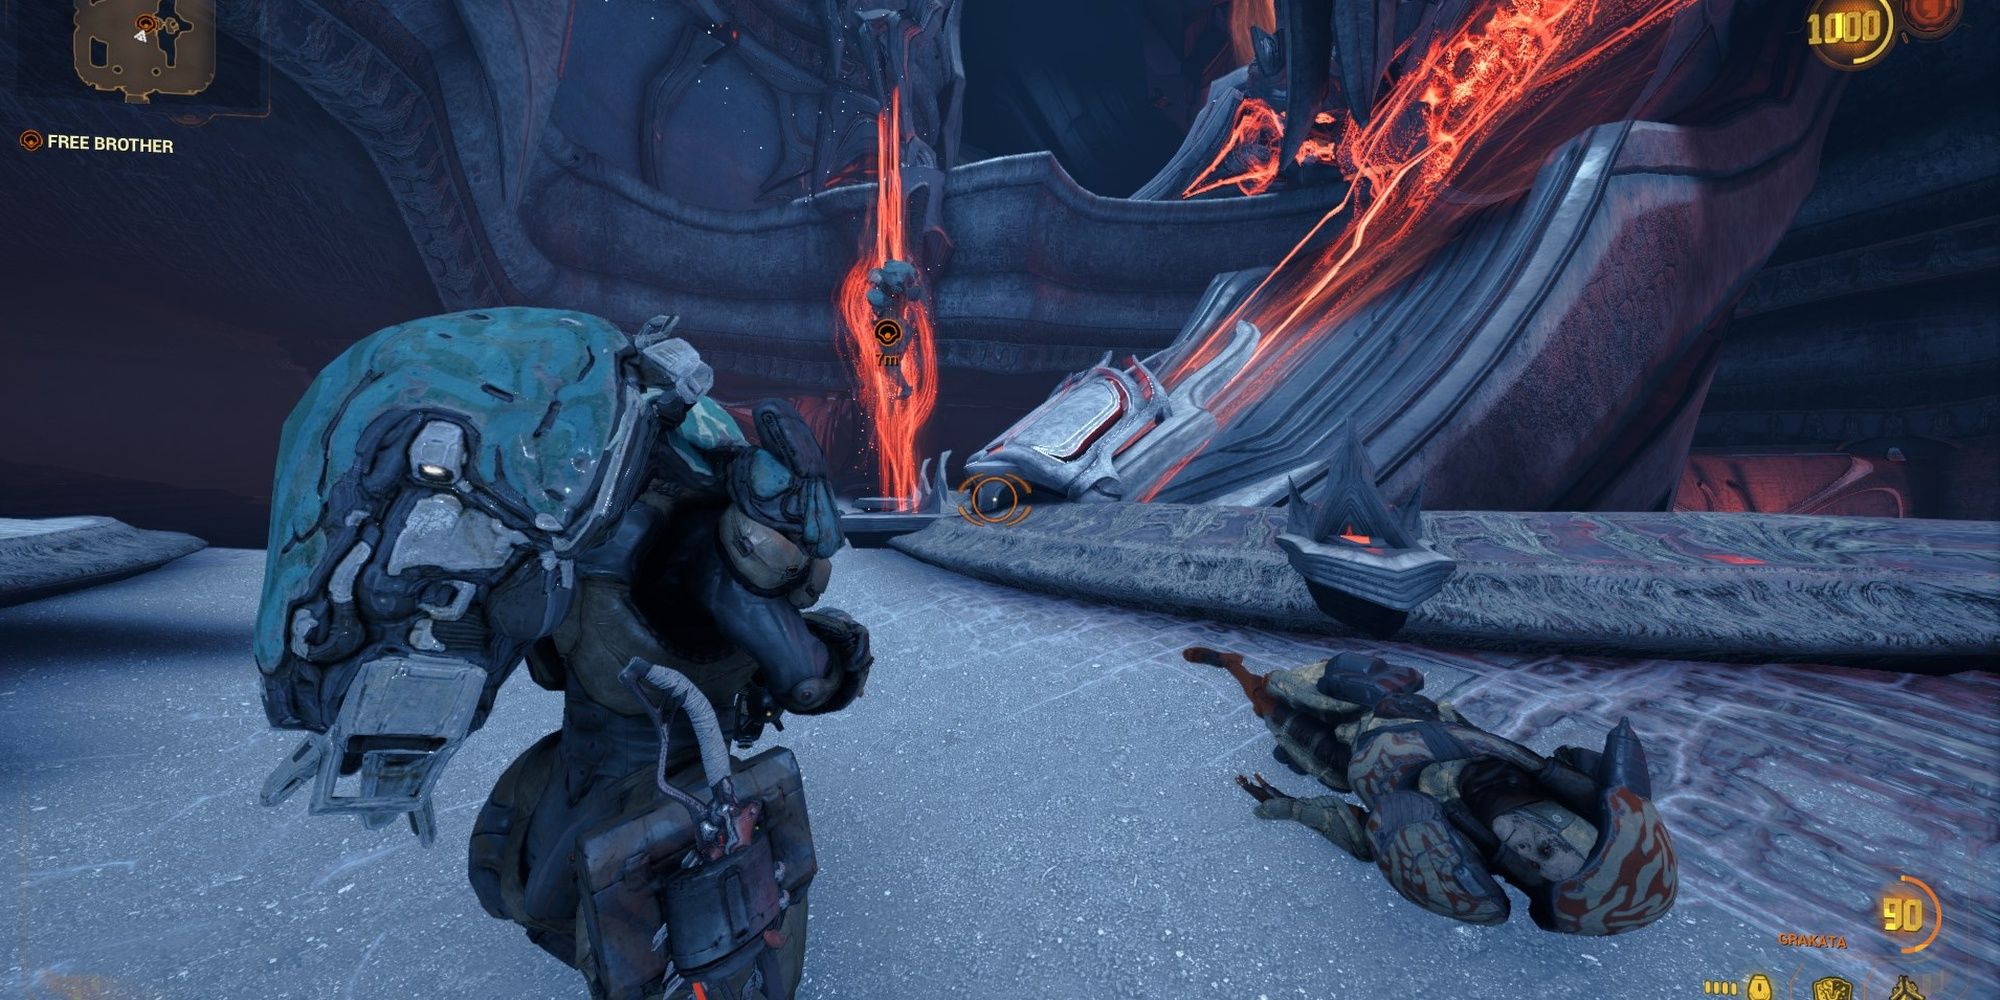
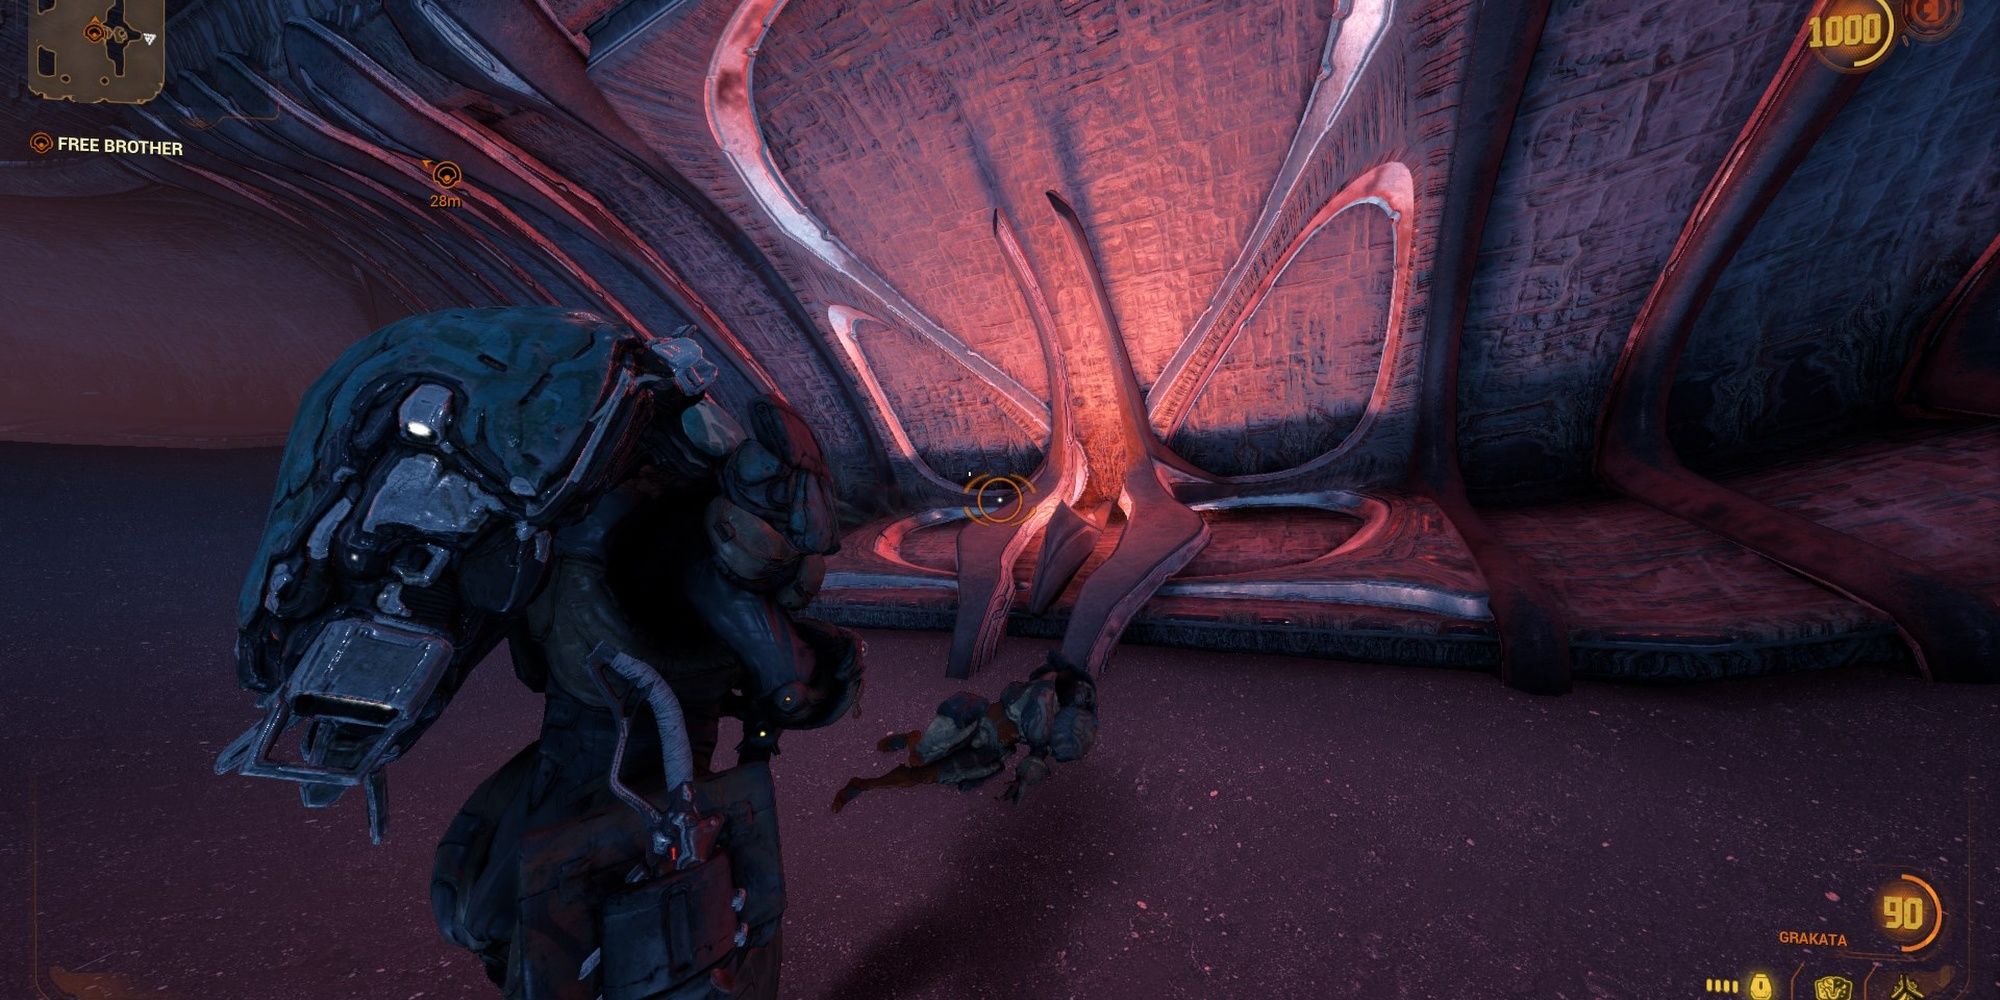
We're including three Genestamp locations in this first section since they're so close together:
- Located on the path to the first captive brother, beside a series of Sentient mines.
- Located to the right of the jailed Grineer soldier.
- From the last body, run to the right of the room to find a potential Genestamp.
Potential Genestamp Location #2: Duo-Brother Rescue
When you reach the first room that has two brothers to rescue, head to the middle floor near the top-right corner of the tile to find a potential Genestamp.
Potential Genestamp Location #3: Sentient Node
When you reach the first Immunode in the "Expose Node Thing" objective, head to your right. You'll find a corpse lying against a wall.
Potential Genestamp Location #4: Near Somochord #2
A corpse can sometimes spawn next to Somochord Fragment #2 beside a Sentient wall.
Potential Genestamp Location #5: Part Two Brother Jail Cells
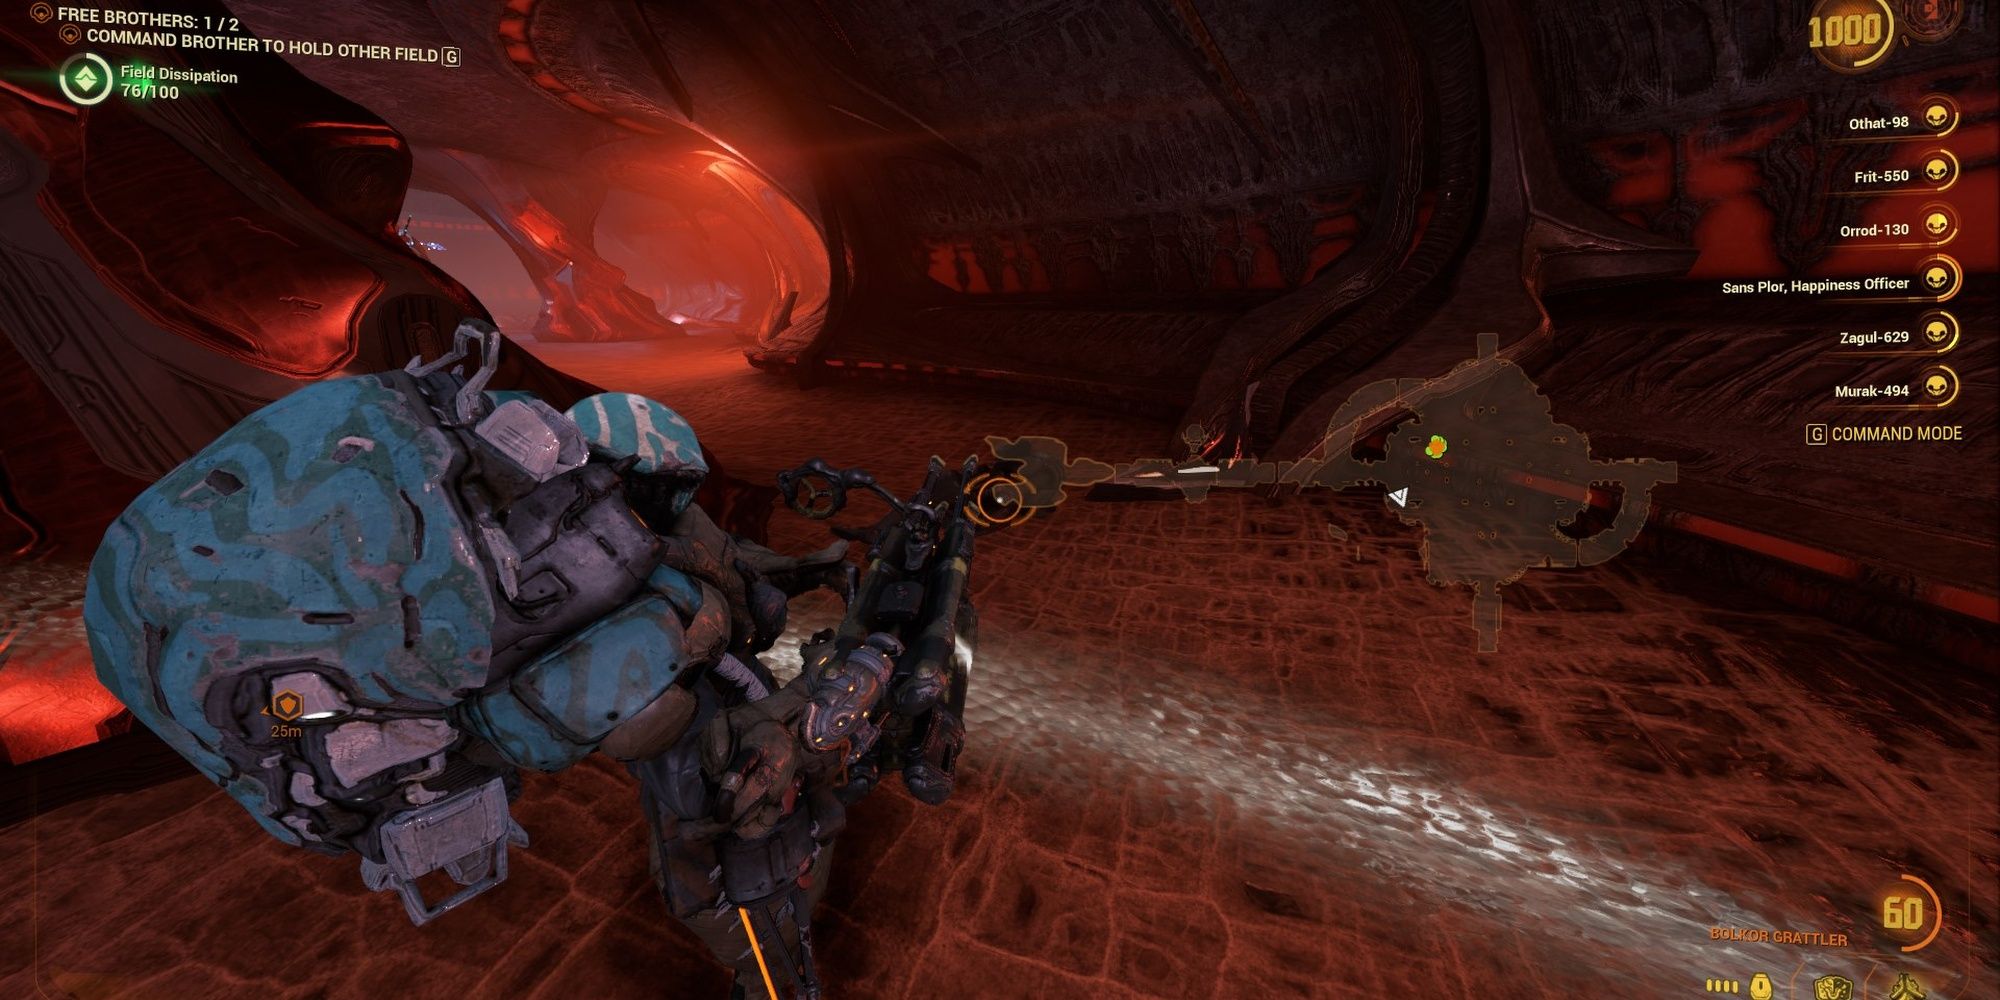
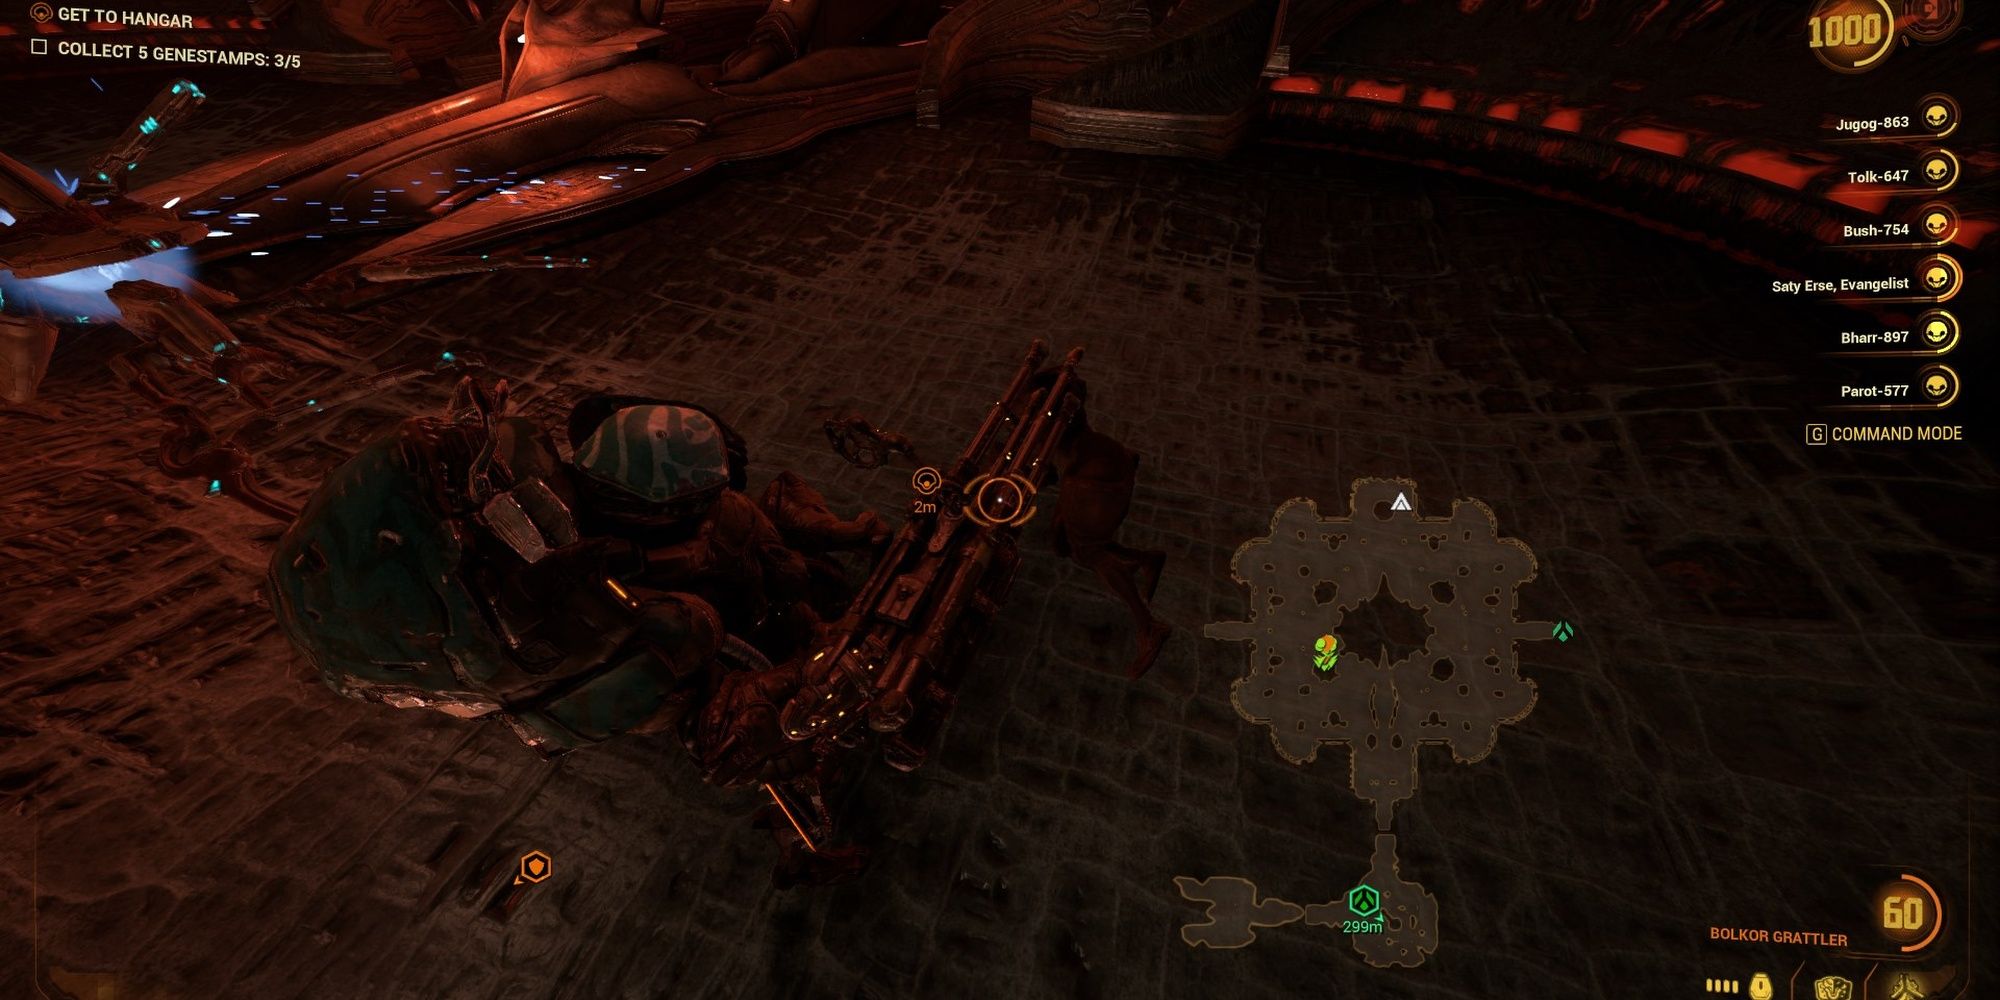

Once your ship crashes and you find two more jailed brothers, look around the area to find a potential Genestamp. We haven't found all potential tiles for this body yet, so use the images above as a general reference point.
Potential Genestamp Location #6: Extraction
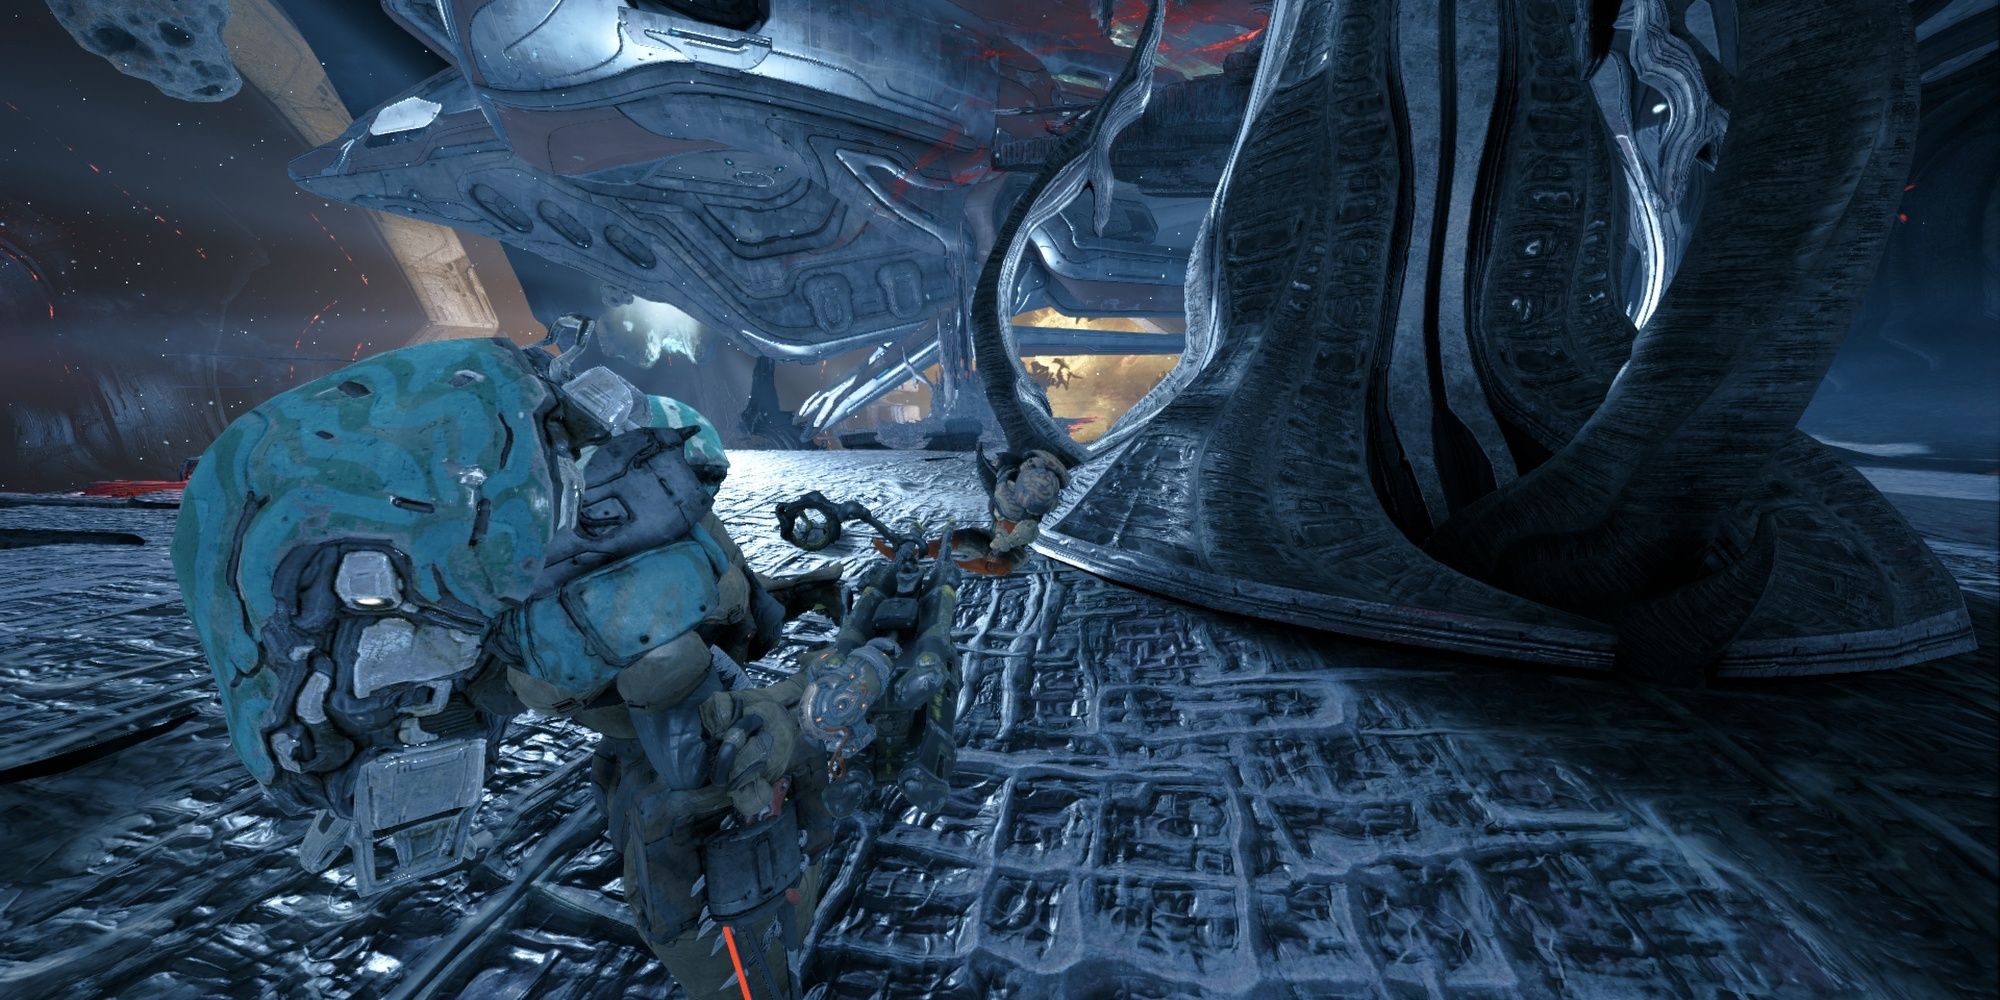
Right before you reach extraction, look at the far-left pillar to find a Grineer corpse lying against it. Hang a left when reaching this Genestamp or else you'll accidentally extract.
Potential Genestamp Side Locations
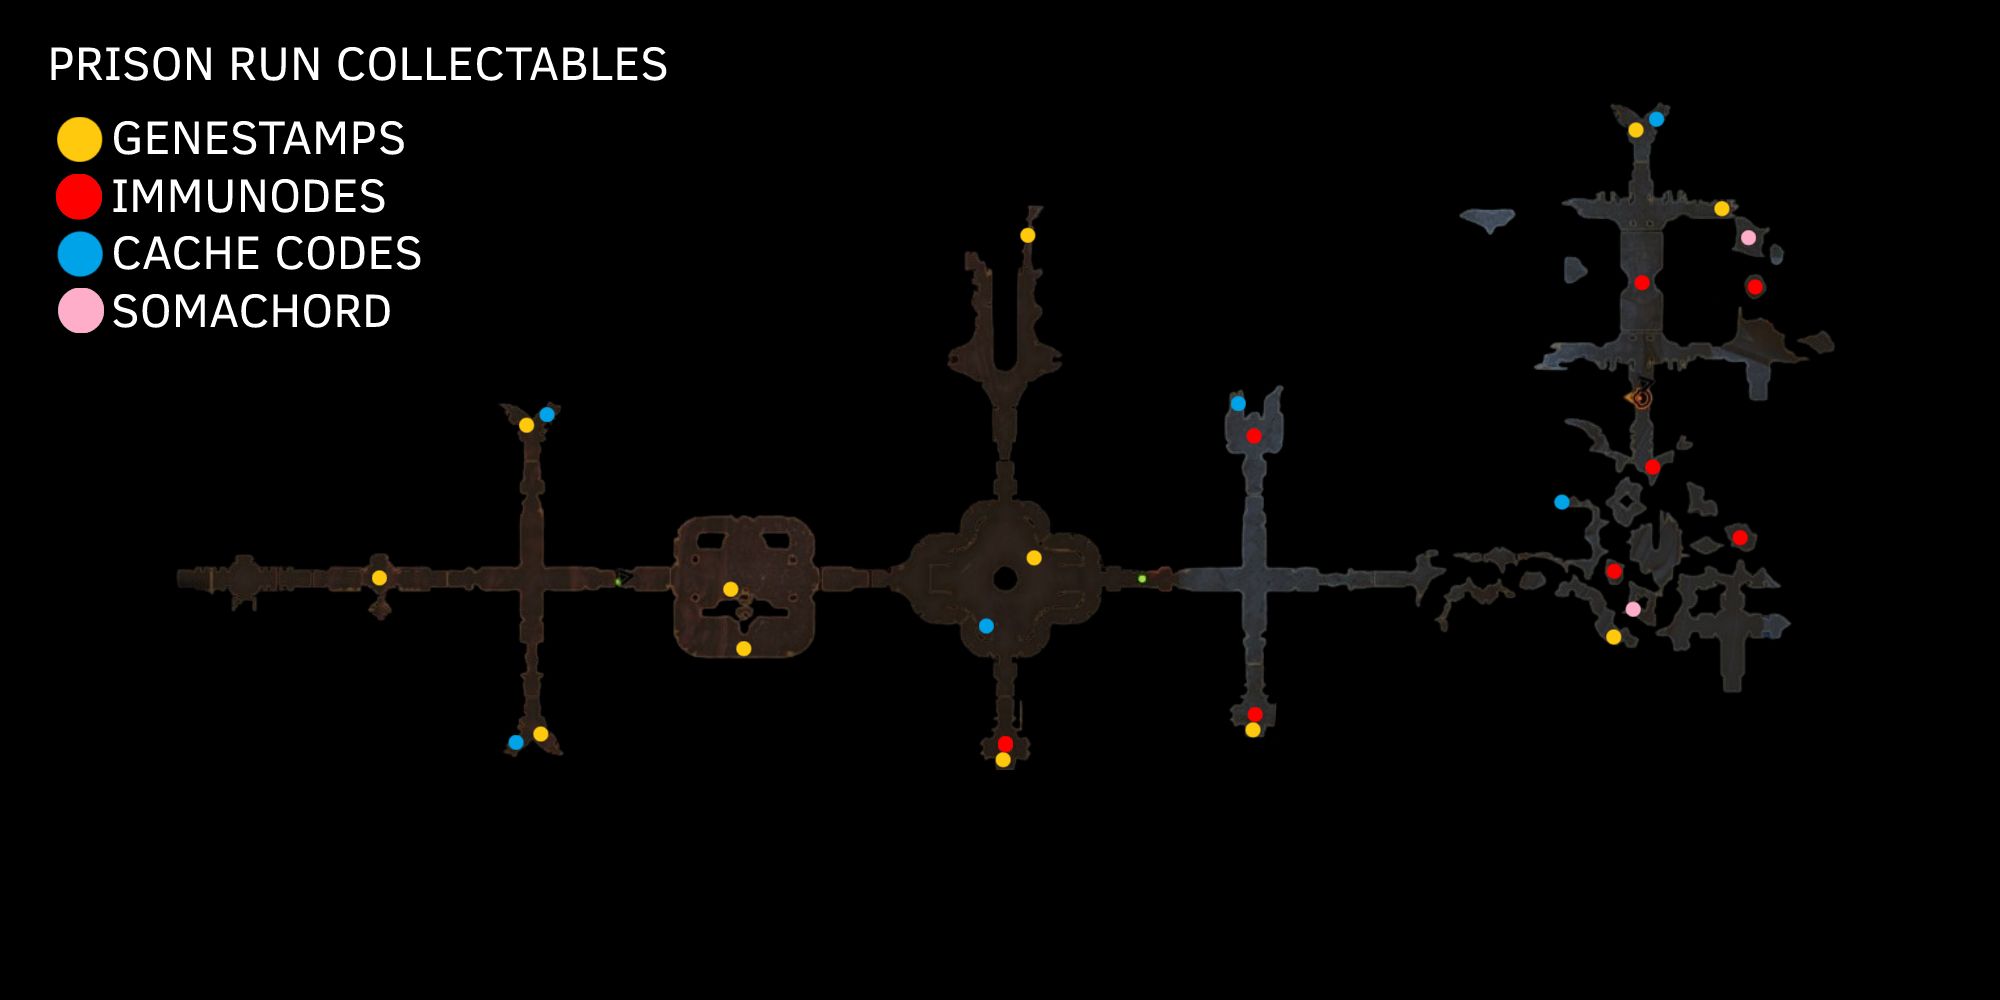


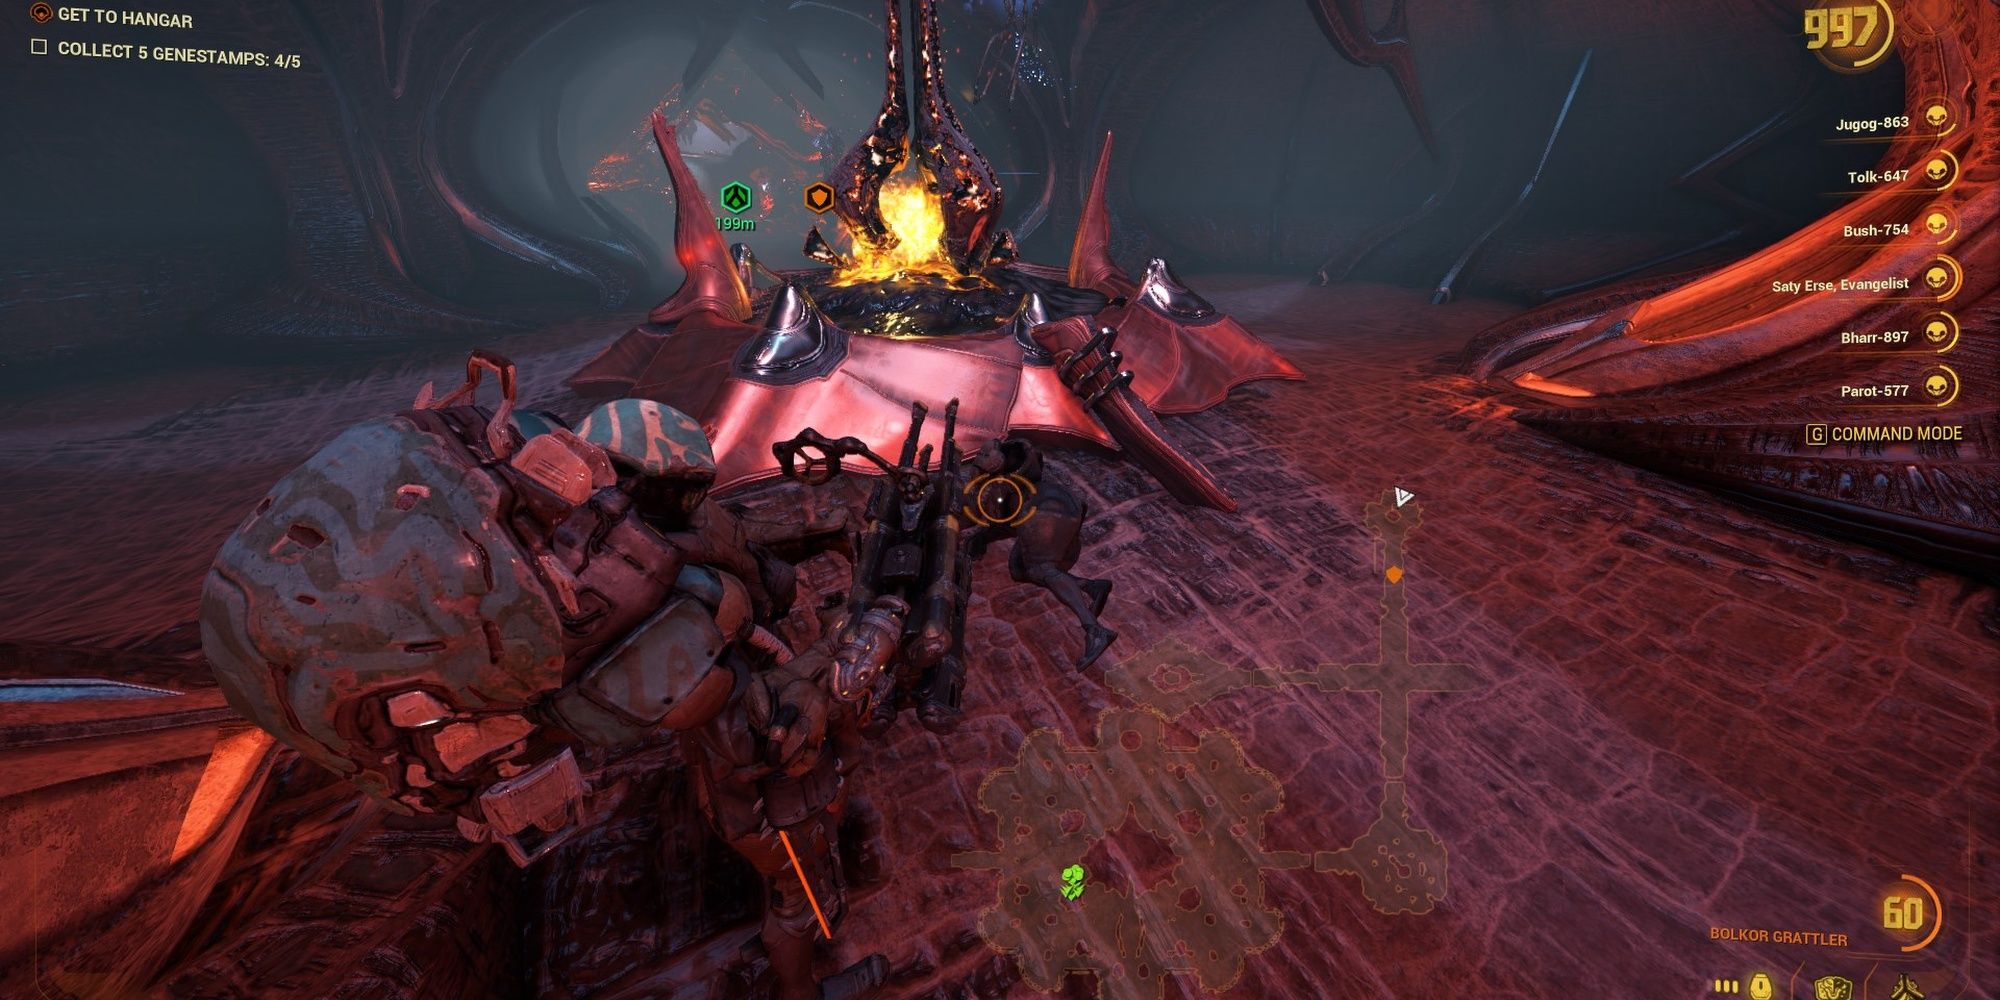
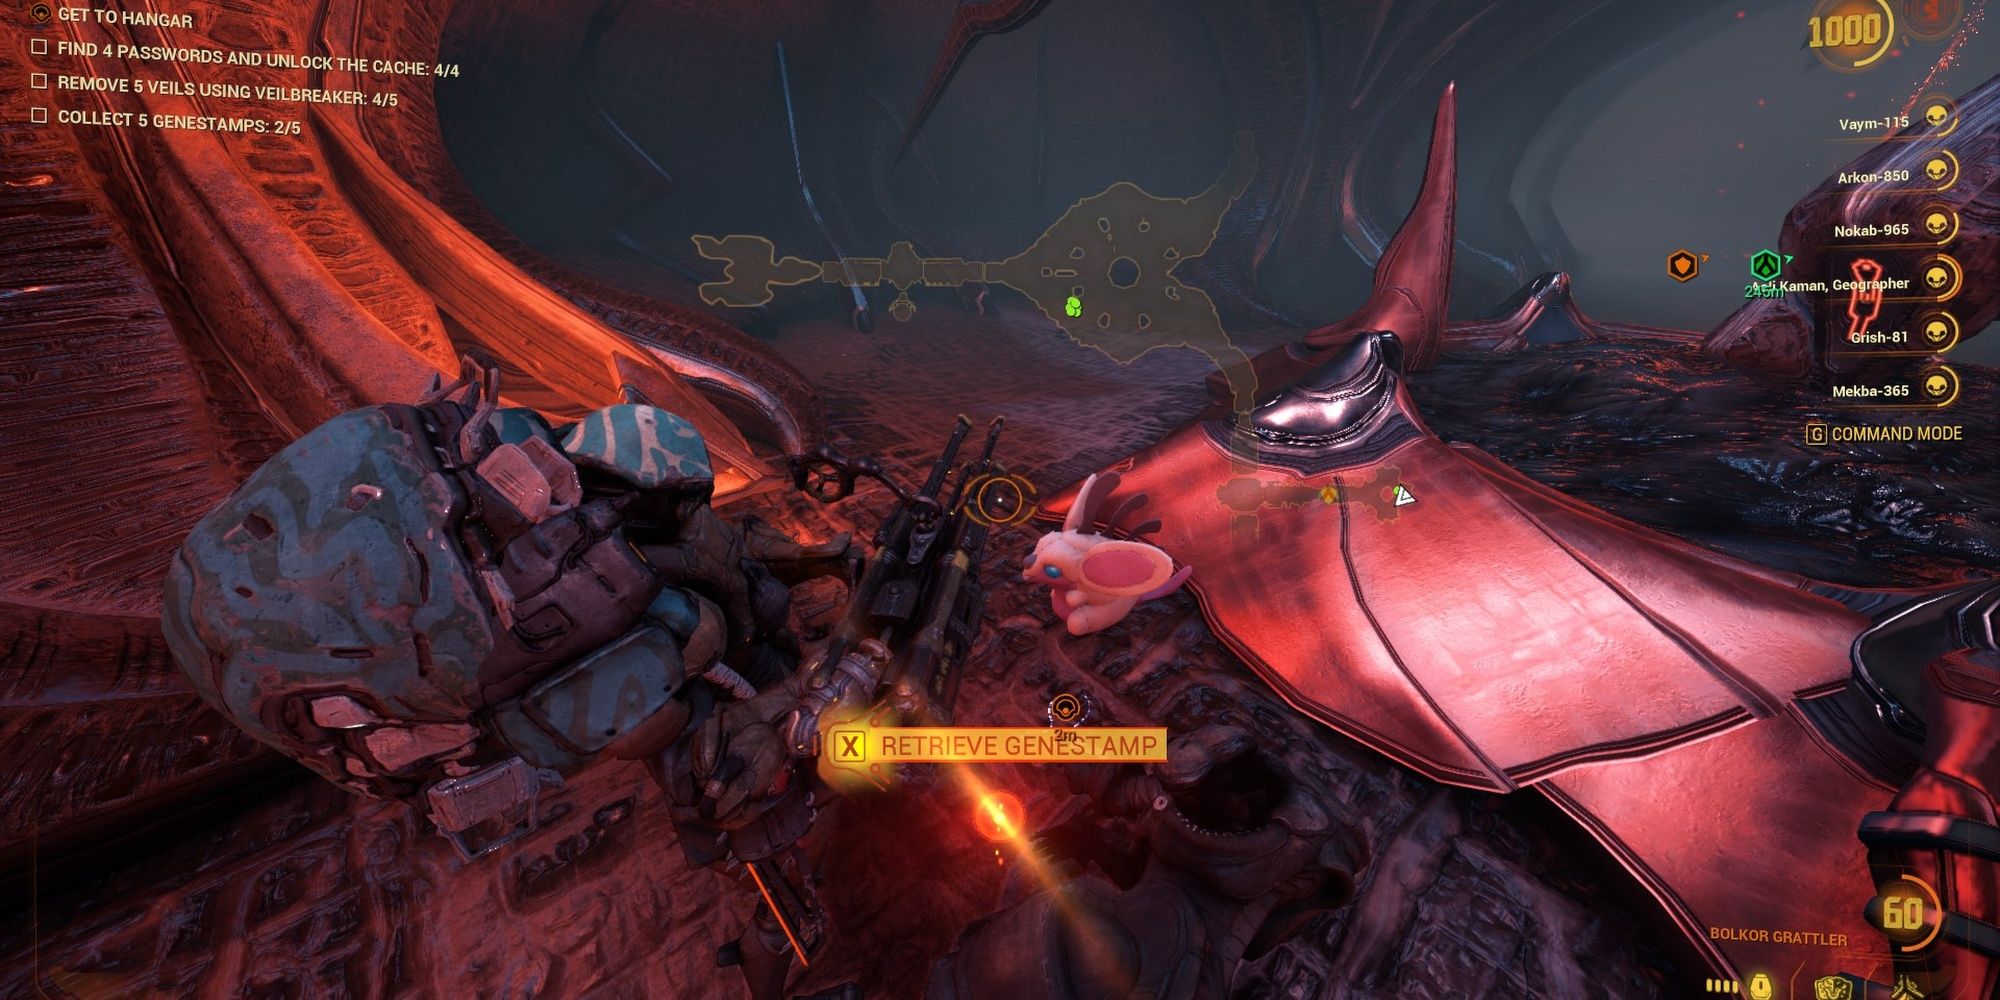
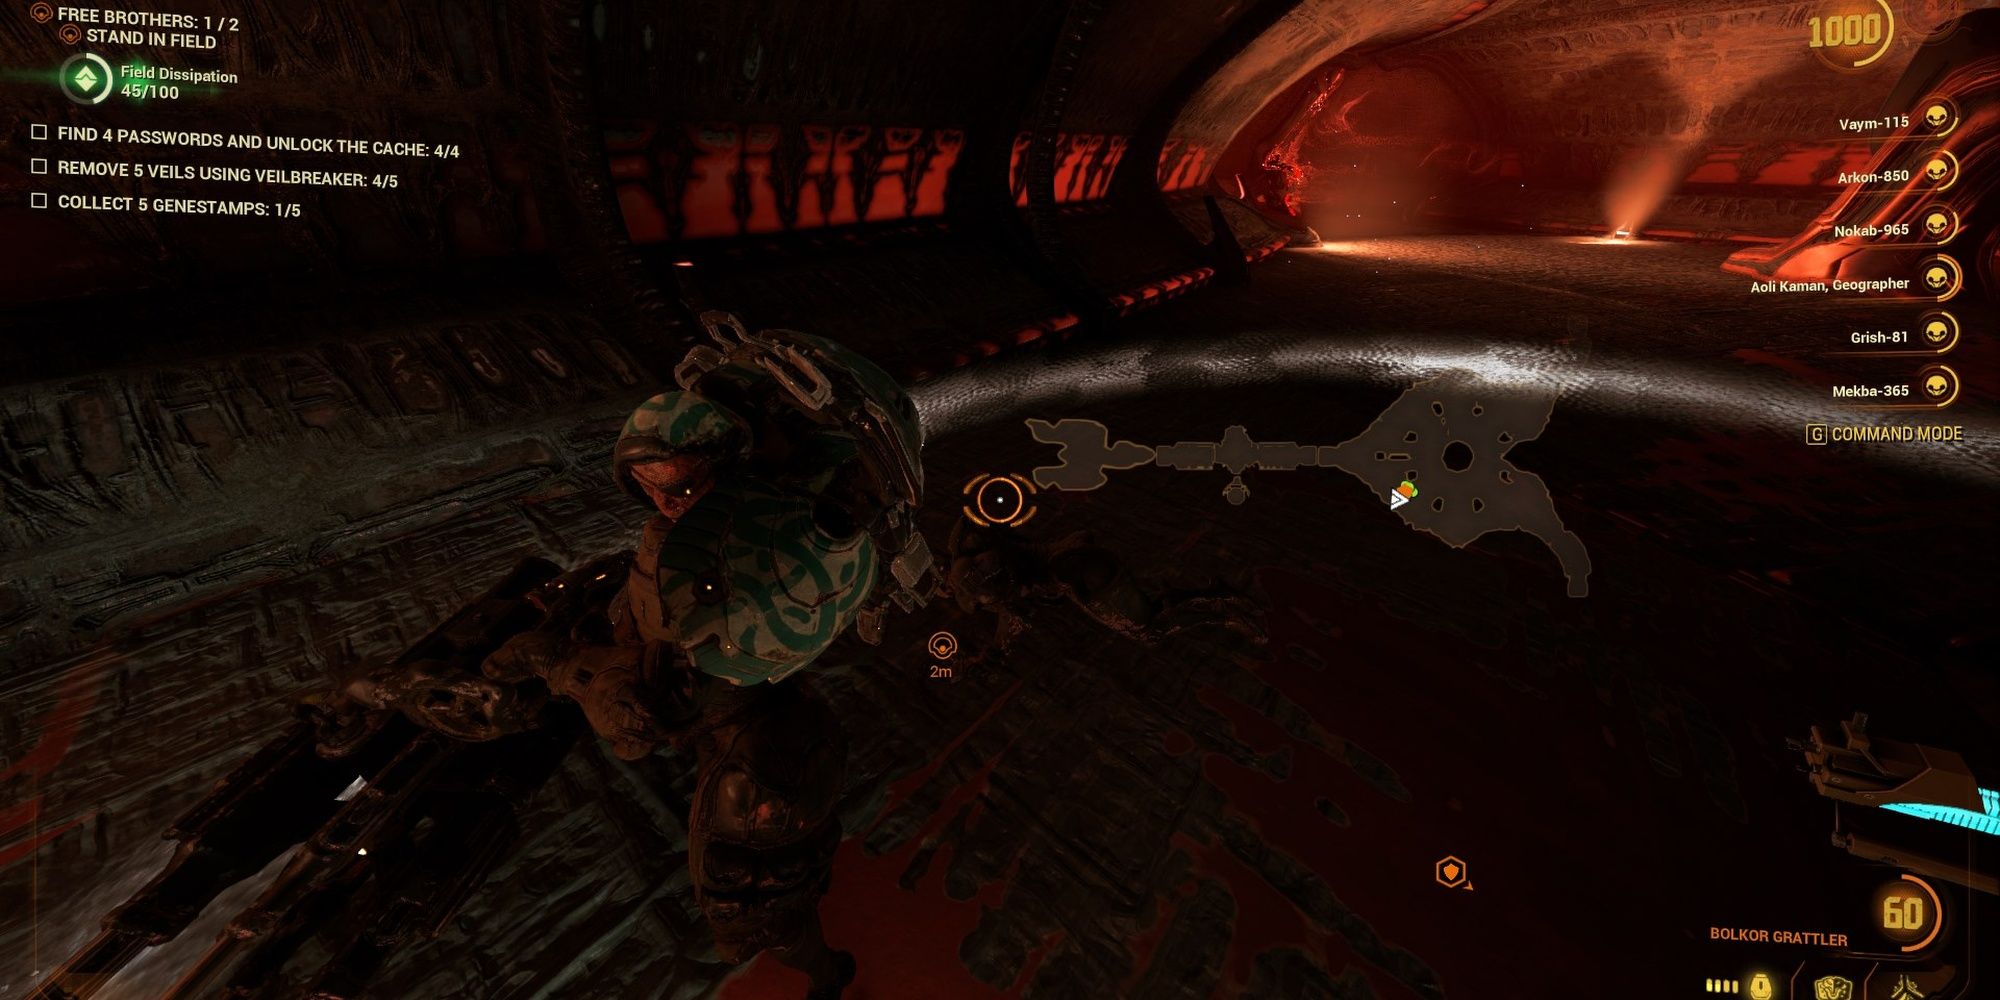


Just about every dead-end room in this tileset can spawn a corpse. Since these are randomly generated, we'll give a rough outline of where the Genestamps are. Use the collectable map and the above images as a reference.
- Y-Shaped Dead-End: Located slightly to your left upon entry.
- Circular Dead-End: Found right behind the Immunode that also spawns in this room.
- Two-Prong Dead-End: Run to the far end of the furthest prong.
- Brother Rescue Tiles: Typically near the middle of the room (see map examples above).
Password And Cache Locations
Passwords only spawn during the first half of Prison Break, and the cache only spawns at extraction.
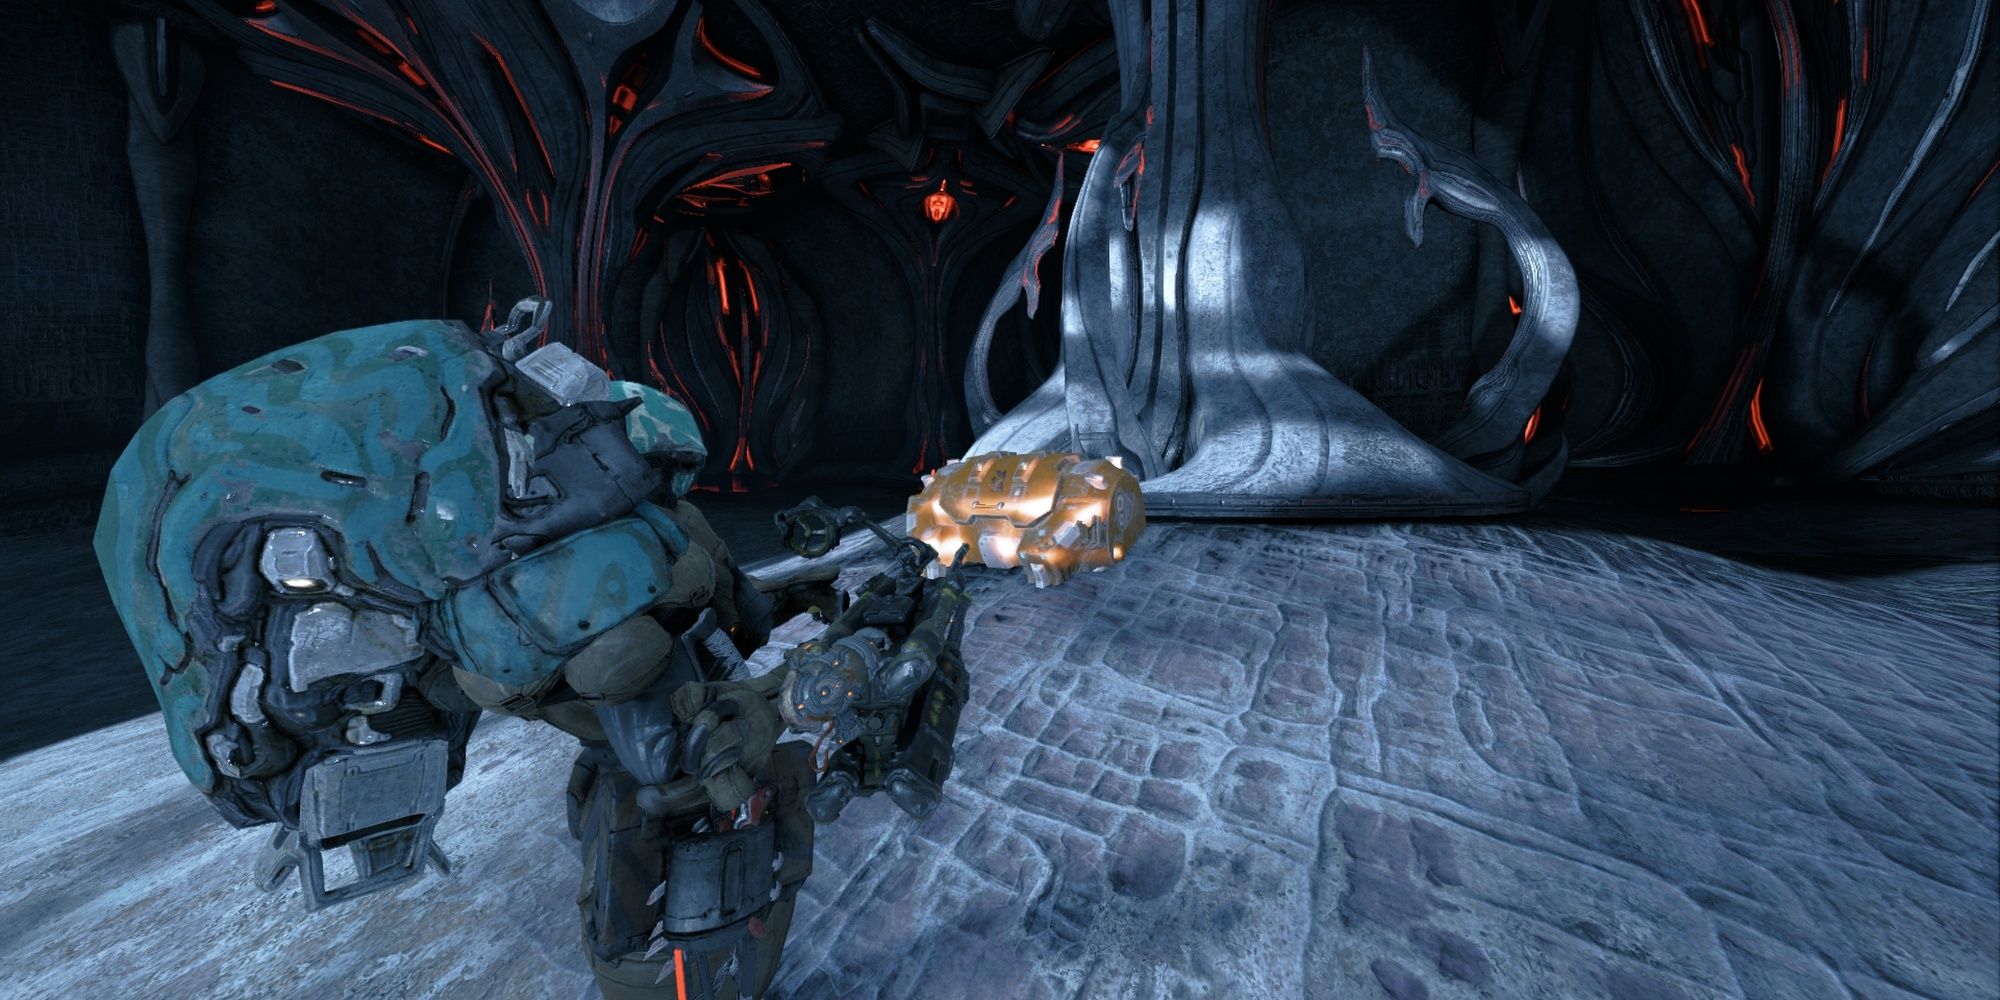
Prison Break features four password symbols you can find, all of which are hidden under ship debris. Command one of your troops to destroy the rubble, then interact with the now-revealed symbol. Once you've found all four symbols, you'll be able to break open a Grineer chest in extraction. Enter extraction and look to your left to find the chest near a pillar.
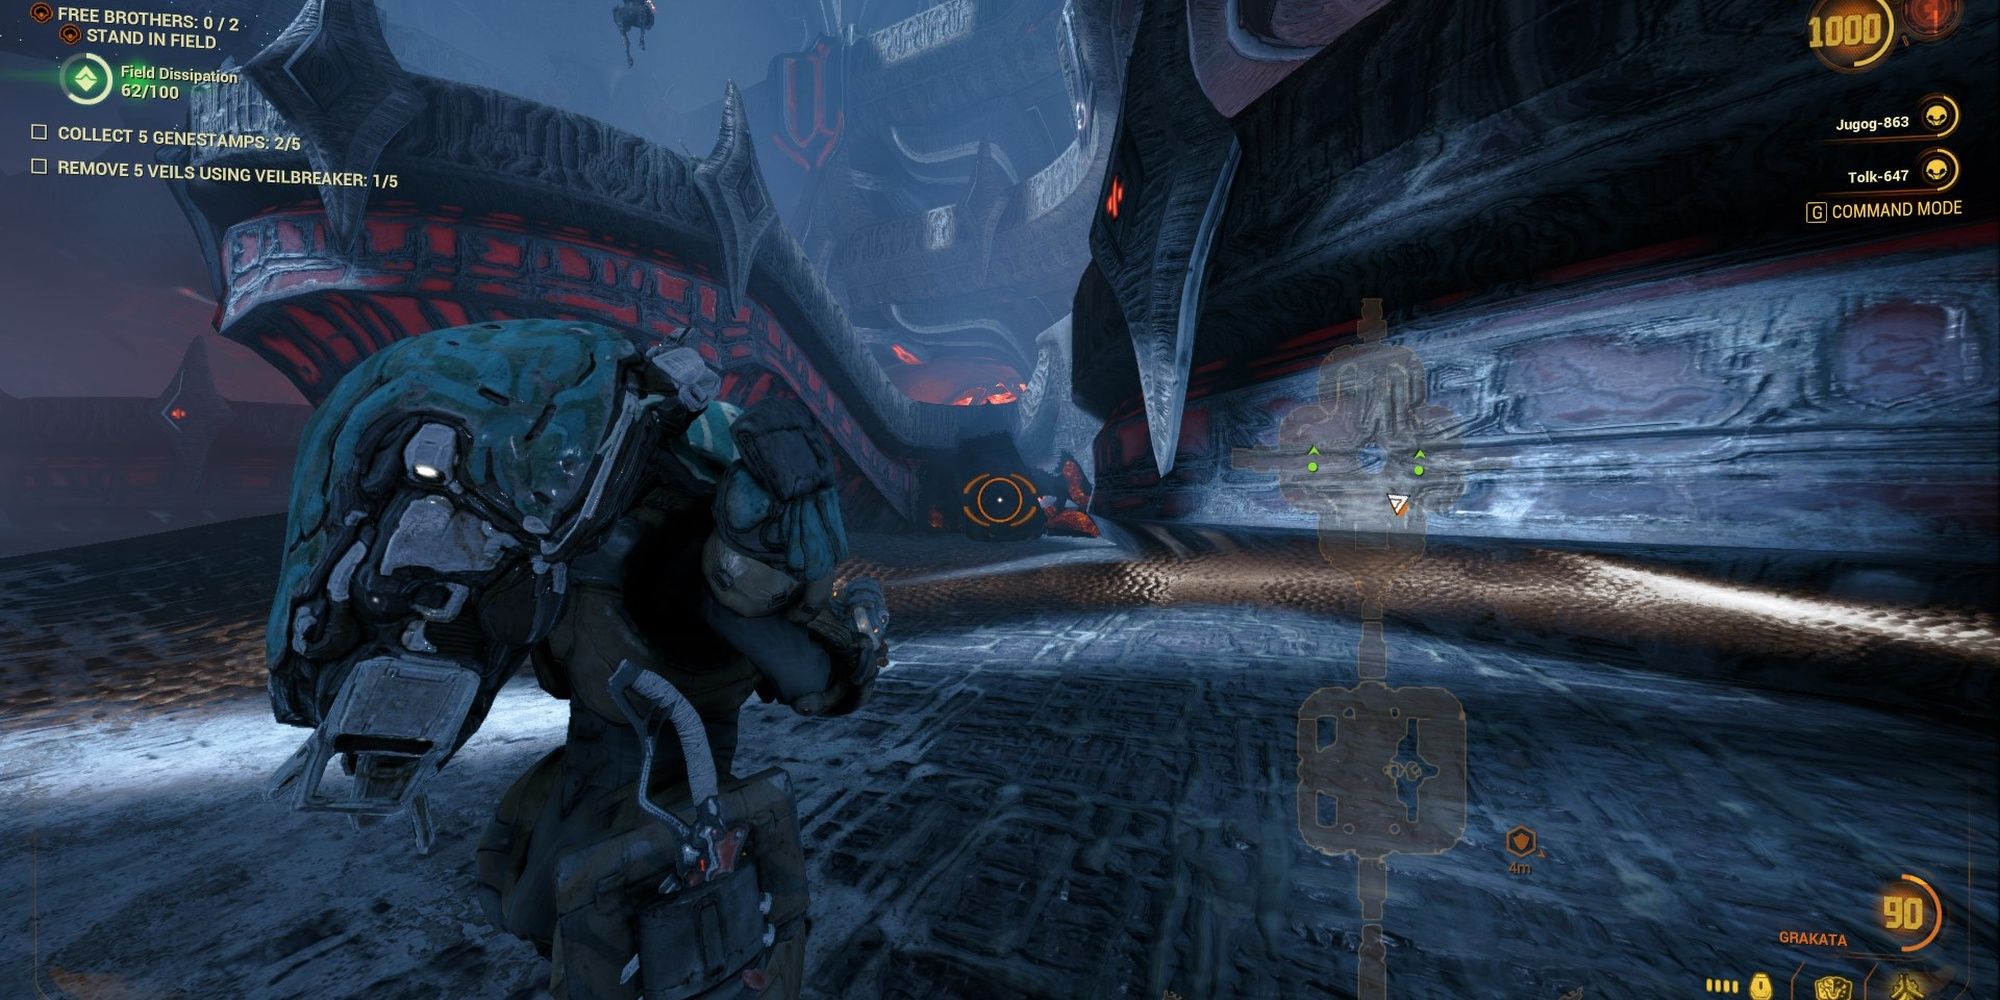
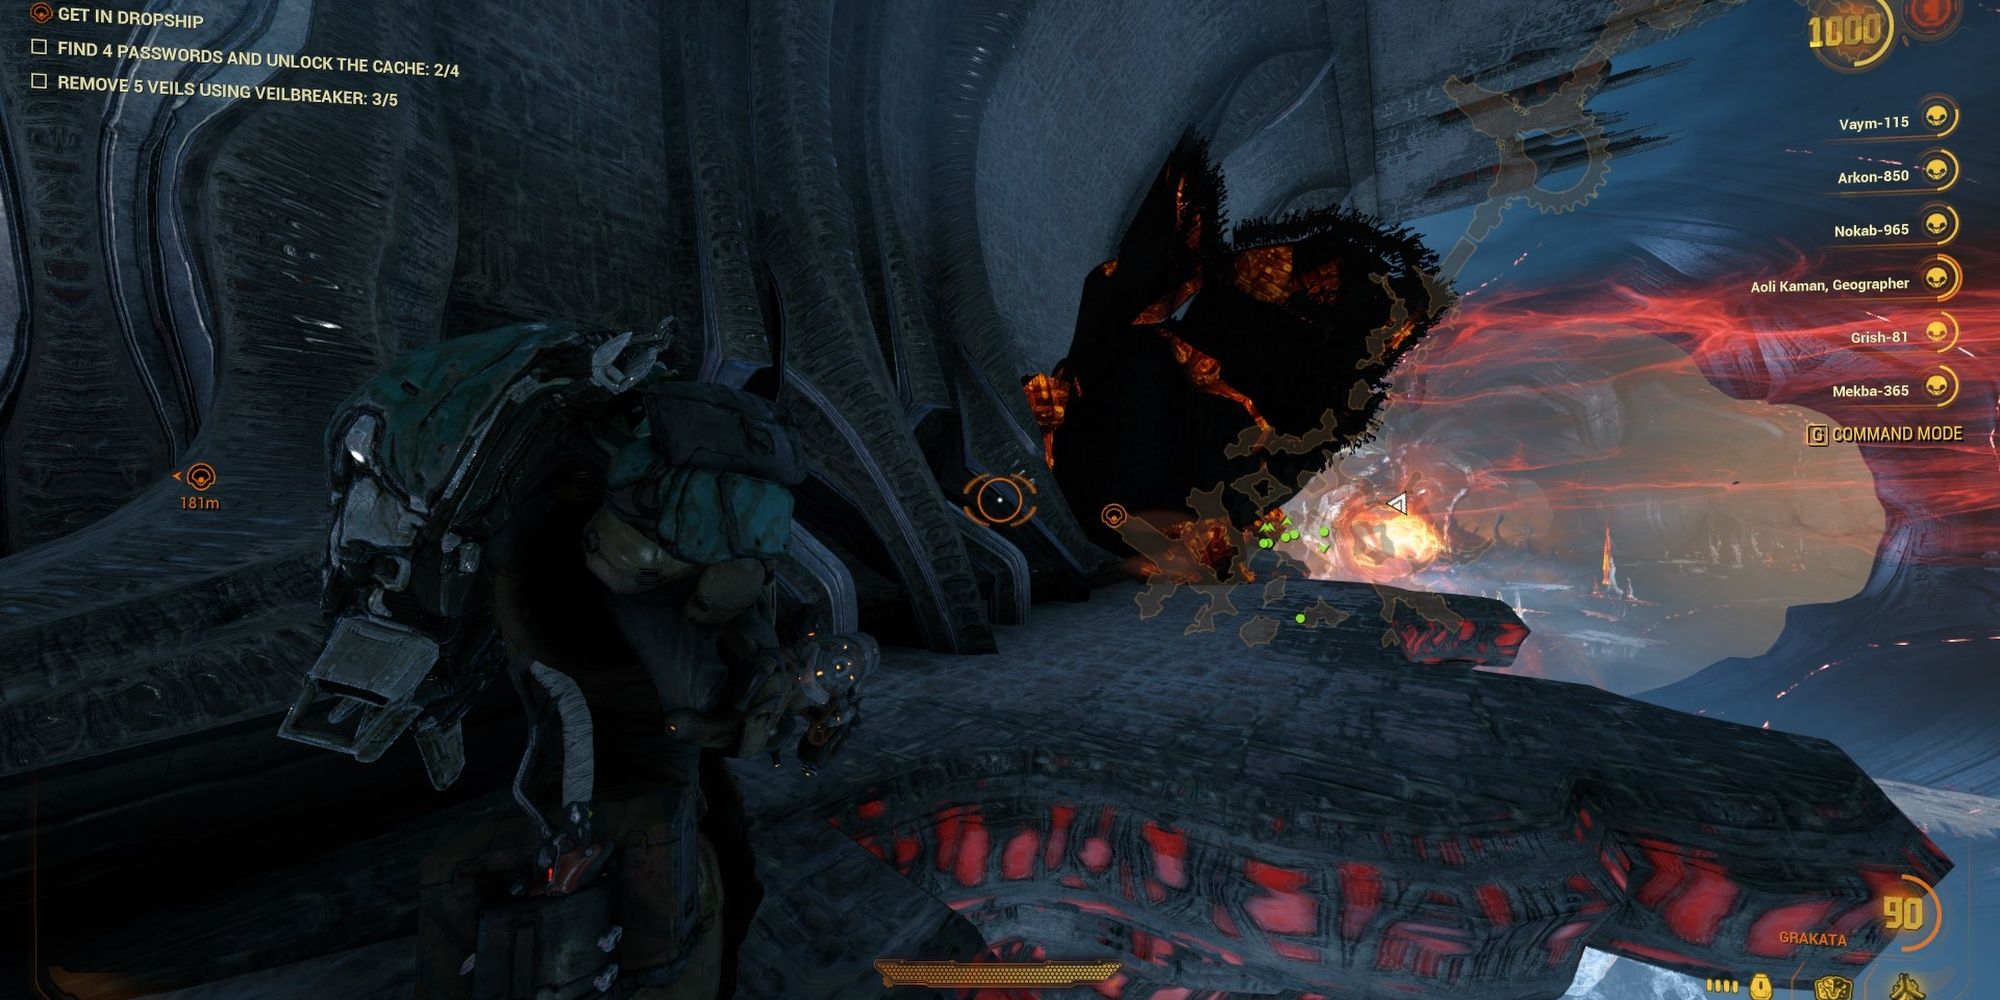
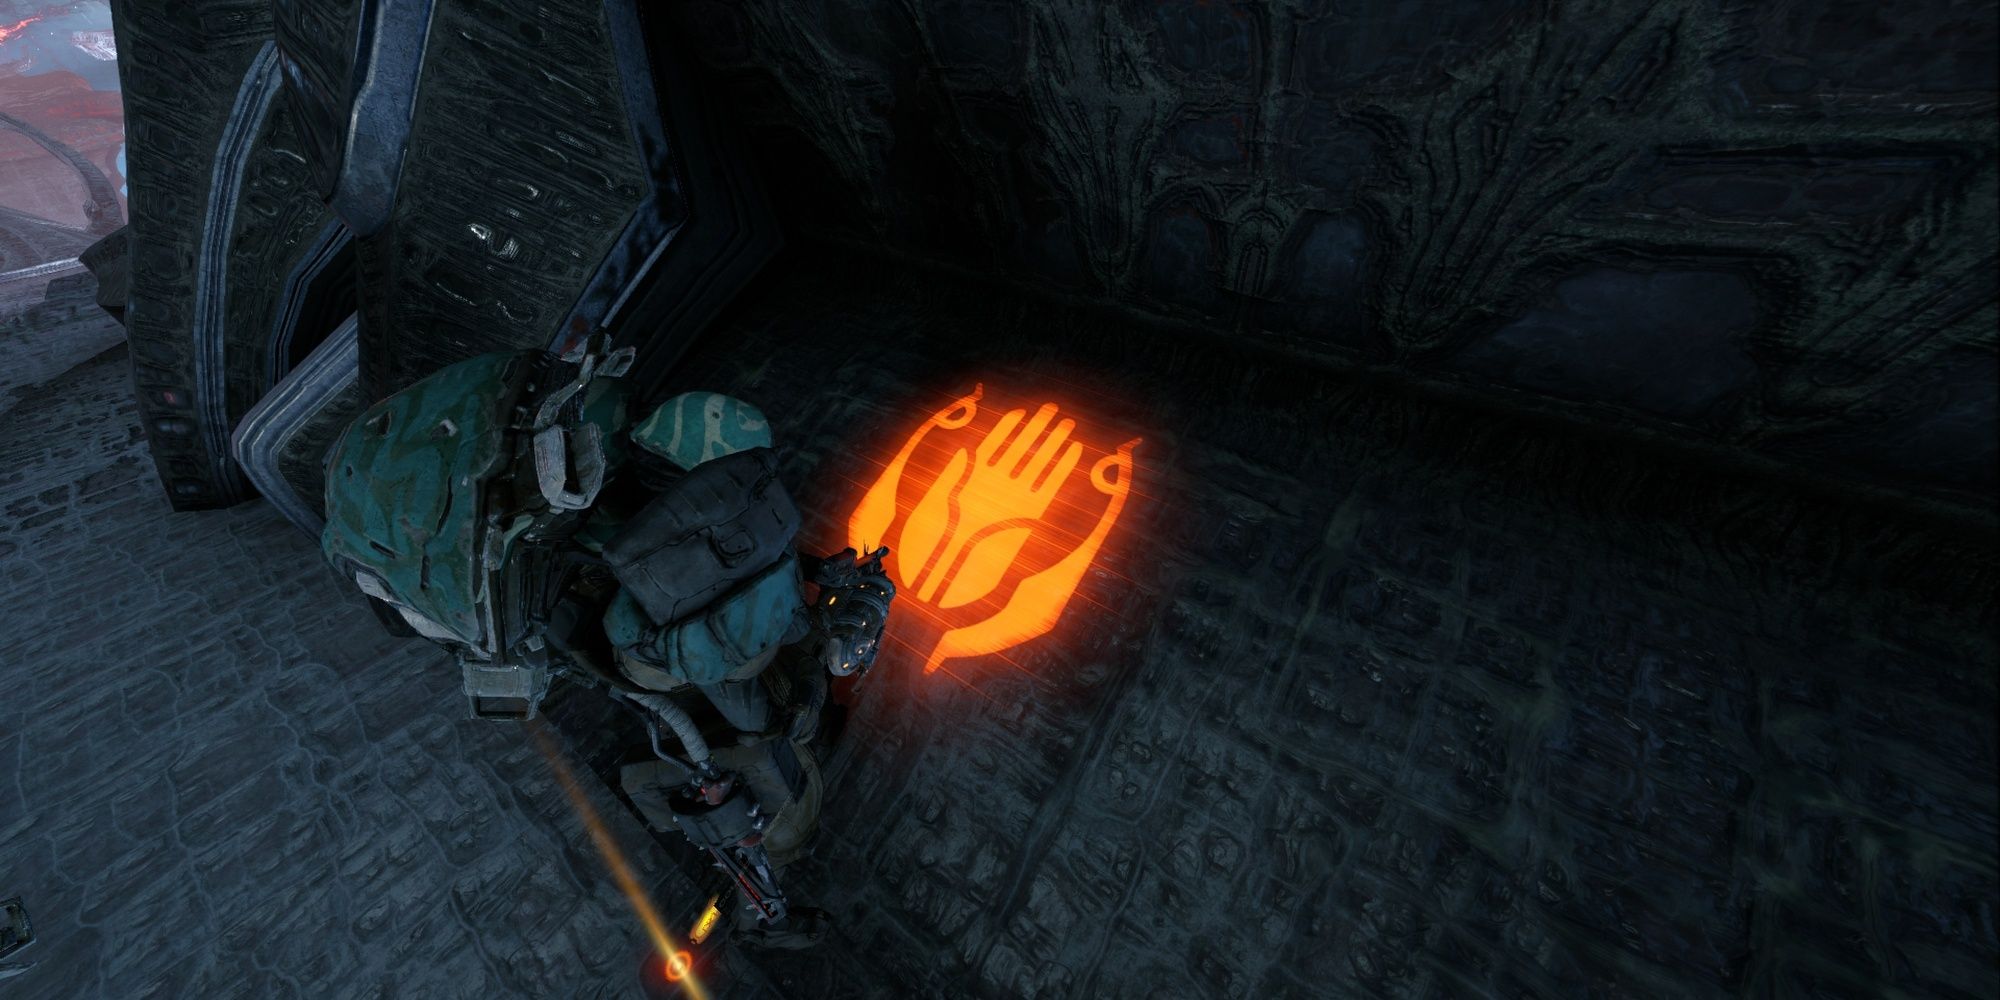
For general locations:
-
Passwords: Typically located in dead-end tiles.
- Sometimes can spawn in the first duo-rescue room. Head to the bottom floor and look south.
- Sometimes can spawn in the top-left corner of the "Expose Node Thing" room.
-
Cache: Always spawns at extraction.
- Upon entering the room, look to the first pillar on your left. It looks just like a Grineer chest.
Immunode Locations
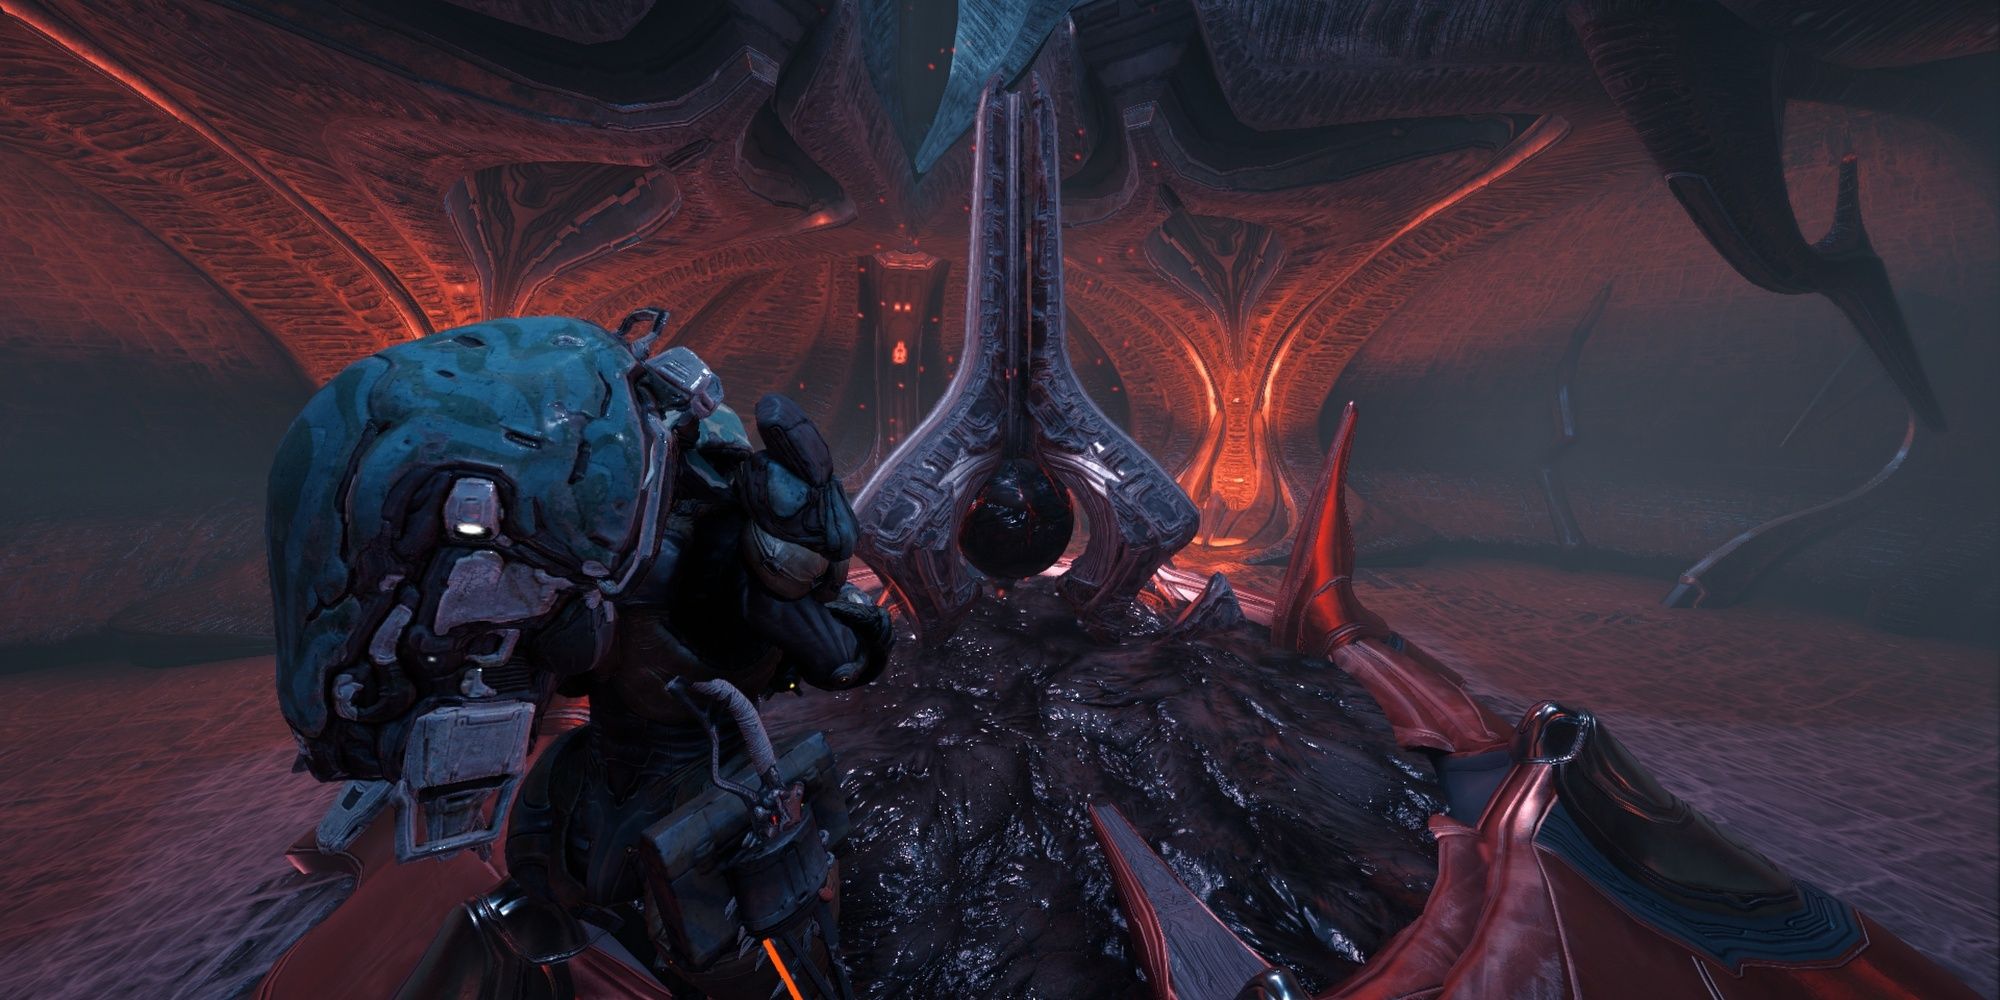
Nearly every side room has an Immunode to break. While the challenge requires five destroyed Immunodes, you only need to break two side nodes. Three Immunodes are guaranteed to spawn during the "Expose Node Thing" quest objective.
Our suggestions on where to look include:
- After Rescuing Two Brothers: Head to a dead-end room connected to the jail cell tile. One of them usually has an Immunode.
- After "Expose Node Thing": Head to the side area on your left. An Immunode can be found directly on the path, floating to your right, or found in a connected side room.
Floof Location
Kahl's Floof tends to spawn near Genestamp Grineer corpses. Any Genestamp spawn location seems to be eligible for a Floof spawn. Most corpses spawn in dead-end side rooms throughout the level, so thoroughly explore each side room you come across. Jump to our Genestamp Locations section for specific locations.
Somochord Locations
Prison Rescue has two Somochord fragments to find, both of which are in adjacent tiles during the first half of the level. Here's where you can find them.
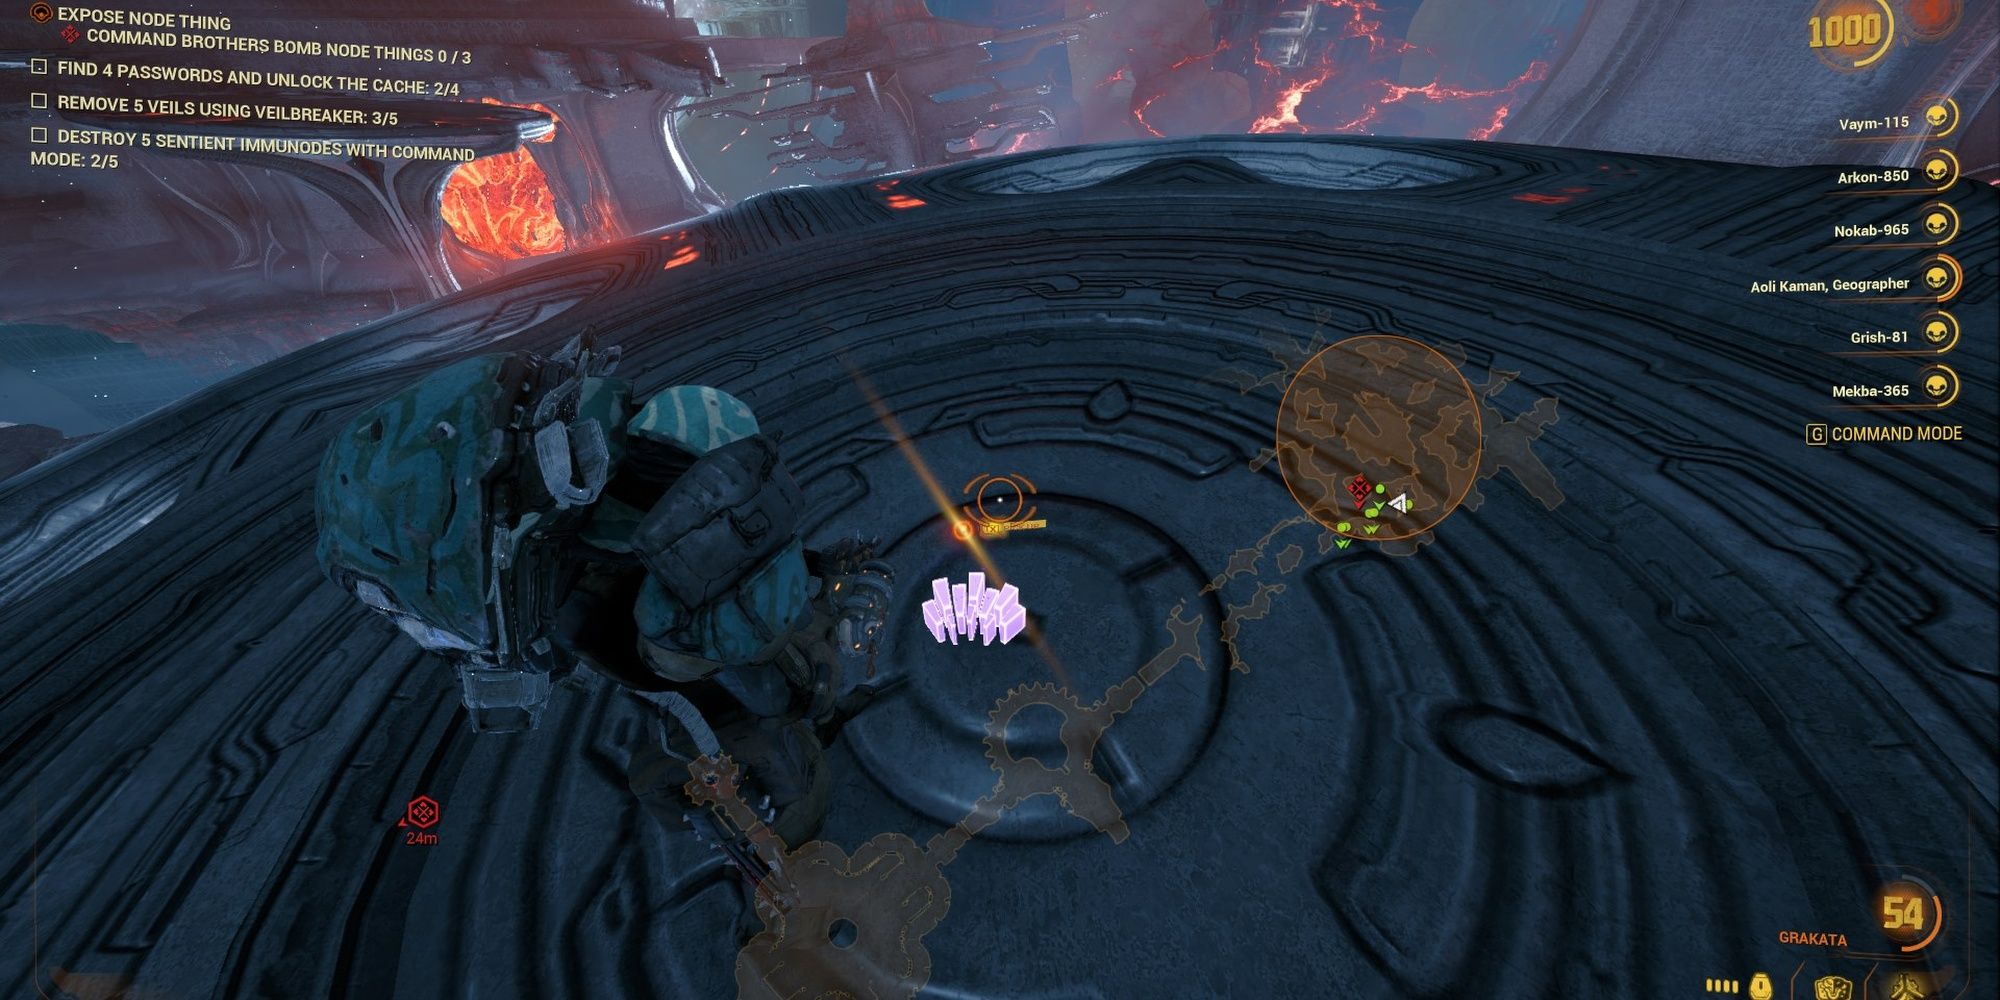
Somochord #1: Expose Node Thing
During the "Expose Node Thing" objective, fly up the circular platform next to the first Immunode to find a Somochord fragment.
Somochord #2: Expose Node Thing Side Room
Once you've destroyed all Sentient nodes, a Narmer gate will drop to your left (near the second Immunode). Enter this room and fly to the floating platforms on your right. The Somochord fragment will be clearly visible on one of these floating platforms.

