Quick Links
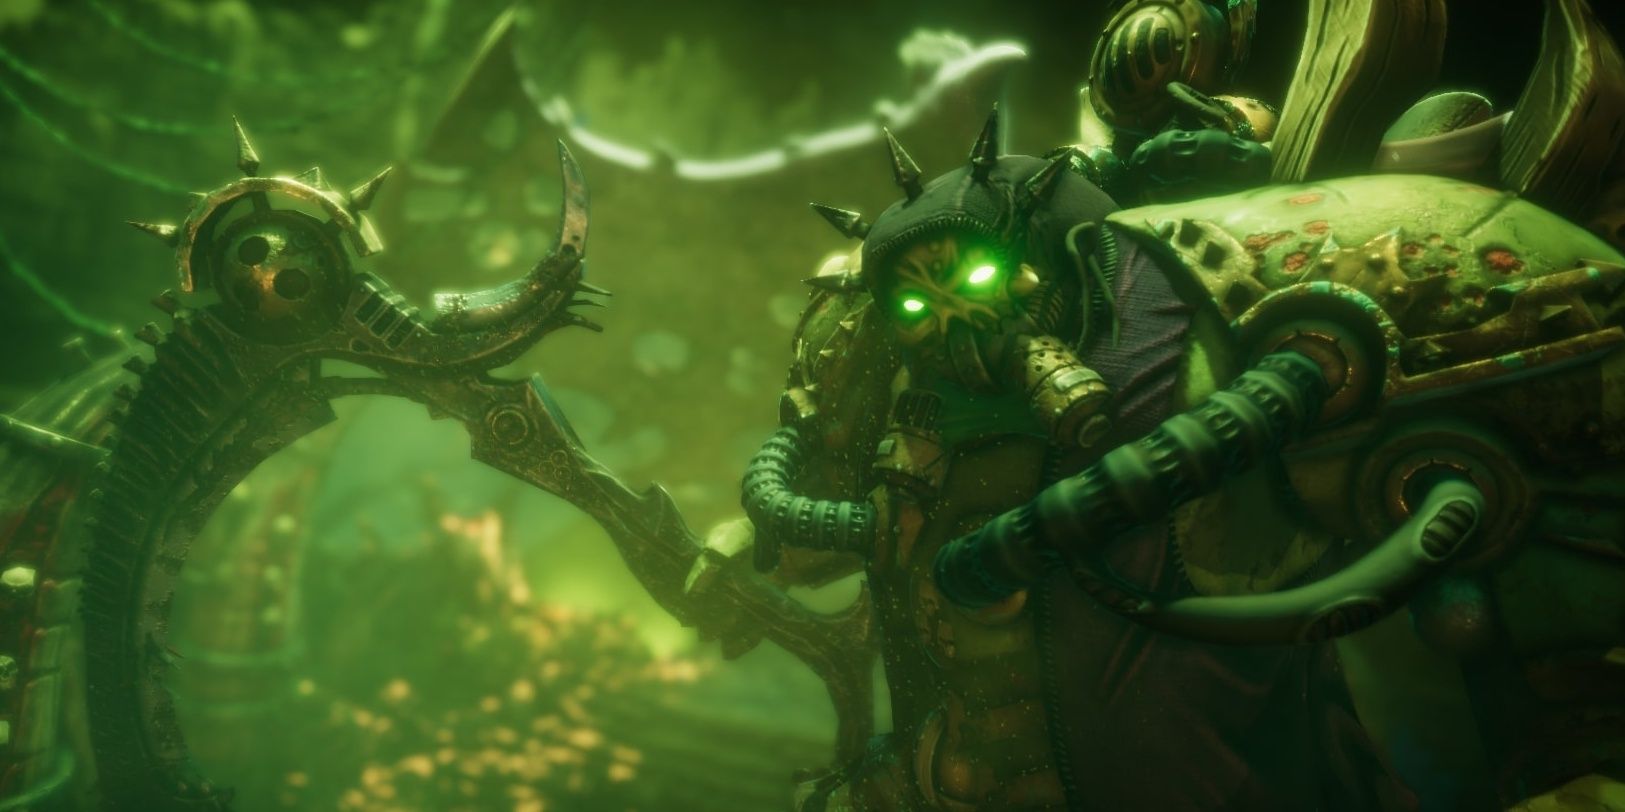
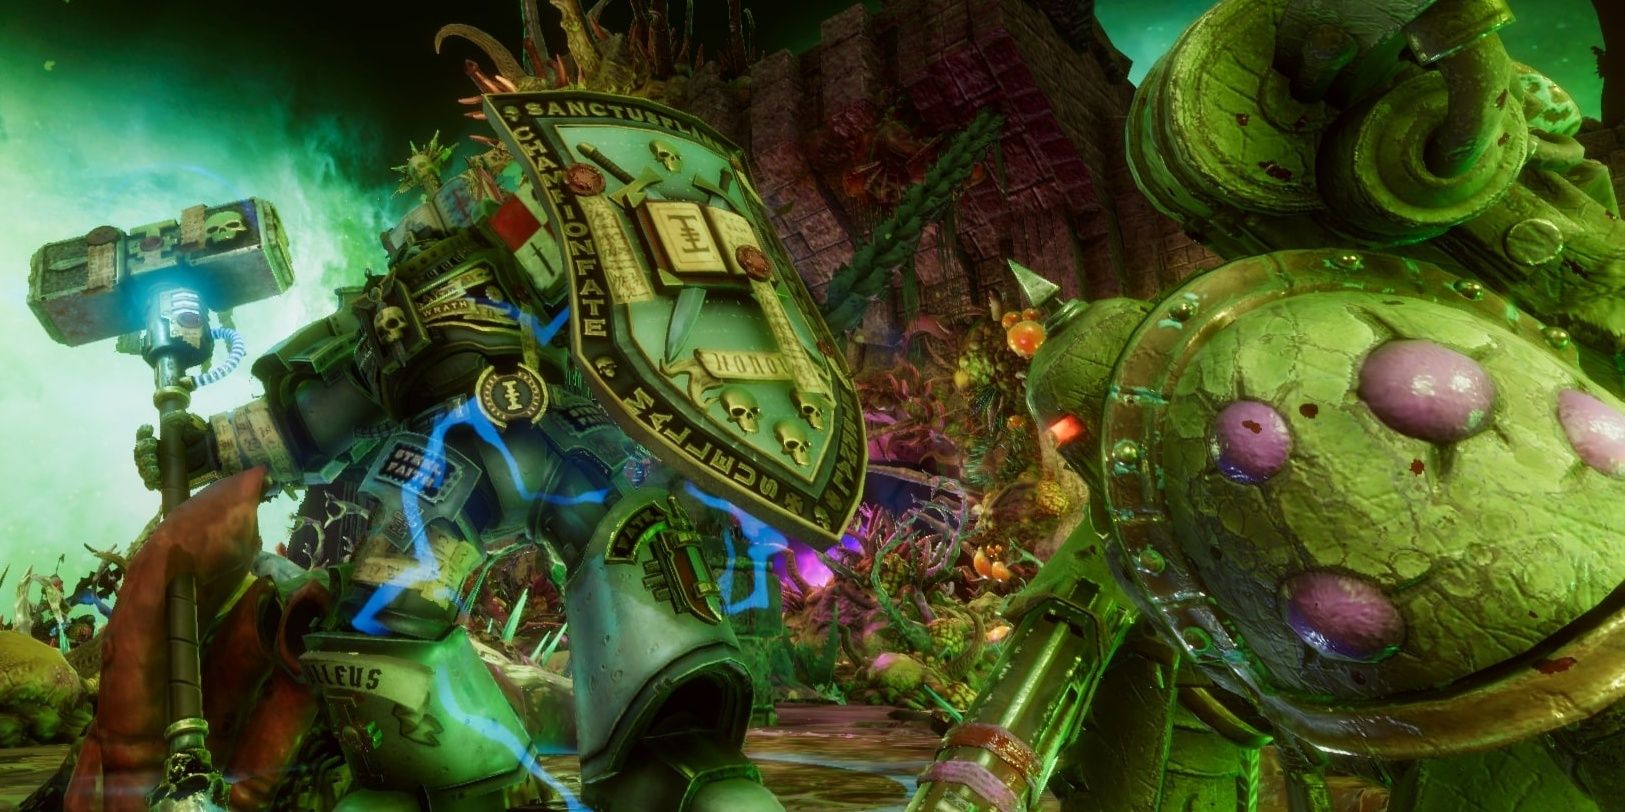
You’re finally here. You’ve summoned Draigo, you’ve traversed the warp, and you’ve banished Kadex. It’s time to face the true mastermind behind The Bloom. It’s time to face The Pale King himself, Mortarion. Warhammer 40,000: Chaos Gate - Daemonhunters has shown its hand, and it expects you to kill a demi-god.
Mortarion is no joke. Not only does he have a statline that dwarfs every other enemy in the game, but he has mechanics that make him immortal. You cannot kill Mortation quickly. This is a war of attrition, and you must grind him down slowly. Not only that, but the full weight of the Death Guard will be pressing down upon you, providing a worthy challenge for the final scrap in the game.
Not Just A Regular Fight
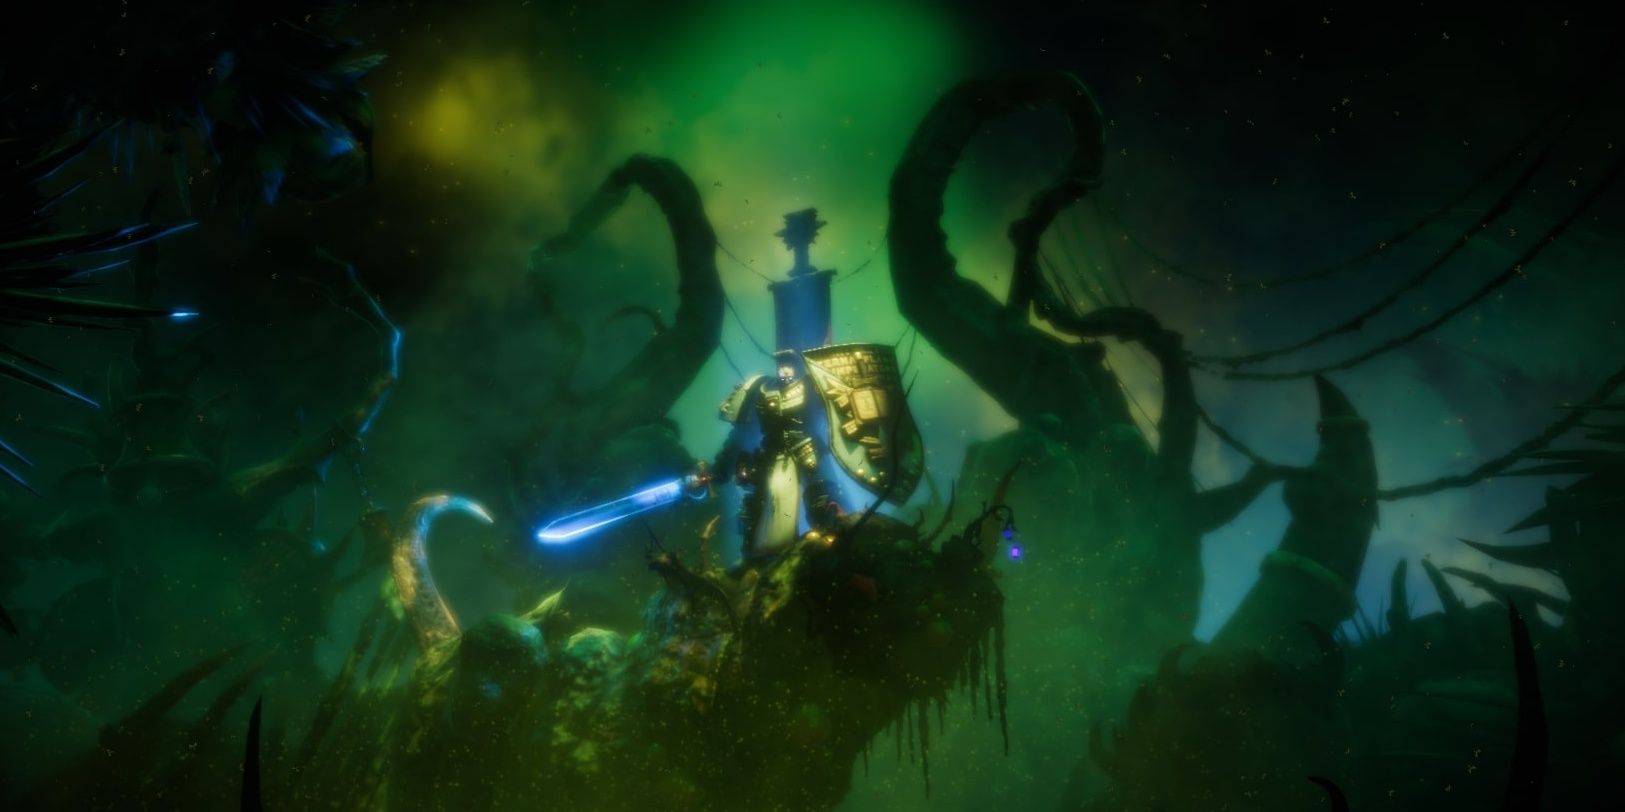
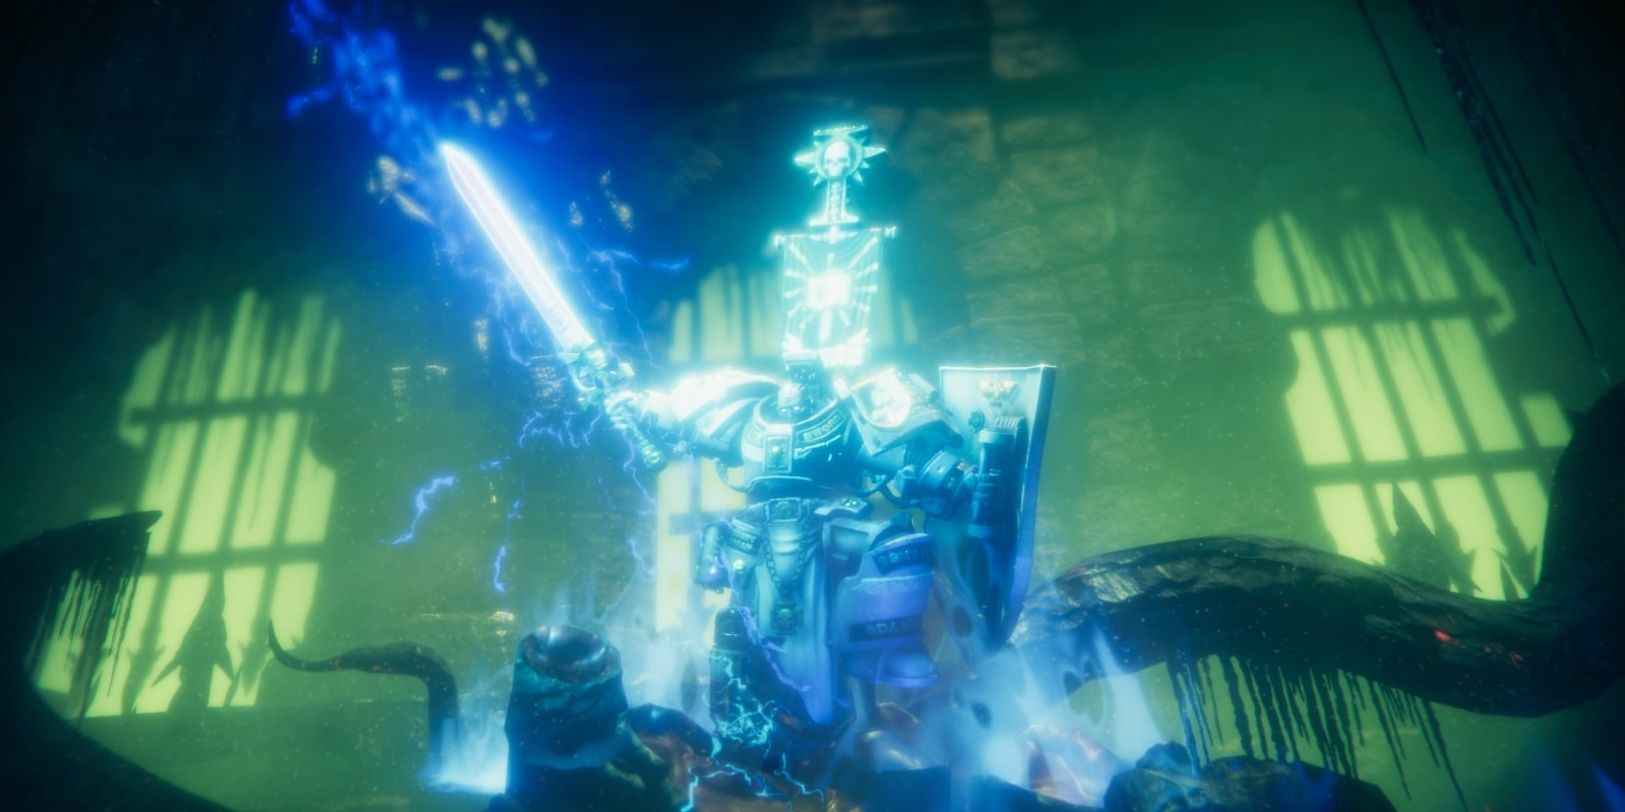
Before we get into Mortarion and how to kill him, it’s important to note that this is not a typical fight. You will be in control of two full squads for this battle, and each squad will have different objectives. Your Vanguard, lead by Kaldor Draigo himself, will be fighting Mortarion head-on, whilst your rearguard will be defending the citadel against hordes of Death Guard who are trying to break through and help the Prince Of Decay.
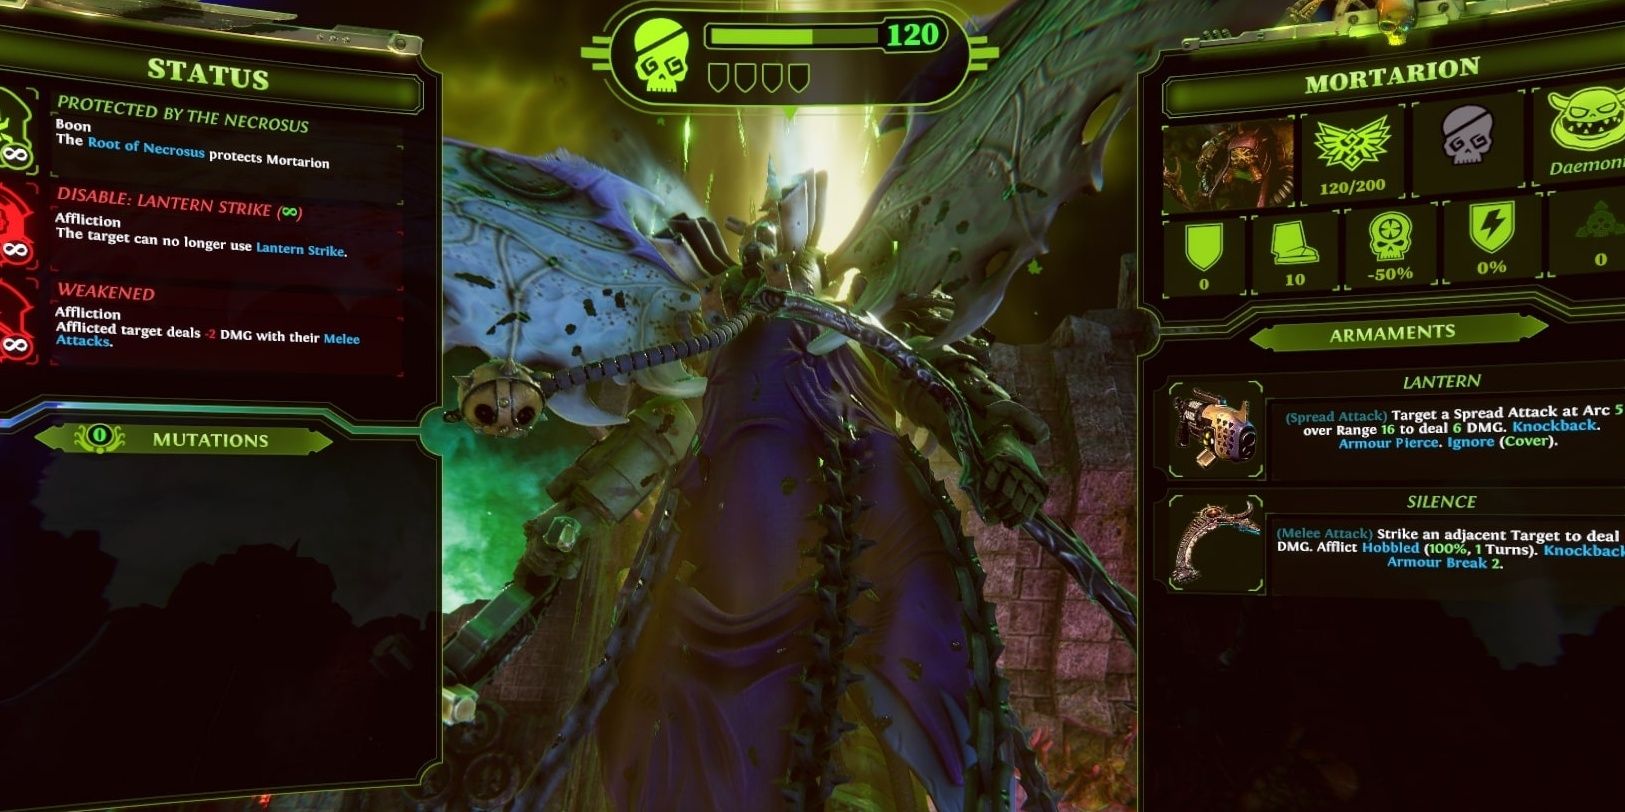
Mortarion’s Stats
|
Stat |
Value |
|---|---|
|
Health |
200 |
|
Armor |
10 |
|
Stun |
10 |
|
Crit Chance |
-50% |
|
Resistance |
0 |
Mortarion is a beefy bloke. 200HP more than doubles just about any boss you’ve ever encountered, and every other stat pushes him to a whole new level. 10 Armor is not that impressive, but it can’t be permanently broken. Mortarion is also highly resistant to Critical Hits, meaning attacks like Hammerhand simply aren’t as reliable if you don’t have bonuses coming from elsewhere.
Not only that, but Mortarion is incredibly fast, doubling - even tripling - the speed of some enemies and bosses. Finally, Mortarion, whilst vulnerable to Stun, is still highly resistant to it as his stat, once again, dwarfs just about everything you’ve faced up until now. This isn’t going to be an easy fight - and we haven’t even gotten into his mechanics.
Mortarion’s Attacks And Abilities
|
Attack |
Type |
Explanation |
|---|---|---|
|
Lantern |
Spread Attack |
Mortarion fires his plasma pistol. This attack has Range 16, Arc 5, and deals 5 damage to any target hit. This attack also applies Knockback, has Armor Pierce, and Ignores Cover. |
|
Silence |
Melee Attack |
Mortarion strikes an adjacent Knight and deals 8 damage. This attack applies Knockback, Armor Break 2, as well as Hobbled for one turn. |
|
Power Of The Bloom |
Psychic Support |
At the beginning of his turn, Mortarion links himself to one of the five Bloom Roots. He heals himself and gains a new Bloom ability. |
|
Reaping Scythe |
Spread Attack |
Mortarion unleashes a spread attack with Arc 120 and Range 5. This attack deals 5 damage. This attack also has a 50% chance to apply Hobbled for one turn, as well as Knockback. |
|
Phosphex Bombs |
Psychic Support |
Mortarion summons two Phosphex Carriers who will drop bombs on nearby Knights. |
|
Deny The Witch |
Psychic Spread Attack |
Mortarion unleashes a spread attack with Arc 15, Range 12. Any Knight hit is Silenced for one turn. |
|
Imprison |
Psychic Melee Attack |
If Draigo is reduced to 0HP, Mortarion will attempt to claim his body and soul for Grandfather Nurgle - ending the fight immediately if he is not Disrupted. |
|
Barban Plate |
Support |
At the beginning of his turn, Mortarion will recover a destroyed Target Point. |
This is a lot to break down, and Mortarion also gains five bonus abilities as the fight progresses, such as the ability to disarm, immobilize, or even trap Knights. Mortarion, in short, is a powerhouse the likes of which you’ve never seen. He is capable of dealing incredible amounts of damage, at any range, and is more than happy to cripple your party in the process.
His weapons, Lantern and Silence are both brutally effective. Lantern has a shockingly high range, deals massive damage, and ignores armor - among other things. This attack can be stopped with a Critical Hit as it is a Target Point, but until that happens, Mortarion can do a lot of work with this pistol.
Silence is more powerful as a whole. It doesn’t ignore armor entirely, and it also isn’t an AOE. What it does do, however, is reduce your Knight's movement speed and deals more base damage. Hobbled is particularly nasty, as Mortarion has a very high Movement Speed. Not only that, but you need Draigo to move around this battlefield a lot if you want to win.
His Abilities are even more of a pain to deal with. They deal less damage than his standard attacks, but they tend to have larger AOE coverage as well as more Afflictions to offset this. The big ones to look out for are Imprison and Barban Plate.
Imprison can end the fight. Draigo is a tough cookie, but Mortarion can beat him to death in about two rounds of combat. If he does this, Imprison will end the fight on Mortarion’s next turn if you don’t find a way to Disrupt him. It’s for this reason, you want to keep Draigo away from Mortarion as much as possible and focus him on completing the mission - more on that in a bit.
Barban Plate ensures any Target Points you destroy are not gone for good. This means you have to constantly land Critical Hits on Mortarion if you want to prevent him from using his strongest abilities. This is easier said than done when Mortarion applies a -50 percent Critical Hit modifier to every attack he receives.
Mortarion’s Passive Abilities
|
Passive |
Explanation |
|---|---|
|
Immunity To Afflictions |
Mortarion is immune to Crazed, Dominated, Immobilized, Panicked, Plagued, Knockback, and Banish. |
|
Flight |
Mortarion ignores all height restrictions when moving, and is not affected by Reaction Strikes or Hazards. |
Mortarion’s Passives are fairly basic. His Flight allows his Movement Speed to be dialed to 11, and his Immunities make him harder to mess with on an Affliction level. That being said, his base Resistance is 0, and he is not immune to Bleed, Enraged, or Vulnerable, which gives you several ways to mess with Mortarion outside of hitting him with sticks.
Mortarion’s Auto Abilities
|
Auto |
Explanation |
|---|---|
|
Mortal Enmity |
If Mortarion is attacked by Draigo, he becomes Enraged. On his next turn, he will focus on attacking Draigo. |
This ability puts the final nail in the Draigo vs Mortarion fight. You simply don’t want Draigo to hit Mortarion as he has too many advantages in this fight, and Draigo dying is a defeat condition. Instead, use your Knights to kill Mortarion and keep Draigo well away.
Preparing For Battle
The Mission
The mission is to kill Mortarion, but this is easier said than done. During the fight, Mortation will become linked with various Roots scattered around the arena. These Roots can only be destroyed by Draigo, and only if Mortarion takes enough damage whilst linked to a Root. The goal here is to overwhelm Mortarion, make the Root vulnerable, and then have Draigo sever the Root with the Titansword.
Once this is done, the battle will switch to the Rearguard, and your Knights on the outside will be assailed by a horde of high-level enemies. The goal here is to prevent enemies from approaching the nearby portal. If enemies get too close, they will be transported into the arena, making the fight with Mortarion much harder.
Vanguard Squad Composition
This is your Kill Team. You want the best of the best on this team, and thankfully, there are plenty of amazing classes that can work here.
- Justicar
- Paladin
- Apothecary
- Interceptor/Purgator
The Justicar is, as always, a ridiculously good pick. Honor The Chapter is too good to pass up, as the +3AP it grants can be used to do ludicrous amounts of damage. Be warned that Draigo can be targetted by this ability, but he will not gain any additional AP. He is locked to 3AP per turn.
The Paladin is a bit slow, but this can be mitigated in several ways, making it a none issue. The Paladin is the go-to character when it comes to Stunning enemies, and Mortarion can be stunned. Heck, he needs to be stunned if you want to land Critical Hits reliably. A Paladin with a big hammer can really put pressure on Mortarion.
Apothecaries are handy for their ability to heal, but more importantly, their access to Biomancy. Warp Speed can be used to make your Paladin move faster, whilst Iron Arm will increase his Stun per hit by 2. This is a huge boost, and since the Apothecary will gain any biomancy he passes out 50 percent of the time, he can also do work in melee.
The Purgator and Interceptor share similar roles. The Purgator brings range, Astral Aim, and numerous Psycannons that can ignore, or break, armor. Mortarion can move fast, but the Purgator is more than capable of keeping pace and unleashing a wave of firepower.
The Interceptor is just quick. Mortarion cannot outrun an Interceptor, so you can constantly apply pressure, damage armor, and wrack up Stun. A fantastic class.
Rearguard Squad Composition
There is only one squad that you should consider taking in this role:
- Justicar
- Chaplain
- Apothecary
- Paladin
This composition will win any engagement and protect the portal flawlessly 100 percent of the time.
The Justicar is here for Honor The Chapter, with a dash of Hammerhand and maybe even Crushing Charge. Honor The Chapter will be used on the Paladin to grant that juicy +3AP.
The Chaplain is here to use Litany Of Hate to grant bonus AP on Executions. This is the core of the build, and you will not need any other ability. A level one Chaplain can fill this role perfectly. Of course, you’d prefer a Chaplain who has maxed Litany Of Hate.
The Apothecary is here for two reasons - Biomancy and Melee. You want to buff your Paladin with both Warp Speed and Iron Arm. This will increase his Movement Speed and buff his Stun damage. You want your Biomancies to trigger on your Apothecary too, as this can give you a second source of high-stun. It’s RNG-based, however, so don’t rely on it.
Finally, the Paladin. A level one Paladin is all you need to win these fights - we should know, we used one. As long as your Paladin has upgraded his Force Strike to deal +1 Stun, you are good to go. From here, equip Terminator Armor that increases Movement Speed above all else, and a Daemon Hammer that increases your Stun. There are hammers than add +3 Stun (when upgraded) when using Force Strike. This is ideal.
Battle Strategy
Vanguard
When the battle starts, your first targets should be the Plague Marines and Blightlord Terminators that litter the arena. There aren’t many of them, but you don’t want them messing with your plans. Kill them all turn one and then direct any damage remaining onto Mortarion. Start moving Draigo to the Root behind Mortarion’s throne.
Turn Two is where things get going. Have your squad unleash everything into Mortarion. Remember to buff your Paladin so he can land devastating Stun attacks, and get Mortarion to stagger. Have your other melee character land the Critical Hit and repeat. Mortarion will eventually take enough damage (30-40HP lost) to allow Draigo to sever the Root. Do just that, and you will be forced to defend the Portal with your Rearguard.
Repeat this process five times, and you win.
Do note that Mortarion will summon in help every time a Root is in danger. The enemy that spawns is dependent on the Root itself, and some of these enemies only appear in this fight.
|
Bloom |
Spawn |
|---|---|
|
Poxus |
Chaos Spawn |
|
Necrosis |
Foetid Bloat Drone |
|
Mortus |
Plague Ridden |
|
Dolorus |
Hellbrute |
As a general rule, you want to kill these enemies before you start killing Mortarion. Thankfully, none of these enemies are particularly hard to take out and you can easily destroy them before they get a chance to act.
Rearguard
The Rearguard is much less of a hassle but more time-consuming. Every time you are forced into this section, buff your Paladin with every buff imaginable. Have him run to the northeast cluster of enemies and start attacking. Every enemy you face, besides Blightlord Champions, can be Stunned in a single hit if you use Force Strike. Attack again and Execute.
This will generate +2-3AP for your Paladin, and +1WP. Use this AP restore to go to the next enemy, and repeat. Once you’ve cleared one cluster, go to the northwestern cluster and do it again. You should have enough AP to kill them all and still be able to move between those two spawn points for the next round.
Once your Paladin is done killing their 8-10 enemies to the north, the rest of our Squad should have anywhere between 10 and 12AP each. Send your Justicar to tackle the enemies that spawned to the southwest. You want to ideally try to stun your enemies if possible and then go for the execution to spread more AP.
Your Chaplain and Apothecary will head southeast and take out the enemies here. The best-case scenario is your Apothecary got buffed with Iron Arm when he used it on your Paladin. This will allow him to single-handedly murder every enemy here, and pass out 4-5AP to your entire squad. This AP can be used to ensure your Paladin and Justicar have enough AP to finish their jobs. The Chaplain is there for clean-up if you need it.
You should be able to kill every enemy heading to the portal in one very long turn. It doesn’t matter what enemies spawn - Plague Marines, Blightlords, vehicles - they will all fall under the sheer weight of your AP generation.
The fight with Mortation is a long, drawn-out affair. It is not uncommon for it to take over an hour - so be prepared for that. Once he’s down, you’ve beaten Warhammer 40,000: Chaos Gate - Daemonhunters. Congratulations.

.jpg)
