With Warhammer: Vermintide 2 having a free-to-own period on Steam, many players signed up to try out the cooperative horde-based shooter for the first time. With a roster of fresh characters at level one, it can be daunting to try and bring them up to the current power curve, especially if you want to level them all.
What maps are best to farm depends on their length, difficulty, and guaranteed boss spawns. This list will not only help you figure out which maps to play to farm XP, but also which are good for raking in chests. You'll have plenty of levels and gear in no time.
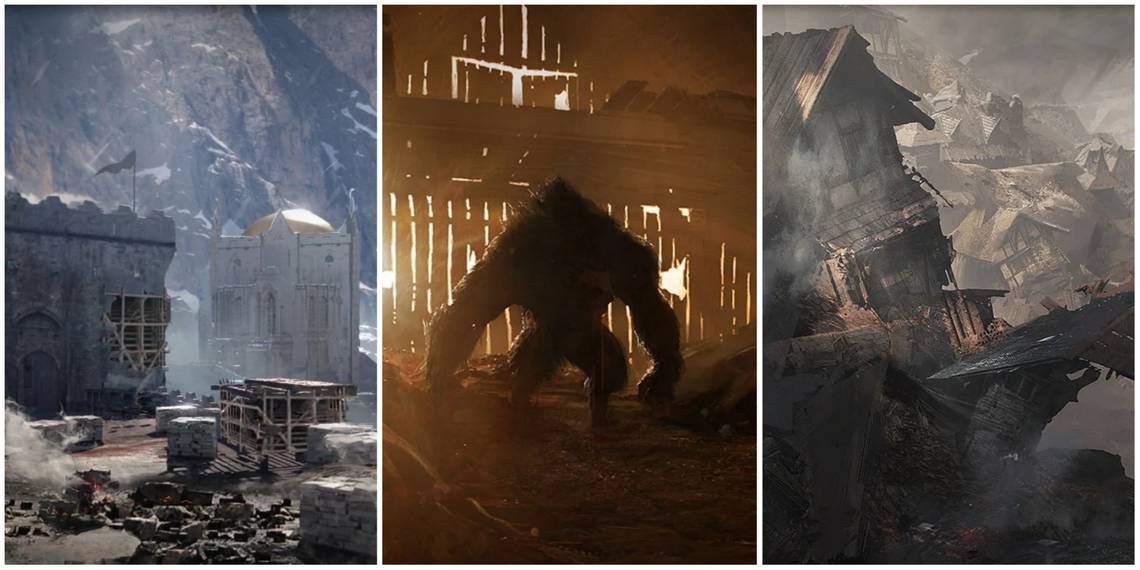
8 Into The Nest

This mission sees the heroes traversing through a Dwarven fortress to make their way into a Skaven nest. There, they'll find Skarrik Spinemanglr, an elite Skaven warrior who they must fight in a boss battle. As the finale to Act Two, it's one of the more tense and thrilling missions in the game.
Into the Nest is a longer map, and Skarrik is one of the more difficult bosses in the game. However, the map having a guaranteed boss alone makes it a decent choice for farming. Skarrik is guaranteed to drop Loot Die, which will improve your XP and chest gain, so it's far from the worst choice.
7 The Skittergate

It may seem odd to farm the last map in the base game, but the Skittergate has a lot going for it. The heroes traverse through a number of locations in order to destroy the Skittergate before it can be used to launch a full-scale invasion. It culminates in a boss fight with Rasknitt and his fearsome Deathrattler.
Skittergate has five guaranteed Loot Die drops, which makes it one of the single best maps for farming high-tier chests and experience. Its sheer length and difficulty can be a bit daunting, but running it enough times will get you more than used to all of the tricks it can throw at you.
6 Against The Grain

The heroes must rescue a number of prisoners that have been captured by the Warriors of Chaos in a small village. Outside of a guaranteed boss fight midway through, Against the Grain lacks many obstacles that will prevent you from speeding through it. The only bad thing is how hard it is for Bardin to see over the grain.
These factors combined make it an excellent farming map. The boss is just a generic one you can find anywhere else in the game, meaning it's relatively easy, and has a guaranteed Loot Die drop. The tomes and grimoires are easy enough to find, so you'll likely have a good experience with this map.
5 Righteous Stand

As the first map in the game, Righteous Stand is naturally suited for being played over and over again. The heroes must make their way to a temple dedicated to Sigmar and ring a bell that triggers a massive horde. Fight through them, and you'll succeed.
Righteous Stand has a few moments that force you to stop, but it's a relatively quick map all things considered. Its tomes and grimoires aren't that hard to get, and while its final stand-like confrontation can be intimidating, it's nothing a tight-knit group can't overcome.
4 Fort Brachensbrucke

This map has you heading towards a fort to use its weaponry to break a siege, fighting your way through Skaven and the Warriors of Chaos all the while. Its finale has you transporting cannonballs to break through a fortress's walls while a massive horde assails you.
Fort Brachensbrucke is one of the quicker maps in the game, even with its finale. A well-coordinated team can transport the cannonballs quickly, but even a less coordinated one can still get through it. Just remember to protect whoever's transporting and you'll come out of it alright.
3 The Screaming Bell

In this mission, the heroes have to navigate a fortress to find a bell that is supposedly empowering the Skaven. Once there, you must destroy a number of chains that are holding up the bell, and potentially fight off a Rat Ogre that spawns, though that part is totally optional.
The Screaming Bell is a fantastic map to farm. Not only is it fast, but its finale can be completed incredibly quickly if you know what you're doing. The chains only take one or two melee strikes to destroy and they're not hard to reach. You should also kill the boss, and since it's a guaranteed Rat Ogre spawn, it should be no challenge at all.
2 Halescourge

As its name might imply, this mission will take you through what's left of Helmgart to confront Burblespue Halescourge, a Chaos sorcerer who's threatening to unleash a plague upon the city. This is the first boss mission in the game, so it makes sense that it's the quickest and the easiest.
Halescourge has a number of things going for it. Halescourge himself is the easiest unique boss, and has guaranteed Loot Die drops like the rest of them. Thanks to this, it's considerably less risky to carry tomes and grimoires than it would be on something like Skittergate.
1 The Chaos Wastes

This is a bit of an odd one, as the Chaos Wastes isn't a single map, but a number of them connected by a roguelike game mode. Either way, it's by far the best method if you want to farm experience quickly. It gives a ton of it for a completed run, in exchange for those runs being relatively lengthy.
More importantly, though, Chaos Wastes doesn't care about your power level. You can go in with bad equipment and buy better weapons as you traverse the maps. It's fantastic for veterans and new players alike, and it's also just a ton of fun. If you want to raise a new character quickly, there's really no better way.