In Wild Hearts, you will use a variety of weapons to fight massive monsters that have fused with their natural environments. These monsters, known as Kemono, have powerful abilities that can devastate the landscape, wreaking havoc on the lives of the people of Minato.
To hunt these creatures and return the land of Azuma to balance, you'll need an equally as powerful weapon. The Karakuri Staff is a special weapon that can rapidly change between five different forms, granting unmatched combat variety for taking on a range of foes. Below, we'll take a look at everything you need to know about using this weapon.
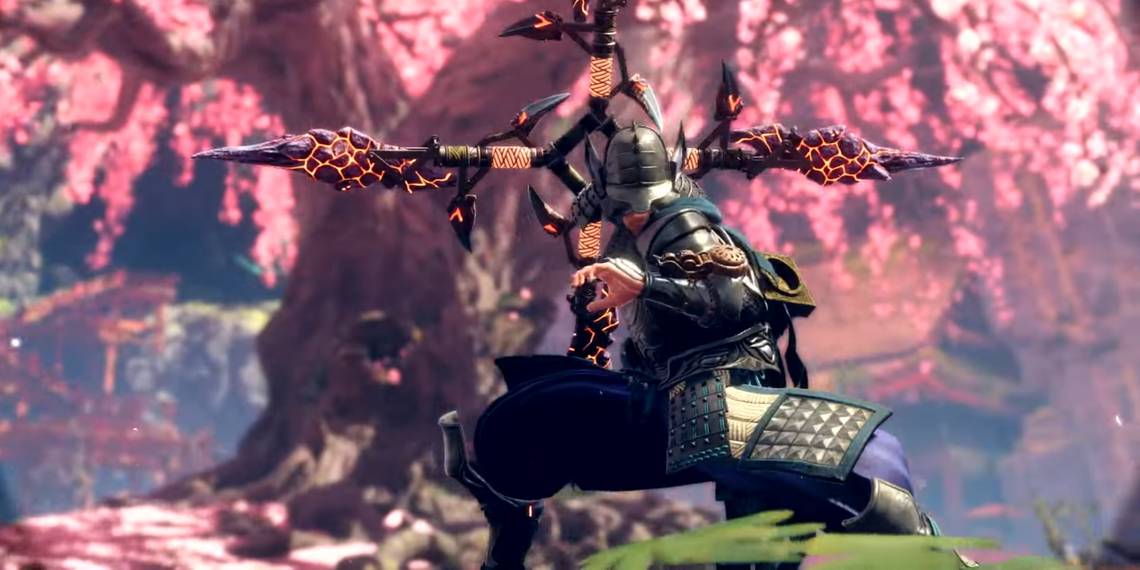
The Karakuri Staff

The Karakuri Staff is a Slash-damage weapon that can rapidly change between five different forms; the Staff, Double Blades, Shuriken, Polearm, and the Juggernaut Blade. You will change between these forms quickly through your combos, building up the mutation gauge by morphing the weapon at just the right moment, which then allows you to unleash your Juggernaut Blade for massive damage.
The Karakuri Staff is one of the most complex weapons in Wild Hearts, and requires a deep understanding of each form's attacks to do well with. Unlike other weapons, the Karakuri Staff is unlocked upon completing the first chapter and defeating the Earthbreaker.
Basic Moves
As mentioned above, there are five different weapon mutations for the Karakuri Staff, each with its own string of attacks. The Juggernaut Blade is a unique case, as this weapon is only used when your mutation gauge is full, and doesn't have normal attacks.
Each mutation has a string of either one, two, or three Light Attacks, and a single Heavy Attack. These are described in detail below.
- Light Attack (Left Click, Square, or X)
- Heavy Attack (Middle Mouse Button, Triangle, or Y)
Using these attacks, you will unleash a chain of attacks, the number depending on the current form your Staff is in. At the end of each chain, the weapon will flash, indicating your mutation gauge will increase by one if you transform the weapon now. The first sequence of attacks is detailed in the table below.
|
Mode |
Attack Button |
Description |
|---|---|---|
|
Staff |
|
|
|
|
|
|
Dual Blades |
|
|
|
|
|
|
Shuriken |
|
|
|
|
|
|
Polearm |
|
|
|
|
At this point, if you continue mutating the weapon at the mutation flash, you will move into the next sequence, detailed below. This sequence can only be performed after the previous one, and these attacks do not have a different Heavy Attack associated with them; only the Light Attacks change.
|
Mode |
Attack Button |
Details |
|---|---|---|
|
Staff |
|
|
|
Shuriken |
|
|
|
Dual Blades |
|
|
|
Polearm |
|
|
|
Shuriken |
|
|
As you successfully perform mutation flash attacks, you will build the mutation gauge, which will increase the power of your next Juggernaut Blade attack. This attack can be performed by pressing F+Middle Mouse Button, RT+Triangle, or RT+Y. The damage and number of slashes with the Juggernaut Blade increase at certain intervals.
- Gauge levels 1-3: Swing the Juggernaut Blade horizontally.
- Gauge levels 4-7: Swing the Juggernaut Blade horizontally, followed by an overhead strike.
- Gauge level 8: Swing the Juggernaut Blade horizontally, overhead, then perform a rolling overhead slash.
Draw Attacks
The Karakuri Staff has three different attacks that you can use while drawing the weapon. These are as follows
- Light Attack while not moving: Draw the weapon normally without attacking.
- Light Attack while running: Draw the Staff and slash twice while running forward, with a mutation flash occurring after the second strike.
- Heavy Attack while not moving: Draw the Polearm and stab forward. A mutation flash occurs after the stab.
- Heavy Attack while running: Draw the Shuriken and perform its normal Heavy Attack, throwing the weapon forward before it returns to you. A mutation flash occurs when you catch the Shuriken.
Karakuri Attacks
Using the various Karakuri devices, you can attack in several different ways. These are detailed below.
|
Karakuri |
Attack |
|---|---|
|
Crate |
|
|
|
|
Spring |
|
|
Torch |
|
|
Glider |
|
Karakuri Staff Tips And Tricks

The Karakuri Staff is a weapon that seems complicated and difficult to use at first, but gets easier as you practice. Below are some tips and tricks to keep in mind as you learn this weapon.
Although the main objective of the Karakuri Staff is to utilize mutation flashes to rapidly change the weapon's form, staying in one weapon without switching can be beneficial. For example, the Dual Blades have much higher mobility and faster attacks than the other forms, allowing you to get a few hits in before dodging away. This is especially useful against Kemono that have shorter attack windows.
Additionally, when fighting Kemono that have little room to attack, it may be better to use the second form of the Juggernaut Blade instead of the third. The second attack animation is much shorter than the third, the mutation gauge requirement can be reached much faster.
Use the Chain Trap Fusion Karakuri when your mutation gauge is full to immobilize the Kemono, allowing you to execute a fully powered Juggernaut Blade attack without the Kemono moving away. You'll unlock the Chain Trap by bringing the Stake and Crate Karakuri to the Deathstalker hunt.
The Juggernaut Blade can be activated more quickly when morphing from certain weapons. This aspect of the Karakuri Staff takes a bit of practice to use well, so try different things and see what works. Additionally, the Karakuri Staff has several different draw attacks that morph into different forms. Use these to your advantage to start attacking in a form that is more beneficial to the situation, like drawing the Shuriken to deal multiple hits of damage against an immobile Kemono.