Quick Links
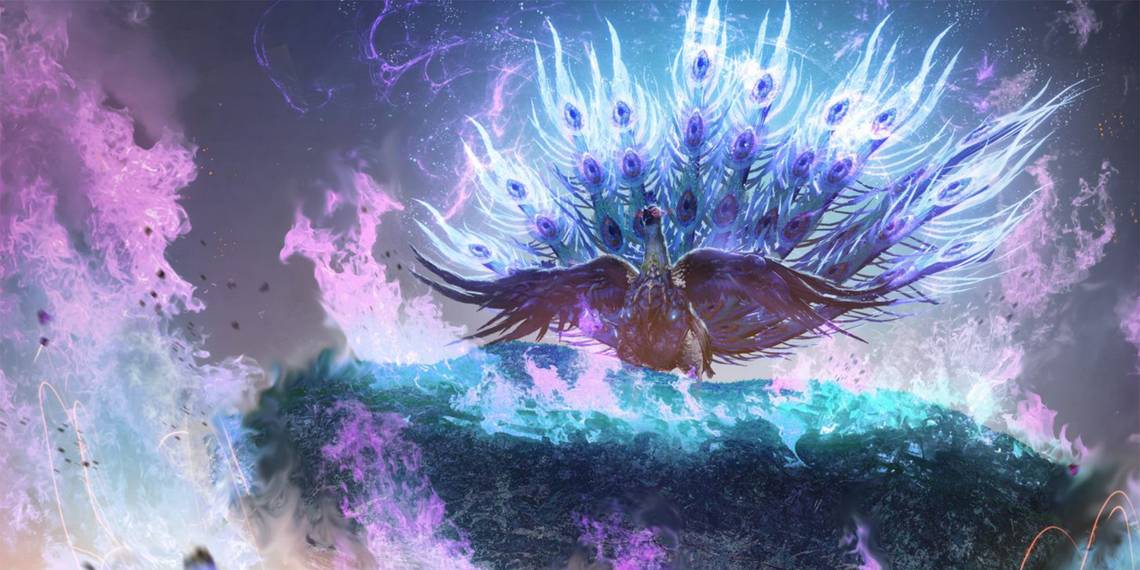
The Emberplume is a peacock-like Kemono in Wild Hearts that uses a barrage of blue fire attacks to overwhelm its opponents. Using flashy movements and dangerous explosions, the Emberplume can be a difficult beast to take down.
To beat the Emberplume, you'll need to use all the tools at your disposal. Preparation is key for this fight, so below, we'll take a look at everything you need to know about fighting the Emberplume, including its strengths and weaknesses, the best equipment to use, a breakdown of its moves, and the materials it drops.
Emberplume - Strengths And Weaknesses

- Attribute - Fire
- Soft Parts - Head
- Attribute Weaknesses - Water, Earth
- Ailment Weaknesses - None
- Attribute Resistances - Wood, Fire
- Ailment Resistances - All
- Physical Effectiveness - Slash, Lunge
The Emberplume is weakest to Water and Earth attribute attacks from Slash and Lunge-type weapons to its head. Conversely, it completely resists Wood and Fire attribute attacks, and all ailments besides Ablaze, which it is completely immune to, only have one-star effectiveness.
Although the Emberplume resists attacks to its tail and hind legs more than its head, these locations are the safest to attack, as its deadly fireball attacks can't reach here as often. Throughout the fight, you'll need to learn when to go for its head and when to back off and attack from behind.
Best Equipment To Fight Emberplume

The Emberplume almost entirely deals damage through Fire attribute attacks, so be sure to equip armor that has high Fire resistance, like the Fuma Clan or Wayward Brigand sets, crafted from Mighty Lavaback and Mighty Cobalt Lavaback and Mighty Icetusk materials, respectively. The Fuma Clan armor set has more useful armor skills overall, like Blaze Recovery, Hunter's Hunger, and War Ready, making it a better choice than the Wayward Brigand set, although a combination of the two will work as well.
The Karakuri you bring to this fight must be chosen carefully. There are a few Fusion Karakuri that are almost essential to use, which are the Repeater Crossbow and Elemental Lantern. Because of this, we recommend bringing at least the Crate, Stake, and Glider Karakuri to create these Fusions.
The Elemental Lantern Fusion Karakuri is especially good against the Emberplume thanks to its attribute damage-reducing aura. Because of the Emberplume's large area attacks, activating the Lantern is easy enough, and it will provide good defense against almost all of the Kemono's attacks.
The Repeater Crossbow will help knock the Emberplume out of the sky, which is especially useful due to the Kemono's tendency to fly into the air to reposition or avoid damage. Use the Crossbow to knock it down and gain an opportunity to attack.
During this fight, if you have the Celestial Anchor and Crate Karakuri, you can awaken to the Celestial Shield Fusion Karakuri. This device will create a shield wall affixed with celestial thread that you can walk through to gain a shield. This shield blocks the next instance of damage, and can be reacquired by walking through the Celestial Shield wall again. This Karakuri is great for this fight, and can help avoid some of the Emberplume's high-damage attacks.
Emberplume - Fight Breakdown And Moves

The Emberplume mainly attacks with its fiery projectiles, only resorting to physical attacks when you get too close. At long range, you are at a massive disadvantage, as the Emberplume's projectiles move fast and hit hard. Stick close to the Kemono throughout the fight for the best results.
One of the Emberplume's main attacks is its volley of blue fireballs. These will lock on to you, flying through the air until they hit you. Slide-dodging is effective for dodging a few of these, but sometimes getting hit is inevitable. Luckily, each individual fireball doesn't do the most damage, so taking a hit or two isn't deadly.
Another of the Emberplume's projectile attacks is its purple fire rings. Similar to the blue fireballs, these will lock on to you, traveling slowly through the air until they reach your position, where they will explode, dealing high damage. The Emberplume shoots three of these in a row, so be prepared to avoid each one. Run away from the rings to avoid their explosions, but keep in mind that running too far away from the Kemono will make you vulnerable to its other projectile attacks.
When the Emberplume puffs out a cloud of fire and then spreads its wings, you will be targeted by a series of three fire explosions that appear beneath your feet. Dodge at just the right moment to avoid these, then move close to the Kemono to attack, as it leaves a lengthy window of recovery after this attack.
These explosions are incorporated into a variety of other attacks, like a spread attack to the front of the Emberplume that creates several rows of explosions. Dodging through the explosion will keep you safe while letting you reposition to attack.
If you remain too close to the Kemono for too long, it will perform a tail swipe, spinning in a circle and dealing damage. There is a short wind-up before this attack, so get ready to dodge through its tail and keep attacking.
The Emberplume may also fly into the air before charging toward you, coating itself in purple flames. This attack does high damage and can be hard to see coming, but once you get the timing down, you can roll out of the way. If the Emberplume remains in the air after this attack, set up a Repeater Crossbow to knock it down.

After the Emberplume has taken enough damage, it will enrage. Its tail will glow blue and purple, and its attacks will be powered up. Additionally, when the Emberplume enters the enraged state, it will blast the area with purple explosions, dealing massive damage over a large area. Quickly get away from the Kemono to avoid this attack, then prepare for a few changes and additions to its moves.
While enraged, the Emberplume has access to a laser breath attack that deals high damage in a concentrated area. It may use this attack in a horizontal sweep or a vertical column. In either case, try to get behind the Kemono to avoid it. Running far away can also work, but again, this will put you at a disadvantage against its other ranged attacks.
The Emberplume will shoot more blue fireballs with each volley while enraged, making it even more difficult to avoid them all. Try running diagonal to the Kemono to avoid the first few, then dodge slide to avoid the rest.
If the Emberplume flies into the air with a spin, it is about to create numerous fire explosions on the ground at random locations, indicated by a small circular blue/green fire. Get out of the markers for these explosions, but stay close to the Kemono during and after the attack, as it has a lengthy recovery window in which you can deal some damage.
Emberplume - Drops And Materials

The Emberplume will drop the following materials upon defeating it. These can be used to craft the Garuda armor set, as well as weapon upgrades for a variety of attribute types.
- Emberplume Fire Crown
- Emberplume Fire Claw
- Emberplume Tail Feather
- Emberplume Wing Feather
- Emberplume Fire Skin
- Emberplume Display Feather
- Emberplume Fire Beak
- Emberplume Eye Feather
- Garuda Teardrops
- Garuda Kemono Blood
- Giant Summer Storm Crystal