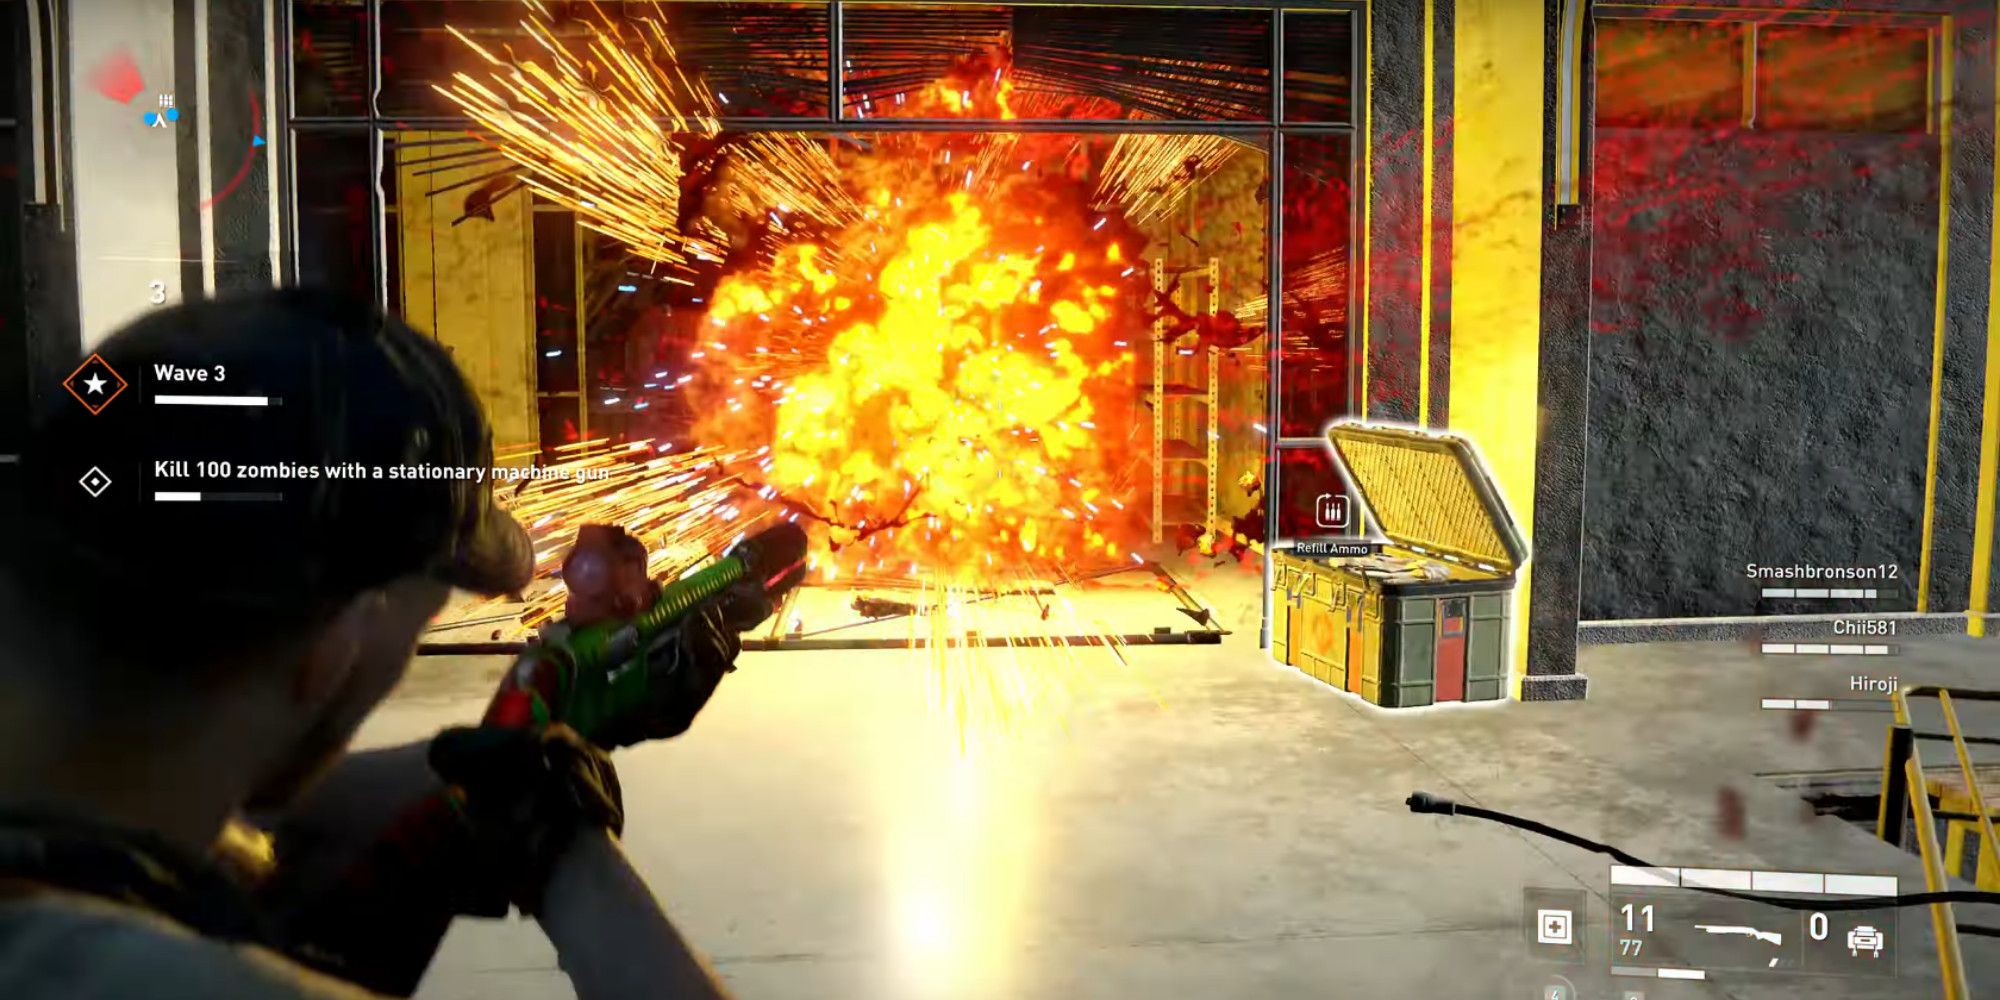
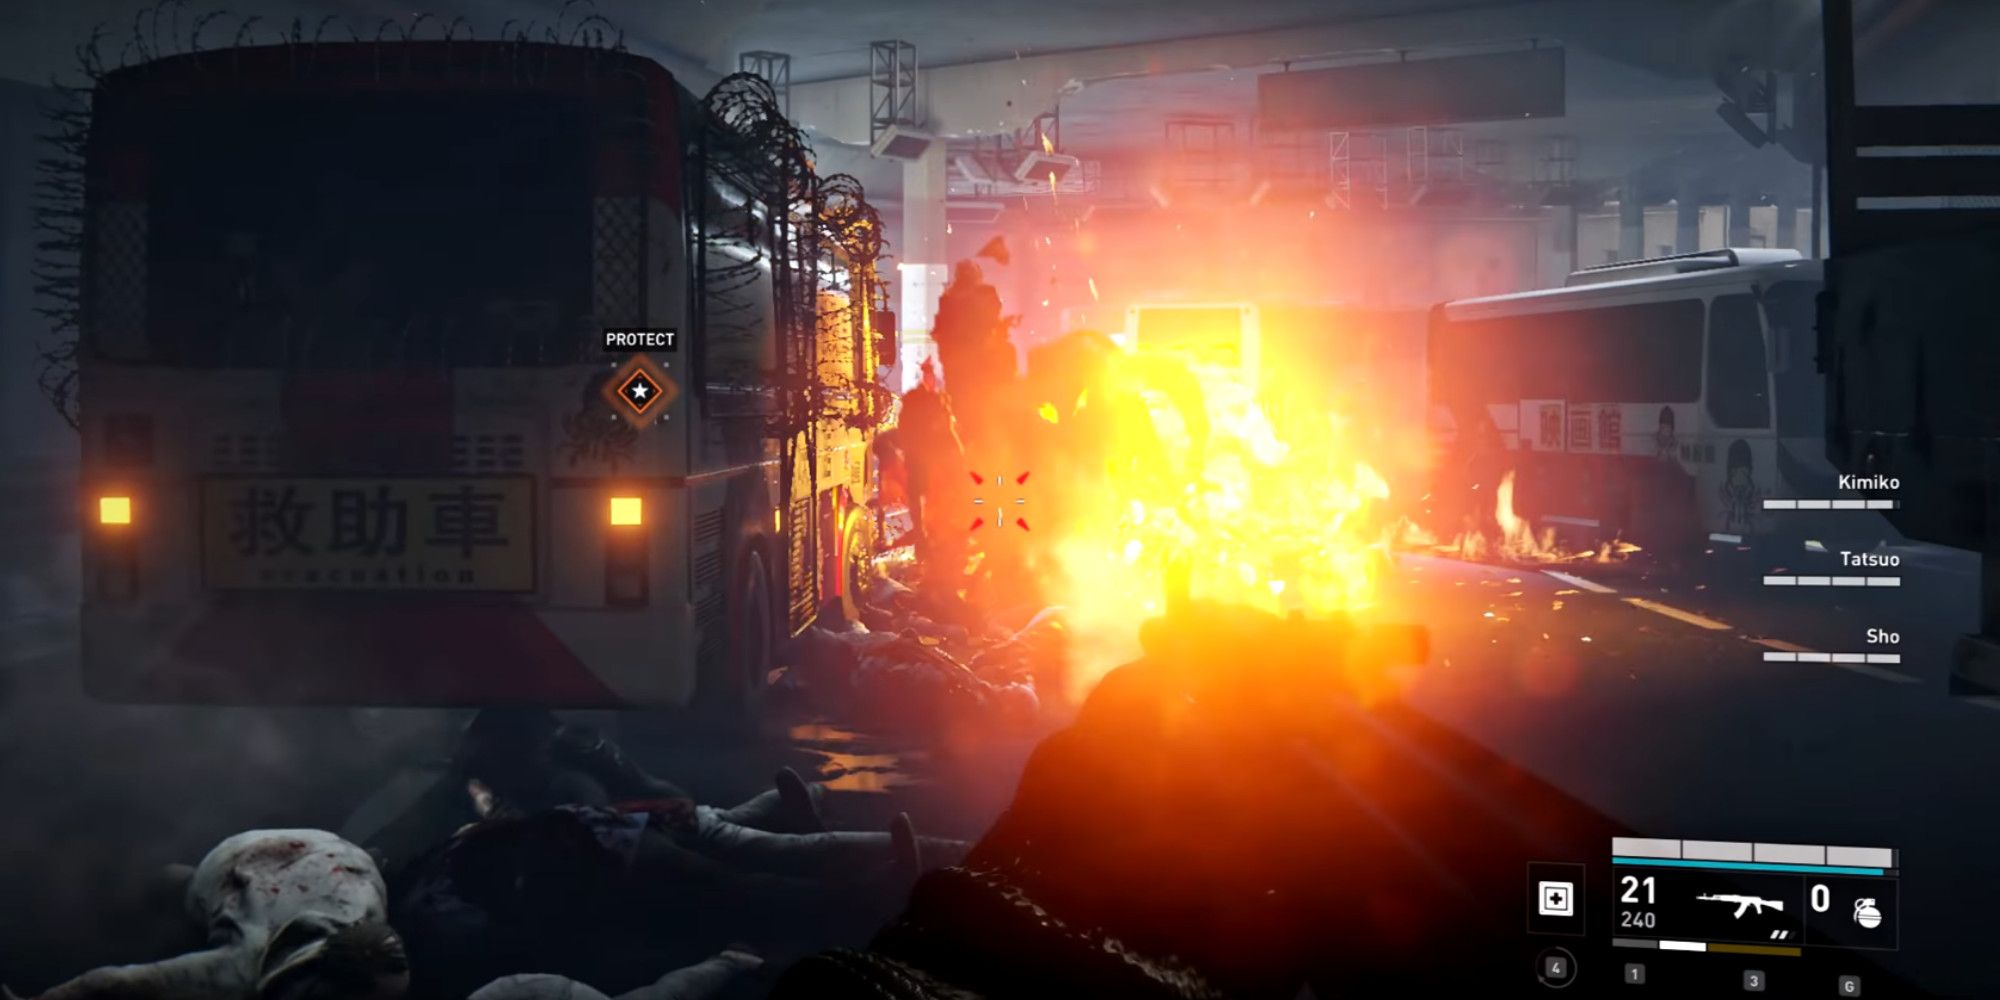
Fighting your way through a zombie apocalypse is going to take more than skill and determination — even the best players wouldn't be at the top without the right equipment. From weapons to support items, zombie swarms are defeated through smart traps and powerful explosions.
It's not always the most devastating damage that wins the game. A deadly attack needs a smart setup before it works. Many players head straight into the frontlines without proper gear and quickly get punished, reminding even masters to stay well equipped when dealing with massive undead tanks. Luckily, veteran players have returned and given up the best equipment in the game, making Word War Z a much smoother ride.
7 Autoturret - The Mechanical Sidekick
The autoturret adds a stationary teammate that will automatically fire when enemies enter its radius, covering a certain area or direction without giving up a player. The best thing about autoturrets is the infinite ammo that comes with them, only needing someone to refill it depending on how many enemies it has to take care of.
It will even blink a yellow light to signal that it needs a refill instead of just dying out, making sure you don't get circled while having a functioning turret by your side. Often, the team gets separated or you have to venture off alone with no backup. The autoturret will ensure you're not left defenseless while trying to complete a task or left short of firepower.
6 Barbed Wire - Preventative Measures
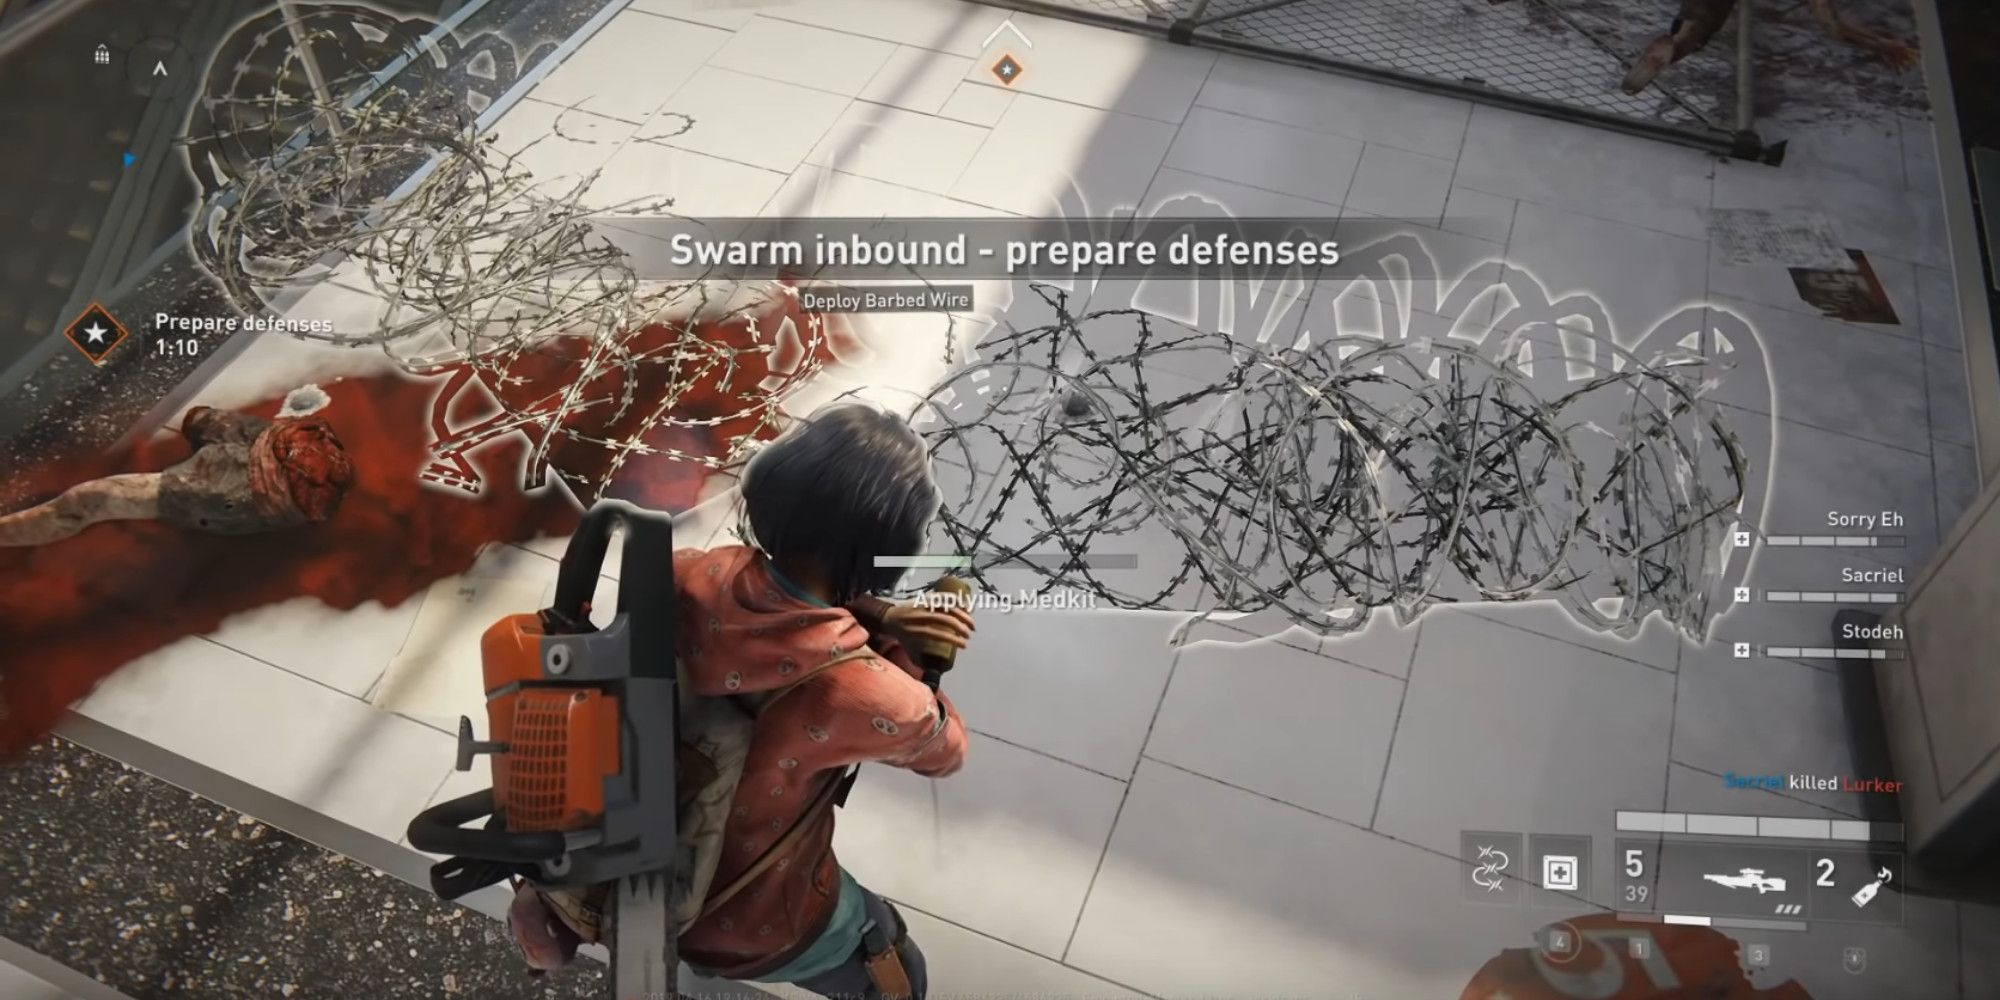
The perfect tool for large hordes of Zekes, barbed wire will slow down the crowd by trapping the front lines and forcing zombies to crawl over their dead comrades. Placement is a big factor in how effective barbed wire can be. Small entrances or narrow paths prove to be most effective, herding them into a tricky obstacle.
The more zombies that get tangled, the less durable the wire becomes, encouraging you to place multiple for swarms. Don't expect them to take care of everything — Bulls will simply plow straight through and turn your barrier into a hurdle. But, taking care of excess enemies allows you to focus on the most powerful, giving you time to execute a plan instead of fighting off instinct.
5 Medkit - A Hail Mary Play
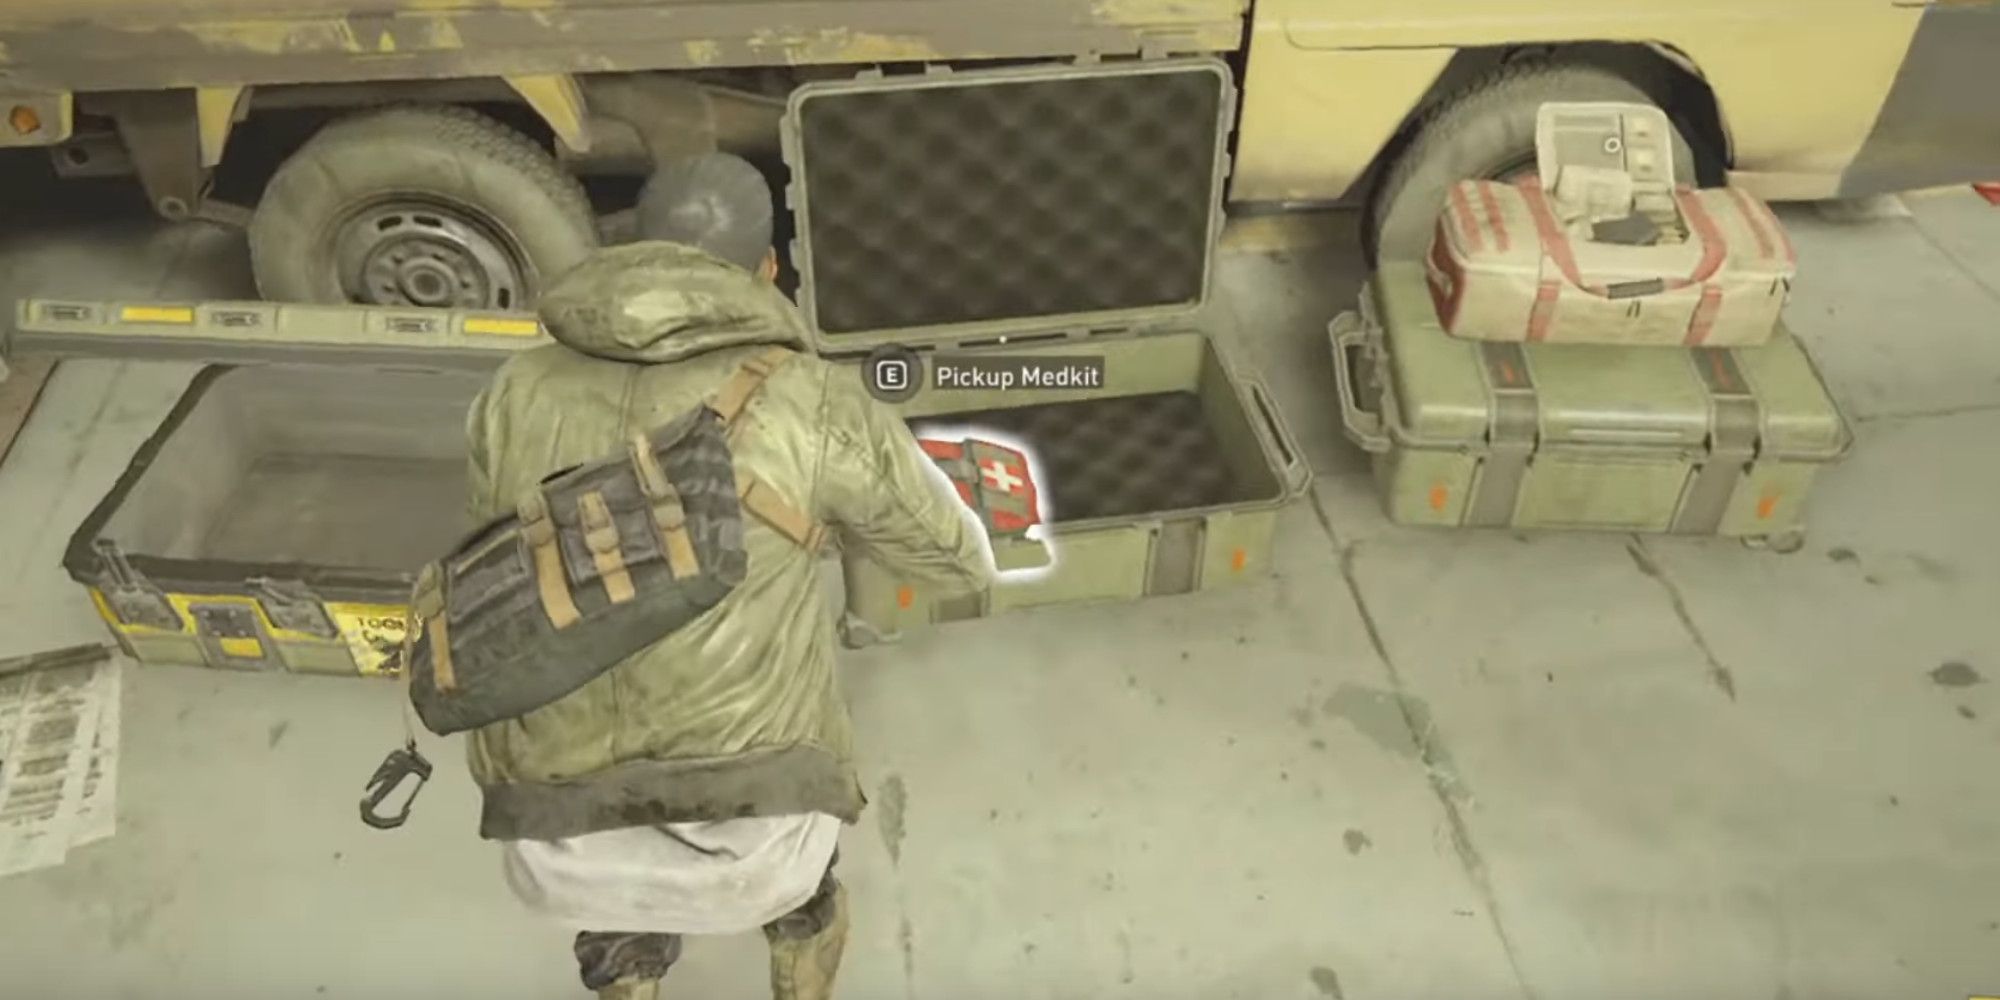
Medkits are crucial to any successful team, as they're the primary source of healing in any situation. The amount of health it gives you is dependent upon how injured you are, the class you choose, and the difficulty you play on. Medics are obviously the smartest choice to hold and dispense the item, given their perks, but keeping one on you is always smart.
The only thing to watch out for is the use time, as they take four seconds to apply and leave you helpless in the process. Finding a safe spot and some downtime to apply is the easiest way, but things rarely work out that way. Certain perks reduce the time and Medics stretch the Medkits' use, benefitting the team and sparing the limited resources.
4 Supply Bag - Exploding Rounds
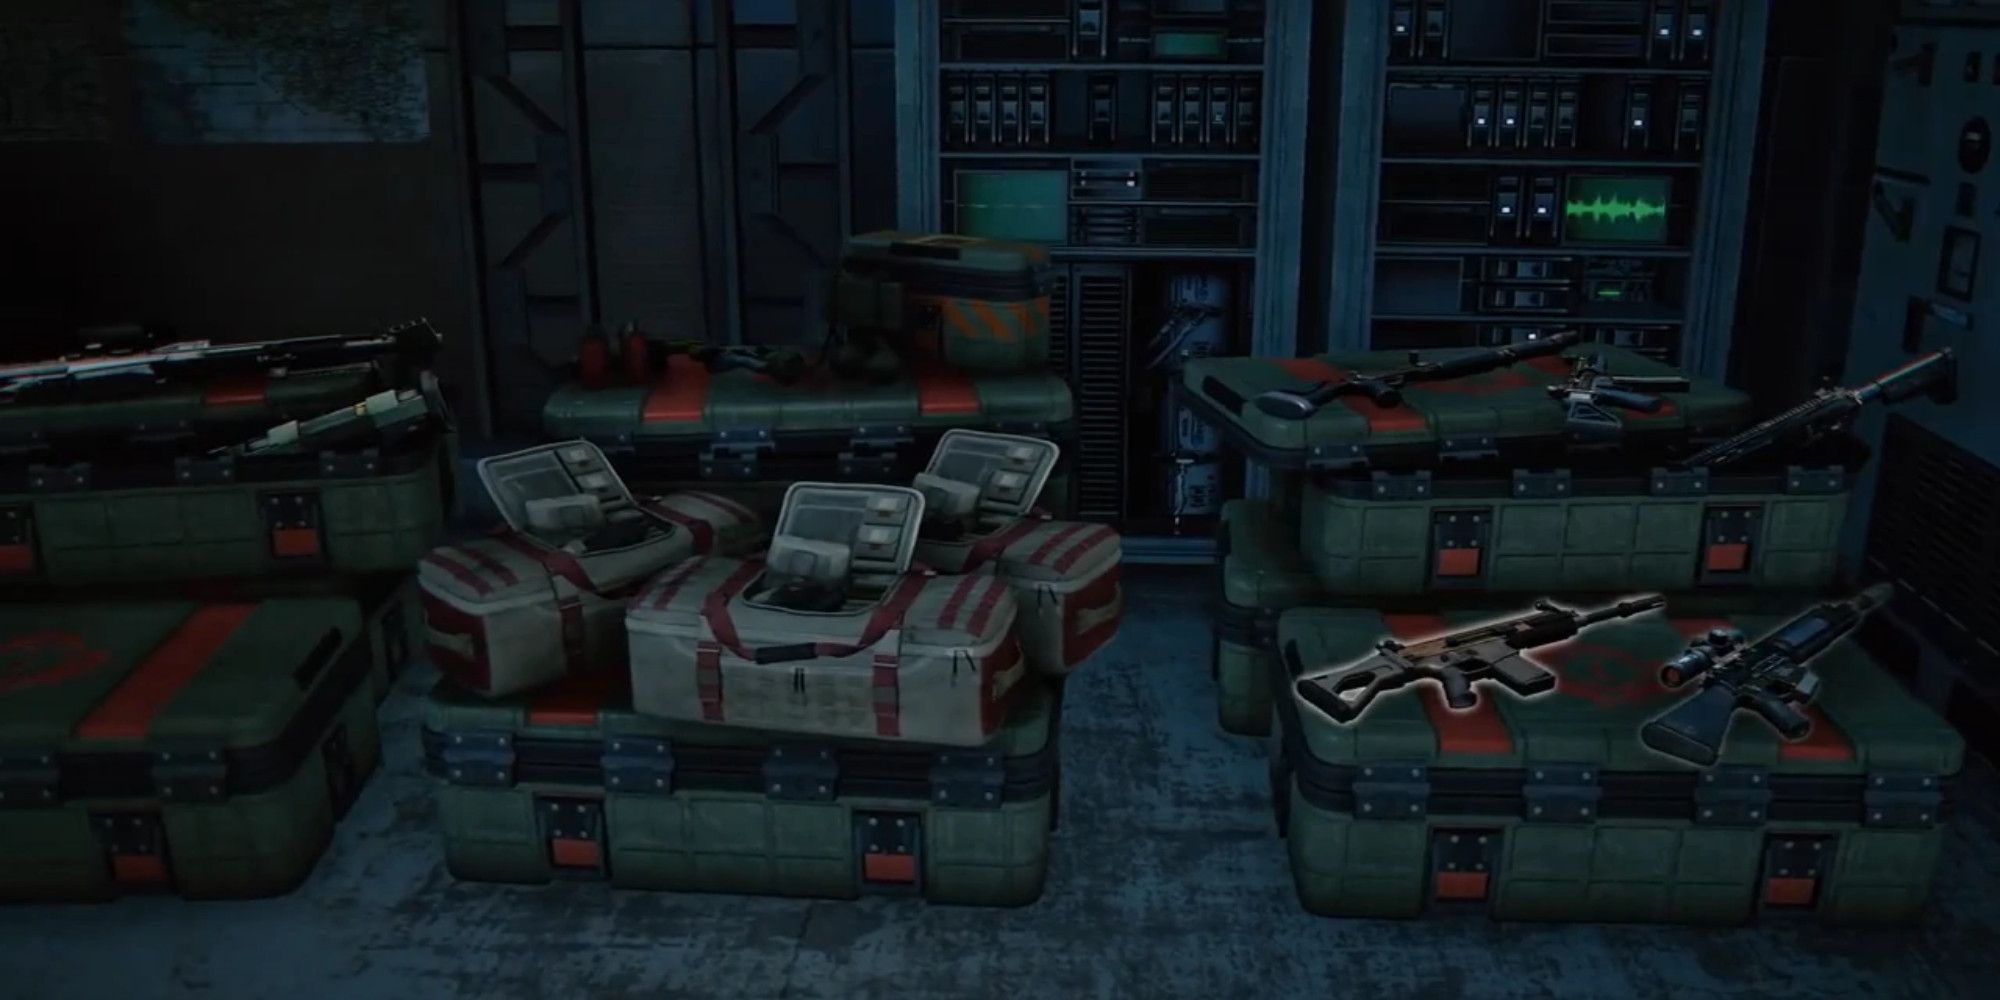
Supply bags belong to the exclusive group of equipment the whole team can interact with, giving out explosive ammunition for everyone's primary weapons. Instead of spreading out damage amongst zombies, explosive ammunition increases the damage, making it a powerful weapon against special zombies.
The only way to lose a supply bag is through the Bombers, because their explosion can take out equipment without you ever using it. You can only place up to ten bags at a time, so separating them a little ensures one Bomber explosion can't take out your entire inventory.
3 C4 - Controlled Destruction
The only controlled explosive in the game, C4 is remote-detonated. Since timing is everything when it comes to zombie swarms, putting it within a ten-meter radius of large groups is the easiest way to lure them to a fiery death. If you have the Hellraiser class, you can take out giant areas in one fell swoop.
The problem with such a big explosion is that it's highly sensitive to anything other than your remote — even a stray bullet will set it off and take out the wrong target or none at all. A wasted explosion will attract the rest and leave you to fight off a horde, highlighting the importance of placement.
2 Claymore Mine - An Explosive Warning
Taking away the remote control and relying on motion sensors, the claymore mine takes advantage of the zombie's basic brain, leading them into a trap. Setting it down where it won't be accidentally tripped by a stray zombie is key. Wasting all that explosion on one enemy will attract more and throw away resources.
The claymore mine can also be used as an alarm, although a dramatic one, alerting you to incoming enemies while you have your back turned. Friendly fire is a common occurrence, especially if you're using it as an alarm, so make sure you're the only player moving through this area or you'll have a lot of irritated teammates to contend with.
1 Frag Grenade - Old Reliable
A standard item in any shooter, frag grenades always succeed in adding value. Frags will kill zombies upon impact and make for a versatile weapon, effective in long- and short-range combat situations. You'll even get a trajectory path when you're about to throw, taking away the guesswork and making aim that much easier.
Any competent team should avoid friendly fire because of the red indicator that pops up as soon as a Frag is thrown, giving you enough time to get out the way as fast as possible. Short-range combat gets trickier when you have to worry about yourself in the blast radius. Narrow paths, and walled-off areas to hide behind take away the need for distance.

.jpg)
.jpg)
.jpg)
