Quick Links
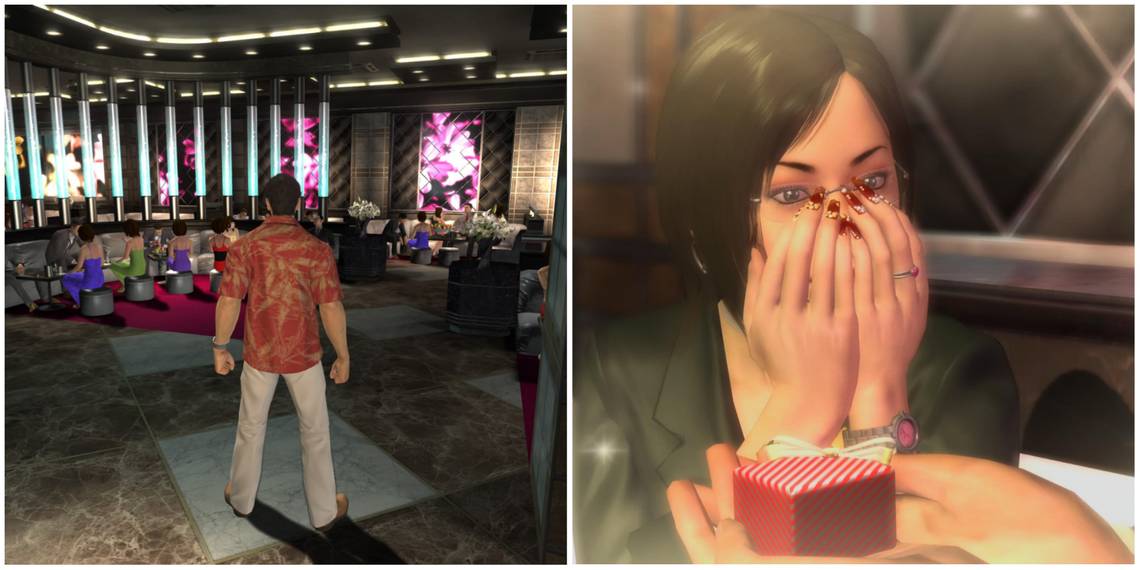
If there’s one thing that can be said about Kiryu, it’s that, regardless of the task, he’ll give it his all. With no shortage of people willing to pass their troubles onto the guy, in Yakuza 3 he ends up running a cabaret club (again). Never mind yet another Tojo Clan mess, or the problems of the children at Morning Glory, there’s a cabaret to run!
The Hostess Club sidequest will have you scouting staff, customising clothes and looks, and training in customer service - all to make as much money as possible and move up the club rankings. Your ultimate goal will be having your hostess at No.1! Let's check how to achieve that in this guide.
How To Start The Cabaret Sidequest

Not long into Chapter 3, you’ll find yourself back in Ryukyu. At this point, substories are now unlocked, including “Straight to the Top!” - the cabaret substory. Head west on the map to South Hatsumachi and the green question mark located there.
You’ll find the “Manager” outside of his club South Island, and he'll regale you with his business problems. In short, his cabaret’s struggling, and his staff has turned against him. Who better to fix that than this guy he just met? Accept his request to hear him out, and then again to run the cabaret. The Manager will give you ¥100,000 for helping out. However, since none of the current staff is cooperating, you’ll need to find some new blood.
Where To Find Hostesses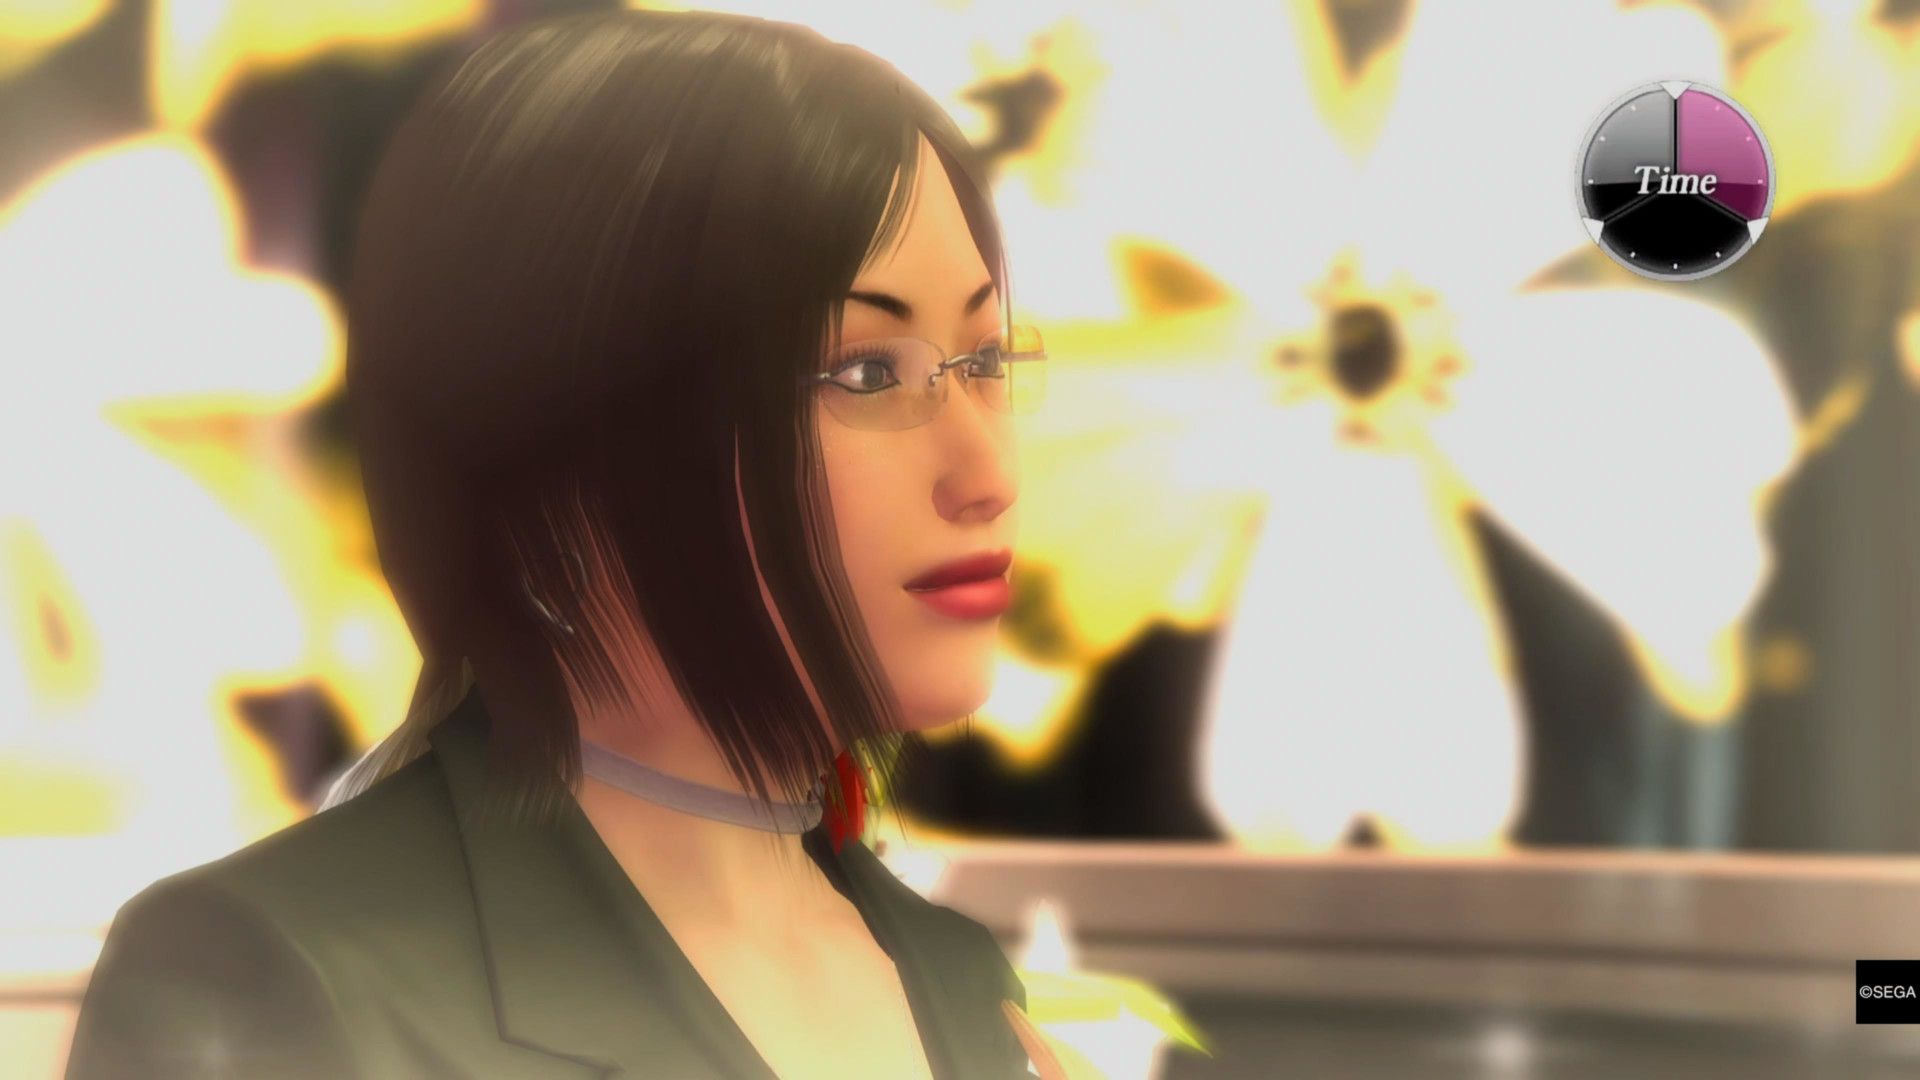
After speaking to the Manager and Koji (another staff member), you’ll be back on the street, ready to recruit a hostess. The club only has room for one, so Koji tells you to think carefully about your decision. You’ve got a few options, but any of them will work, so choose as you wish. After you’ve made them the No.1 hostess at the club, you’ll be able to restart with a different hostess if you like.
The locations, from top to bottom of the map are: inside M Store, North Hatsumachi; inside Aqua Sky Bar, South Hatsumachi; next to a taxi, East Ryukyu Boulevard; inside Smile Burger, East Ryukyu Boulevard; and inside Public Market 2F, North Public Market.
Ask any potential hostess to join, and they’ll follow you to the club and introduce themselves - you can give them a different stage name if you like, but there’s no benefit to it.
Running The Club, Customisation, And Training
Now you get to start customising your chosen hostess’ appearance. Choosing styles and outfits can quickly rack up money that comes out of your earnings each shift, so be sure not to spend too much.
After choosing an initial outfit, you’ll be greeted with the stats screen. Near the top is your hostess’ rank, and her three main attributes: Looks, Smarts, and Charisma - these start at D rank and are improved through training up to S. Below those are her Motivation and Stress bars. Finally, there’s the pie chart - the ‘Cute,’ ‘Refined,’ ‘Flashy,’ and ‘Gorgeous’ stats will change depending on what you outfit your hostess with.
One Shift At A Time

Each club shift is separated into three blocks, with four opportunities to walk the club floor and see what your customers want, and three to customise and train your hostess. Training isn’t unlocked until your second shift, so for now, you can focus on customisation.
When a shift starts, walk around the club a bit. Pay attention to the customer quotes that appear - they indicate what they’re looking for in your hostess. For example, if they say they want a “Gorgeous girl,” you’ll need to customise your hostess to get her gorgeous stat up.
When you're in the back room, it's time to give the people what they want. Unfortunately, you won’t know exactly how your customisation choices will affect the stats until after you’ve paid for them, so you’ll need to experiment. At the least, most items have a name or description that will give you a hint, though some are clearer than others.
For example, the Crosses Earrings’ description: “An impressively gorgeous pair of earrings.” Different customers can want different styles, so you’ll need to try and strike a good balance with your hostess’ appearance and stats. Certain combinations can stretch the pie chart in all directions, giving you a fairly well-rounded hostess. Aim for this.
If you’ve customised your hostess well enough, she’ll have some customer attention in the club. Otherwise, she’ll be sitting alone near the entrance.
Training Ryukyu’s Next Top Hostess

From the second shift onwards, training gets thrown into the mix. You’ll have the option of training your hostess in ‘Looks 101,' ‘Trivia Drills,' or ‘Talking Tips.' These correlate to the Looks, Smarts, and Charisma attributes, respectively. If your hostess’ stress bar is getting high, alternatively you can choose ‘Free Time’ from the training menu. This will decrease stress and may even raise an attribute itself. Additionally, changing your hostess’ appearance can raise her motivation bar.
Any training menu option can fail, even Free Time, but varying which training you pick will increase your chances of success.
You can both train and customise a hostess during any break period, so no need to focus on just one or the other. Customer quotes will also relate to training, so if a customer mentions wanting “Brains over beauty,” for example, train in ‘Trivia Drills’ to try and get her Smarts attribute up.
Later on, you’ll unlock three further training options: Lecture, Relax, and Encourage. Lecture will greatly increase motivation and can raise all attributes, but will also greatly increase stress. Relax will completely lower Stress, but also lower motivation, and Encourage will increase motivation a bit. Again, these won't always be successful. Ultimately, you only get to choose three Training options each shift - so think about which ones will benefit you the most at any one time based on your hostess’ stats and customer wants.
If your hostess’ stress bar is too high, it can decrease their rank - meaning you’ll need to do even more shifts to make up for it. A safe rhythm to follow at first would be Training, Free Time, and Training.
Reaching No.1 Hostess
That’s all the basics of cabaret and hostess management. There’s no reset timer between shifts, so as soon as one ends, you can turn around and head back into the club to start another. Over time you’ll unlock new customisation items that should help you out.
As you get closer and closer to No.1, you may not need to train or customise as much, but some here and there can help with stress and motivation. The final push between No.2 and No.1 can take a while. Be sure your hostess’ three main attributes are at S rank. If you’re consistently getting higher sales, multiple customers around your hostess, and flashy “excellent work” cutscenes on the floor - you’re on the right track.
You’ll reach No.1 at around ¥150,000 current sales for your hostess (shown on the stats screen at the end of every shift). When you hit that goal, the substory’s finished. You’ll receive another ¥100,000 from the Manager, and 5,000 EXP.