The Champion's Ballad DLC pack for The Legend of Zelda: Breath of the Wild was released a few years ago, so players have had plenty of time to explore the new content on offer in this expansion. The story-focused material brought a deeper understanding of the four Champions and introduced challenges centered around their characters.
Today, we examine the questline for Urbosa, the Gerudo Champion. A fearless warrior who could bring lightning down from the sky with a click of her fingers, Urbosa was a formidable ally to Zelda and Link. Here are some tips to help you as you uncover her part of the Ballad.
10 Locating The Shrines

The first challenge of discovering Urbosa's Song is just finding the shrines. Each Song Quest begins by pointing you to a set of three monoliths somewhere in the world, each of which has a bird's eye image of some location in Hyrule that reveals the location for one Shrine.
You'll need to use your knowledge of the game world and the topography of your map to locate the three Shrine locations. It can be useful to remember that since these are Urbosa's challenges, they'll all be in or around the Gerudo Wasteland.
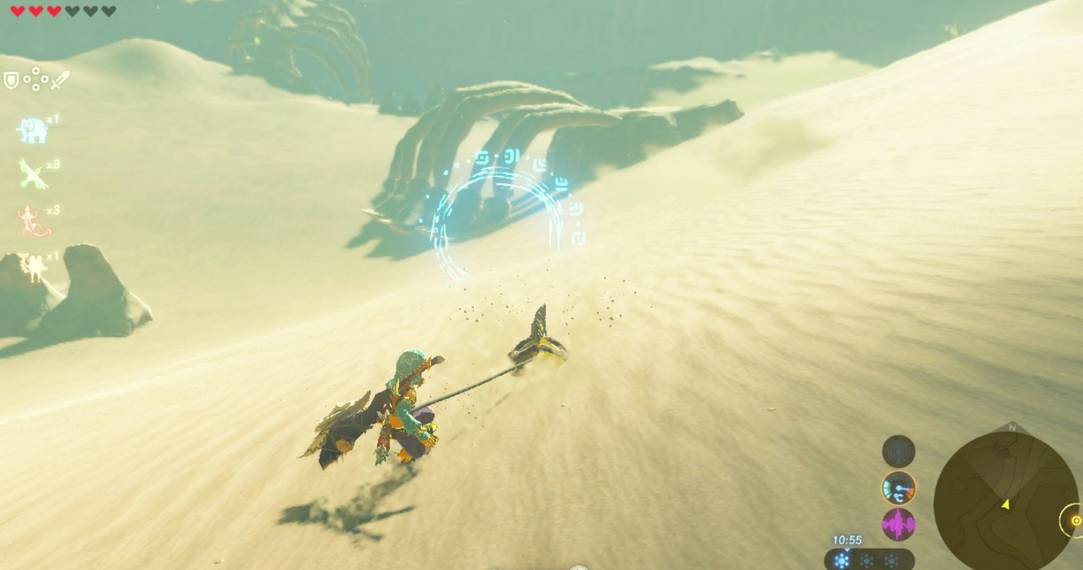
9 Zap The Molduking

When you find the first location, you'll encounter the monstrous Molduking, a fearsome variant of the regular Molduga monster. This beast can be defeated much the same way as the regular versions - simply throw down a bomb, then blast the monster when it tries to eat it in order to stun it, leaving it vulnerable.
The Molduking does have more health than a regular Molduga, so the fight can take a while. It can be shortened by using Thunder based weapons and arrows, which the Molduking is vulnerable to, making the encounter significantly easier.
8 Keive Tala Shrine

Defeating the Molduking reveals Keive Tala Shrine, and it contains a puzzle, Big or Small. This Shrine is all about completing a circuit, much like other Shrines in the Gerudo Wasteland. Use your Magnesis Rune to manipulate the metal objects into the correct positions.
Make sure you find all the metal objects, as all will be needed to finish the puzzle. Also remember that you have Runes besides Magnesis, such as Cryonis, which can be used to make temporary platforms. Once the circuit is finished, the gates will open and allow you to proceed onward.
7 Sand Seal Ring Race

The second monolith marker directs you to a series of glowing rings out in the desert. If you just approach them on foot, it'll be impossible to complete their race in time. The trick is to bring a sand seal.
These furry beasts will give you the extra burst of speed you need to quickly race from one ring to the next. Keep in mind that Link needs to make it through each of the checkpoints himself, which can be a bit of a challenge with the drifty sand seal controls.
6 Takama Shiri Shrine

Takama Shiri Shrine presents you with the Dual Purpose challenge, which asks you to use metal blocks as both platforms and conductors (though not at the same time). The first few chambers are relatively simple, but the challenge ramps up quickly.
Prioritize getting to safe ground before completing the circuits needed to open the path forward. Remember that Link can jump now, which lends itself to leaping over gaps between platforms. The final puzzle will require some precision Magnesis, so be careful as you adjust the blocks' positions.
5 Return To The Yiga Clan Hideout

The final challenge directs you back to the Yiga Clan Hideout, a somewhat infamous area from the base game. This time, however, the back door is already open and your objective isn't too far away, making things significantly easier.
Stealth is still the way to go here, although if you do get spotted, it's not the end of the world as there are fewer enemies around this time. It's not impossible to just take them all on, and as the old Assassin's Creed adage goes: no one will notice you if there's no one left standing.
4 Kihiro Moh Shrine

Kihiro Moh Shrine is quite possibly the easiest shrine in the game, if you don't count the Blessing Shrines that just give you their rewards. The puzzle, Inside the Box, asks you to manipulate a massive box full of colored orbs and count how many of each color there are.
That's it. Once you count the orbs and mark the numbers, the gates open and you get your prize. The only way this shrine could be easier is if it were just a cutscene you watched like a movie on your way to claim the prize at the end.
3 Illusory Realm

Once you've completed all the Shrines, you can return to Divine Beast Vah Naboris to enter the Illusory Realm, where you'll have to face Thunderblight Ganon a second time. The only real difference is that now, your armor and equipment is chosen for you - and it's very much subpar to what you likely have in the regular game.
Aside from that, the fight plays out pretty much the same. Dodge Ganon's attacks and try not to get hit as you'll take more damage than normal, but the same strategies used for the first fight will still work here.
2 Shield Breaker

One small thing to note about this fight that sometimes gets overlooked is that you can break Thunderblight Ganon's shield, leaving him open to attacks even when he isn't stunned. This can be a lifesaver if you're having trouble getting the timing perfect on his superspeed strikes and can't seem to activate a flurry rush.
He will get his shield back after a while, but not immediately. You'll have ample opportunity to get some damage in while he's vulnerable, which matters much more in this fight than it does in the regular version.
1 Use Urbosa's Fury

Finally - don't forget that you have Urbosa's Fury! It can slip your mind a bit since it wasn't available during the first encounter with Thunderblight Ganon, but you have access to this devastating attack in this rematch.
A good strategy is to hold off on using Fury until the second phase of the fight. If you can get Thunderblight Ganon down to half health and then activate Urbosa's Fury three times in quick succession, you'll burn down his remaining HP, significantly shortening the duration of the tougher second stage.