The GAULEM Bay is an escape room in Zero Escape: Virtue's Last Reward. If you choose to enter the Green Chromatic Door on Floor B with Alice and Luna, you will enter this strange robot maintenance room. As its name suggests, the GAULEM Bay is used for servicing the GAULEM robots that seem to have some use in the facility.
If you want to uncover the secrets of the GAULEMs, you'll first need to find a way out of this room. Let's take a look at how to solve every puzzle in the GAULEM Bay, how to find the Gold File, and how to escape.
GAULEM Bay Layout
Before we begin to escape, let's first take a look at the layout of the GAULEM Bay.
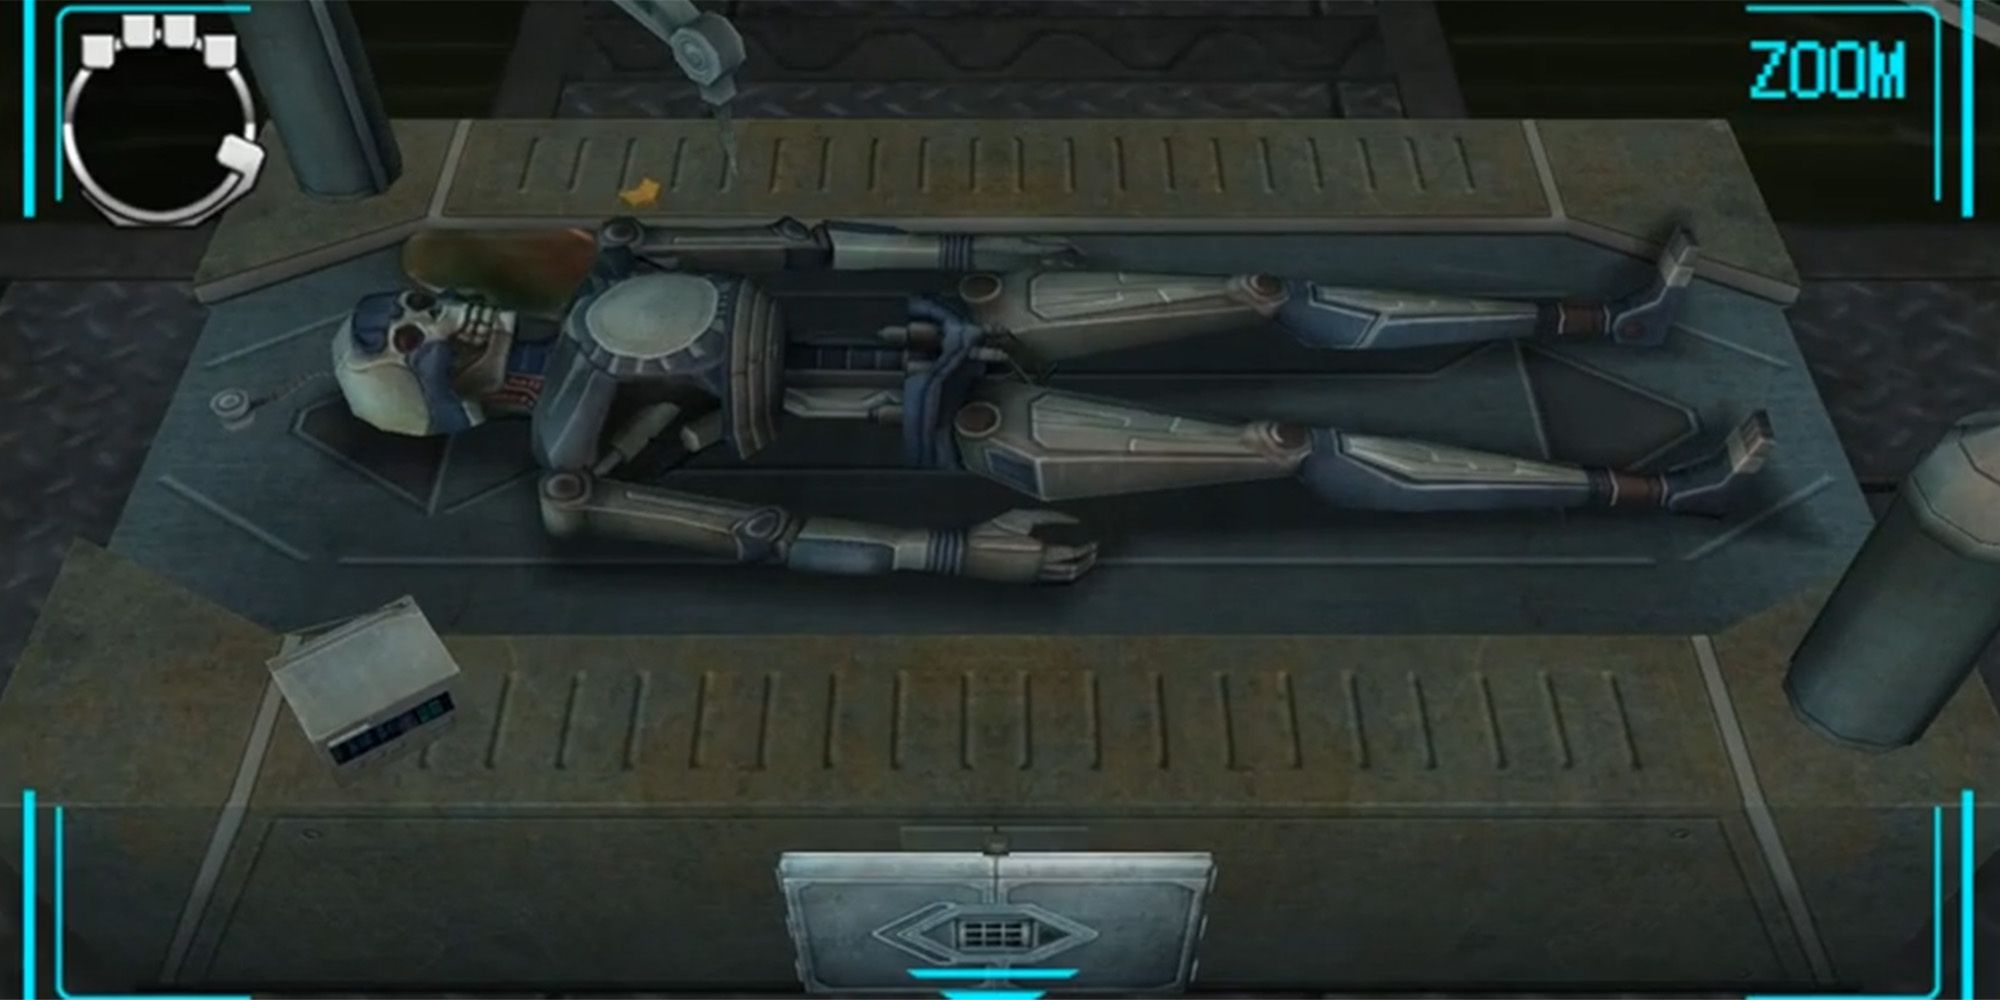
Immediately in front of the entrance door, you can find an operation table with a defunct GAULEM on it. On the other side of the table is the escape safe. To the left of the entrance door, a star-shaped keyhole can be found.
On the left and right walls of the room, you can find low platforms with railings lining the walls.
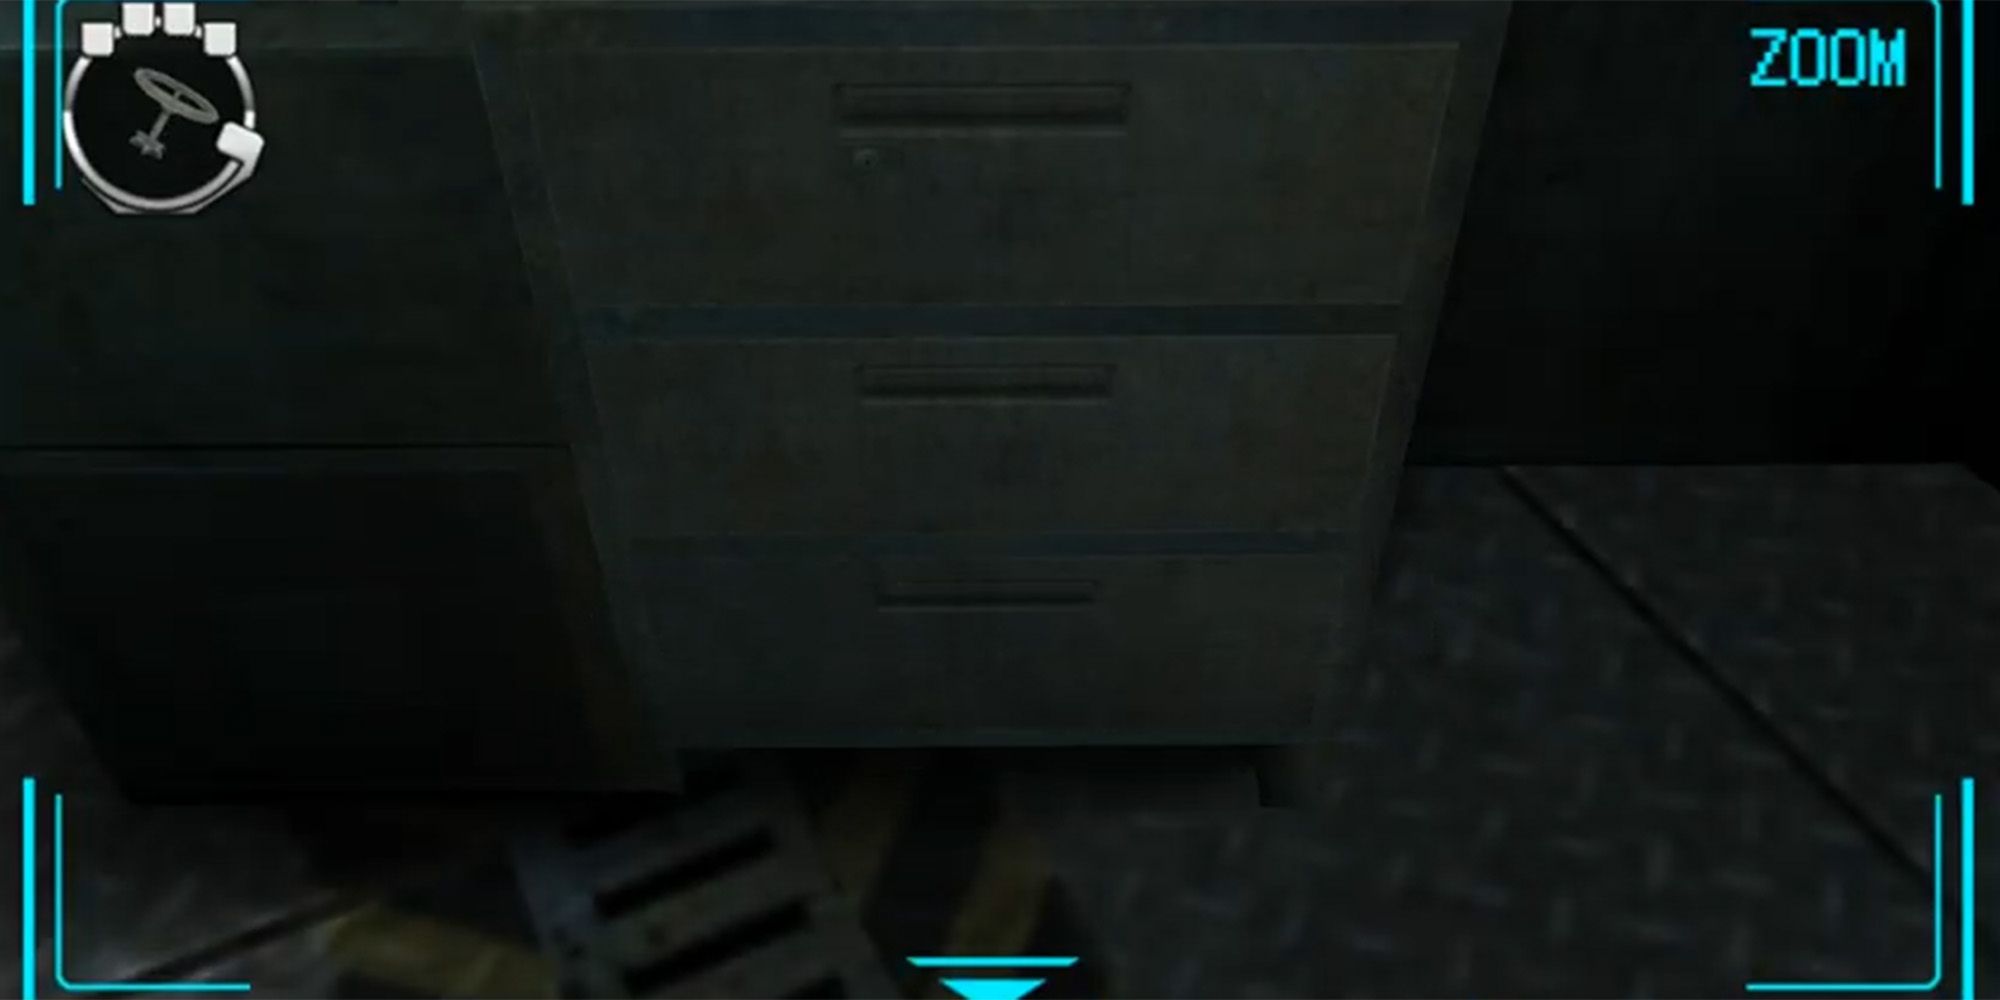
At the back of the room, you can find a control panel, a set of three lockers, and a few shelves with various objects on them.
How To Escape The GAULEM Bay
Now, let's seek a way out of the GAULEM Bay.
Start by picking up the radio and the chevron block from the table with the GAULEM on it.
Move to the shelf at the back of the room and pick up the second chevron block, and the blue battery. Inspect the toolbox to receive the rusty key, then take the poster with an eye on it from the wall nearby, which will be added to your archive.
At the lockers, pick up Harold's nametag from the left locker, the third chevron block from the middle locker, and the frequency list from the binder in the right locker. Combine all three chevron blocks into the star.
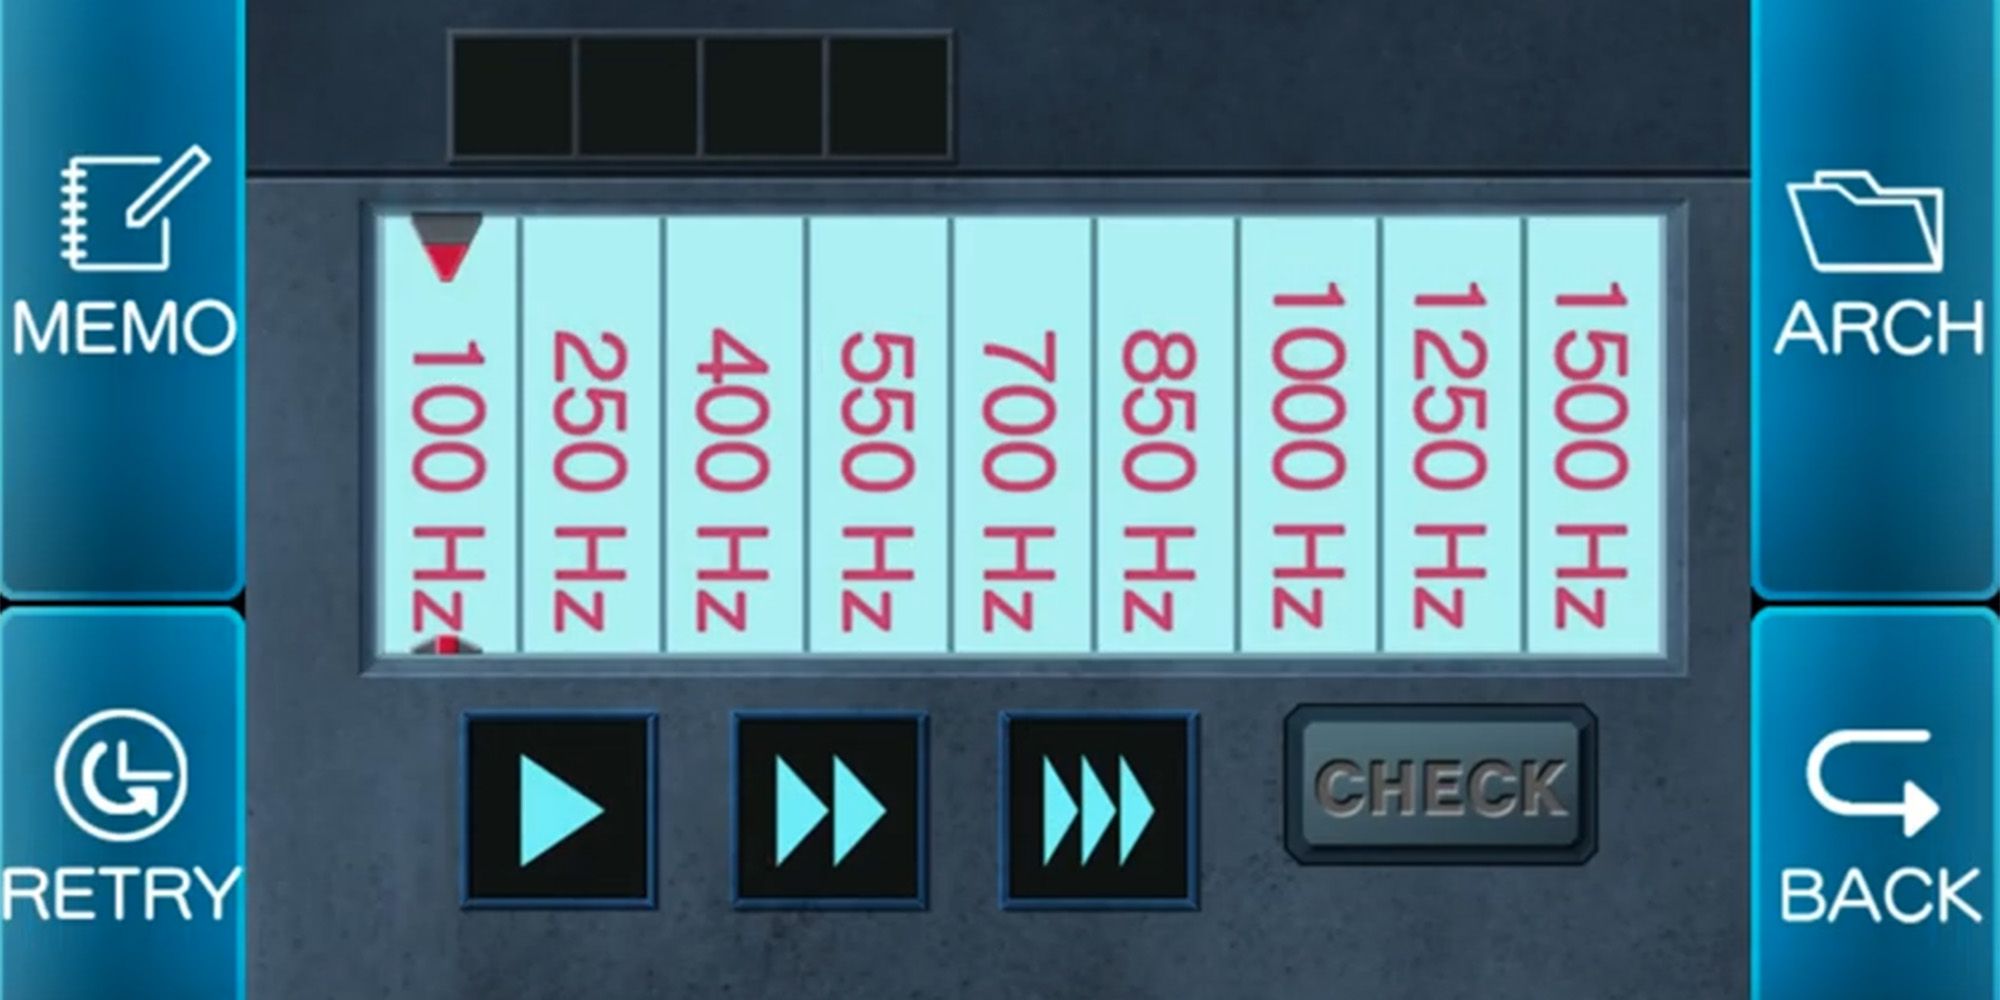
Next, move to the control panel and plug in the radio near the monitor. Now, you will need to tune the radio according to the ID number on the back of Harold's nametag, which reads 11010. If you inspect the frequency list, you can see that Harold's ID corresponds to the frequency 400 Hz, which is what you will try to tune the radio to. To do this, simply press the middle button (the one with two arrows) four times in a row.
After tuning the radio, the monitor will turn on and display a blueprint of the room, which will be added to your archive.
Move back to the table with the GAULEM on it and press the button above the escape safe to turn the GAULEM's eyes red. Then, equip the rusty key and inspect the oil to cover the key in oil. Now you can return to the toolbox where you found the key and use it to open the box. Take the bottle of detergent, screwdriver, and silver key from inside.
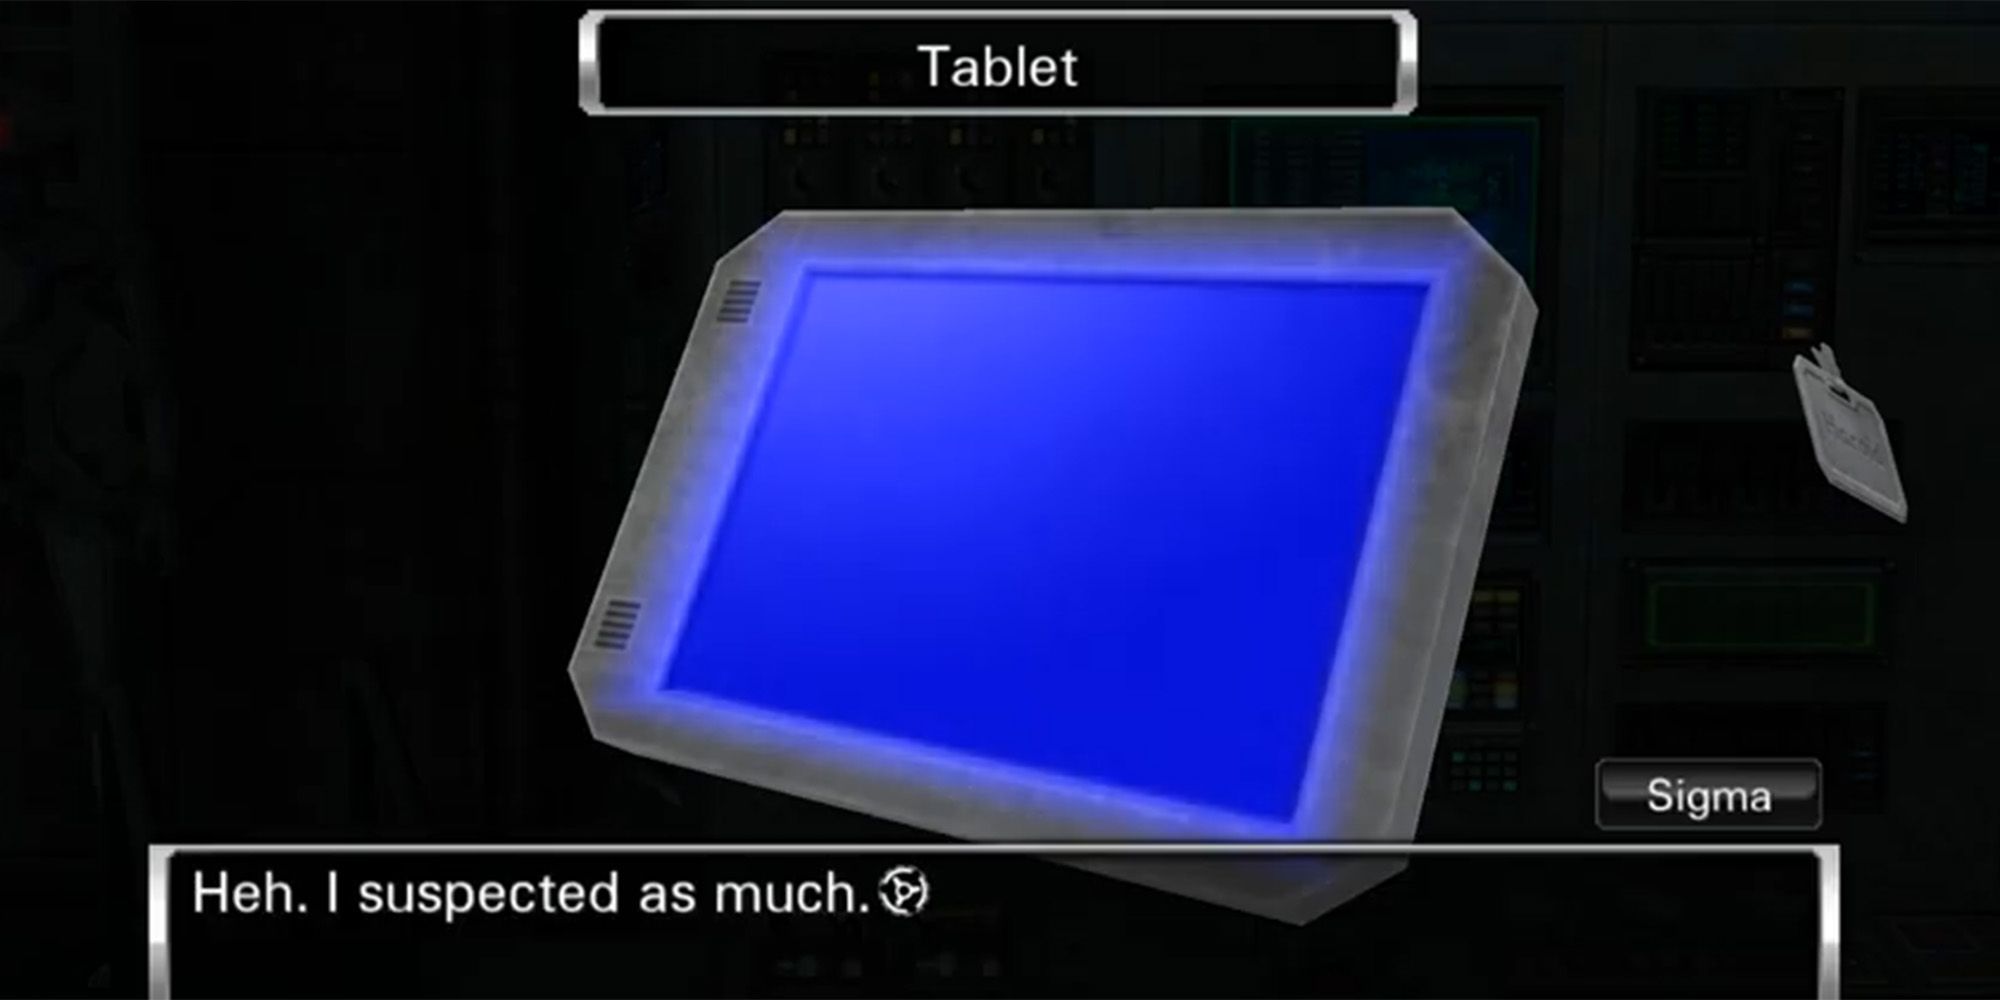
Head back to the control panel and use the silver key on the drawer below the monitor. Place the star into the slot to open the middle drawer, then take the handle from inside. Open the third drawer to get the tablet, then combine it with the screwdriver to remove the back panel. You can place the blue battery in now, but you'll also need the red battery before the tablet will turn on.
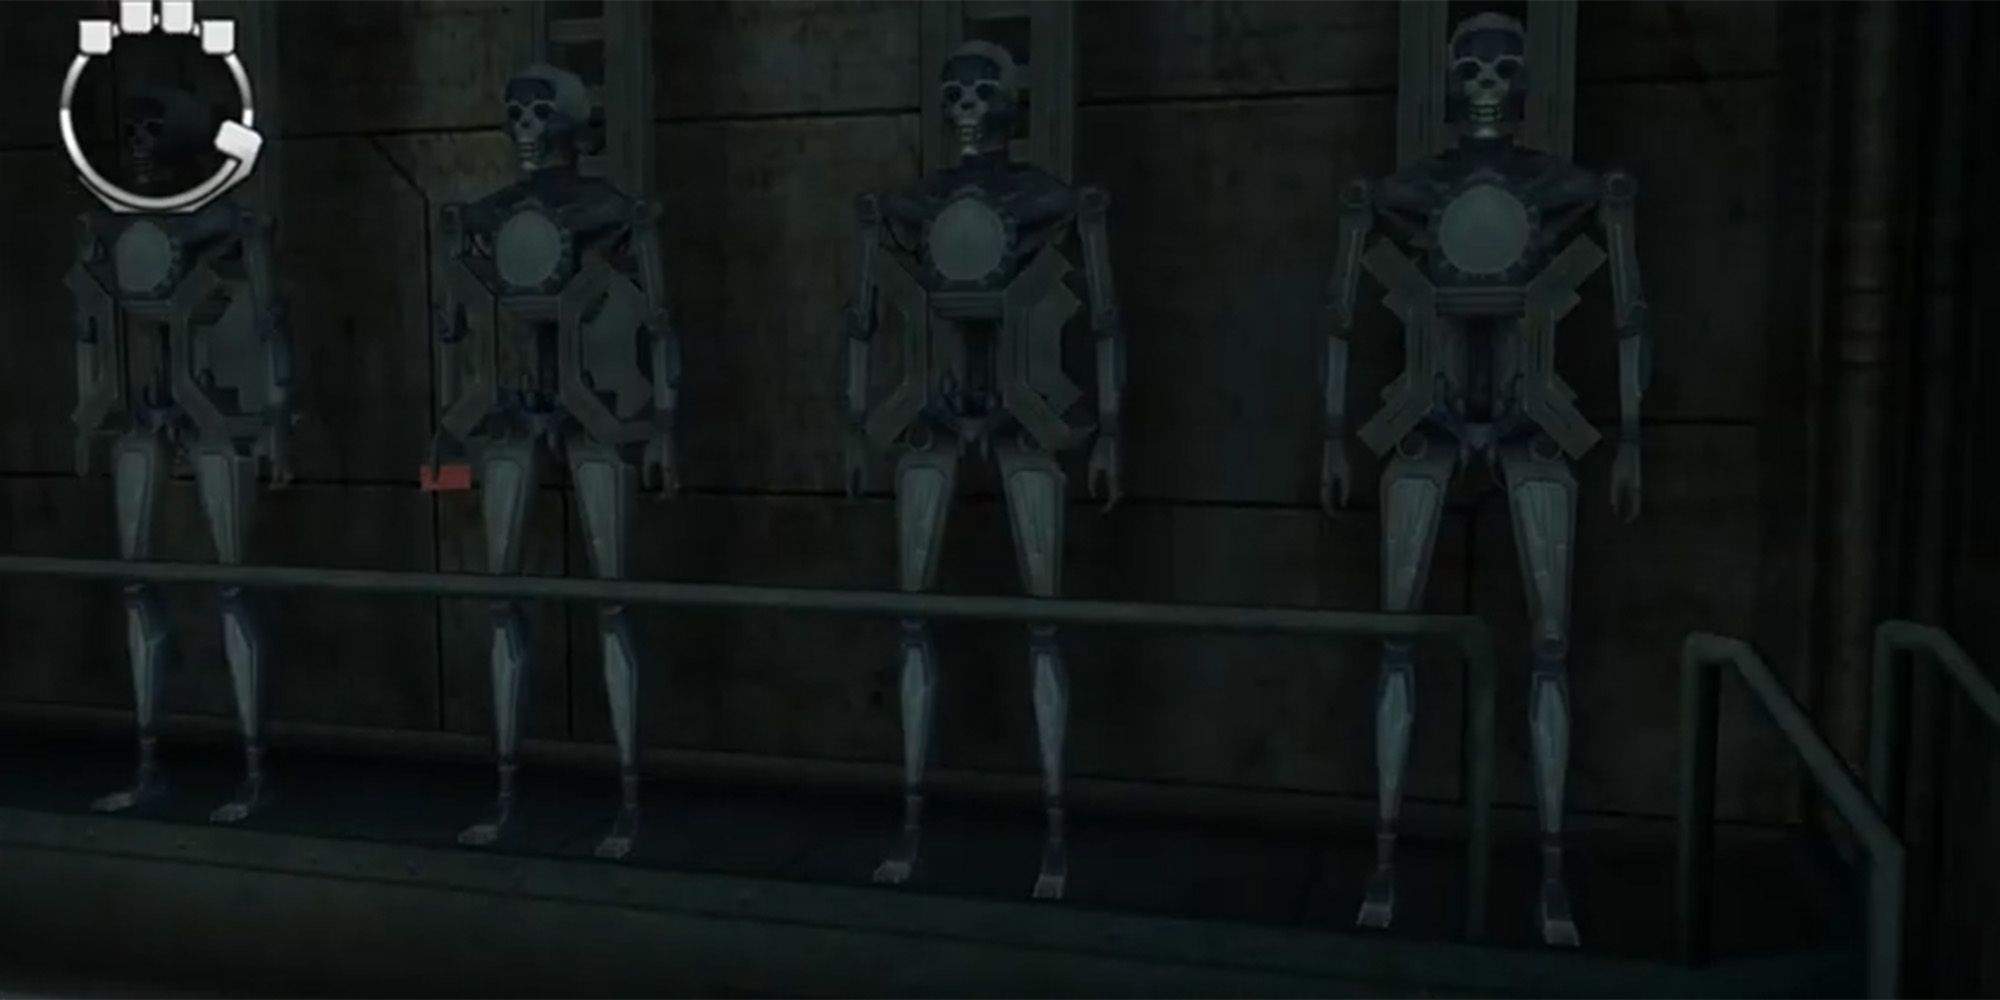
Move to the entrance door and place the handle into the star-shaped keyhole. Turn the handle to drop the GAULEMs down from the ceiling on either side of the room.
Take the red battery from the GAULEM on the right wall, which you can combine with the tablet to turn it on. The tablet will now display a password entry screen, which you won't be able to enter just yet.
Check the GAULEMs on the left side of the room and find the one wearing boxers. Take these off and combine them with the detergent to get the boxers soaked in detergent. You can use this on the oil stain to reveal the clue 120V.
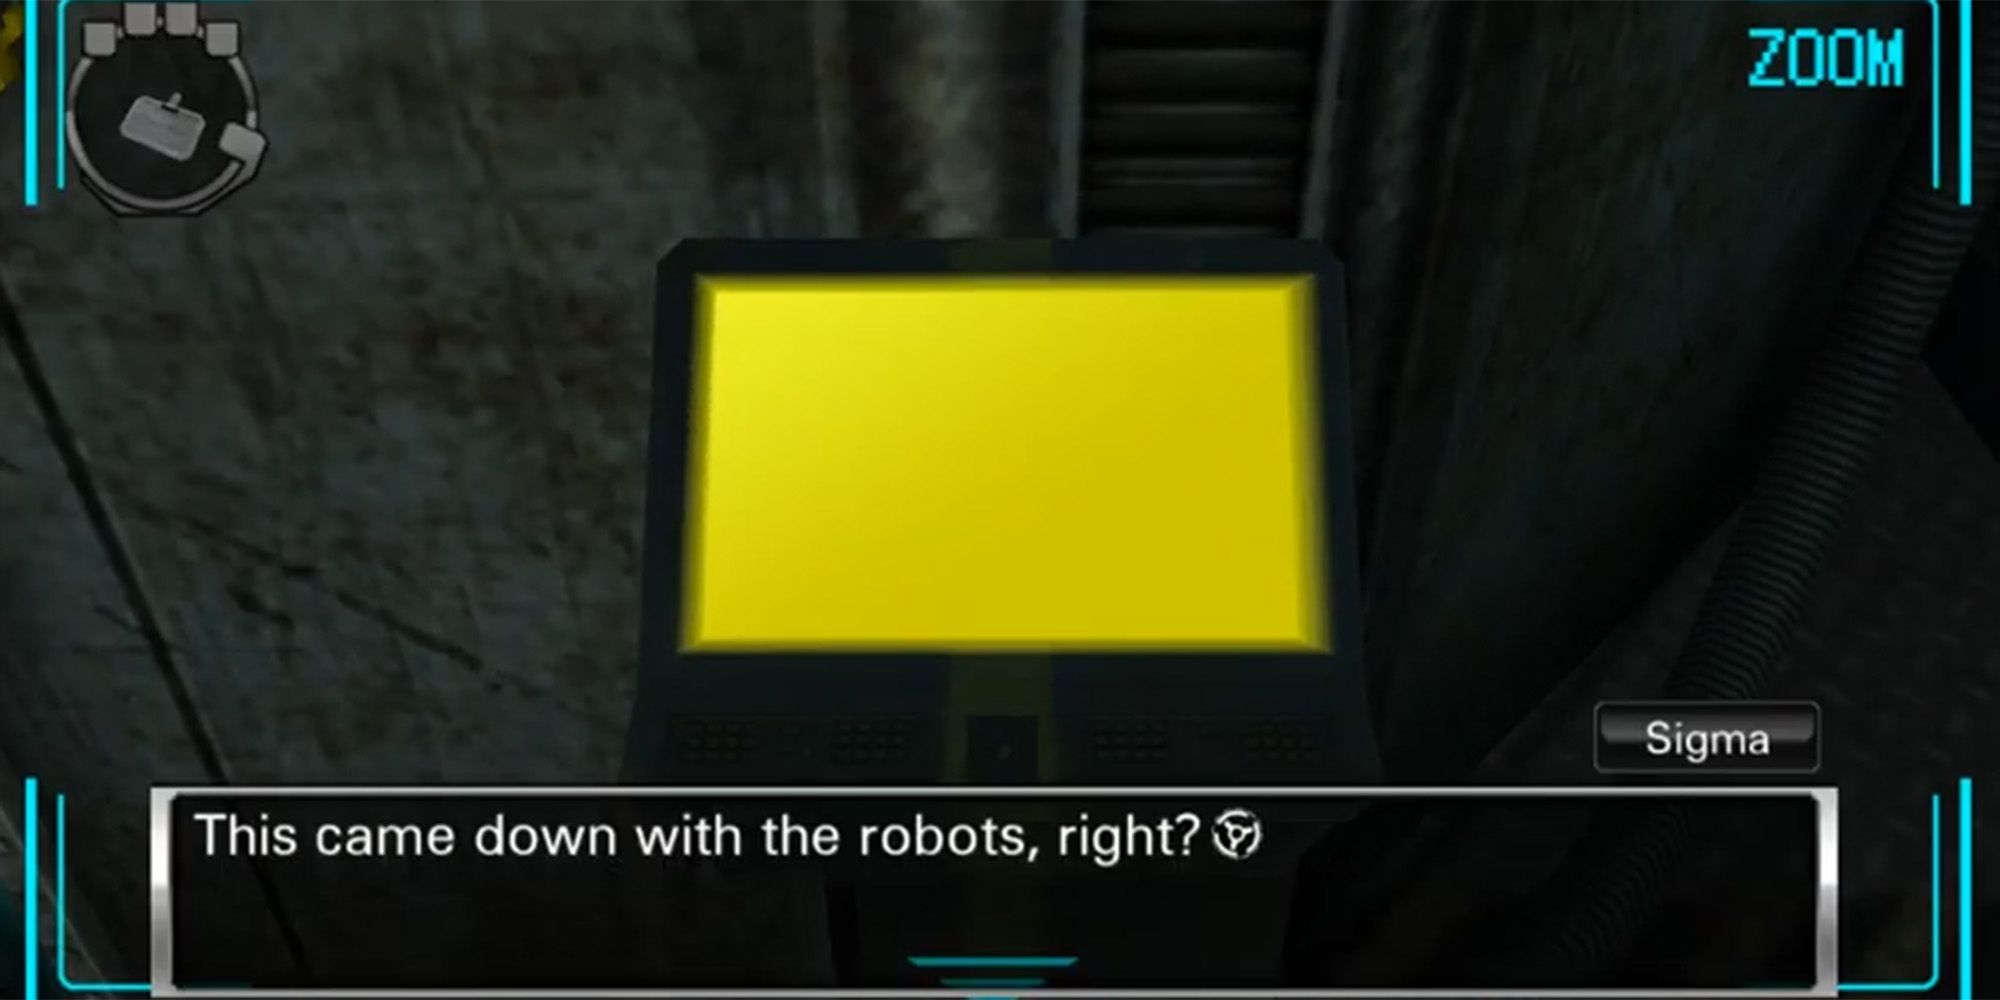
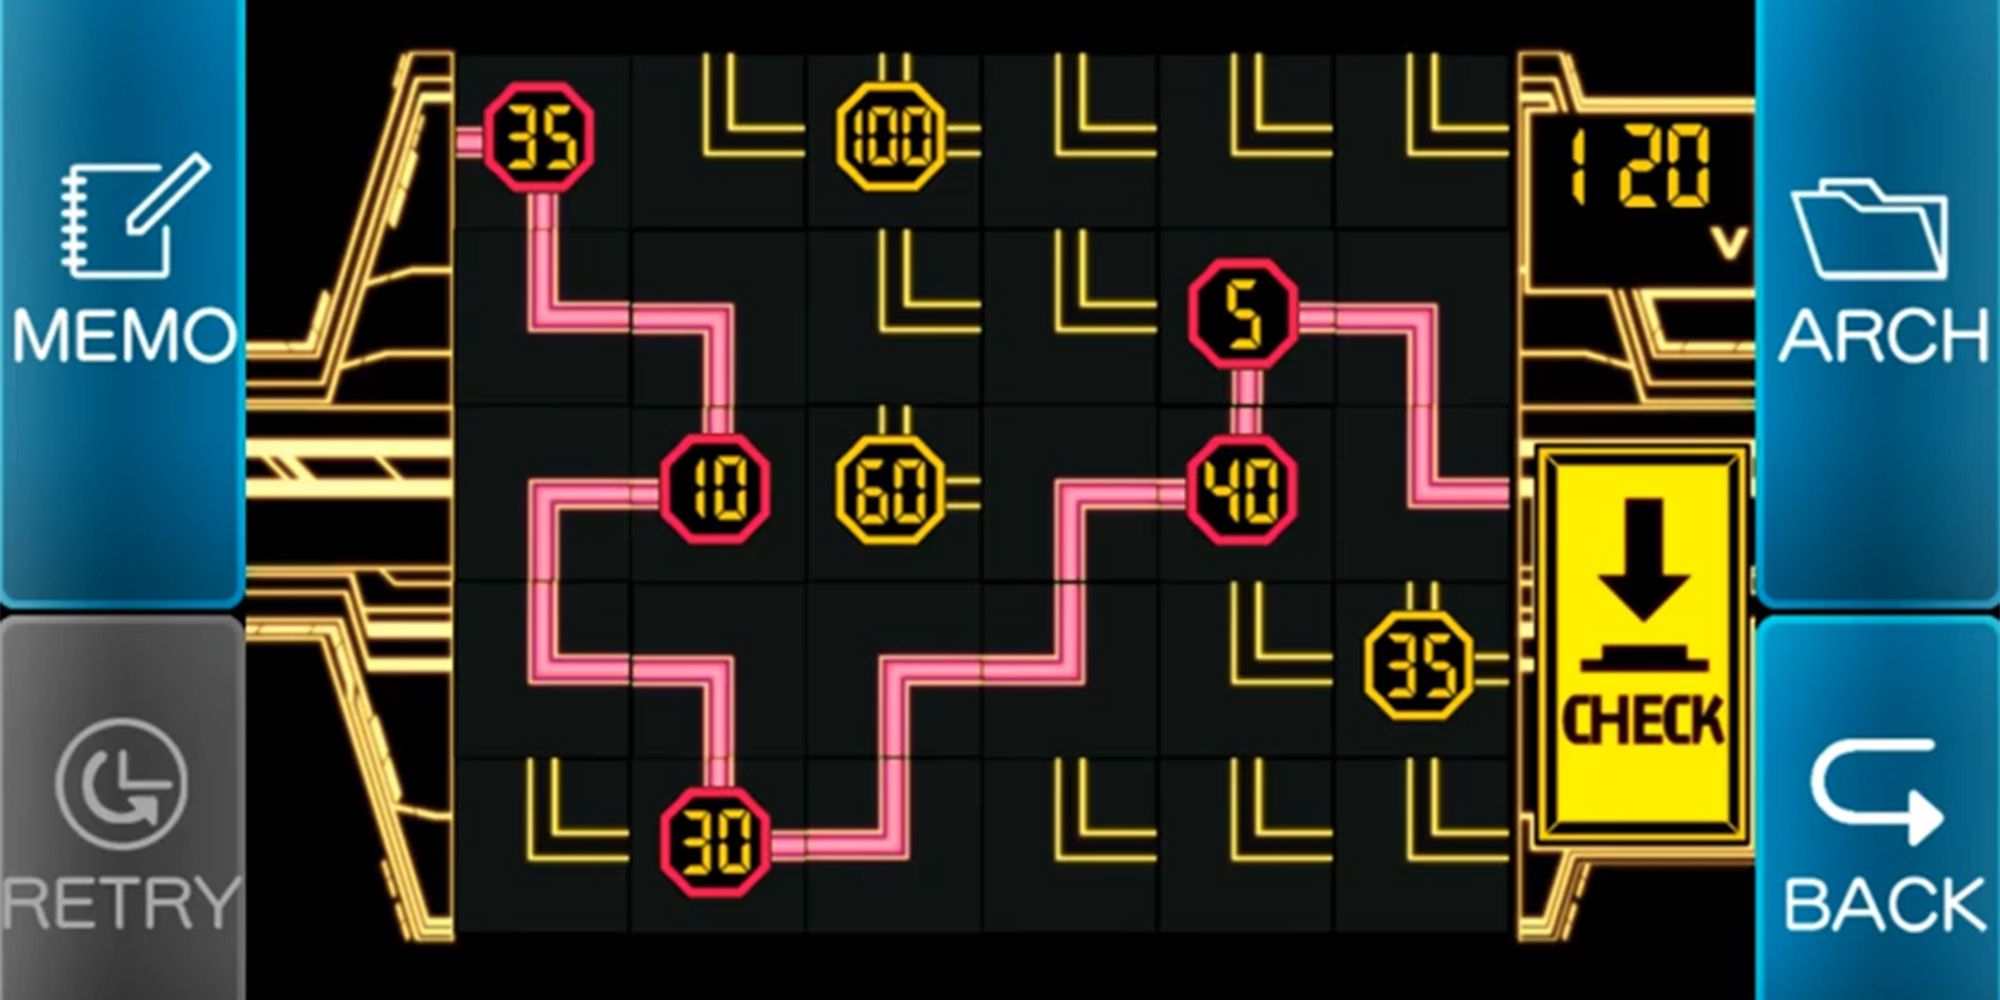
Near the GAULEMs on the left wall, find the monitor displaying a yellow screen. Inspect this to begin the power routing mini-game. Using the hint that you uncovered from the oil, you will need to connect the wires so that the total voltage adds to 120. To do this, the wire will need to run through 35, 10, 30, 40, and 5. Check the image below for the solution on how to position the wires.
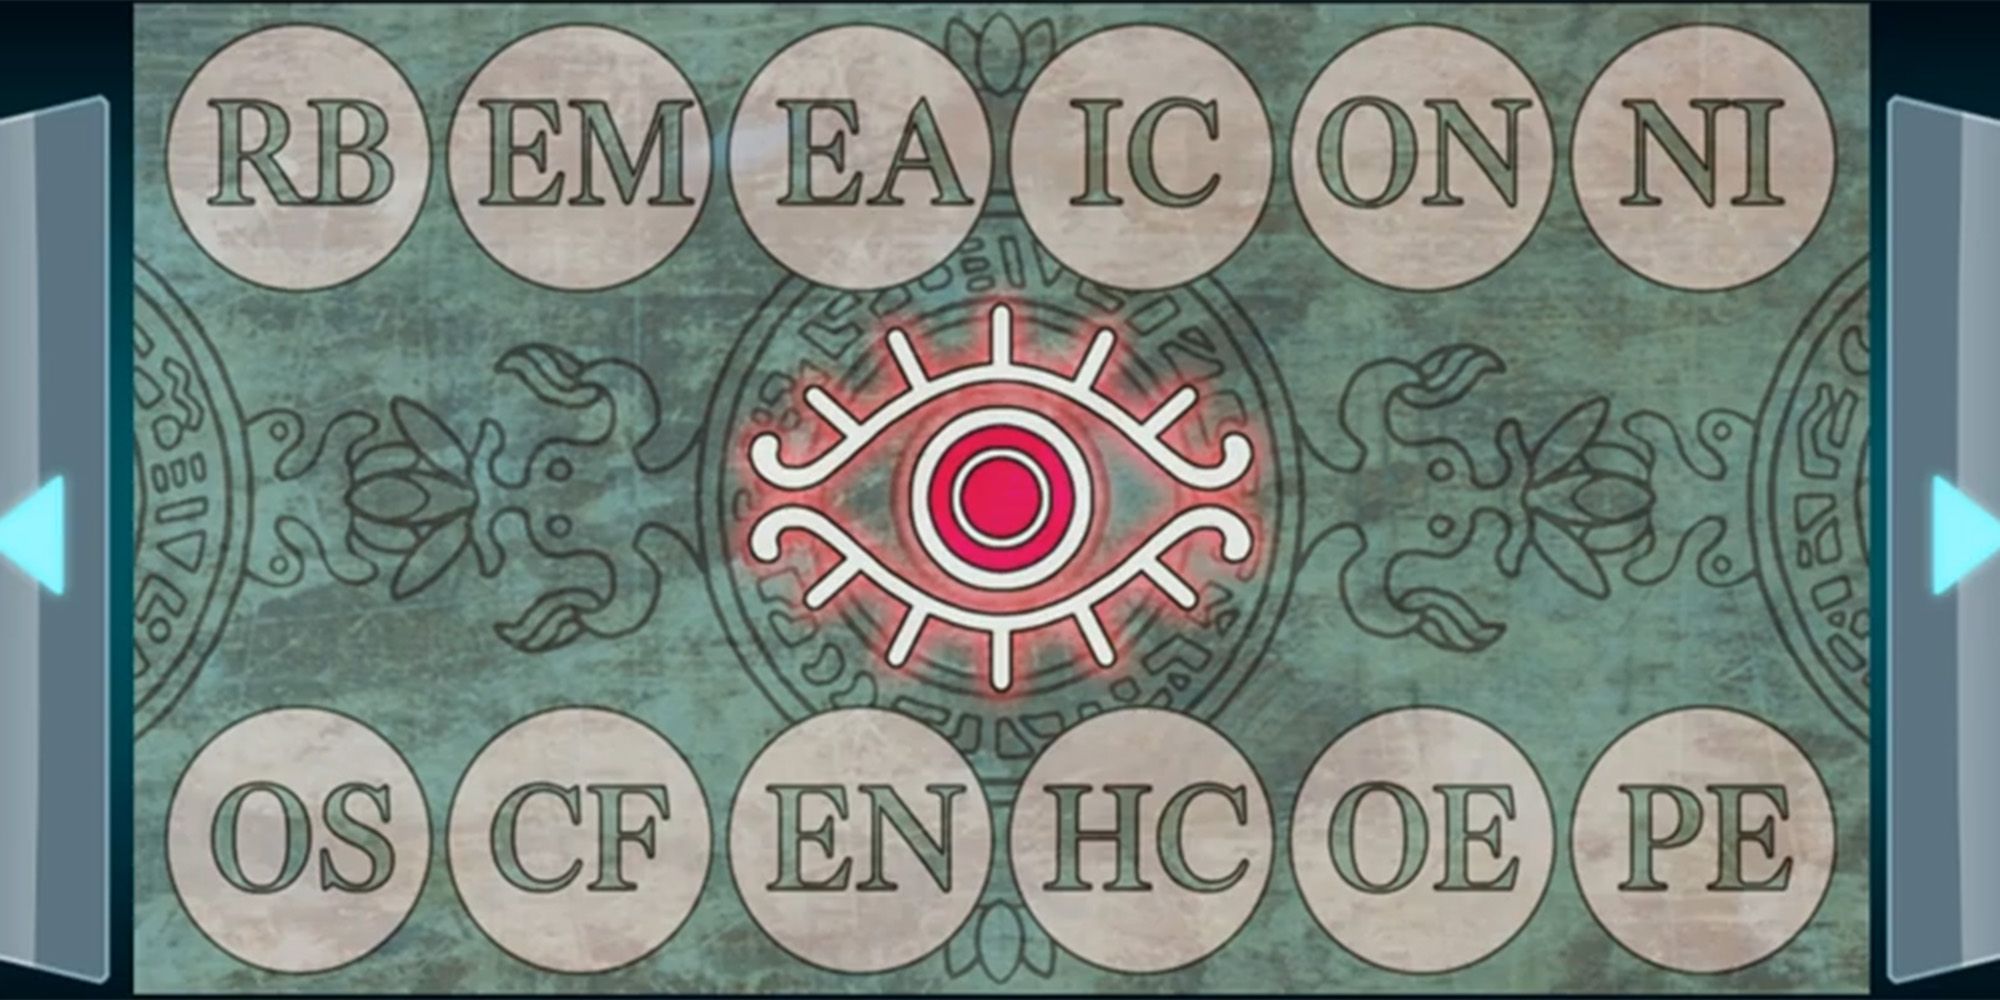
After the power has been routed correctly, you can finally press the menacing red button on the control panel. This will cause each of the GAULEM's eyes to light up. Using the poster you found earlier, you will need to determine which letters to use for the tablet password based on which GAULEMs eyes are lit up.
The top row of letters corresponds to the left wall of GAULEMs, and the bottom row corresponds to the right wall. Looking at which GAULEMs have lit up eyes, you can determine that the letters correspond to BEACON OF HOPE. After plugging the red and blue batteries into the tablet, you can type in this password. Doing this will turn the screen green, giving you the Green Safe Password. Type this into the safe to escape the GAULEM Bay.
How To Get The Gold File
To get the Gold File, you will need to enter a different password into the tablet. Rather than looking at which eyes are lit up, look at the eyes that are not lit up. Using the same method as before, you can determine the password for the unlit GAULEM eyes is REMINISCENCE. Put this into the tablet to receive the Blue Safe Password, which will give you the Gold File once put into the safe.


