The seventh campaign in Zombie Army 4: Dead War, called All Roads Lead To Hell, takes the hero to Rome in their first step towards the final confrontation with Hitler. Here's everything you need to know to complete All Roads Lead To Hell and find every collectible.
Chapter 1: Reaching The War Room Walkthrough
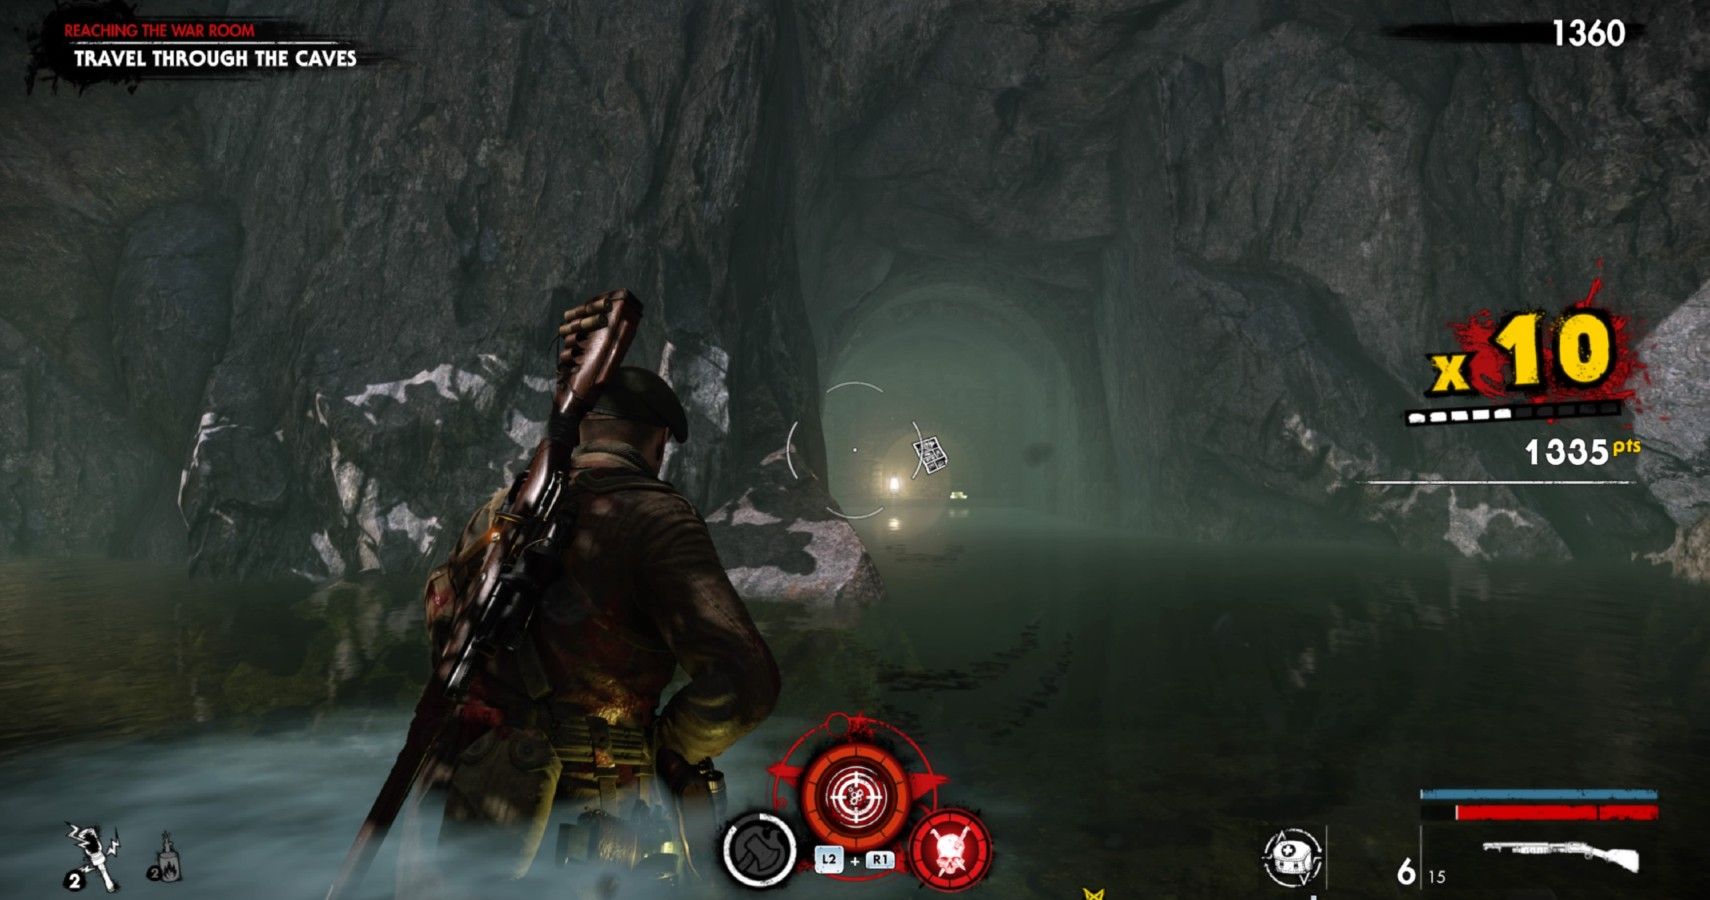
When All Roads Lead To Hell begins, gather some supplies from the safe room before heading out. When you leave, go through the short corridor and drop down into the caves.
Reaching The War Room Comic
When you land in the water, turn left and go around the corner. You will see a comic up ahead, next to a lantern.
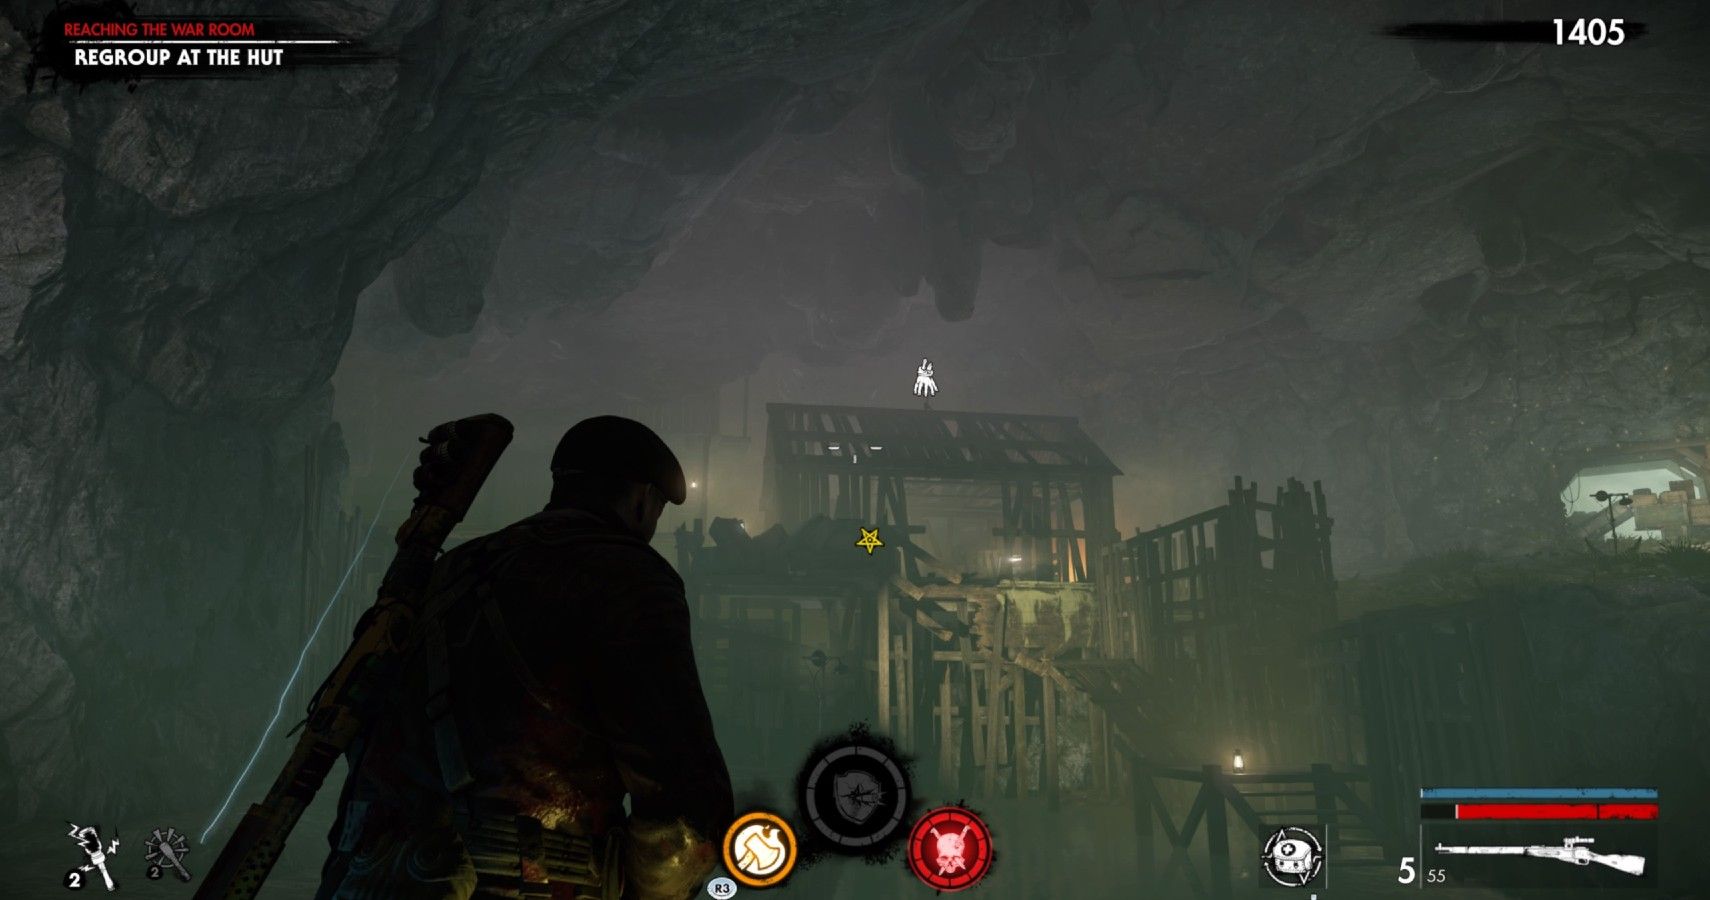
Reaching The War Room Zombie Hand
Continue through the cave until you see the hut where you have to regroup. On top of the hut, you will see a zombie hand running from side to side.
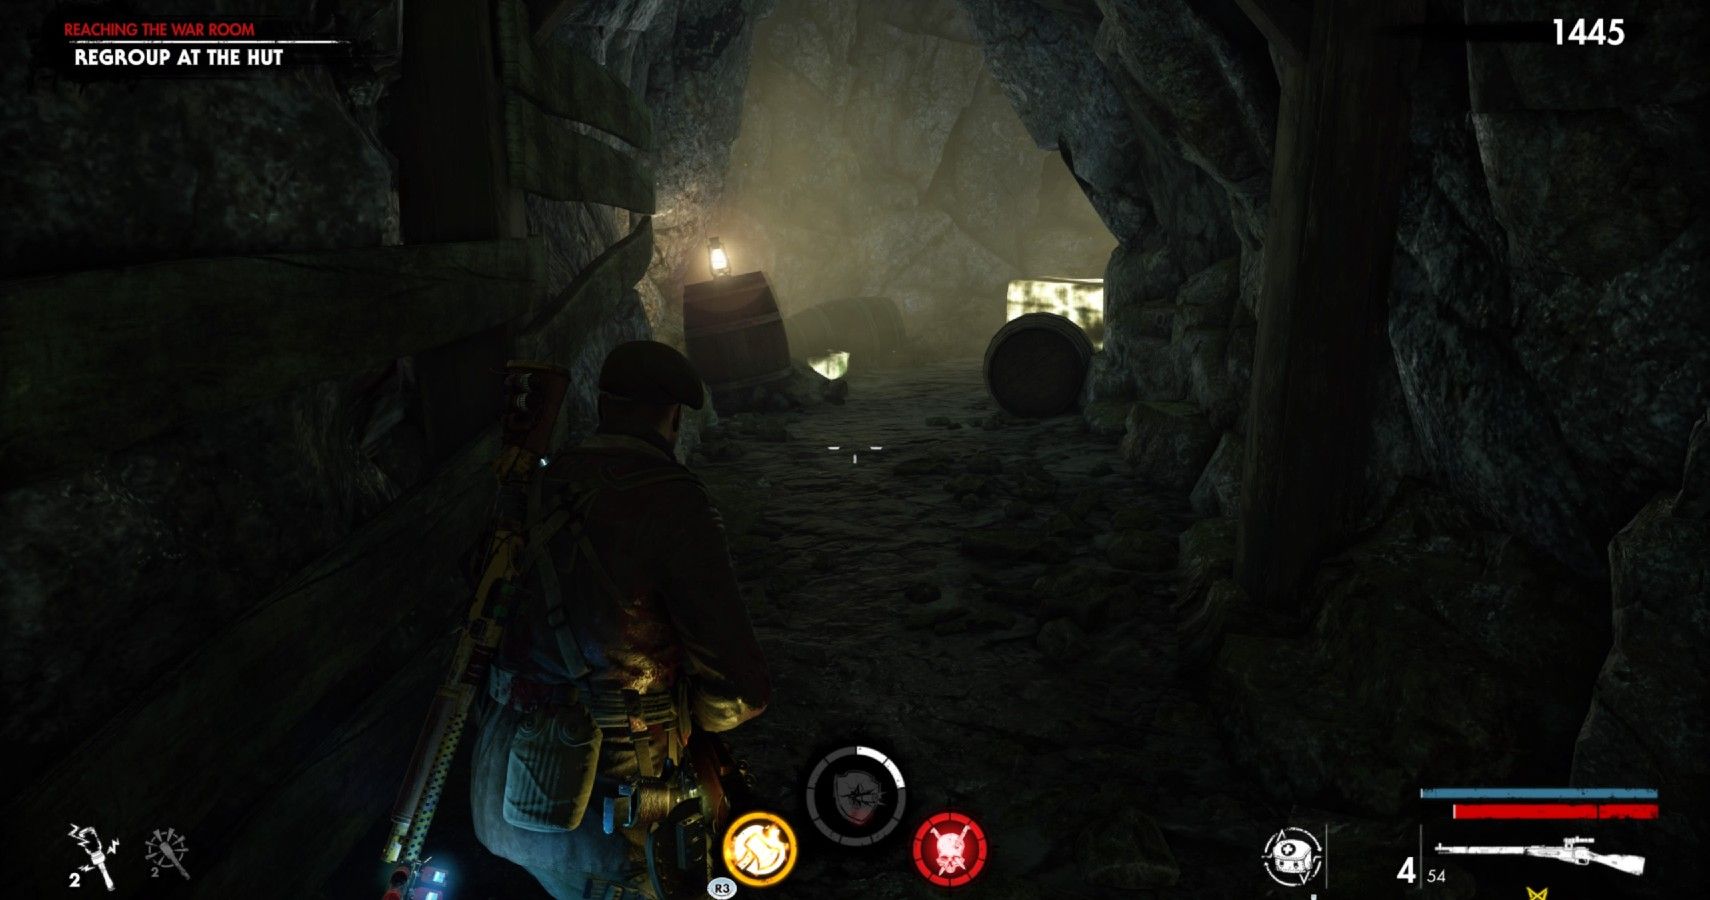
Reaching The War Room Upgrade Kit
Go behind the hut to find a short passageway. Inside, you will find an upgrade kit on the floor, as well as a yellow crate with an electric attachment inside.
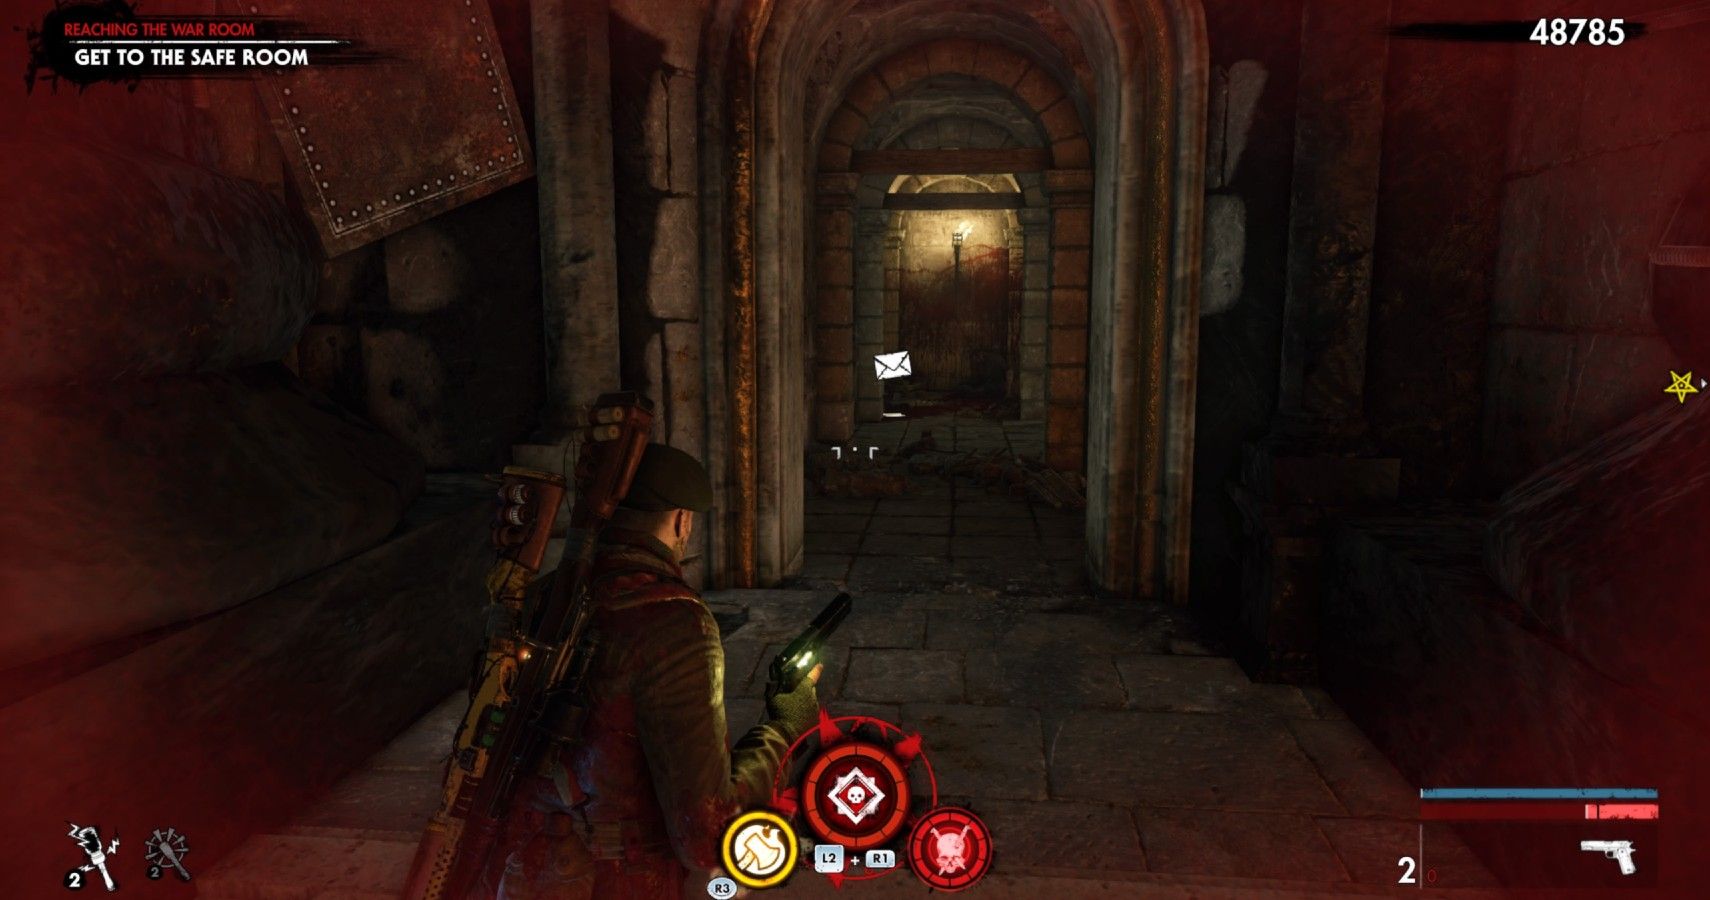
Reaching The War Room Document
After grabbing the upgrade kit, go into the hut and activate the detonator. When it fails, you will need to reconnect cables around the cave. There are three cables, and zombies will quickly fill the cave. Make your way around the cavern whilst connecting the cables, and then use the detonator again.
The cave-in will blow up, allowing you to continue. In the next chamber, you will fight a flamer accompanied by a horde of creepers. Clear the cave to unlock the safe room, which is located down a passageway on the right. Go left instead to find a document in a blood-soaked corridor.
When you have the document, go to the safe room to complete Chapter 1: Reaching The War Room.
Chapter 2: What Lurks Beneath Walkthrough
Resupply in the safe area, and then make your way through the corridors to the War Room, where you will meet Bruno face-to-face.
What Lurks Beneath Document
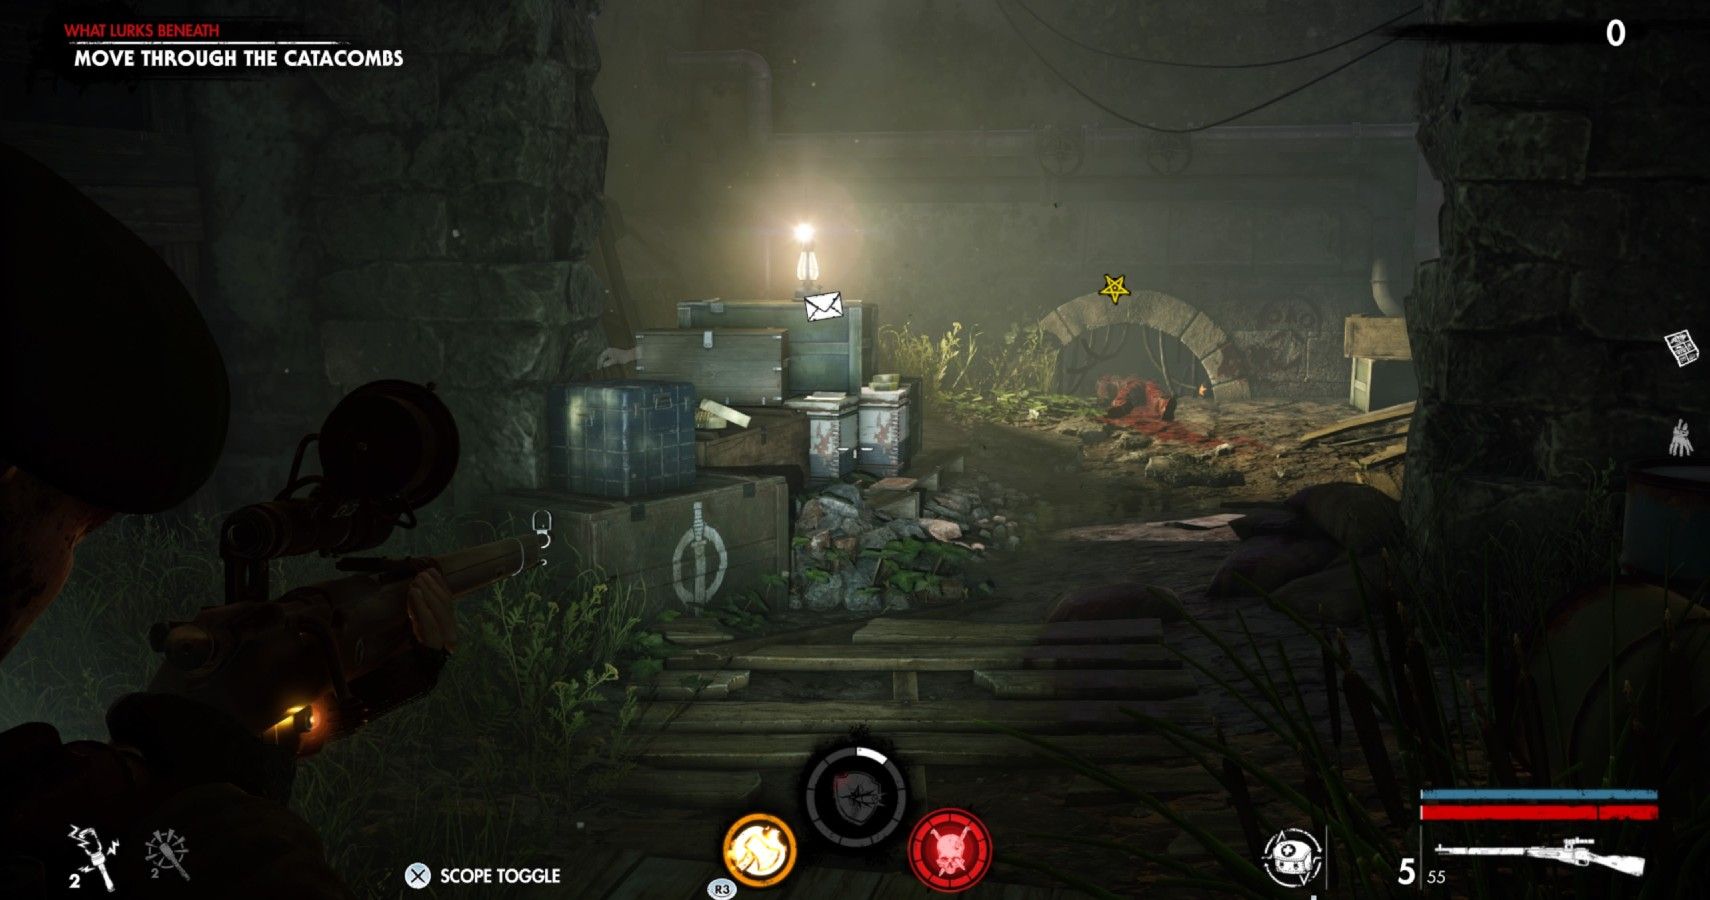
After speaking with Bruno, start moving through the resistance tunnels. When you take the first drop down, you will see a document on a crate in front of you.
What Lurks Beneath Upgrade Kit
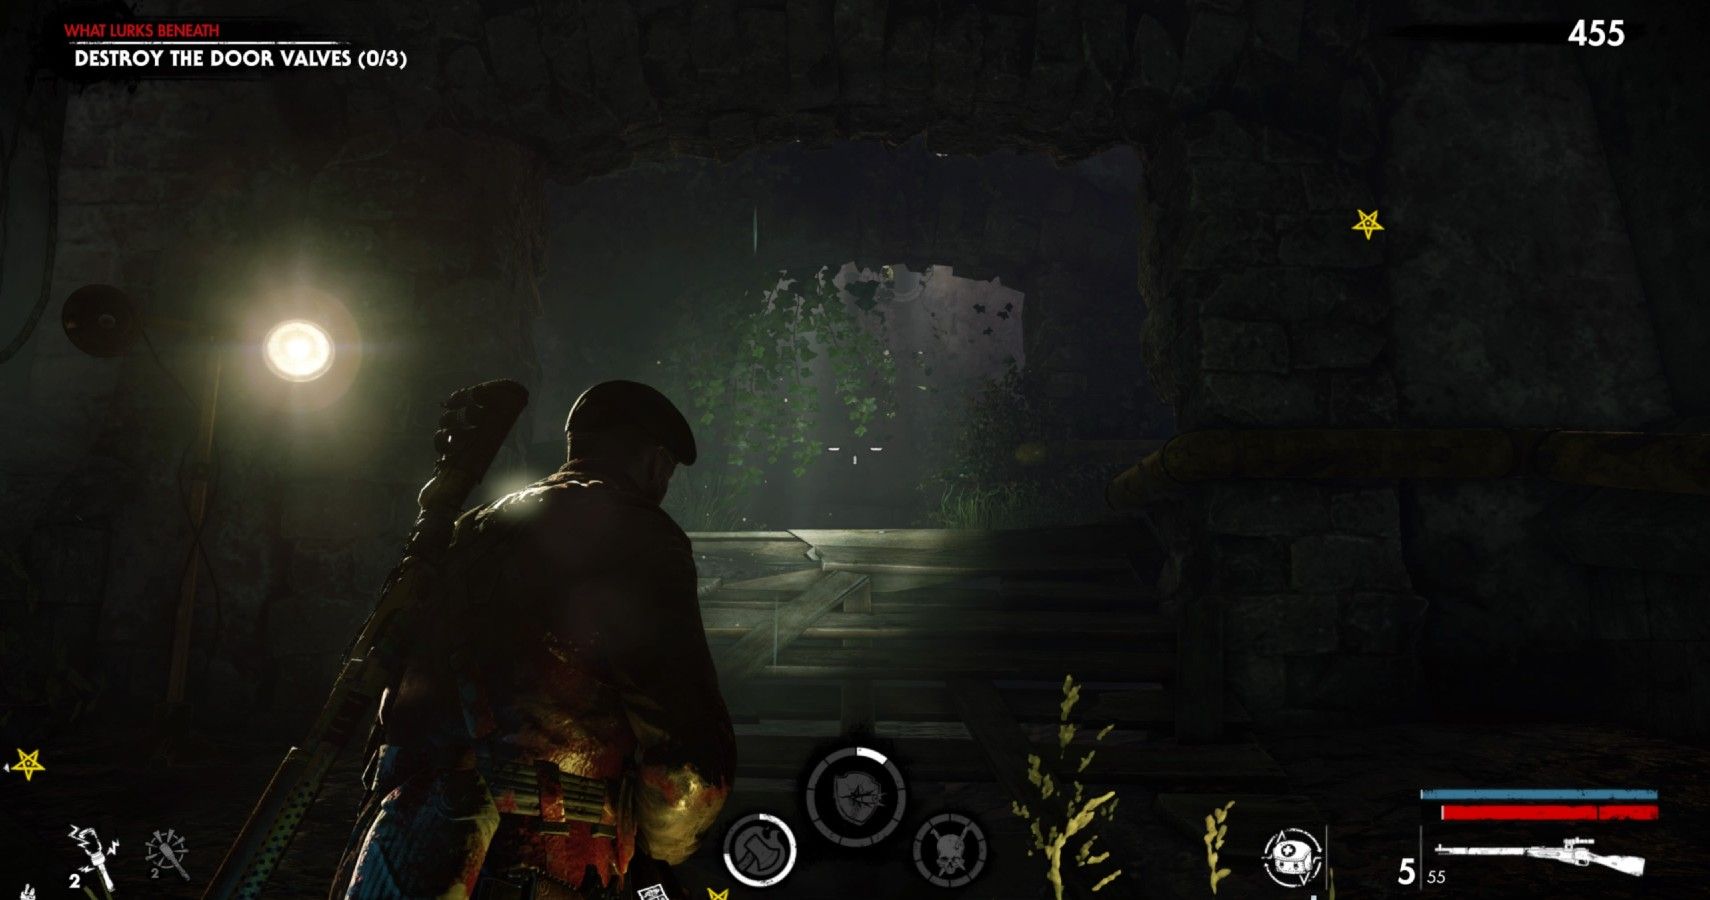
Turn right from the document to find a corridor with two screamers. Move past the first one and follow the second screamer into a passageway on the right. Wade through the water and head up the wooden stairs towards the first pressure valve objective. Turn left at the top of the stairs to find an upgrade kit.
What Lurks Beneath Comic
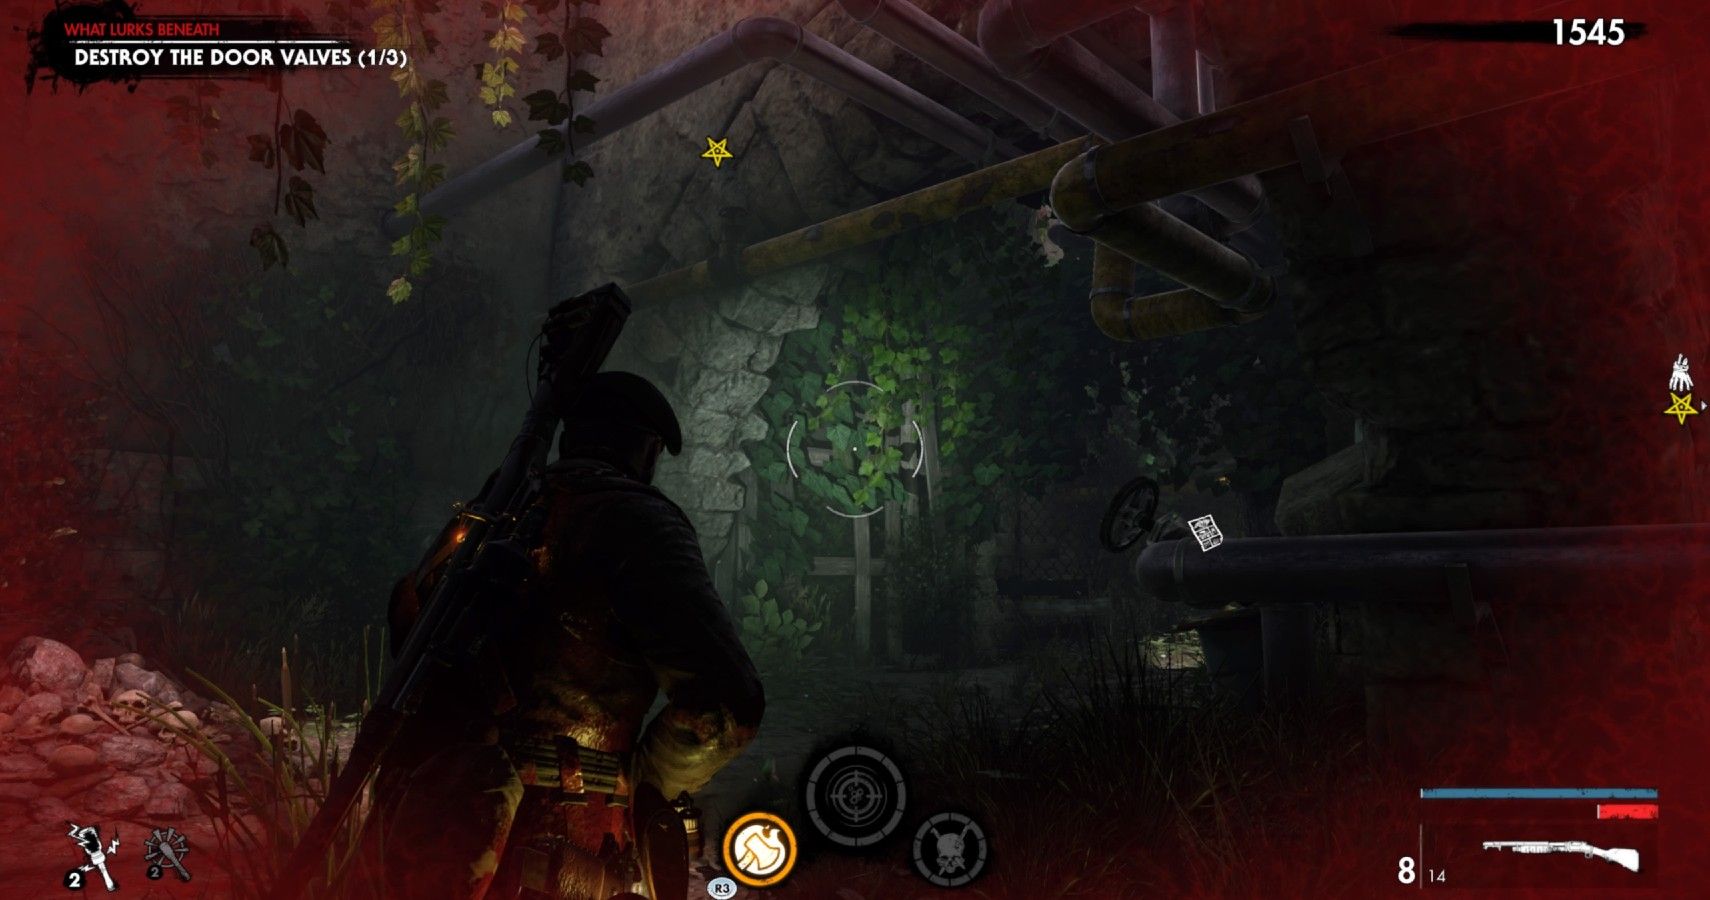
Head back into the main corridor where you saw the screamers. This time, turn left and go over to the second pressure valve. A comic will be on a barrel nearby.
What Lurks Beneath Zombie Hand
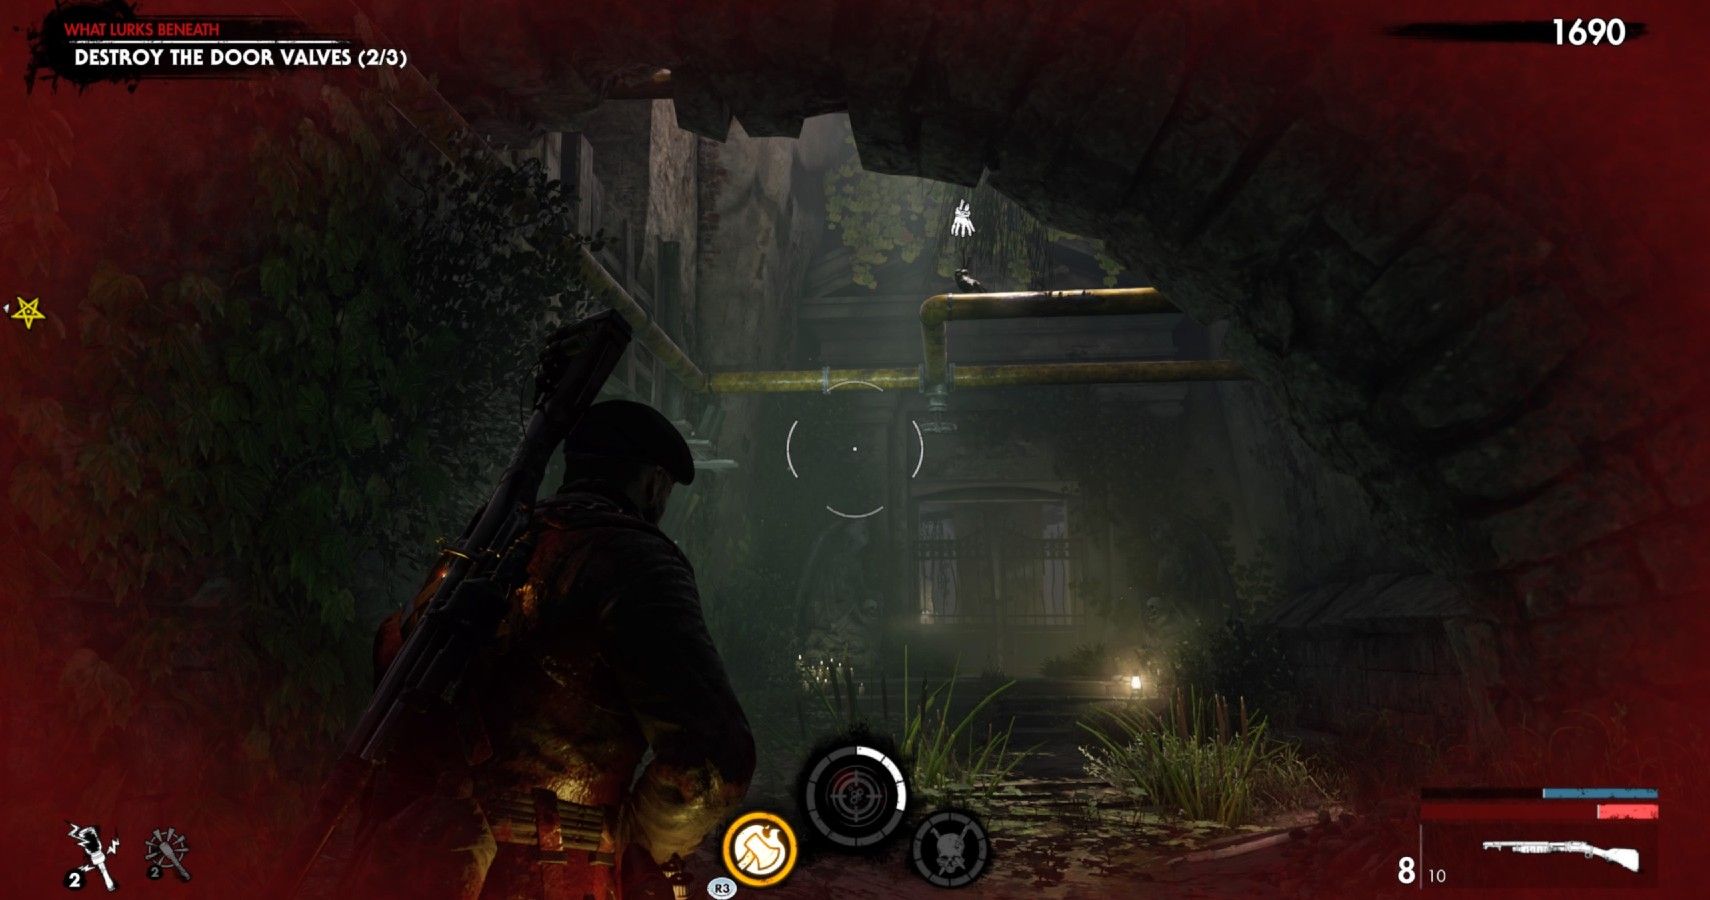
As you make your way to the final pressure valve, you will come to a room with yellow pipes overhead. You will see a zombie hand scuttling along the pipes.
Destroy the final valve and fight through the Catacomb ritual site to unlock the safe room, completing Chapter 2: What Lurks Beneath.
Chapter 3: City Of The Dead Walkthrough
Regroup in the safe room and gather any supplies. When you are ready, head out into the overrun city.
City Of The Dead Comic
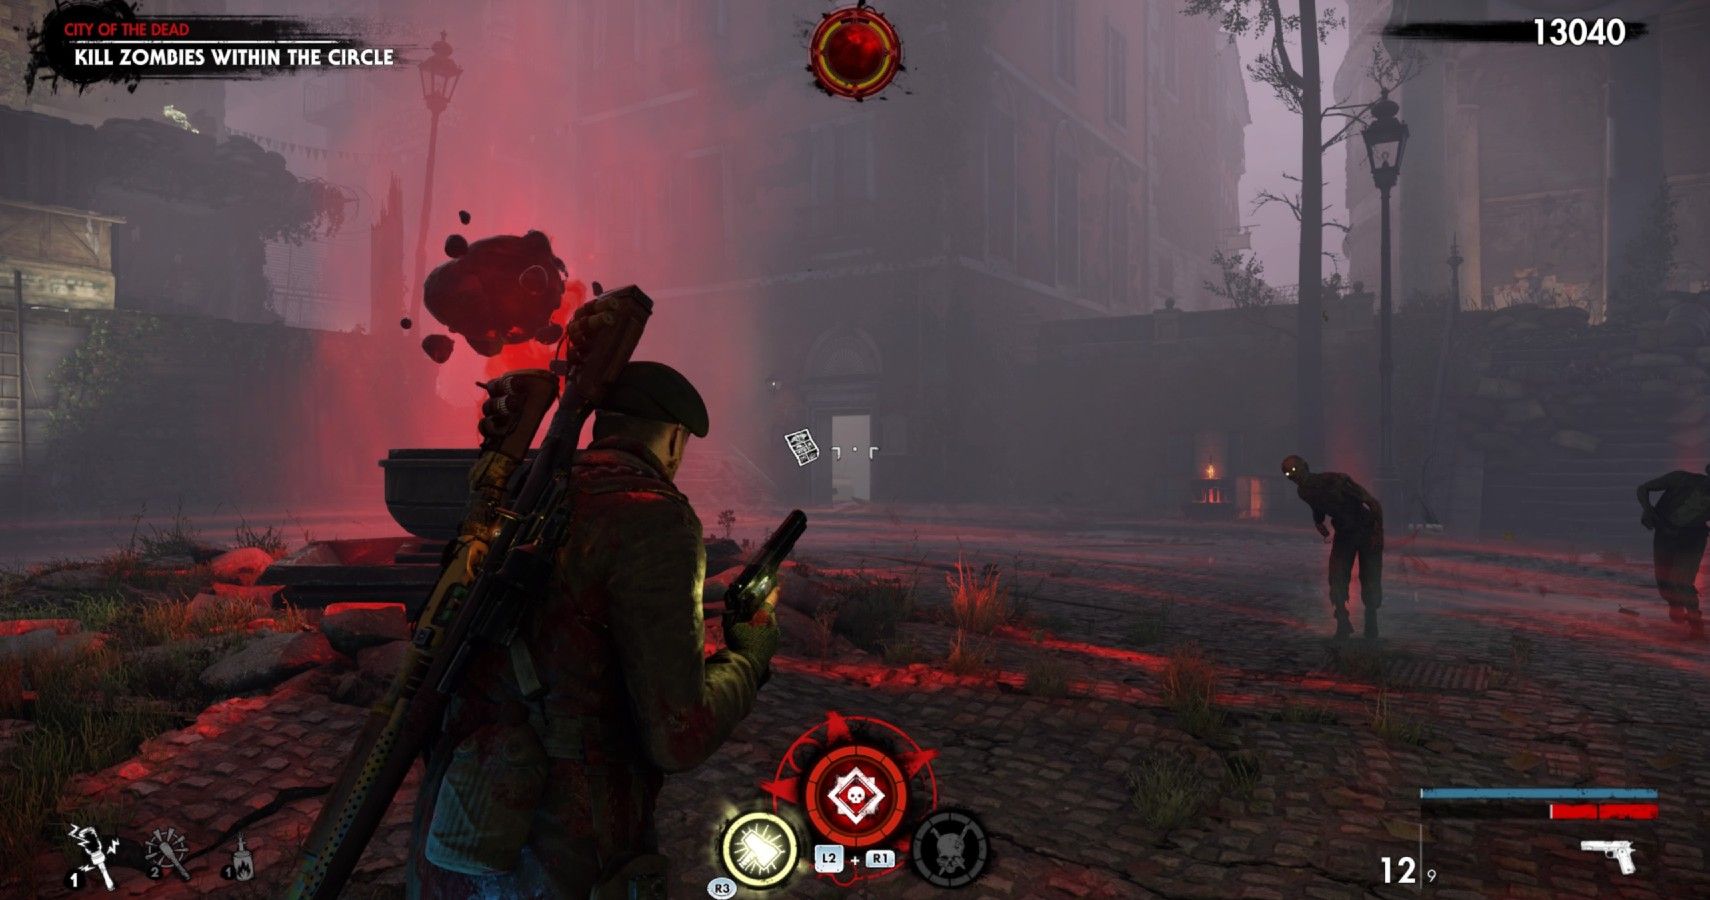
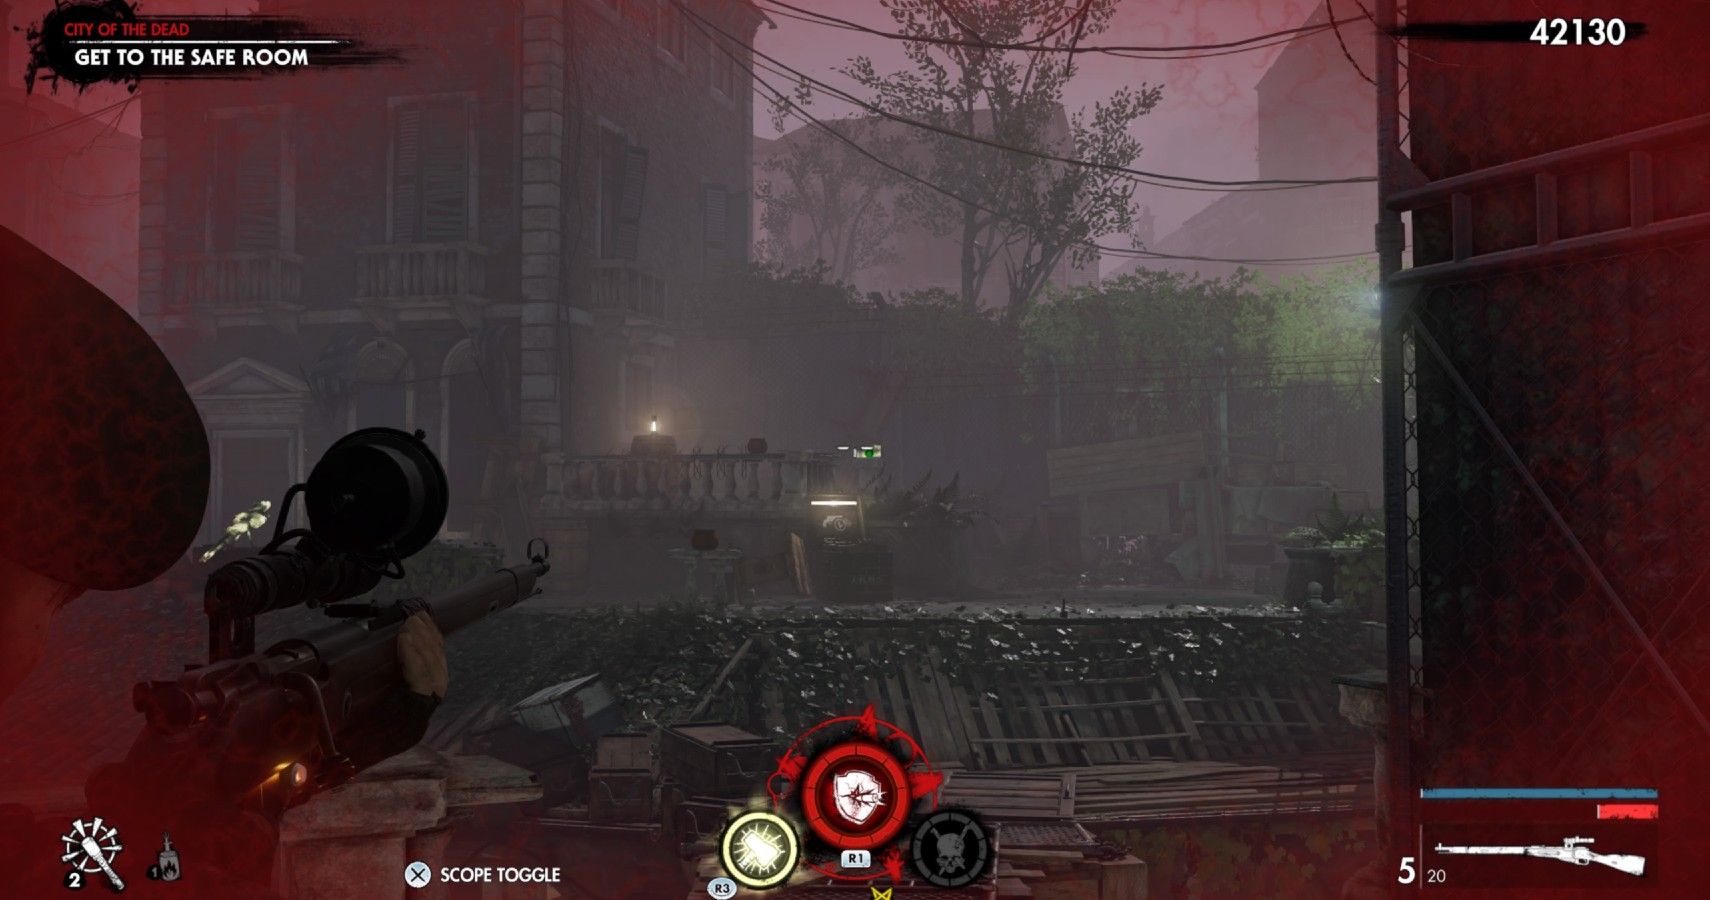
You will exit into a courtyard with a blood fountain in the center. A comic is in a room to the right, but the door will remain boarded up until you activate the blood fountain.
City Of The Dead Zombie Hand
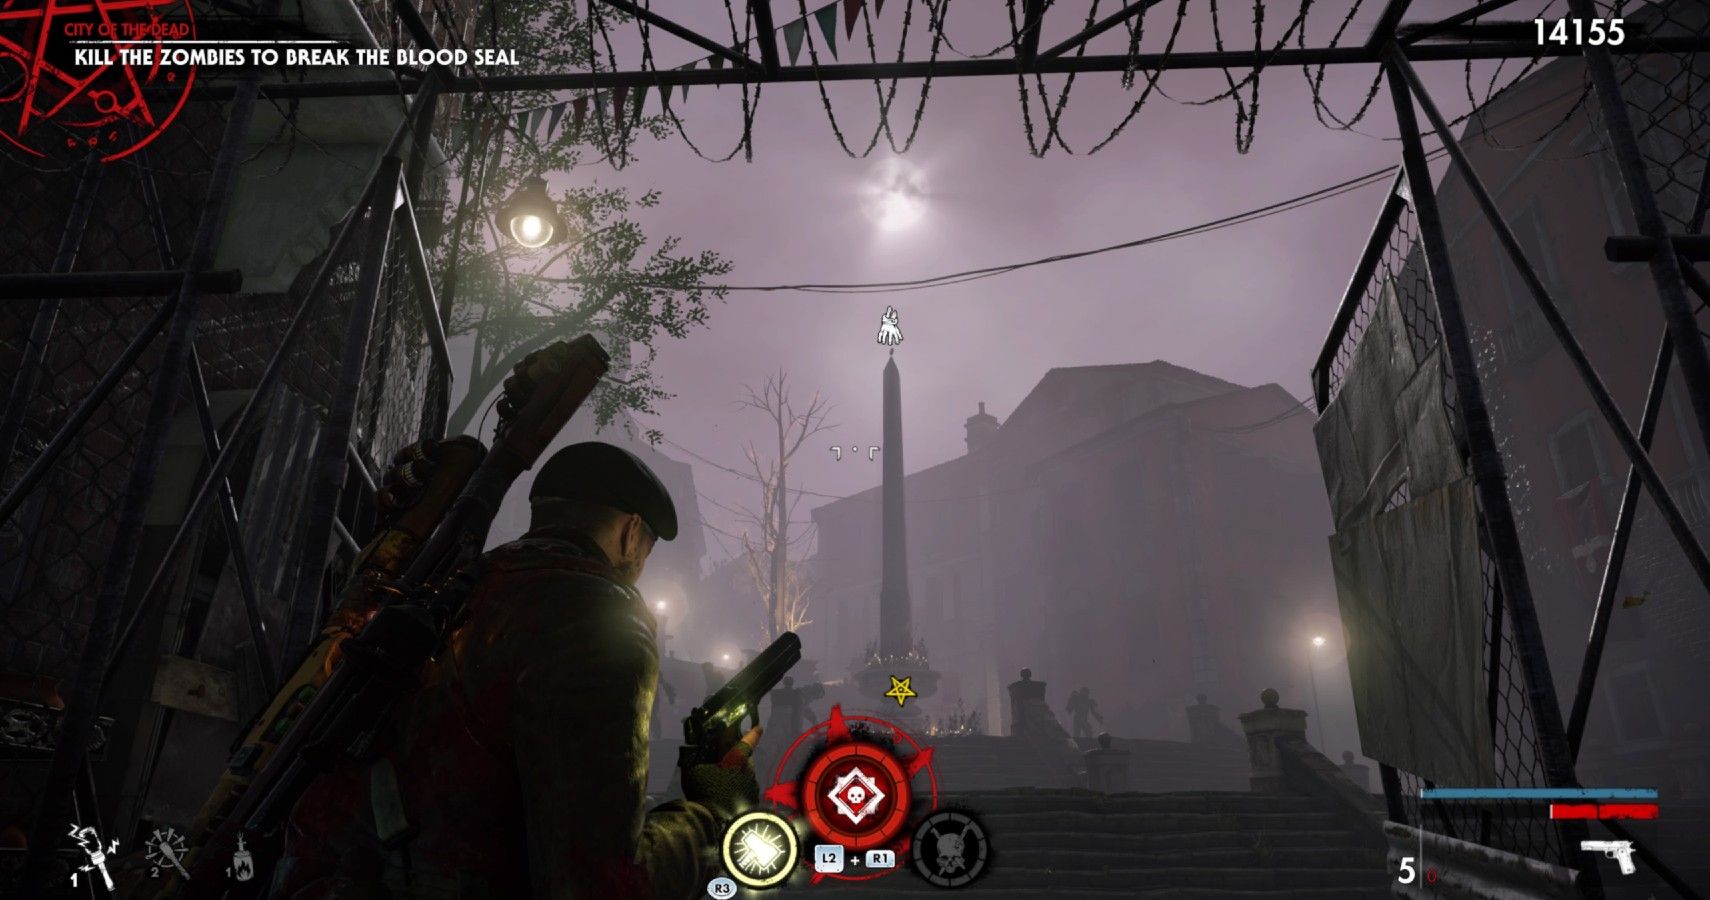
Continue into the next area where you will fight grenadiers and armored zombies. The zombie hand is on top of the large structure in the middle of this area.
City Of The Dead Heroic Action
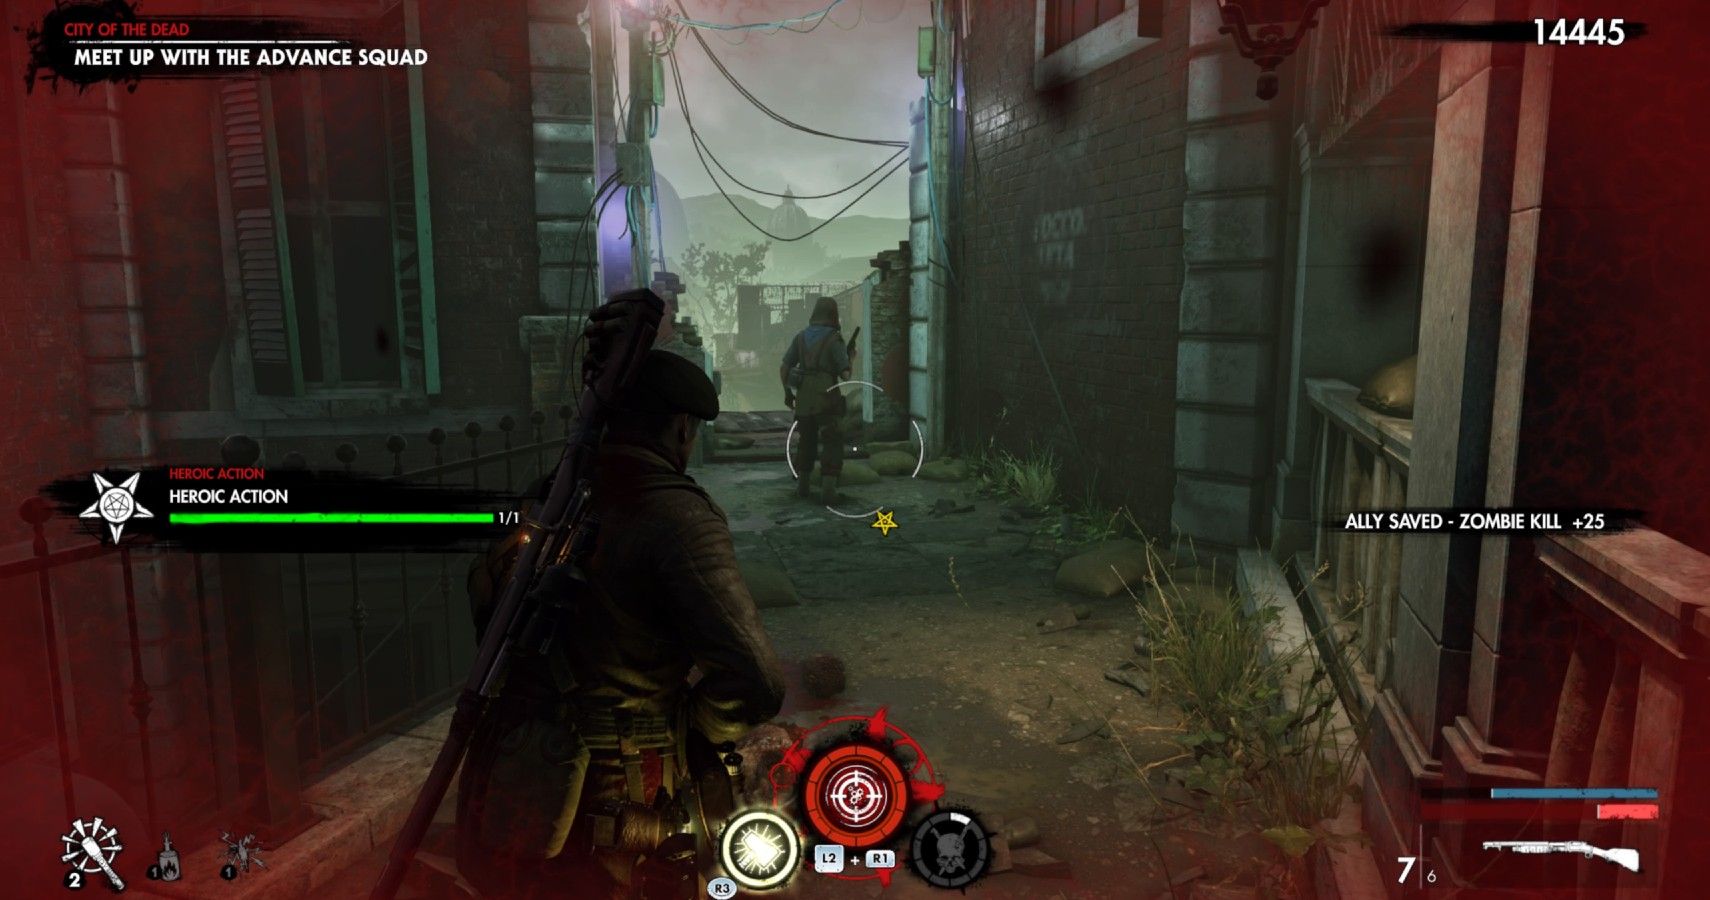
Continue around the corner to meet with the Advance Squad. As you approach them, you will see a zombie shambling towards an NPC. Kill the zombie to complete the Heroic Action.
City Of The Dead Document
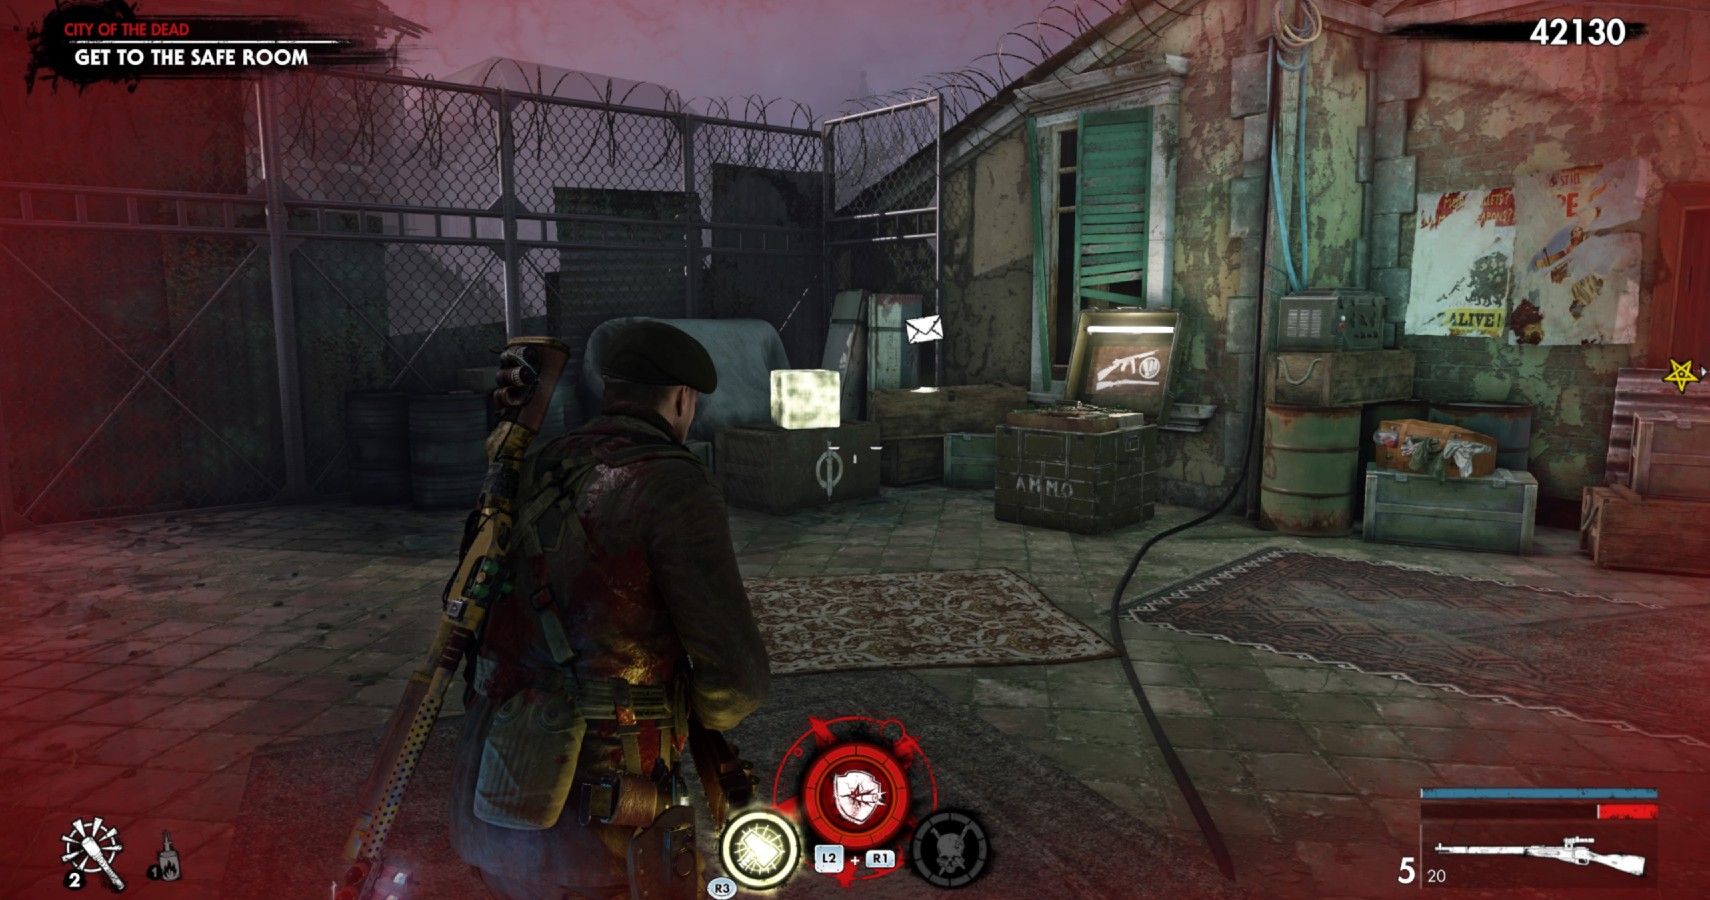
Help Hugo and his squad clear the area of zombies. When the assault is over, head up the stairs towards the safe room. You will see a document on a crate in the corner at the top of the stairs.
City Of The Dead Upgrade Kit
From the document, go left and cross the makeshift bridge to a platform on the other side. The upgrade kit is sitting on a stone wall, up a small flight of stairs.
After collecting the upgrade kit, go back across the bridge and into the safe room to complete Chapter 3: City Of The Dead.
Chapter 4: Hitler's Welcome Party Walkthrough
When you enter the safe room, use the ammo box right in front of you. Then, head down the stairs to gather some explosives and a medkit. When you are ready, go outside.
Hitler's Welcome Party Upgrade Kit
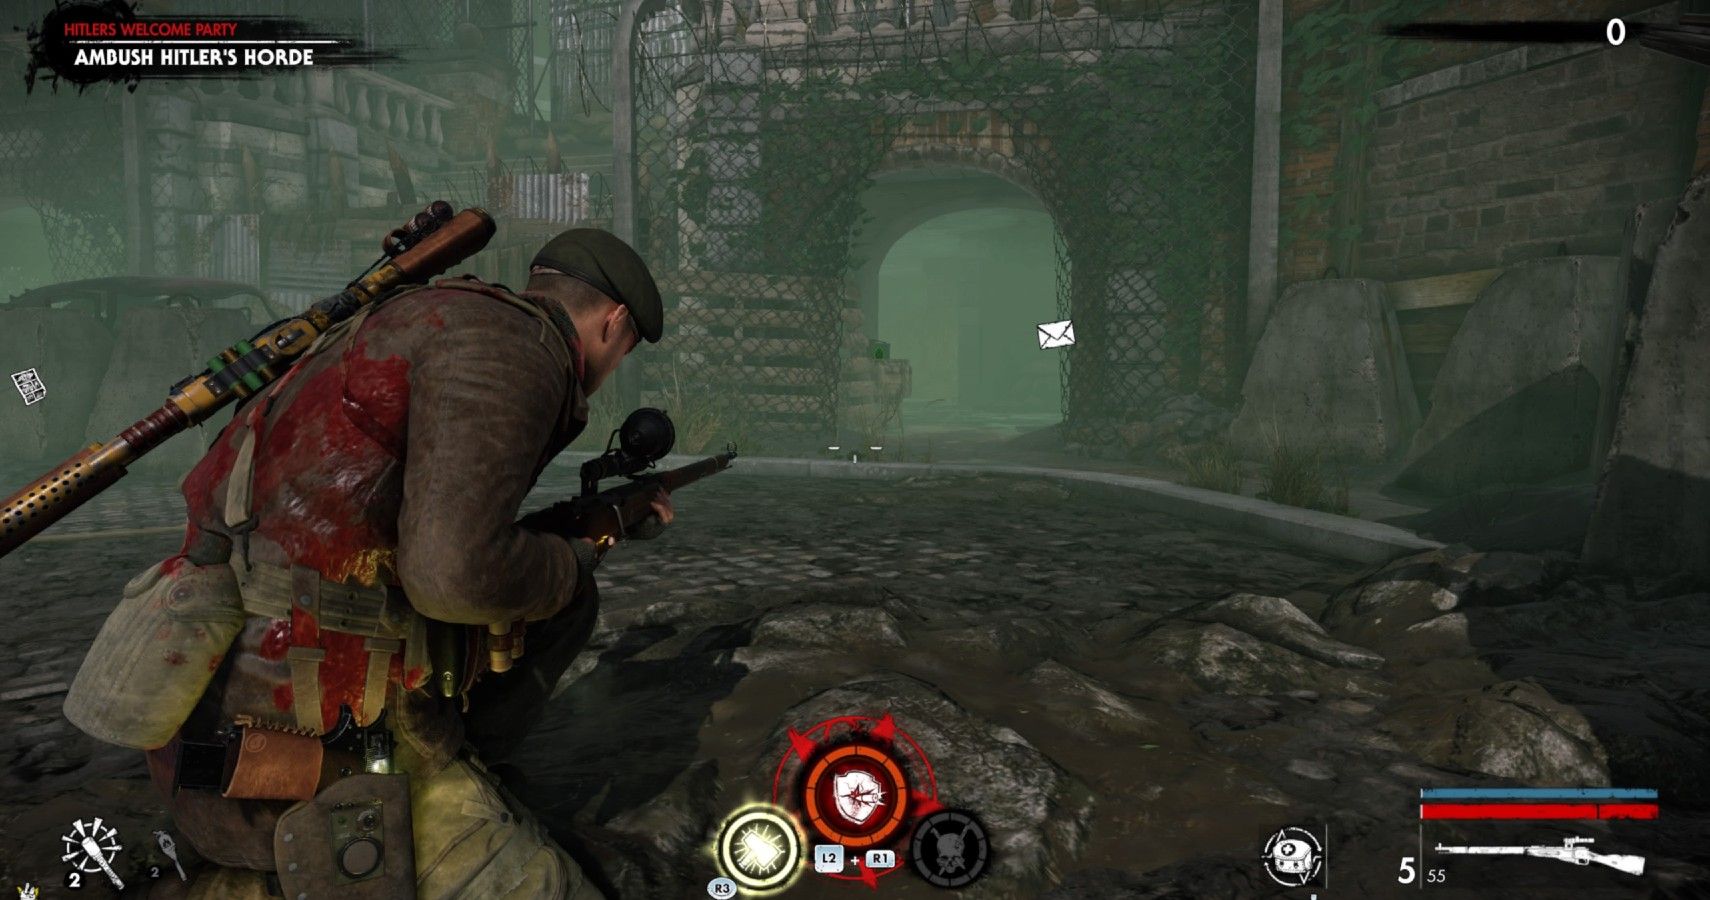
When you leave the safe room, you will see Hitler's horde up ahead. Crouch so that you don't alert them for now. Make your way down the slope and hug the barricades around to your right. You will find an upgrade kit in an entryway.
Hitler's Welcome Party Document
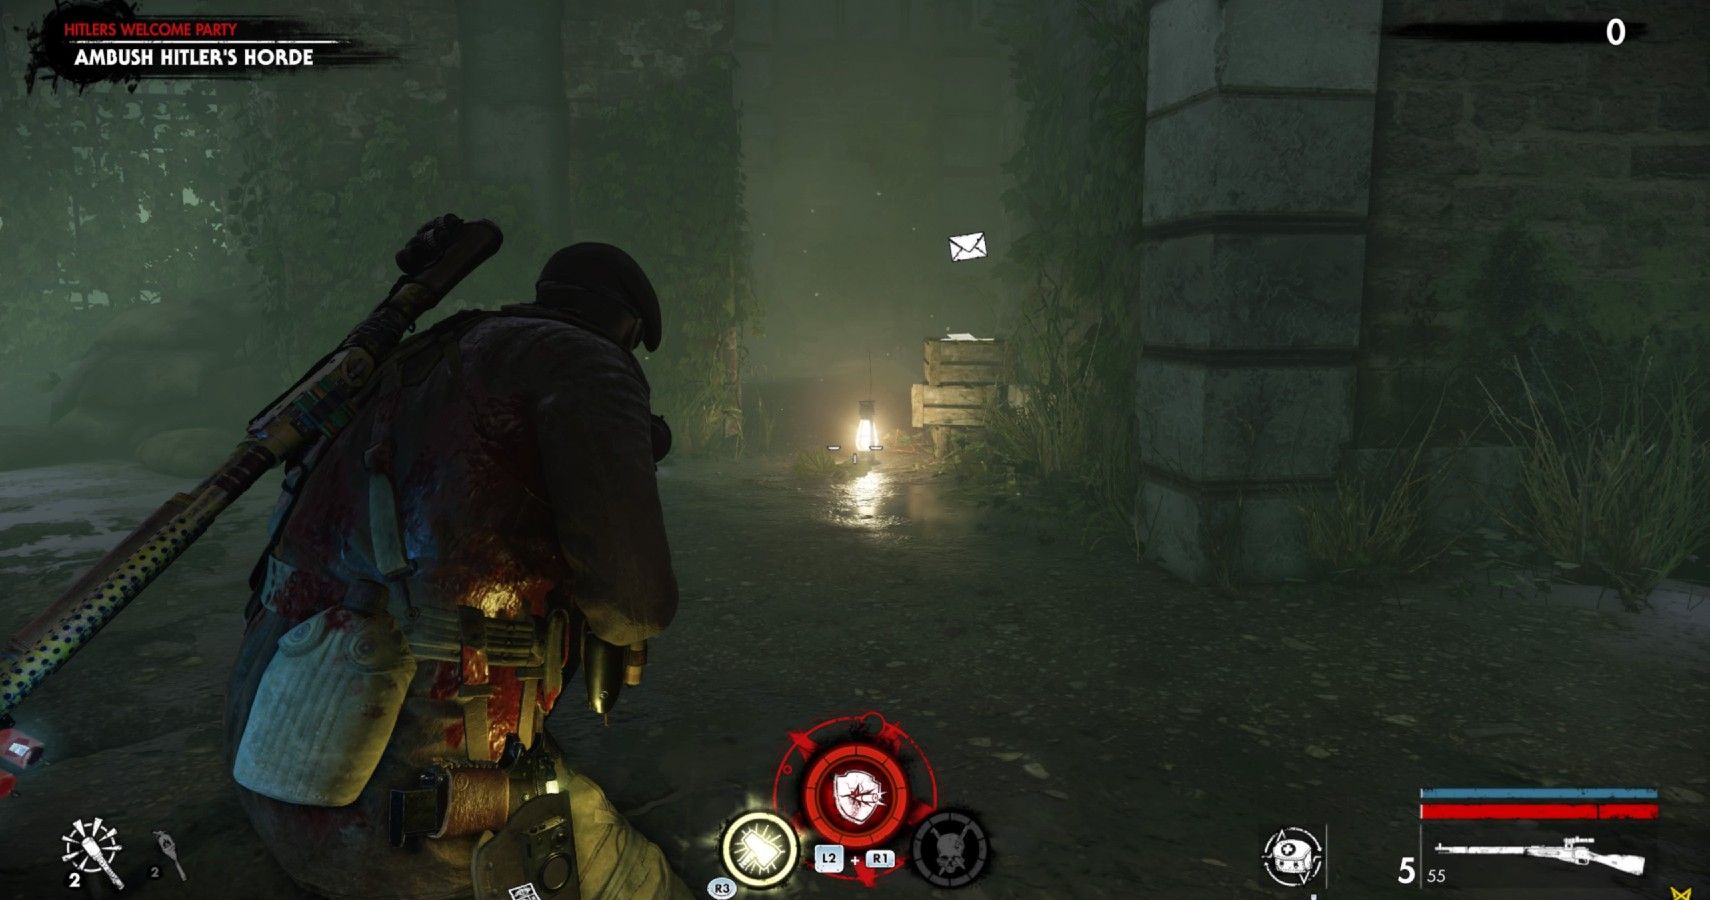
Go past the upgrade kit and keep hugging the wall on the right. You will find a document on a crate just around the corner.
Hitler's Welcome Party Comic
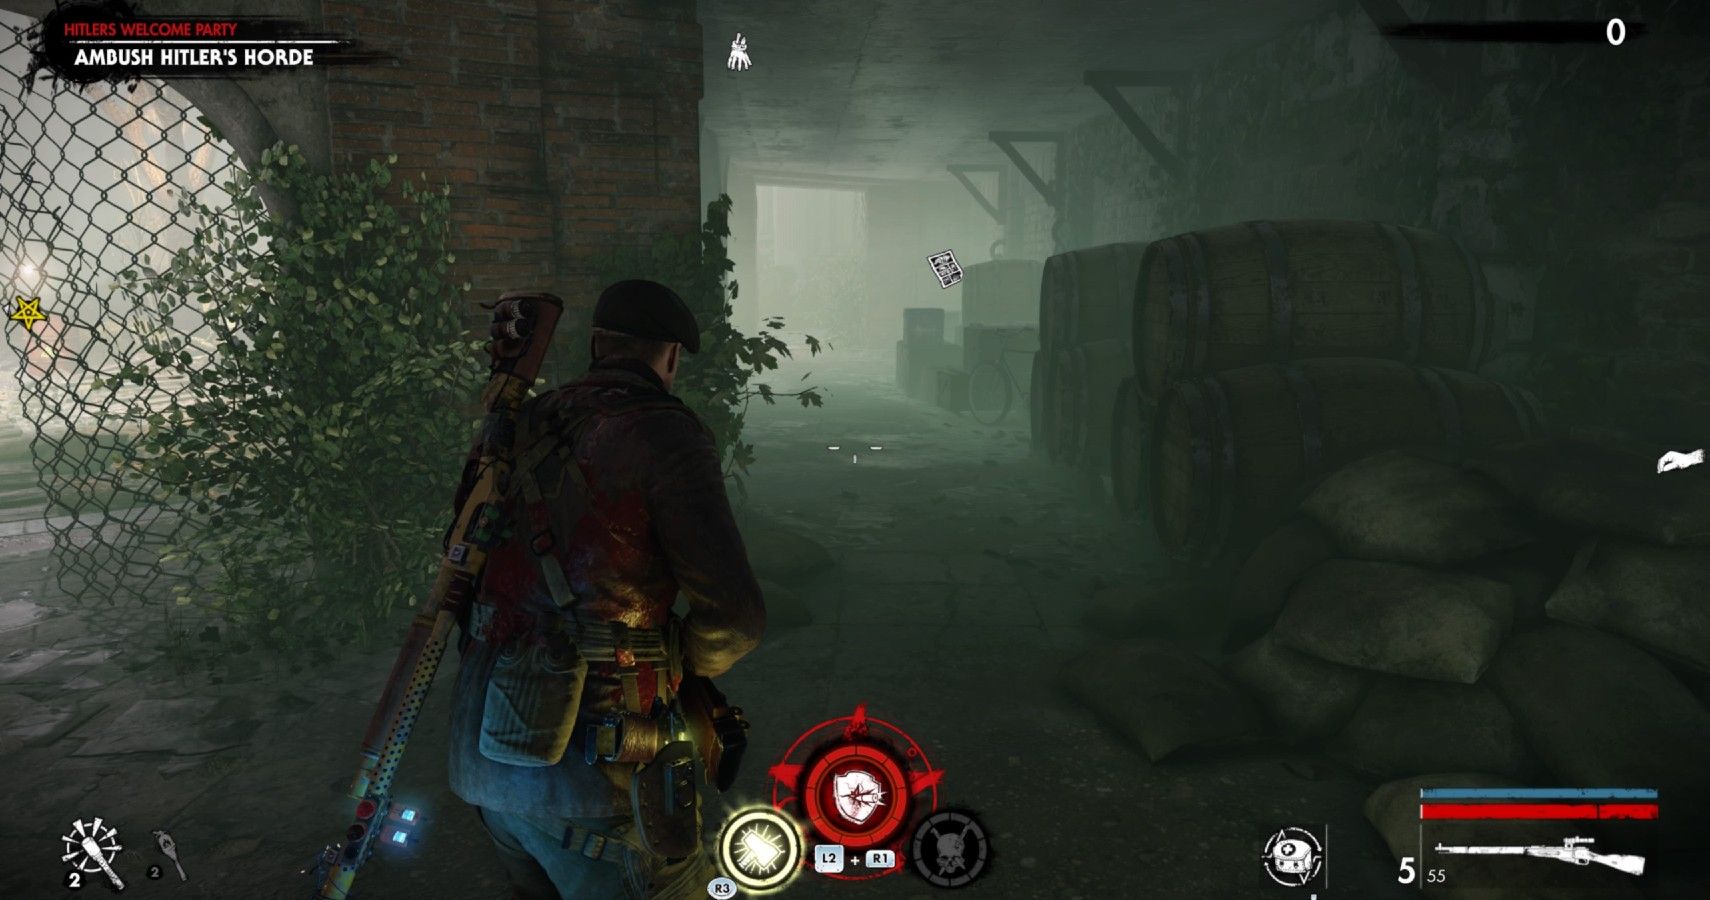
Continue following this passageway around to find a comic on a barrel. You will be closer to Hitler's horde now, so be very careful.
Hitler's Welcome Party Zombie Hand
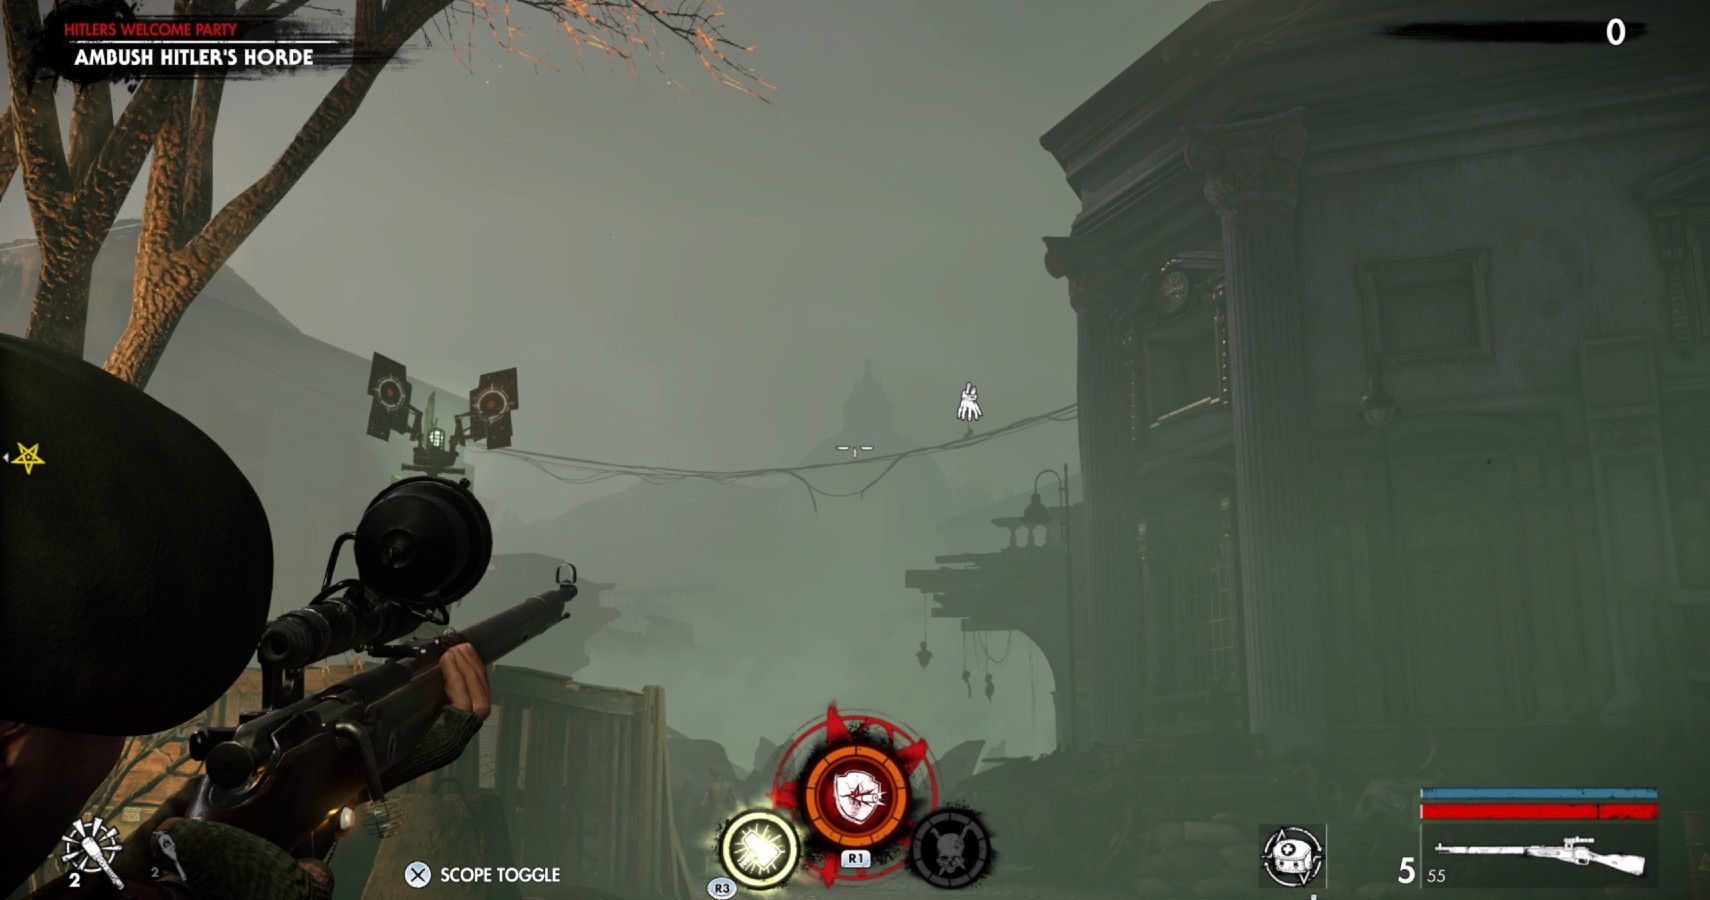
Look over at the horde to find a zombie hand running along a cable above them. Shooting the hand will alert the horde, so be ready for a fight.
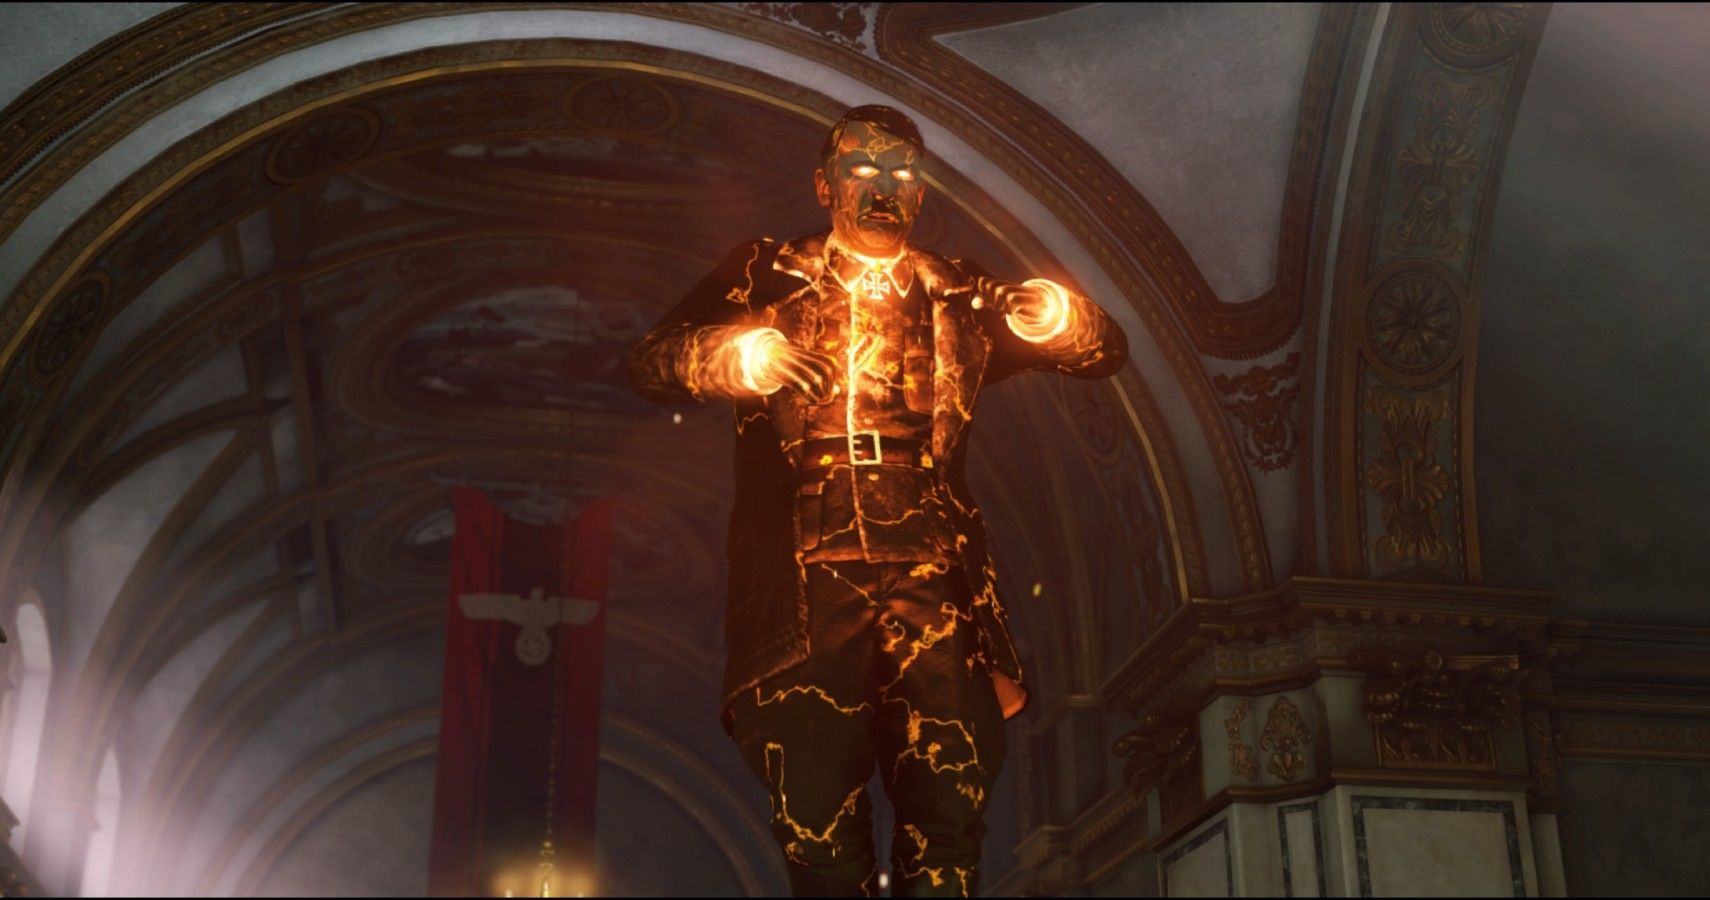
Mount the turret marked as an objective and fire down on the horde, aiming specifically for the explosive barrels. Zombies will soon be coming from every direction, so use the various traps and turrets in the courtyard to rip through the army of zombies. When the horde is defeated, make your way into the Church. A cutscene will trigger, during which Hitler is revived.
Hitler's Welcome Party Church Fight
The initial fight against Hitler here in the Church is actually rather simple. The four cultists that revived Hitler in the cutscene will now be stood around him, generating a protective shield.
Refill your ammo using a crate to the left and kill the cultists, whilst also picking off any zombies that make their way over to you. When the cultists are dead, Hitler's shield will fall and you can shoot him, completing the All Roads Lead To Hell campaign.


